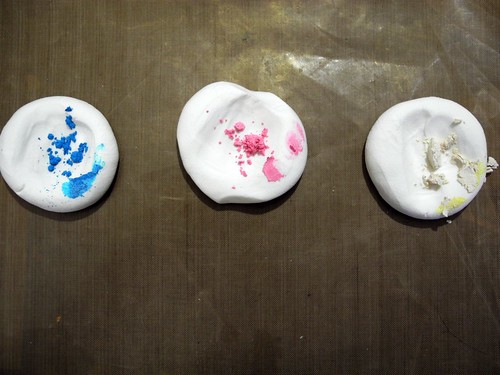
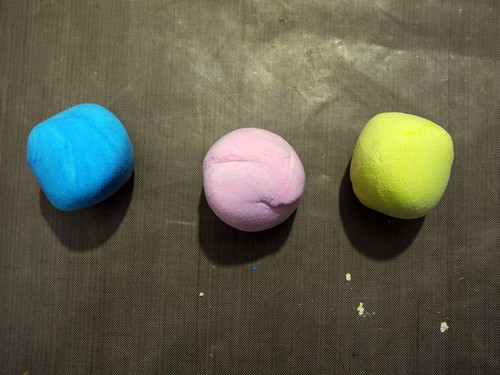
To begin, you will want to use the mixers to color your clay. Pull out three small balls of clay and flatten them slightly. Tap just a bit of the powder into the discs as shown.

A little powder goes a long way! Also, be sure to have a rag handy to keep your hands clean between colors! Fold the clay over the powder and then simply work it with your hands until it is even in color throughout.

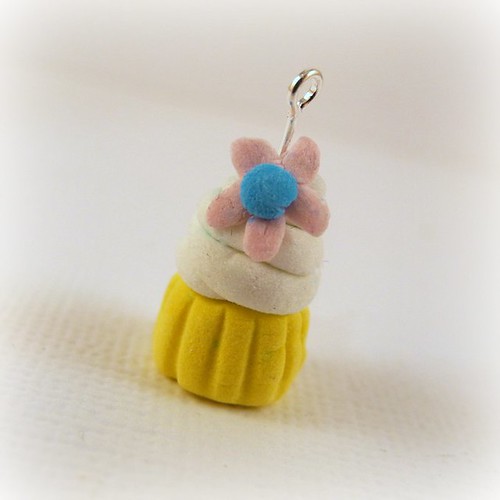
You can even create custom colors by mixing them! This is a great way to make the most of your clay! Now, simply pull small bits of the clay to form the base, frosting, and flower on the cupcake.

Once the cupcake is formed, cut a jewelry finding to the correct size and insert into the top of the cupcake. Allow the charm to sit until it has fully dried and you have your very own cupcake charm! I have added a photo with the charm in my hand so you can see the true size.

Store the remaining dyed clay in plastic bags or an airtight container to use later on another project! Thanks for reading!
Feel free to visit me on my blog, Just Jingle!
Jingle Out.

how adorable!! i'm gong to miss your post:( good luck on your new ventures! Thanks for the inspiration:)
ReplyDeleteThat is sooo cute!
ReplyDeleteWonderful tutorial too.
That's just cute as a bug, eh cupcake! You are just so talented Jen! Gonna miss you here but I'll see you there.
ReplyDeleteHugs XX
Barbara