

Supplies;
Creative Paperclay®
Paper Mache' pumpkin Hobby Lobby, JoAnn, Michaels
Acrylic paints
Crackle paint
Sculpting tools
Paint brushes
Water
Rolling pin
I love this time of the year because it means it's getting closer to Halloween. One of my favorite things to sculpt are pumpkin faces.
This pumpkin can be made in any size and you can make any expression. I love the green pumpkins so decided that's what this one would be.
Roll out a thin layer of Creative Paperclay with a rolling pin, the clay should be large enough to cover the pumpkin. Paint a thin coat of glue on the pumpkin so the clay will stick to it and cover the pumpkin. Press the clay so you can see the indentations on the pumpkin.


Choose the side you want the face to be on and take your thumbs and press in where the eyes will go.

Take a piece of clay the size you want the nose to be, I like bigger noses on the pumpkins. Roll into a tear drop shape. Take a brush and paint the nose area with water to use as a glue. put the nose in place and blend the edges into the pumpkin head. Smooth with your brush and water.


Next the mouth.
I make a piece that's in the shape of a stretched out triangle, put that on the face close to the bottom of the nose smooth the top edge. Add a sausage shape for the bottom lip smooth the bottom edge to the face. Smooth the mouth with your brush and water.


The cheeks are pieces that look similar to a large kidney bean. Make two the same size. Brush water to the cheek area and add the pieces to the face on both sides and blend to the face.


No I'm not picking his nose I'm making nostrils.
Take a tool and press in at an angle on both sides to create the nostrils. Take the tool and press in on the upper lip in the center to make the little indentation on the upper lip.


Take the tool and gently open the mouth up enough to add a tongue. Take a small piece of clay in a tear drop shape and press it flat in a tongue shape. Put the narrow end of the tongue in the mouth and blend it in to secure it in the mouth.


Take two pieces of clay rolled in balls for the eyeballs, add a little water to the eye sockets and stick the balls into the sockets. lend the edges to the sockets. Take two strips of clay for the eyebrows and blend hem into the forehead and onto the eyeballs. I made this pumpkin to look like his eyes are
closed.
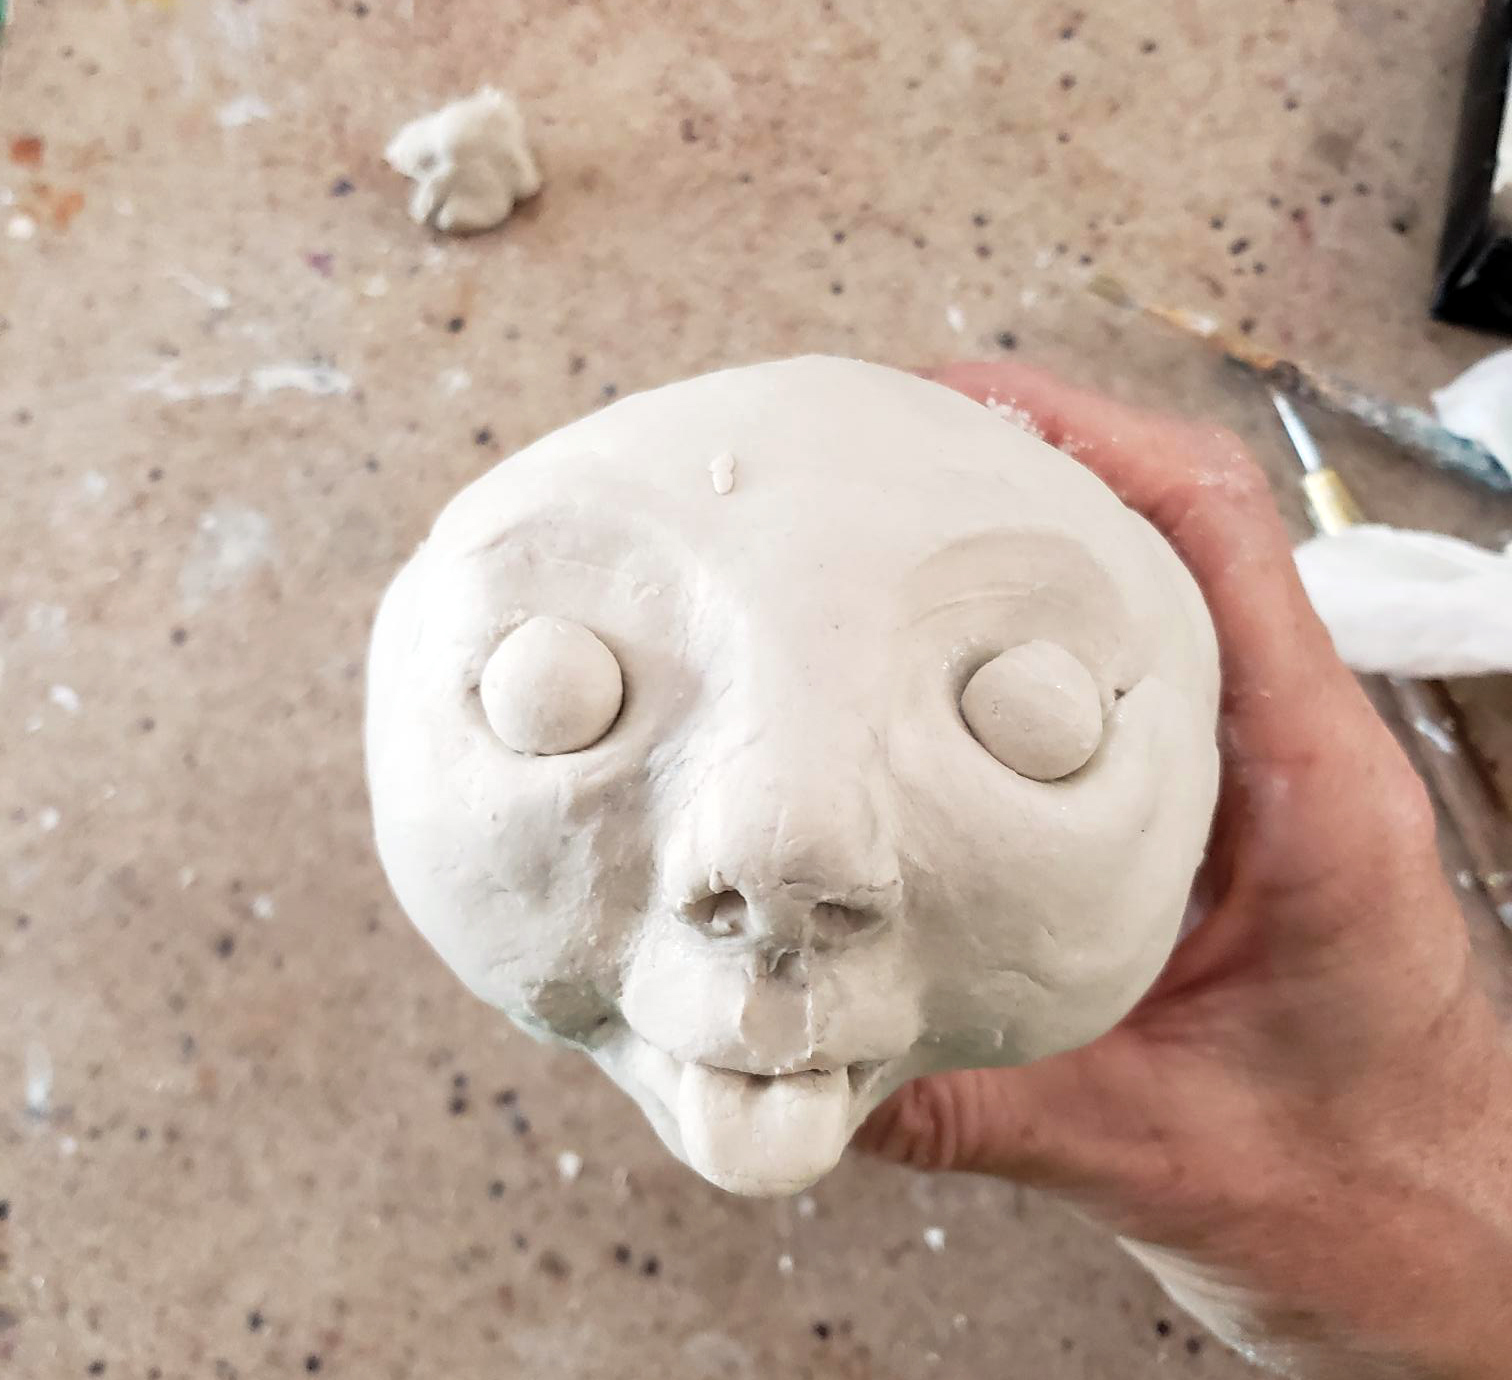

Take a sharp tool and draw a line at the bottom of the eye for the closed eyelid. Take a tool and press in the inner corners for the tear duct.


The face is finished just smooth with a brush and water.
For the stem take a piece of clay that looks like a carrot. Make grooves in the stem with the sharp tool. Add the stem to the top of the pumpkin and twist it to the shape you want.


Let the pumpkin completely dry.
Sand smooth after it's dry.
Paint the pumpkin in whatever base color you want. I used an orange color and a dark green for the stem. Let dry.
Paint the pumpkin with crackle paint and let dry then paint the top coat with a contrasting color. I chose light green color. I painted the tongue red after the pumpkin had dried.
Your pumpkin is finished!

Thanks for checking out this tutorial.
Creative Paperclay®
https://www.paperclay.com
Hobby Lobby, Michaels, Joann, Amazon

This is adorable, Kat!
ReplyDelete