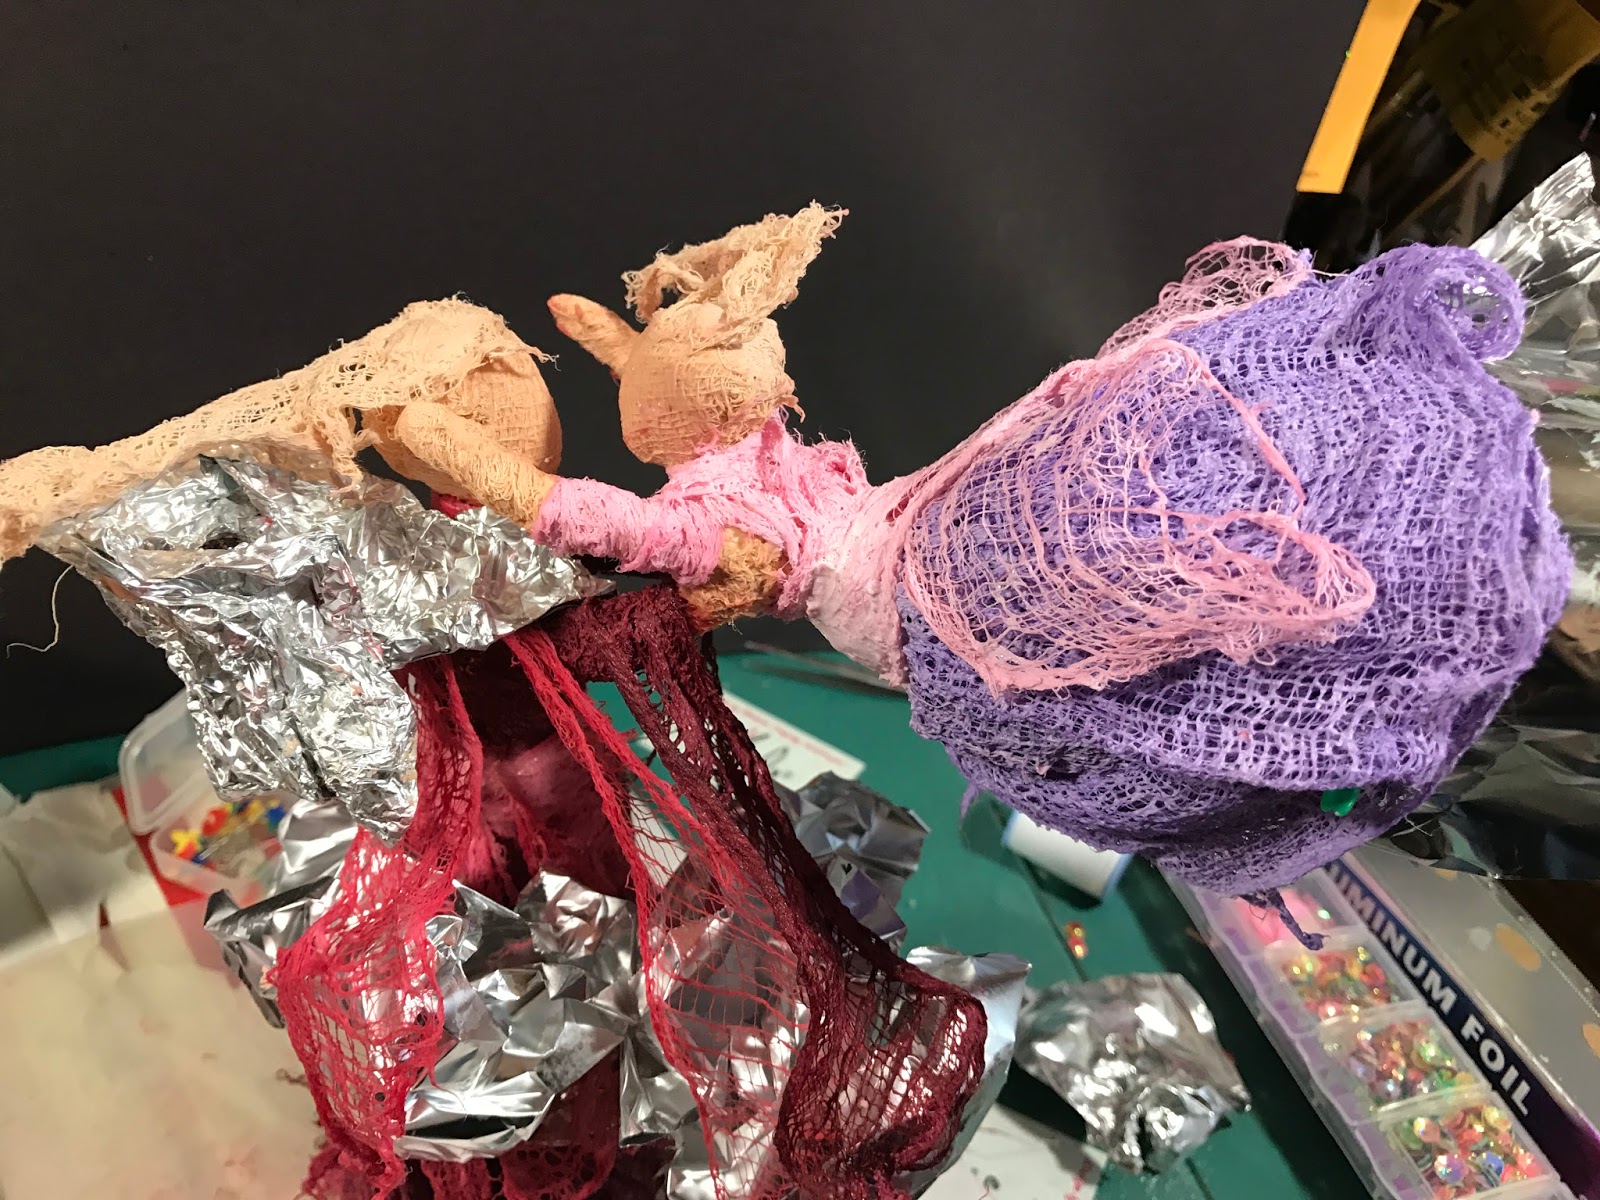
Dancing With My Heavenly Mother By Gloriann Irizarry

Hello to all Creative Paperclay Material® friends, artist and followers. It is Gloriann Irizarry from www.byglori.com . I'm super exited to inform you that this momma craft enthusiast is back with Creative Paperclay Material once more. Yes I was off for a short time but I was still working on new ways to use Creative Paperclay Material® and I'm here now ready to share them with you here.
Im so happy to be back and so close to mothers day I decided to make this adorable OOAK Art Doll for everyone enjoy.
Has always I took tons of step by step photos to make the full tutorial a lot easier to follow.
I hope you enjoy this mother and child angels the same way I relish making this tutorial and crafting them here for all to adore in this your Creative Paperclay Material® blog post.
Have fun crafting my friends.
Sincerely
Gloriann Irizarry
#bygloricom
#artbygloricom
Materials
Paverpol® Clear Textile Hardener
Paverpol® Light Skin Color Textile Hardener
Stainless steal wire
Cheese cloth
T-shirt fabric dyes
Aluminum foil
Small glass bottle
Swarovski crystals
Jewelry wings findings
Wooden Dowels
Choose your favorite tools and steel wire to create the dolls armature.
I mostly use 16 to 18 gauge, but the size will be depending on the size you want the final piece to be.
To create the armature for the child cut 3 even length wires aprox 12 to 16 inches long depending on the size you want your final piece to be. you can tell the size by the glass bottle you choose.
I added the wire cutter tool in the photo for size reference.
Now twist two of the wires tightly together to create the body of the child.

.
Bend in half the third cable to create the child head.
Thing the cables to create the child neck.
Place it on top of body wires and the twist the hands together .
Twist them tight together to the where you want your child shoulder to create the arms.
Now determine where you want the child's shoulder to be and stop
curling the wire so you can bend it down to create the torso.
Find where you want the child's waist to be and attach the wire by curling it around it.
Make sure you use your tool to tightly secure everything together.
Ok now for my doll's body I used a small cider glass bottle, but you can use your favorite beverage bottle has long it is glass and it is close to your desired final doll size.
I like to use glass bottles due to be heavier and will support the child weight.
If the chosen bottle is not glass, make sure you weight the bottle with some sand or glass beads.
To cover the bottle with Creative Paperclay Material® roll a sheet 1/4 thick and cover the bottle entirely. Cover the top of the bottle and secure the wooden dowel. Set aside to dry.
Cut some aluminum foil into some 2 inches long strips. Cutting into strips will make it easier to secure them and fill the necessary parts of the armature.
Make sure the Creative Paperclay Material® is completely dried and the wooden dowel is secured. If it is use the third remaining lose wire around the wooden dowel to create the adult hands.
Wrap some of the strips of aluminum foils to the center dowel and lightly sculpt the torso with it.
Make sure you secure the aluminum foils and shape the doll torso to the neck of bottle.
You need the arm to be extra long, but don't worry the extra wire will be used to attach the child armature to the mothers.
To add the child's armature to the mom use the extra longs wires hands. Twist them around child starting on the chest area. Have in mind were you wan the arm of the mom to be holding the kid. the wire will be the raw bone of the final product pose. Once you find the pose you are happy with secured the wire with the pliers it in place. Use the tool to make sure you have a very tight fit.
Move the armature in place to the desire pose. now cover the kid's torso with strips of the aluminum foil to give the child some meat to those cute little bones. The more attention you pay to this process the less clay will be needing and it will be much lighter for mom to hold and not tip over.
Once you are completely satisfy with the pose start covering the entire piece with a light layer of Creative Paperclay Material® and set aside for that layer to dry completely.
Setting aside to dry in between layers will safe you headaches later. This process will secure firmly the figure pose in place and will make it easier to handle for you when is time to set the next layer.
Keep adding some more layers of Creative Paperclay Material® and details for example work the shape of their heads hands legs. Once you are happy with the result set it aside to completely dry. Important note is make sure you always make the sculpt a little thinner in shaped. You will be using custom dyed cotton cheese cloth with the Paverpol® Fabric Hardener and this process will increase the Creative Paperclay Material® sculpt thickness. But it is ok this process will help strengthen the sculpt thanks to the fabric Paverpol® soaked layers you will be add later on.

Now for all my Paverpol® Sculpts like to dye my owns cotton cheese fabrics. I also dye the Paverpol® brand fabrics and they work very well. If you don't want to dye them is ok, but I find it fun and more detailed when I color my own fabric and use the clear Paverpol® intead of the Paverpol® Bronze. If you are interested on learning how I dye mine here is a quick view to the steps. Remember to always follow the dye manufacturers instructions. It will help you achieve the color result you are looking for. For this doll I used Liquid Rit color dyes.
I find them easier to handle and dye colors in small batches too.
Start by cut a good length of the cheese cloth. I personally like to cut approximately a yard at the time and set the yard in a big deep glass bowl. Cover it completely with the dye ration mixture of your choice and heat in the microwave. I follow the dye manufacturer instructions specially for the
temperatures and the times. Have in mind the times and temperatures will vary per microwave and liquids volumes. Personal note. The longer your simmer the cotton in the liquid the more vibrant the final color will be. I had added extra dyes and over nights to achieve the deeper tones I wanted for the Angel Mom's rich burgundy red dress. I wanted to look like a red wine glass.
Another note for you to know the Paverpol® will always add a little darker shade to the final cotton. I trick I found to help me achieve the right color while dying the fabric is lit wet. most likely it will be the same or close to tone of color you will have once you soak is with the Paverpol® Fabric Hardener and it dries. Probably because went it dries it still give the sensations is wet but is rock solid. I love it!
The longer you leave the cotton cheese cloth in the water dye the colors will look more rich and vibrant. Don't be afraid to leave it over night I have done that. Once you are happy with the color dip. Take the fabric off the fabric dye and wash all the excess dye under running cold water. Then rinse it again with your favorite smelly detergent soap and rinse again it under very cold water.
This will ensure you a nice clean fabric to work with. Some times there will still be dye when you Paverpol® soak it but is ok once the Paverpol® dries there is no problem because it seal the fabric.
Before you use the clear Paverpol® Pour it to different tight seal container. This way you will not get the main tub all colored with the bleeding of the fabrics dyes and will
always have a nice clean clear batch to work with other color fabrics
If the Paverpol® is to thick I add a little bit of distill water to make it a little easier to handle.
For the face and body parts use your Paverpol® Light skin color with white cheese cloth. Soak the white cloth with the Light Skin Paverpol® then cover the face, hands, legs and torso.
Cut the cheese cloth in workable strips. Soak one and wrap the Paverpol® soak up fabric around the doll extremities tight to shape the legs, hands and head.
Soak more strips of white cheese cloth and cover all the child body.
To give the effect of movement to all my dolls hairs use a main piece. It could be the same color of the hair or if you haven decided like me set the main shape in the skin tone Paverpol®.
Use aluminum foil to secure the mom hair shape in place while it dries.
Cut has much or little of the aluminum foil again to secure the shape of the child hair in place.
Soak some white cheese cloth with Paverpol® skin color add the desire hair share and let is fully cure. It is easier to work the final hair if you let it fully dried.
To create the Mom's dress make sure to always measure the length of the custom dye fabric before you cut the length.
I used two different shades of burgundy dye fabrics. they were both dyes with the same color but one was left more than the other in the dye. Cut three pieces of each shade for volume.
To make it easier to handle the Paverpol® soaked dress pre sewn each panel and
create a raw version of the skirt.
Make sure you soak each panel of the fabric completely with the Clear Paverpol®.
Before adding the soaked fabric panels to the doll make sure you remove any excess Paverpol® so is not too heavy to shape the fabric and sculpt the movement in place.
This is how you want the Paverpol® soaked fabric to look.
Not too wet not too dry.
In order to secure the fabric to the Creative Paperclay covered bottle
use a little of the Clear Paverpol® to the waist of the doll.
Do the same sewing technique for the second tone of the doll skirt.
This layer will add more volume to the doll dress.
.
Pre measure the length of threat the waist before you cut it.
Soak the panels of skirt on the Clear Paverpol® remove any excess & place it around the doll waist.
Cut some strips of the coordinating color soak it up in the Clear Paverpol®
create the top portion of the doll dress.
To create some flow and movement use some aluminum foil and layer it under it.
Use some Aluminum foil to hold the desire shape.
Keep repeating this step all over the piece using aluminum foil and your hands to separate
the fabric and give it a unique flowing movement look.
The Paverpol® soak strips of cheese cloth fabrics can be spread open and shaped when is wet.
I use my hands but have in mind this is a very messy job
and the fabric dyes might bleached out to your hands too.
To create the child's dress cut some strips of the light pink cotton and soak them with Clear Paverpol®
Wrap the Paverpol® soaked light pink cottons strips around the child body and torso.
Wrap the hands and create the long sleeves and suit. Set side to dry.
Once is dried lets make the childs skirt. To give some volume to the dress skirt use a piece of aluminum foil and prop it up in place while the Paverpol® soak skirt dries.
Wrap and shape the aluminum foil all around the child waist.
Add the Paverpol® soaked fabric to the aluminum foil.
Add 3 to 4 layers of fabrics adding to much will make the piece too heavy and till tip over
Add accent colors of fabrics to create a deep perception and interest to the skirt
Make sure you pin the wet layer in any shape you want the fabric to take when it dries.
Pinning the piece will help you ensure you will give it enough time to dry holding it.
Choose your favorite color of fabric for the hair soak it with Clear Paverpol® and play with the shape untill you find the proper flow you are looking for.
Use some pins to secure the curls and folds in place while the Paverpol® soaked fabric hairs dries.
The best time to add any accents of jewelry finding is when the Paverpol® still a little damp. That's the perfect time for you to add any details you want like any jewelry wings findings, buttons, flat heads and Swarovski crystals details. Just have fun with it!
Make sure you use extra pin to securely all the hairs folds. Prop with aluminum foil to help the curls stay in while the clear Paverpol® dries. The aluminum foils works pretty good for this purpose it seems to help holing the fabric in place and removes pretty
good if the fabric is not too wet when you prop it. If you are happy with the fabric flow movement and the shape of the piece feel free to set it aside and dry overnight. Once the art doll is completely dry you can now very carefully start removing all the pins and aluminum foils.
You will be surprise with the final results.
I hope you enjoy this tutorial. If you find it helpful feel free to like and share for everyone else to enjoy. Feel free to show us your own Creative Paperclay Material creations with the #CreativePaperclay on your social media shares.
Thank you for watching and stay tune for more tutorials coming soon.

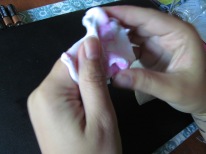
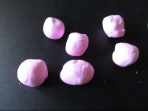
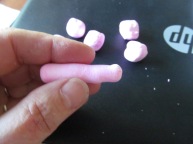
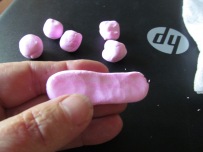
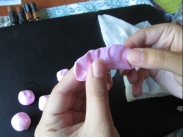
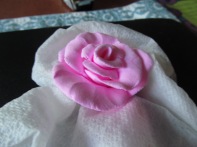
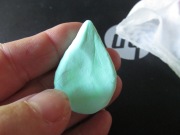
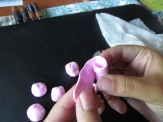 This becomes the center of your rose.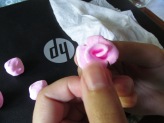
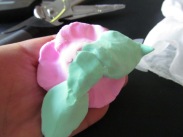
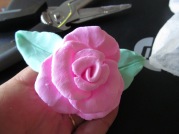
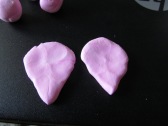 Pinch the top edge of each teardrop between your thumb and forefinger (just like you did for the center of the flower) to give it a natural edge. These are your first 2 petals.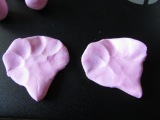
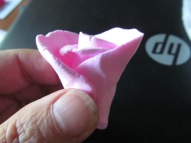
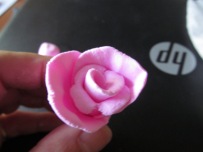
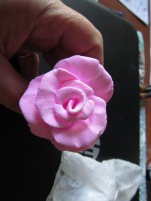
 s
s