Showing posts with label diy ornaments. Show all posts

Monday, May 2, 2022

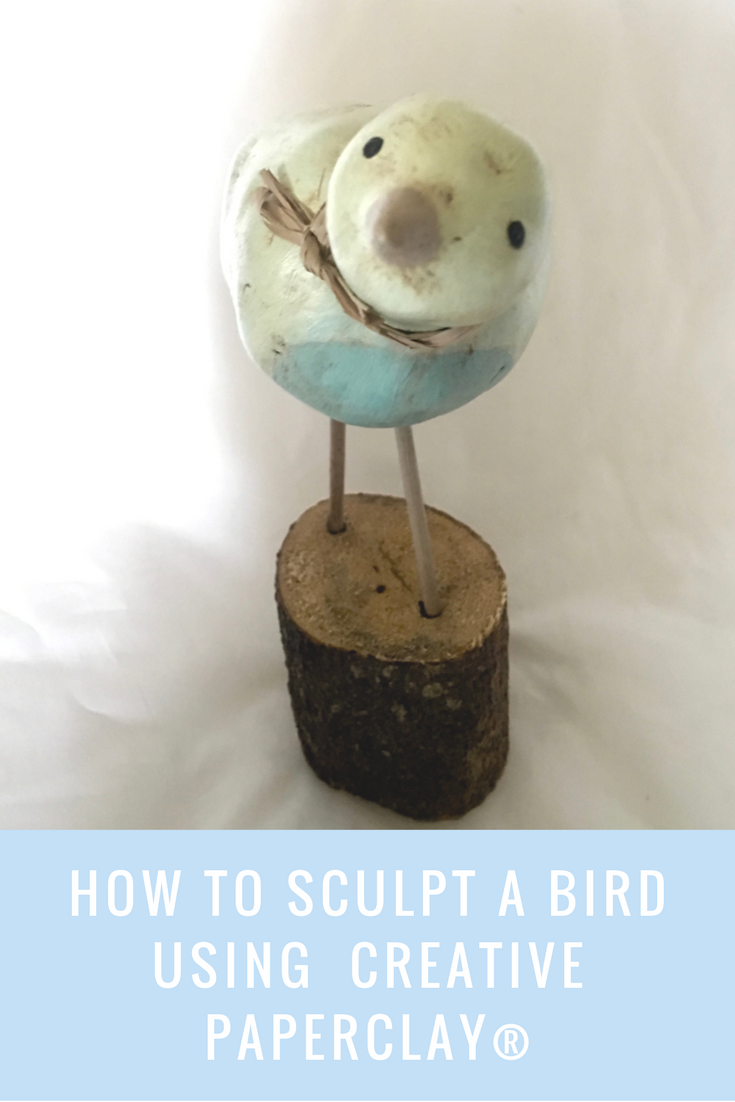
A Beautiful Bird for Spring

 Hello fellow artist! Today I am sharing a tutorial I did years ago; the most popular video on my YouTube channel. 😀


Isn't it just adorable? It is a simple project that just looks amazing!

The supplies used in this project are:

White Glue
Toothpick
Acrylic paints
A base of bird to be attached to. I used a piece of a branch.
2  1/4” dowels or chopsticks
Varnish
Raffia (optional)
Sculpting tools
Water
Paintbrushes


Follow along in the video below:


You can share your creations with us on our Facebook page. We would love to see them! For more inspiration have a look around the blog. There are tutorials for many levels using Creative Paperclay®. You can also visit my blog Paper Mache Patch.


You can find Creative Paperclay® online at Creative Paperclay Co and also at Michaels, Hobby Lobby, Dickblick and Amazon. 


Thanks for stopping by!


Suzette


Blog/website: https://www.papermachepatch.com

Instagram: https://www.instagram.com/papermachepatch/

Pinterest: https://www.pinterest.com/suzettehussey/

YouTube: https://www.youtube.com/c/PaperMachePatch

Skillshare: https://skl.sh/2QyIn93


Monday, February 7, 2022

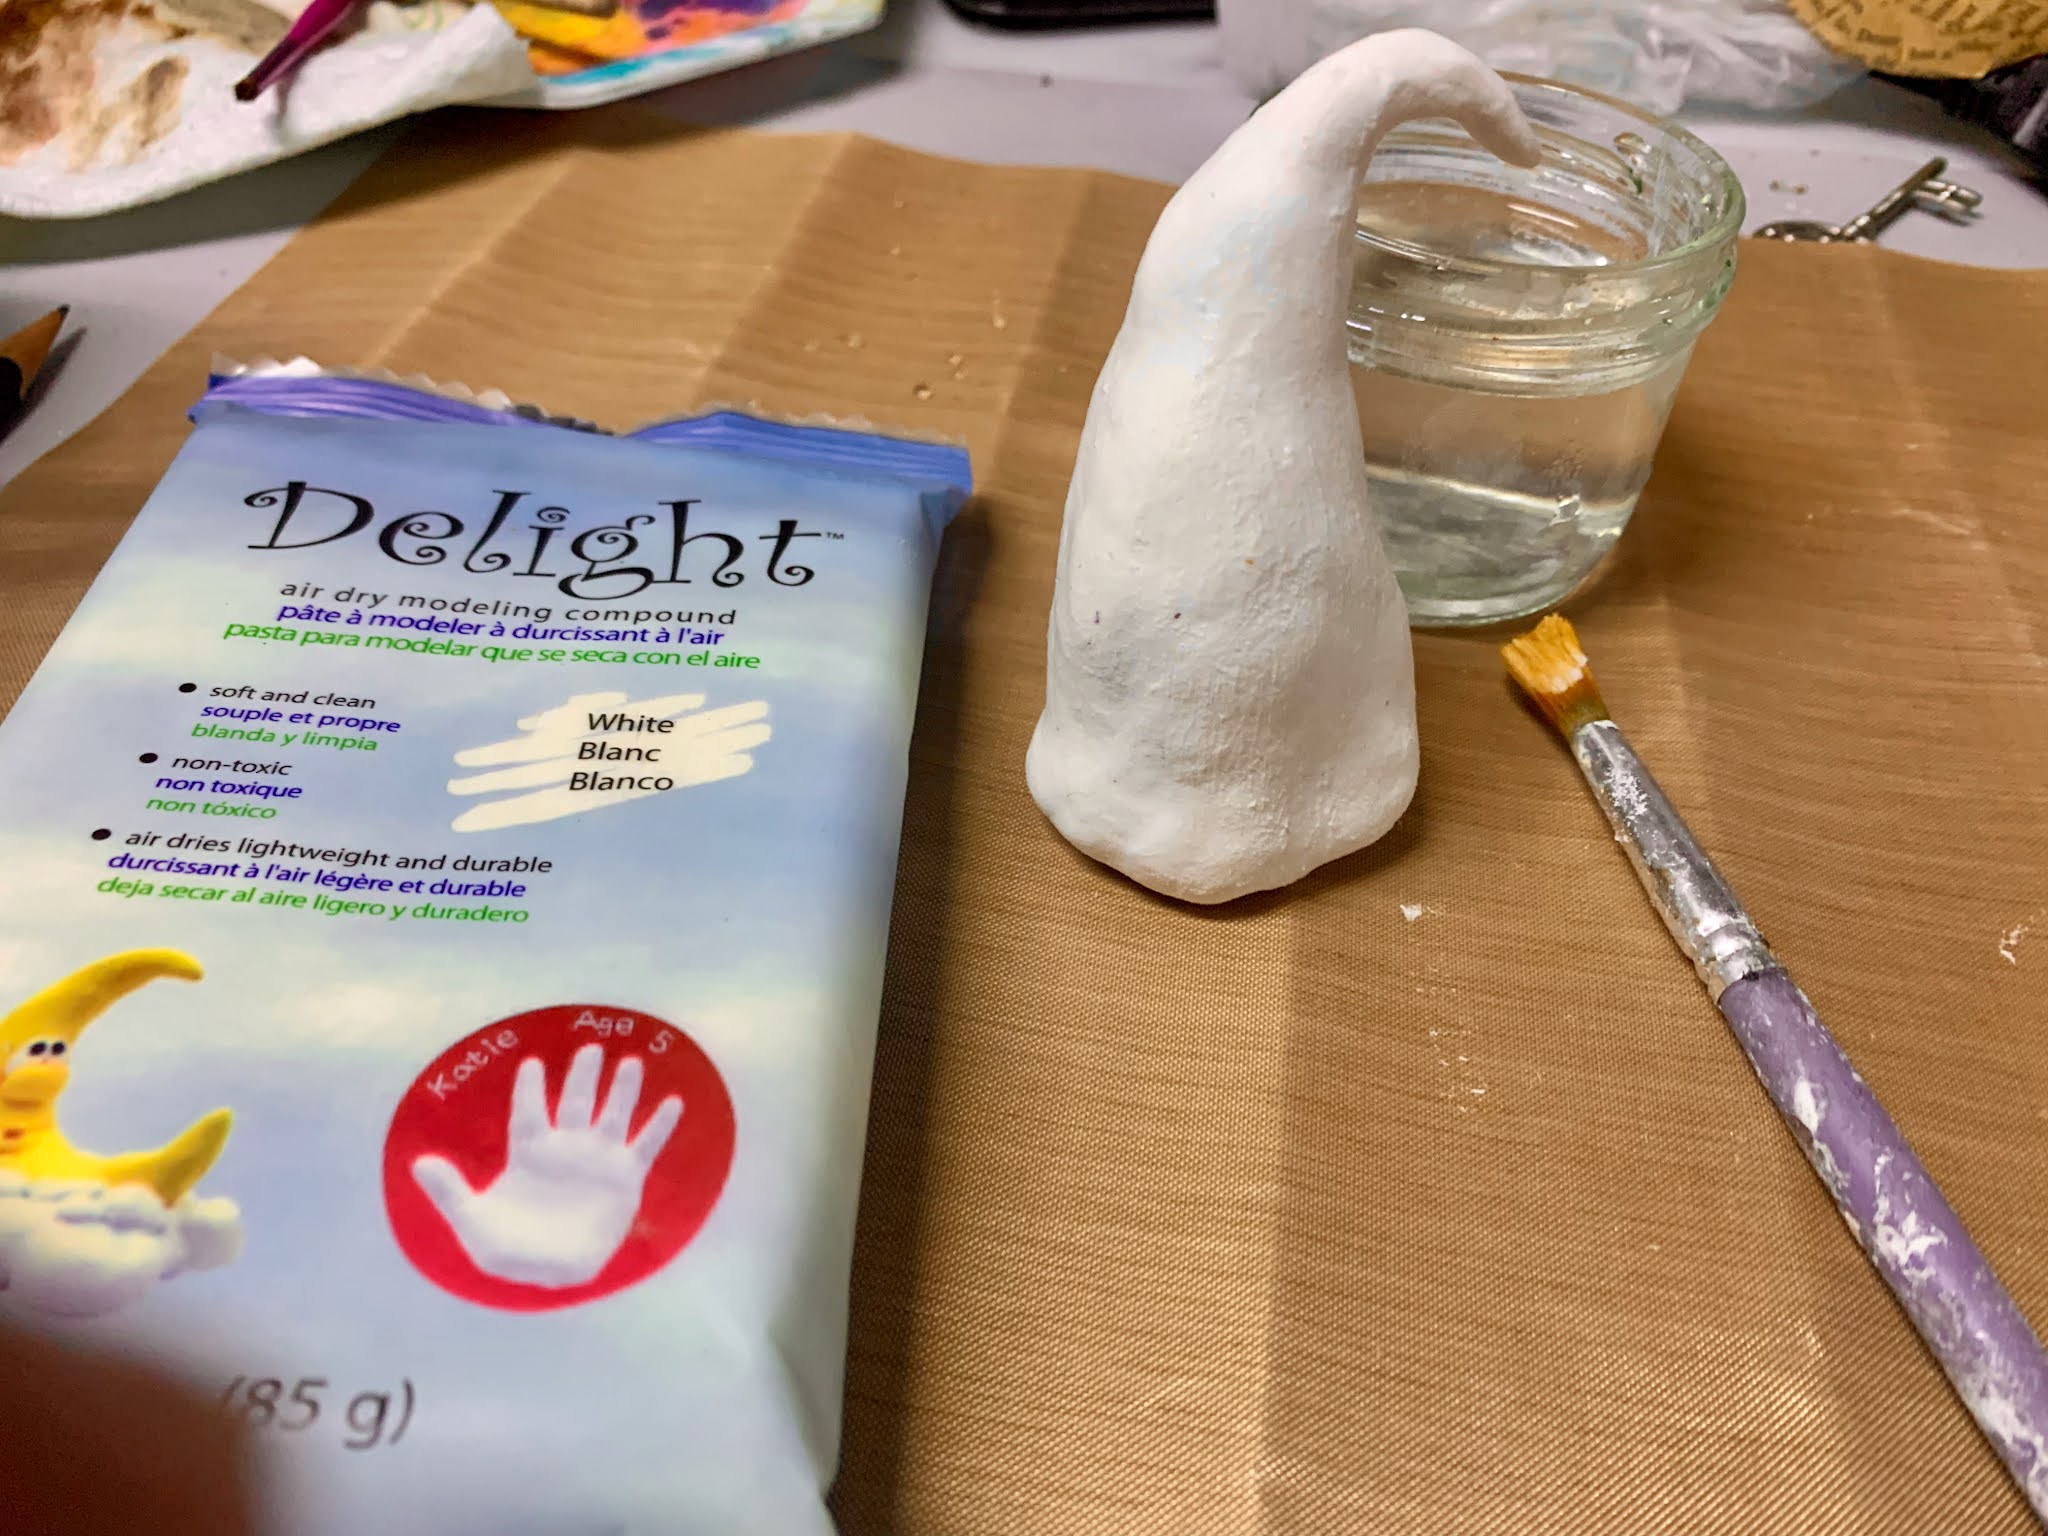
A Mixed Media Canvas using Delight Clay™

 Hello!

Welcome to another tutorial. Today I will show you how to make a mixed media canvas using Delight Clay™. 


Delight Clay™ is so light that it is perfect for embellishments. In the video tutorial below, I will show you how I made the embellishments for a mixed media canvas. I will also demonstrate how I put this canvas together. 

The supplies I used are:

Delight Clay ™

Dylusions Ink - or any you have on hand. I used Poster Red. 

Gesso - I used Liquitex Basics

Pencil

Acrylics Paints - I used Golden Acrylics Fluorescent Green and Pink

Black acrylic paint

Credit glue

Washi tape

Gold marker

Metallic spray ink - I used Art Anthology Gilded Gold 


Follow along in the video below:


Thank you for stopping by. You can share your creations with us on our Facebook page. We would love to see them! For more inspiration have a look around the blog. There are tutorials for many levels using Creative Paperclay® and Delight Clay™. You can also visit my blog Paper Mache Patch.


You can find Creative Paperclay® online at Creative Paperclay Co and also at Michaels, Hobby Lobby, Dickblick and Amazon. 


Thanks for stopping by!


Suzette


Blog/website: https://www.papermachepatch.com

Instagram: https://www.instagram.com/papermachepatch/

Pinterest: https://www.pinterest.com/suzettehussey/

YouTube: https://www.youtube.com/c/PaperMachePatch

Skillshare: https://skl.sh/2QyIn93


Sunday, January 23, 2022


Potted Hearts and Ornaments


Valentine’s Day is quickly approaching and if you are looking or an easy and fun way to decorate check these out.  Have the kids help too!


All you need is:

Creative Paperclay 

Acrylic paint - I used red and pink

Knife

Rolling pin

Small pot

Foam 

Moss 

Skewer

Stencil, lace or something to make the pattern 


Take about 1/3 of a package of Creative Paperclay (More if you want to make a lot of hearts) and using your rolling pin flatten out the clay.  


Once the clay is flattened as thick as you would like your ornaments to be gently roll over your lace or stencil so the pattern becomes part of your heart.  Next,  draw a heart on scrap paper and then cut it out for a pattern (HINT: choose a side you like best of your heart and fold it in half before cutting it out so that both sides are the same).


Now using your heart pattern, use a knife to cut out hearts.  Have the whole heart covered in a pattern or only a portion of it.  Push a skewer into the bottom of your heart if you want to pot it up and then set it aside to dry.  Alternatively, use a skewer to create a hole near the top of the heart to create an ornament.


Let them dry out for a day or two!  Hint: Flip them over and use a book or two to help keep them flat as they dry.


Now grab your paint and paint them!  For mine once they were painted and still wet I used  a paper towel to remove most of the paint on the patterned sections to highlight them.

Once the paint is dry it is time to pot them up!  

Cut the foam so it fits into the pot and glue it in (I used hot glue).  Next poke the skewer with the heart on it into the foam (Add some glue to keep it in place).  Then put moss on top to hide the foam and complete the pot.


For ornaments just add yarn or string to hang them and you’re done!


I would love to see all your hearts!  Comment your photos below.


Cheers until next time!

Kelly Martin

Paper Hibiscus

www.Instagram.com/PaperHibiscus

www.PaperHibiscus.etsy.com

Monday, December 6, 2021

A Creative Paperclay® Christmas

 Hello, 

Welcome to another blog post. I can't believe that it is the holiday season again. I have been so busy that I didn't realize it was December! Instead of making another ornament, I have put together a list of past tutorials that I have done using Creative Paperclay® or Delight Clay™.  I am sure you can find something to get you in the holiday spirit.


A Church for Your Christmas Village


A Santa Ornament 


And finally, here is a bonus video -  a full tutorial on my YouTube channel.


I hope I have inspired you to get started on your Christmas decorations. Have a wonderful holiday season and I will see you in the new year. 

You can share your creations with us on our Facebook page. We would love to see them! For more inspiration have a look around the blog. There are tutorials for many levels using Creative Paperclay®. You can also visit my blog Paper Mache Patch.

You can find Creative Paperclay® online at Creative Paperclay Co and also at Michaels, Hobby Lobby, Dickblick and Amazon. 


Happy Crafting!

Suzette


Monday, November 22, 2021


Tropical Leaf Ornaments

Do you love plants?  If you do then this is the tutorial for you!  I will be walking you through how to create your own Pink Princess Philodendron clay ornament.


All you need is:

Creative Paperclay

Acrylic paint - In greens, pinks, and white

Knife

Rolling pin


Take about ¼ of a package of Creative Paperclay and using your rolling pin (You can substitute a drinking glass if you don’t have a craft rolling pin) flatten out the clay.  


Once the clay is flattened as thick as you would like your ornament to be use a leaf template or create one by drawing a heart shaped leaf onto a piece of paper to cut out your leaf.  


After cutting the leaves out smooth out the edges using your fingers and a wet paper towel.  Put one hole in the top of the leaves using a pencil or needle.  


Let them dry out for a day or two!  


Now let’s paint!


I started with white, the lightest color, and painted a small section on my half moon leaf and then added in light and dark pink variegation.  On the green side I put some light pink splotches and then painted around them with the darker green.  I did blend in a little lighter green in spots to make it more realistic. 


Time to hang them.  Put a little string or yarn through the hole and hang them on your tree!


I would love to see all your different leaves!  Comment your photos below.


Cheers until next time!

Kelly Martin

Paper Hibiscus

www.Instagram.com/PaperHibiscus

Monday, November 1, 2021

A Paper Mache Christmas Bobble

 Hello, Christmas is around the corner so it's time to start making Christmas ornaments! Today I will show you how to make this metallic Christmas bobble. isn't it beautiful?


Here is a list of supplies that you will need:

  • Creative Paperclay®
  • a paper mache bobble (or a styrofoam ball covered with newspaper strips)
  • diluted white glue
  • a rolling pin
  • clay cutters
  • gesso
  • gold acrylic paint
  • Pebeo Bronze Wax Paste (gilders wax)
  • paper towel

Follow the steps below:

Step 1

Roll out the clay and cut circles with the clay cutter.


Step 2

Stick to paper mache ball using diluted white glue. Press down each circle firmly to ensure a proper seal. Allow it to dry thoroughly.


Step 3

Remove the hanger if there is one. Paint with a coat of gesso.


Step 4

Apply a coat of gold acrylic paint. Dry thoroughly before moving on.


Step 5

Apply a coat of Gilders Wax. When dry you can give it a light buff.


Step 6

Reattach the hanger.


Thank you for stopping by. You can share your creations with us on our Facebook page. We would love to see them! For more inspiration have a look around the blog. There are tutorials for many levels using Creative Paperclay®. You can also visit my blog Paper Mache Patch.

You can find Creative Paperclay® online at Creative Paperclay Co and also at Michaels, Hobby Lobby, Dickblick and Amazon. 


Thanks for stopping by!


Suzette


Blog/website: https://www.papermachepatch.com

Instagram: https://www.instagram.com/papermachepatch/

Pinterest: https://www.pinterest.com/suzettehussey/

YouTube: https://www.youtube.com/c/PaperMachePatch

Skillshare: https://skl.sh/2QyIn93


Monday, October 25, 2021


Easy Bat Ornaments


If you are anything like me you are always behind in decorating for holidays.  

So today I am going to be showing you how to create some cute, quick, & 

easy bat ornaments to hang around your house for Halloween fun!


All you need is:

Creative Paperclay

Acrylic paint - black and white

Knife

Rolling pin

Bat template or cookie cutter


Take about ¼ of a package of Creative Paperclay and using your rolling pin

 (You can substitute a drinking glass if you don’t have a craft rolling pin) 

\flatten out the clay.  


Once the clay is flattened as thick as you would like your ornament to be

 use either a bat shaped cookie cutter or bat template (I’m crafty so I drew a

 bat but you can also easily search for one online to use.  Mix up a couple 

different ones for variety too!) to cut out your bats.  Go for one or make a 

whole family of bats!


After cutting the bats out smooth out the edges using your fingers and 

a wet paper towel.  Put one or two holes in your bats using a pencil or needle.  

One hole if you want them to hang down and two for a more realistic flying bat.


Let them dry out for a day or two!  

To really give the bats character dry them over your rolling pin for a flying bat.


Now let’s paint!

Go for plain black or get creative and add a little shading.


Time to hang them.  Put a little string or yarn through the holes and hang 

them up next to a window or make a bat corner.  


Thanks for joining and Have fun and share what you create with us below!  

We would love to see where you hang your bats!

Find your Joy!


Kelly


Instagram: https://www.Instagram.com/PaperHibiscus


Monday, October 4, 2021

Ten Minute Halloween Ghost

 Hello and welcome to my spooktacular tutorial! Today I am going to show you how I made this adorable ghost. 


For this project I am using Delight Clay™. It is easy to use and has a lovely, soft, marshmallow-like texture. 


All you need is:

  • Delight Clay
  • water and paintbrush for smoothing
  • a pencil to form the eyes
  • watercolor paints and small brushes
  • spray varnish


Step One:

Grab a palm full of Delight Clay™ and form it into the shape of your ghost. Gently tap the base on a table to ensure that it stands flat.


Step Two:

Using some water and your finger/paintbrush, smooth the clay.


Step Three:

Use your pencil to poke two holes for the eyes.


Step Four:

Add black water-color paint to the eyes using a small paint brush. Use a soft brush, or your finger to add paint to the cheeks. Set aside to dry.


Step 5

Spray with varnish when it is completely dry. 

That's it! You are done. Wasn't that simple?


Tips

  1. Do not bake Delight Clay™ or dry with a heat gun.
  2. Only use a spray varnish - the watercolor paint will shift with a paint-on varnish.
  3. Add a hook to make a hanging ornament.
  4. You can use acrylic paint also, just ensure the clay is dry first.
  5. HAVE FUN!


You can share your creations with us on our Facebook page. We would love to see them! For more inspiration have a look around the blog. There are tutorials for many levels using Creative Paperclay® and Delight Clay™. You can also visit my blog Paper Mache Patch.


You can find Creative Paperclay® online at Creative Paperclay Co and also at Michaels, Hobby Lobby, Dickblick and Amazon. 


Thanks for stopping by!


Suzette


Blog/website: https://www.papermachepatch.com

Instagram: https://www.instagram.com/papermachepatch/

Pinterest: https://www.pinterest.com/suzettehussey/

YouTube: https://www.youtube.com/c/PaperMachePatch

Skillshare: https://skl.sh/2QyIn93