Friday, June 25, 2021

Create a Faux Begonia Maculata plant


Hello everyone and happy Friday, Cinnamon here and I am going to show you how I created this Faux Begonia Maculata. I have been obsessing over this plant after seeing it online and I finally ended up settling with a cutting that I found on Etsy. I managed to order a planted one a few days ago but I decided to create a faux one to look at in the meantime. this is perfect for those of us that don't have a green thumb!

Supplies:

  • Creative Paperclay
  • Small plant pot
  • Steel Galvanized wire (22 gauge) 
  • Pliers
  • Masking Tape
  • Pebbles
  • Acrylic Paint
  • Sand paper
  • Moss (optional)
  • Sealer, varnish


I started out by taking my pliers and shaping a base to attach my petals to. I made a knot to sit at the bottom of the pot and bent the wire upwards to stick outside of it.


I took pebbles and put them on top of the wire base that I shaped with the pliers. These were added to give some weight to the piece so that it doesn't tip over easily.


Continue on by adding Creative Paperclay on top of the pebbles. The clay layer needs to be about a quarter of an inch thick.

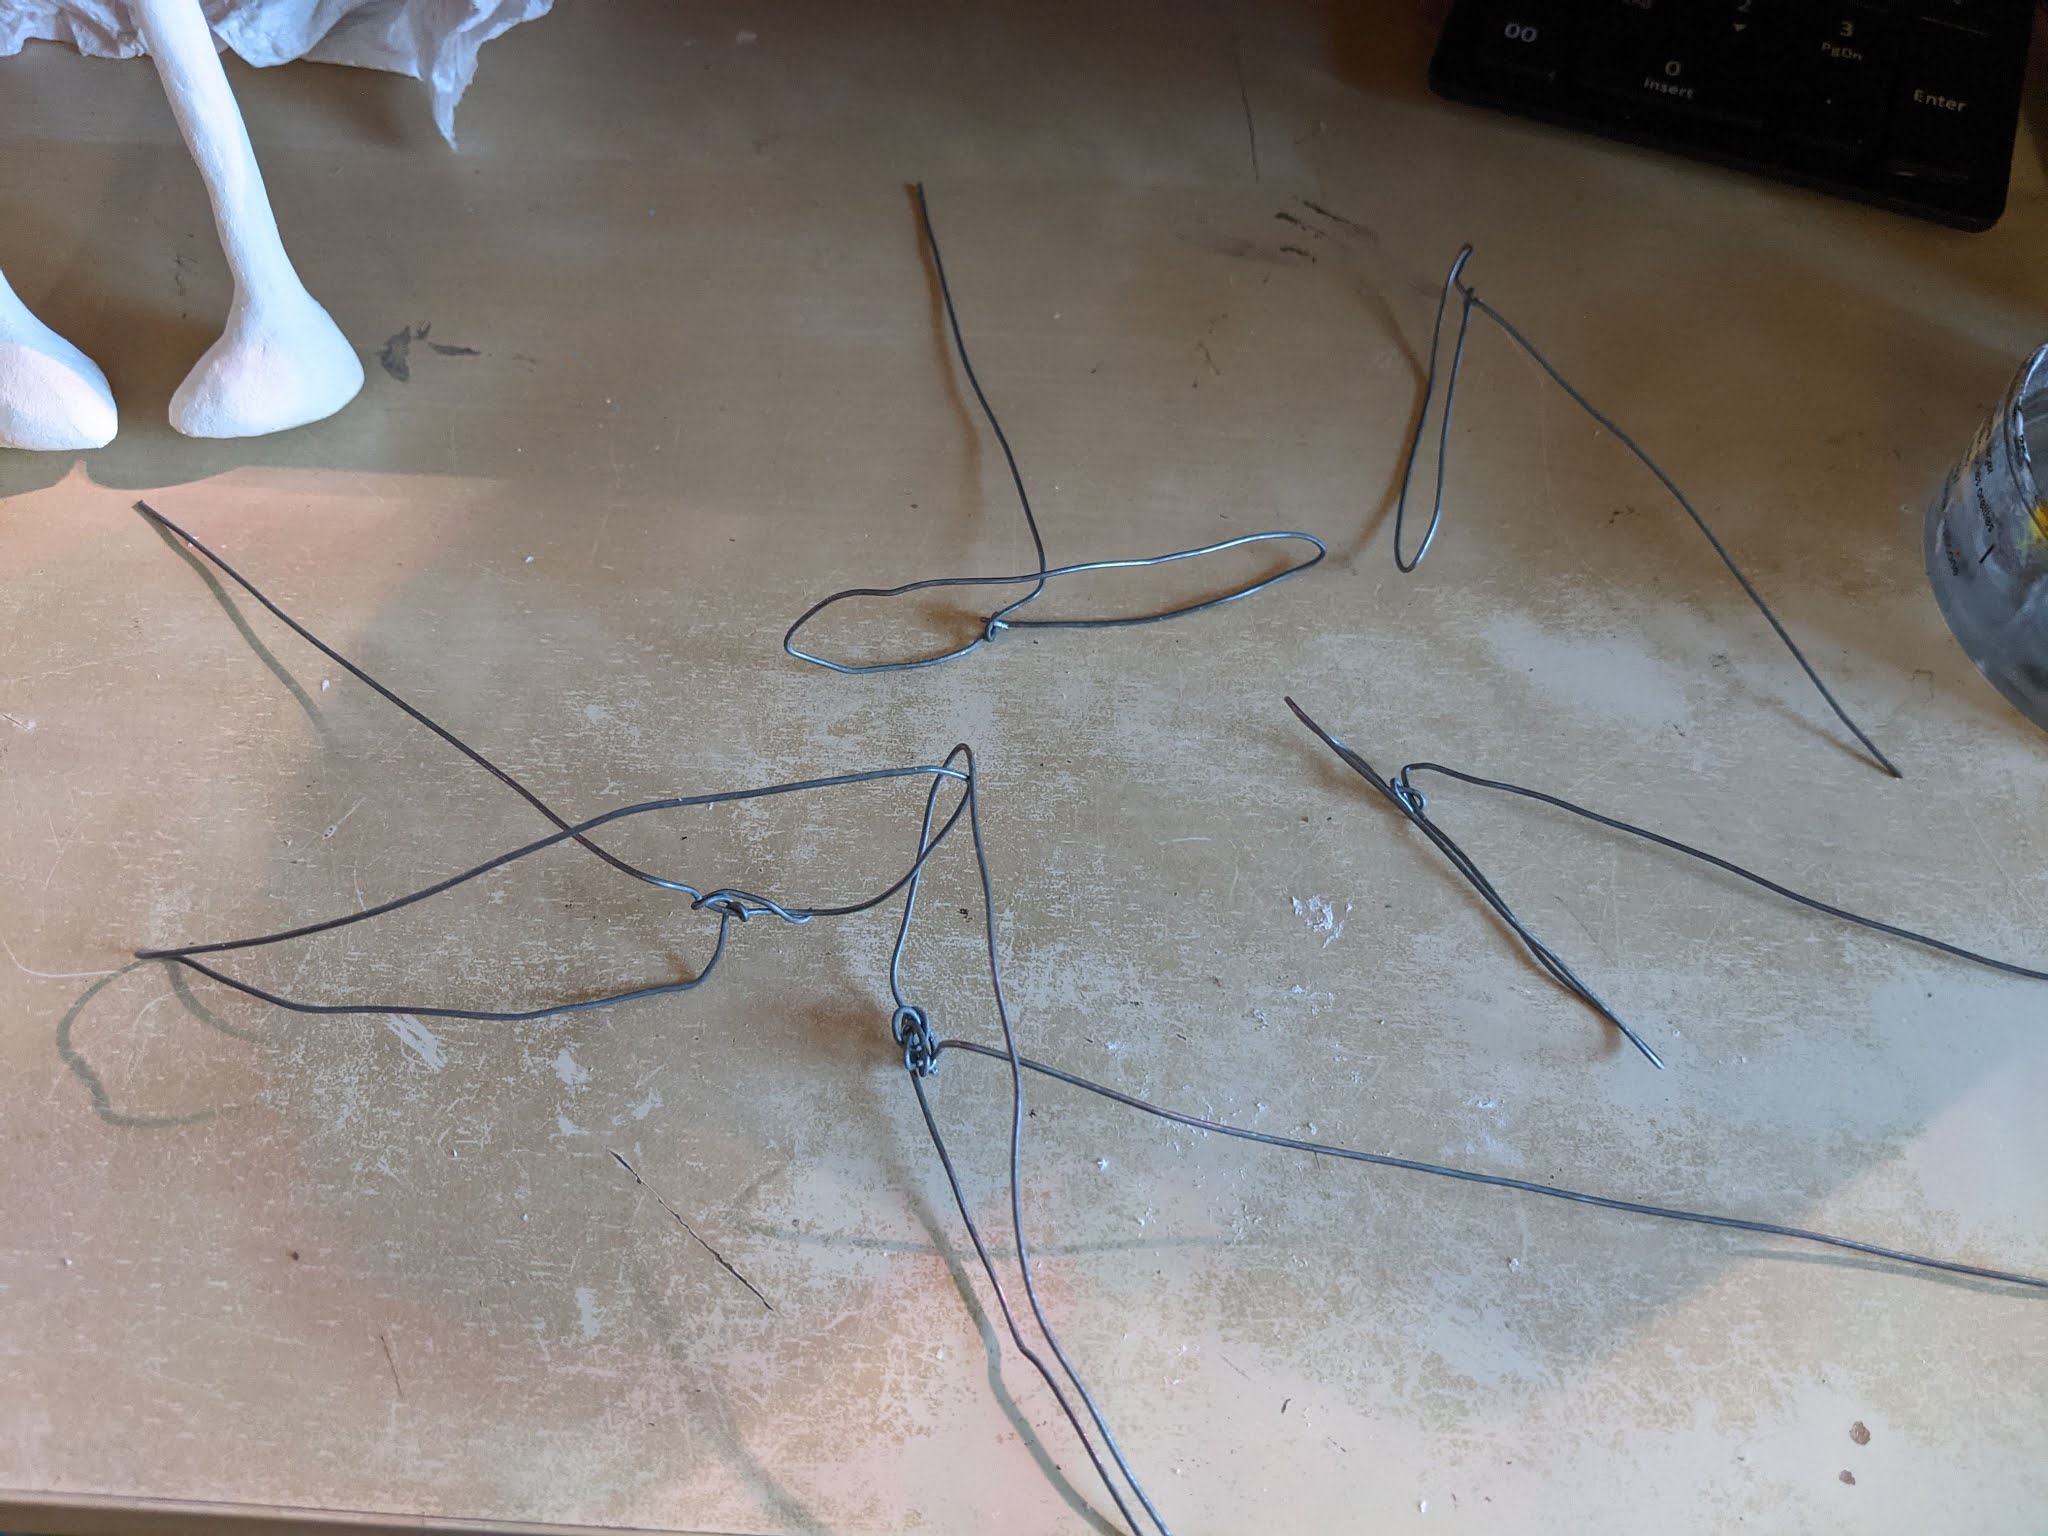


Start taking your wire and bending it into the shape of the leaves with the pliers.


Cover the leaves with masking tape so that you could prepare them for adding clay to them.
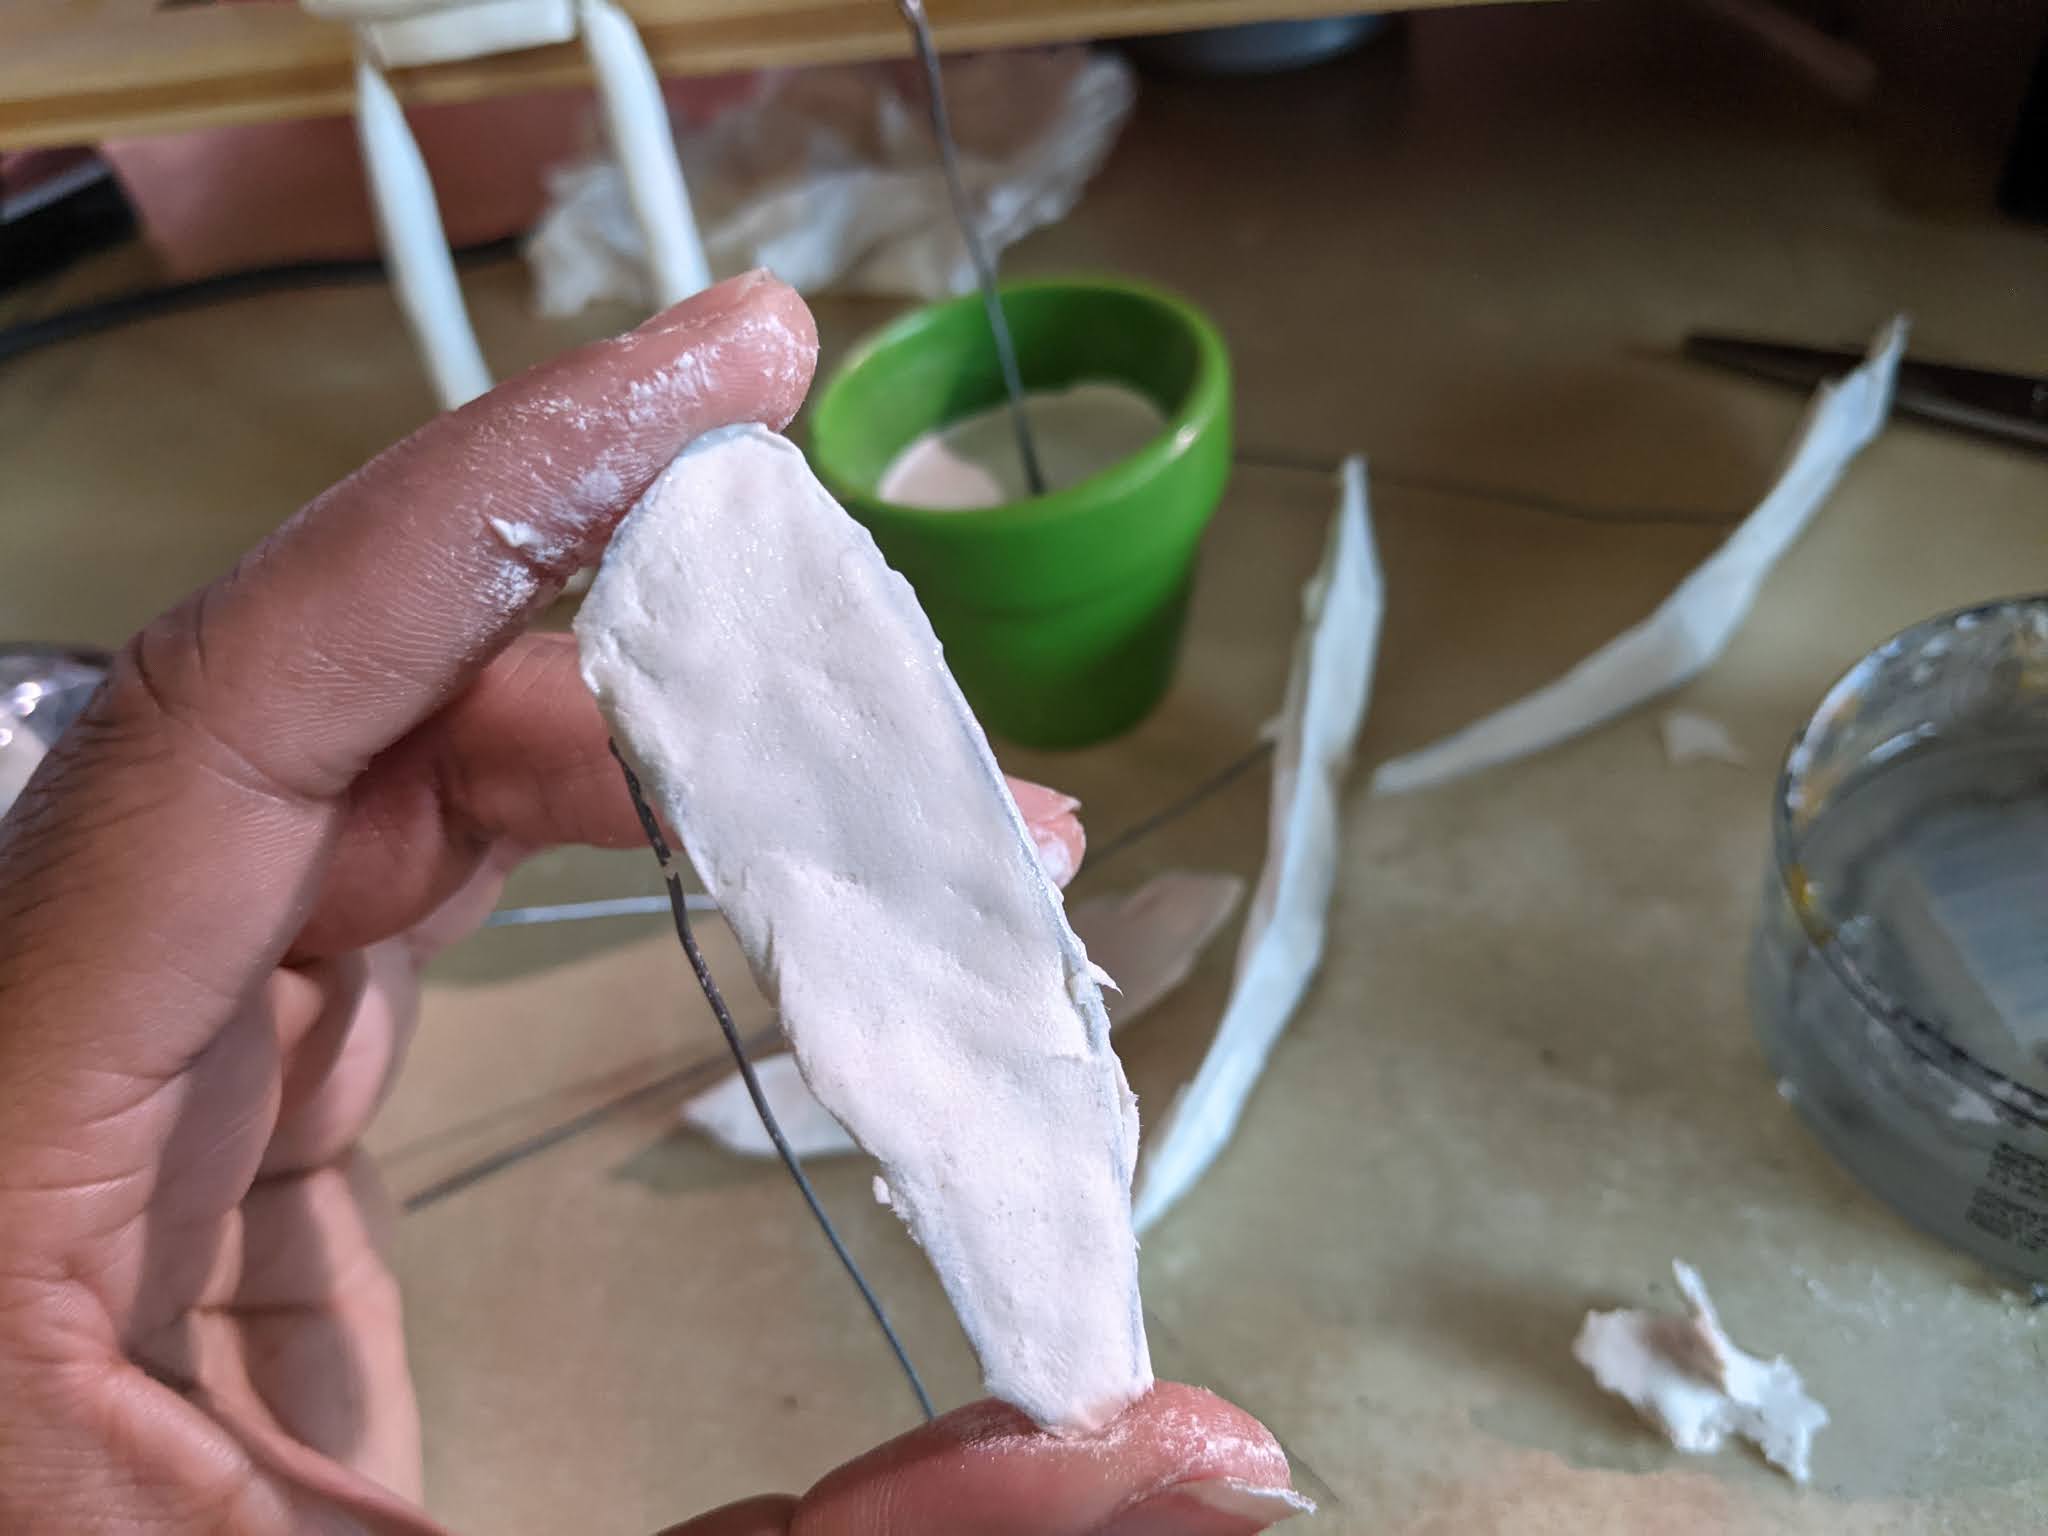


Start adding the clay to the leaves. Make sure that you add thin layers so that they mimic that of the real plant.


After allowing the leaves to dry, begin painting them with acrylic paint. The underside of these plants are bright red while the top is a deep green with silvery spots.


I painted the top layer of clay green in the pot as well as the metal stems of the plant. Take your leaves that you painted and stick them into the clay layer that was created in the beginning of this exercise, push them as far down as you can so that they don't fall out of the pot. 


Paint the silver/white dots on top of the leaves. Add a sealer to protect the paint from chipping when you are done adding the color.


I had some moss left over from one of my projects. You can top your piece off with cotton or whatever you would like to cover up the area where the leaves meet the pot.


Here is the piece next to my cutting. I am anxiously awaiting the real plant that is traveling through the mail but this one makes a good stand in for the meantime! 

Thank you all once again for stopping by, and I hope that you enjoyed today's tutorial! You can find Creative Paperclay® at the following retailers Creative Paperclay® Online Store, Michael's, Amazon, Joann's.


See more of my work at Melandolly.com, catch updates on 

my Instagram page and here is a link to my shop!


Monday, June 7, 2021

Make a Hanging Bird Ornament.

 Hello,

Welcome to another blog post. I can't believe it is June already! Today I have a video tutorial for you. I will be showing you how to make a hanging bird ornament using Creative Paperclay®.


Isn't that cute?

The supplies needed are:

  • Creative Paperclay®
  • rolling pin
  • craft knife
  • 220 grit sandpaper
  • gesso
  • acrylic paints
  • Golden Satin Acrylic Glaze
  • thin craft wire
  • jute cord
  • beads
Follow along in the video below.


Thank you for stopping by. You can share your creations with us on our Facebook page. We would love to see them! For more inspiration have a look around the blog. There are tutorials for many levels using Creative Paperclay®. You can also visit my blog/website - https://www.papermachepatch.com


You can find Creative Paperclay® online at Creative Paperclay Co and also at Michaels, Hobby Lobby, Dickblick, and Amazon. 


Thanks for stopping by!


Suzette


Instagram: https://www.instagram.com/papermachepatch/

Facebook: https://www.facebook.com/papermachepatch/

Pinterest: https://www.pinterest.com/suzettehussey/

YouTube: https://www.youtube.com/c/PaperMachePatch

Skillshare: https://skl.sh/2QyIn93

Website:  https://www.papermachepatch.com


Friday, June 4, 2021

June 2021 First Friday Fan Day


Need some inspiration for your next Creative Paperclay® project? Check out what folks are making with Creative Paperclay™.


Clay Rose
Buttons
Hello Kitty Figurine
Air Dry Clay Pendants

Home Décor Crafts with Clay
Kid Friendly Magnets
Creative Gift Box

HELP US FIND YOU!!
  1. Use the hashtag #CreativePaperclay on all your social networks.
  2. When using Facebook, be sure the your posts and images using the #Creative Paperclay hashtag are set to public, otherwise we won't be able to find you.
  3. Share your projects on the Creative PaperClay® Facebook page.
I'm always trolling the web, looking for great Creative Paperclay® projects. If you find something, post it on our Facebook page.

GOT QUESTIONS???

Find the answers to your paperclay questions. See what other folks are creating. Stop by our Facebook group and say, "Hi!" Creative Paperclay Q&A
Carole

Friday, May 28, 2021

Create a Propagation Stand


Hello everyone and happy Friday, Cinnamon here and I am going to show you how I created this propagation stand for plant cuttings. I have been picking up these test tubes from Michael's for a dollar for over the past few years and I've finally found a way to make good use out of them.

Supplies:

  • Creative Paperclay
  • Test tube (Can be found in a local craft store)
  • Steel Galvanized wire (16 gauge or lower in numbers for strength) 
  • Pliers
  • Sand paper
  • Masking Tape
  • Acrylic Paint
  • Tape measure
  • Sealer, varnish
  • Xacto Knife (optional)


Make sure that the wire you use can hold it's shape and support the weight of a test tube filled with water and a plant cutting. I am using an 18 gauge wire here, but I strongly recommend going with a stronger wire that's at least 16 gauge. 


Start by making a a box out of the wire to start the base of the piece.


Use your tape measure if you want to make sure that all of your sides match up. 
I used it here to ensure that the back support beams were the same length for stability reasons.


Get your masking tape and start wrapping around the areas that you wish to have covered with clay. I left an opening in the top so that I would be able to put the test tube through it.


When you are done with the tape, begin covering the piece with clay. Keep in mind that the bottom part of the base should be heavier then the top so that it doesn't topple over while it is being used. Make it twice as thick as the top and a bit wider if you need to!


When covering the piece with clay, keep an eye on the opening on the top part that holds the tube. Check periodically by placing the tube in the middle to keep track with how wide the opening should be.


When checking the size and fit for the stand with the tube, push the tube down slightly into the bottom. You'll want to can make an indent for the tube to sit properly so that it doesn't slide around after the piece is done. 


Set the piece aside to dry.


When the piece fully dries, sand it down to get it to the level of smoothness that you would like it to be. I'm using a sanding stick to open up the center a bit more, the opening was too small for the tube.


Paperclay shrinks a bit while it dries, keep track of how the tube fits throughout the process and make adjustments if needed by either sanding the clay down or adding more. 


Paint your piece with acrylic paint. I used black here for the base coat so that I could top it with the a gold dry brush technique.


I am lightly brushing on gold paint on top of the black undercoat here to give the stand an antique look. Seal with varnish when completed.


Here's how it came out! I am accepting all forms of positive vibes to help encourage my little basil cutting to grow some roots!

Thank you all once again for stopping by, and I hope that you enjoyed today's tutorial! You can find Creative Paperclay® at the following retailers Creative Paperclay® Online Store, Michael's, Amazon, Joann's.


See more of my work at Melandolly.com, catch updates on 

my Instagram page and here is a link to my shop!


Friday, May 7, 2021

May 2021 First Friday Fan Day


Need some inspiration for your next Creative Paperclay® project? Check out what folks are making with Creative Paperclay™.


Amazing Miniature Creatures
Tea Party
Decorative Birds
Earrings (this works with air dry clay, too!!)

Home Décor Items
Gnome Home
Spring Bugs

HELP US FIND YOU!!
  1. Use the hashtag #CreativePaperclay on all your social networks.
  2. When using Facebook, be sure the your posts and images using the #Creative Paperclay hashtag are set to public, otherwise we won't be able to find you.
  3. Share your projects on the Creative PaperClay® Facebook page.
I'm always trolling the web, looking for great Creative Paperclay® projects. If you find something, post it on our Facebook page.

GOT QUESTIONS???

Find the answers to your paperclay questions. See what other folks are creating. Stop by our Facebook group and say, "Hi!" Creative Paperclay Q&A
Carole

Monday, May 3, 2021

Make a Marbled Bowl with Creative Paperclay®

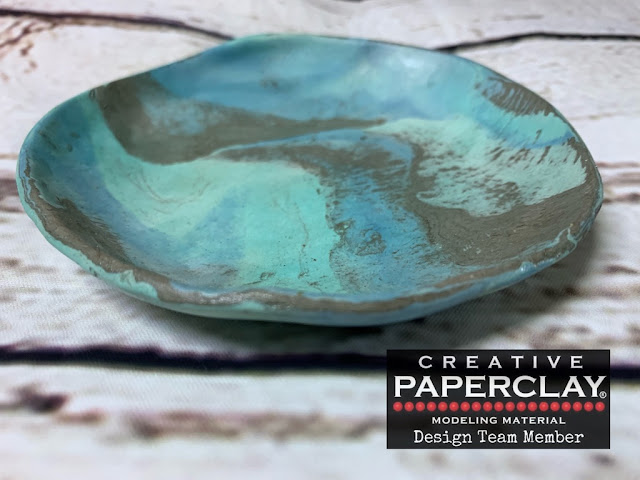
Hello, welcome to another tutorial. This month I have been experimenting with colouring my clay before I use it. This time around I decided to try spray inks and mica powder and they both were a great success. I did three different colours and then slightly blended them to give a marbled effect. I then formed into a bowl shape. When the clay dried the colours has dulled a bit but a little gloss varnish resolved that quite easily. Here is the finished bowl.


The supplies I used are:


  • Creative Paperclay® 
  • Dylusions Ink Vibrant Turquoise 
  • Adirondack Color Wash Denim
  • PearlEx Antique Gold
  • Pebeo Gloss Varnish


Tools:

  • rolling pin 
  • craft knife
  • paint brush
  • water
  • a bowl


Follow along in the video below to see how to make this beautiful bowl. 


I do hope you enjoyed the tutorial. You can share your creations with us on our Facebook page. We would love to see them! For more inspiration have a look around the blog. There are tutorials for many levels using Creative Paperclay®. You can also visit my blog suzettehussey.com


You can find Creative Paperclay® online at Creative Paperclay Co and also at Michaels, Hobby Lobby, Dickblick and Amazon. 


Thanks for stopping by!


Suzette


Blog: https://suzettehussey.com/

Instagram: https://www.instagram.com/papermachepatch/

YouTube: https://www.youtube.com/c/PaperMachePatch

Skillshare: https://skl.sh/2QyIn93

Website:  https://www.papermachepatch.com