Monday, August 28, 2017

Beach Therapy Canvas Featuring Creative Paperclay

Hi Friends:  Do you love the beach?  Do you like reminders of the great times you've had there? I know I do!  Here's a tutorial for creating a Beach Therapy mixed media canvas project using seashells made with Creative Paperclay® and some Wilton molds.


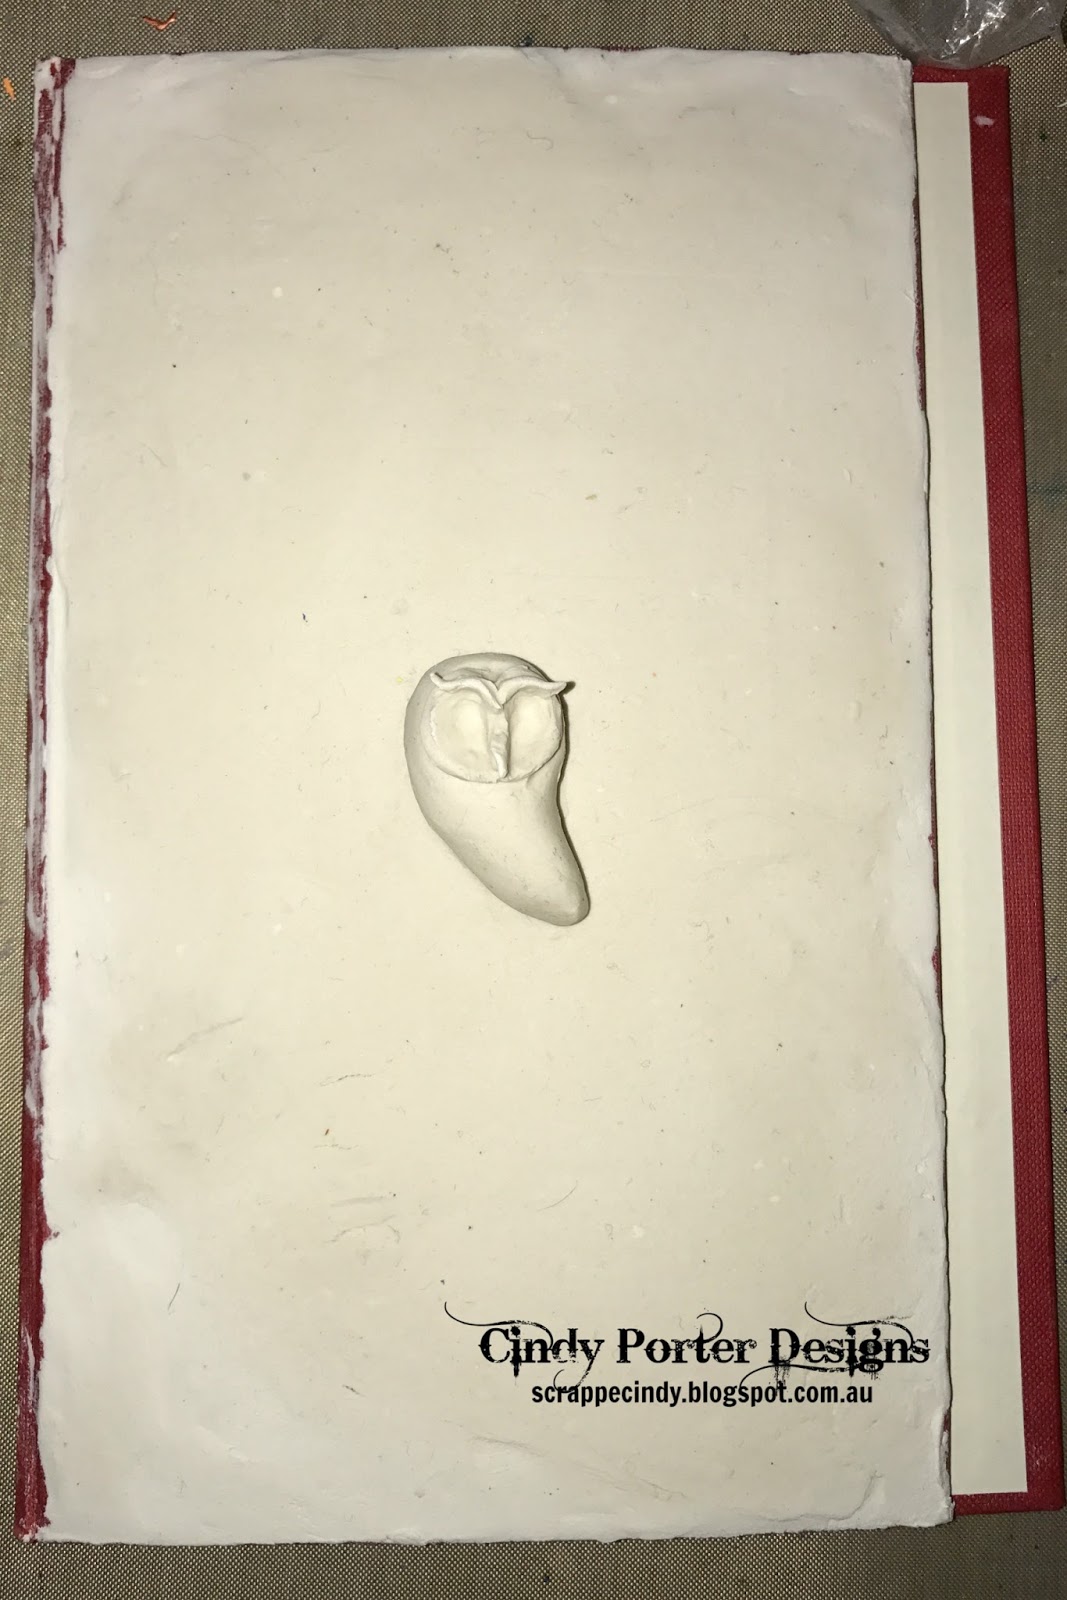
I love using Creative Paperclay® with molds in my mixed media projects because it is so easy to make clay accents to use on projects.  Just add the clay to the mold, pop it in the freezer for a few minutes to help it set, remove from the mold and let it dry for a day or 2.  Once dry, I can easily add them to my projects, paint them to match my design ideas, and create lovely mixed media canvases, cards, or other altered art items.

I used some yummy Prima paints and waxes, and lots of pearls, beads, and glitter on this project. It was so much fun to create the canvas, and I love how I used the sand paste with my Creative Paperclay® letters to create the effect of letters in the sand.  Here are some detail photos of the canvas:

Please see my video tutorial for full instructions for this project:


Supply List:
Creative Paperclay® Modeling Material
Wilton Fondant and Gum Paste Silicone Mold, Sea Life (Amazon)
Wilton 2115-1561 Seashell Candy and Lollipop Mold (Amazon)
Wilton 417-7554 Alphabet & Numbers Fondant Cut-Outs Set (Amazon)
Prima Marketing Art Alchemy-Sparks-Ginger Magic (Amazon)
Prima Marketing Art Alchemy-Sparks-Magical Pond  (Amazon)
Prima Marketing Art Alchemy-Sparks-Butterfly Spells (Amazon)
Prima Marketing Art Alchemy-Sparks-Fairy Wings (Amazon)
Prima Marketing Art Alchemy-Sparks-Mermaid Sparkle (Amazon)
Ranger Paint Dabbers, Pearl Metallic (Amazon)
Deco Art Media Texture Sand Paste (Amazon)
Golden Fiber Paste (Amazon) Liquitex Matte Super Heavy Gel Medium (Amazon)
Liquitex Professional Gloss Heavy Gel Medium (Amazon)
Liquitex Gesso - White (Amazon)
Beacon 3-In-1 Advanced Craft Glue (Amazon)
Cousin Jewelry Basics Brown Seed Beads (Amazon)
Stampendous Glass Glitter (Amazon)
Heidi Swapp Marquee Love Distress Paint Kit-Rust (Amazon)
Darice Pearls - White - Assorted (Amazon)
EKTools Powder Tool (Amazon)
ArtMinds™ Wood Parenthesis Frame, 4" x 6 (Michaels)
A Touch of Glass Beads
Other:  8X10 canvas, glass gems and seed beads, grip shelf liner, cheese cloth

I hope you enjoyed my Beach Therapy canvas and learned a new way to use Creative Paperclay® on your mixed media projects. Thank you so much for stopping by the blog today.

Have a great, creative day! -Patti

Friday, August 25, 2017

Just Beachy!

Look at my beat up molds. They are very well used. When I have a little time but not enough time to dig into a painting, I cast objects. I have drawers full of them that are ready when needed. Some are created with plain Creative Paperclay® and others are tinted or painted.

I decided to make a beach necklace piece of art today.

SUPPLIES
Creative Paperclay®
Panel or canvas
Acrylic paint
Molds & cast objects
Glue
Aquarium sand (hard to get beach sand in Santa Fe)
 

 I started by applying surface texture to my panel then gluing down cast and found objects to my surface. I gave it a wash of tan over the white and sprinkled sand on it while wet. I actually liked it at this point but I wanted a more colorful beach look.


I applied paint to part of the base and started adding elements for placement. At this point, I sit back and look at it for several days to see if I need to change color, soften the look or if it needs more details.

Dream in Color!

Darlene Olivia McElroy


Monday, August 21, 2017

Sculpting a Bird Using Creative Paperclay®

Hello again! I hope you are off to a marvelous start this week! Today I am going to share with you a quick tutorial making this adorable bird using Creative Paperclay®.

Paperclay Bird

Supplies needed are:

White Glue
Toothpick
Acrylic paints
A base of bird to be attached to. I used a piece of a branch.
2  1/4” dowels or chopsticks
Varnish
Raffia (optional)
Sculpting tools
Water
Paint brushes


Follow along to make this sculpture.


Thanks for stopping by! Please be sure to visit my blog at www.papermachepatch.com. Have a great week!

Suzette

Wednesday, August 16, 2017

Adding Dimension to a painting with Creative Paperclay®

I wanted to paint a face with raised areas so after sketching in the face with a pencil, I started adding in Creative Paperclay® to the features of the face.

SUPPLIES
Creative Paperclay®
Panel
Acrylic paint
Cookie cutter
Mark making tools


After the paper clay dried the next step was to block in the face with paint. Because my paintings are like doing a puzzle, I started placing objects for size and to see if they would add to the story.


I rolled out some clay on a sheet of plastic and used the cookie cutter to create the shape. Use different mark making tools and stamps, I added the design in the clay. Last, I took a wet paint brush to smooth out the edges. Normally, I use my fingers but because of the detail I used the brush.

This is how I work when I paint. A little here and a little there.

Dream in color!

Darlene Olivia McElroy

How to Sculpt a Creative Paperclay Crown #artbygloricom


How to Sculpt a one of a kind Creative Paperclay Crown #artbygloricom


Welcome back to the Creative Paperclay® Blog. 
Hi! Its is Gloriann Irizarry here ready to inspire you and guide you to create a one of a kind gold crown to fit any great Queen or king. this project can be easy change in size to fit any of your crafting needs. I promise you that this project will be an easy to follow with step by steps instructions and full of photos to show you how easy is to complete this Creative Paperclay® Craft.

Materials
Krylon Metallic Gold Spray Paint
White paper 
Acrylic Rhinestone
Cement Glue

 
To start the project grab the size A4 piece of white paper and folded in half.
Draw your desired crown or trace your pattern and cut any excess paper out to create your template.


Unfold the crown template flat and make sure the trim shape is the desired one. Remember this is how the final crown will end up so make sure is all clean and trimmed.


Roll the clay flat on the surface of the table. Make sure is thicker than 1/4 anything less and the crown will be too fragile. The thickness will also depend on the size of the final piece. Remember the bigger the crown the thicken it should be.


Place your paper cut template down. I like to moist the template paper and then use the roller to secure it in place.


To cut the Creative Paperclay® shape I like to use big sewing needles. They are way easier to cut the shape nicely and it flow confortably when your are tracing it down.  


You can little by little make sure the Creative Paperclay® is separating has you trace it down so your crown will have nice clean edges.


While tracing the crown shape make sure you are applying enough pressure. The pressure will ensure the clay has completly cut thru and when you peeled the excess it will nicely separete. 


You should end up with a nice clean crown shape after all clearly excess Creative Paperclay® has been peeled off.


Carefully peel off the template from the traced Creative Paperclay® 


Moist your finger tips and smooth the edges off the fresh cut crown.


To give the crown a nice textured finished use an old stencil brush and tap, tap, tap away.


Carefully tap around the edges of the crown.

  
If the brush tapping gets a little harder moist the Creative Paperclay® it help you create texture when you tap the brush again.


Use the back of the brush and add any design or detail you like your crown to have. Here I added 2 bold lines at the bottom to give it a more antique look.


Another trick I use to give the Creative Paperclay® a fabric pressed texture all you will need is a plastic bag and the back of the paint brush or pencil.


The effects of the texture will be depending on the thickness of the plastic bag.
For this crown I used a Zip lock sandwich bag.


If you want a more star or pressed fabric look use a thicker plastic like a freezer ziplock or similar.


After your happy with the texture pressing carefully remove the clay and folded around to create the crown. Make sure you secure and prop the folded crown shape with either aluminum foil or a bowl of the similar shape and let the crown dry over night.


Once the crown is fully dried you can get ready to use your favorite color.
For this project I chose the Krylon Metallic Gold Spray. 


Spray at least 2 layers of the Gold Metallic or the color of your choice. 


Make sure you wait for the paint to be fully dried before the next layer. Doing this will ensure you a nice finished shinning metallic tone all over the crown.


Let the crowns fully dried before any decoration is applied.
This project was so much fun I was able to make two crowns about 5in wide and 8in tall with one bar of 16ozs Creative Paperclay®


Now that the Spray paint is completely dried fun begins. 
Grab your favorite acrylic rhinestones and decorative 3D stickers. Use the cement glue or favorite glue to secure your embelliments in place. 


Once you are happy with the looks your crown is ready to be displayed, wear or showcased.


Now the possibility are endless and you will be sure to have fun so don't worry feel free to just grab your bar of Creative Paperclay® sit and sculpt. Now if you have any question of want more great ideas for you to create one of a kind projects or have any questions feel free to follow Creative Paperclay® Facebook 

Happy Crafting my friends!


#artbygloricom
#bygloricom


Tuesday, August 15, 2017

Owl Journal Cover with Creative Paperclay®..... by Cindy Porter

Hi Creative Paperclay® fans, it's Cindy here, I am excited to share with you my latest project, An Owl Journal Cover....
keep reading to see how to create your own...


Supplies:
Clay shaping tools
Rolling pin
Water for smoothing clay


Directions:
I began by removing all the pages from a hard cover book...


I then rolled out some Creative Paperclay®...

and applied it to the front of the book cover...

Next I started to make the owl.... I began with the body, making a sort of tear drop shape...

and then applied it to the book cover, then press down slightly with your thumb on the head area...

Next make a flat oval piece and attach to the thumb spot on the head... this is the beginning of your owl's face...

then using a ball tool (or end of a paint brush), create two eye cavities...

Now add a beak ridge and some eyebrows...

Now it's starting to look a bit like the beginning of an owl...

time for the wings... begin making the shapes of form the wing structure and then the feathers... make lots of feathers....

put down the wing structures first to decide the wing positions, and then add the individual feathers as shown below...  don't forget to mark up the feathers to make them look realistic...

Now create the tail using more of the feathers you made...

time to sculpt some little 3D claws...

and attach them along with some tiny balls of clay to form the eyes....
I also used my ball tool to create the pupils in those little clay ball eyes, and speckles on my owl...

So now my owl is completed and ready to paint... but I decided that the plain book cover wasn't what I wanted after all... so stay tuned for my next post and see what I do to finish it off...

thank you for stopping by and joining me here today,


Till next time
Happy Creating
xC