Friday, December 22, 2017

How to make a Christmas Angel

Hi!
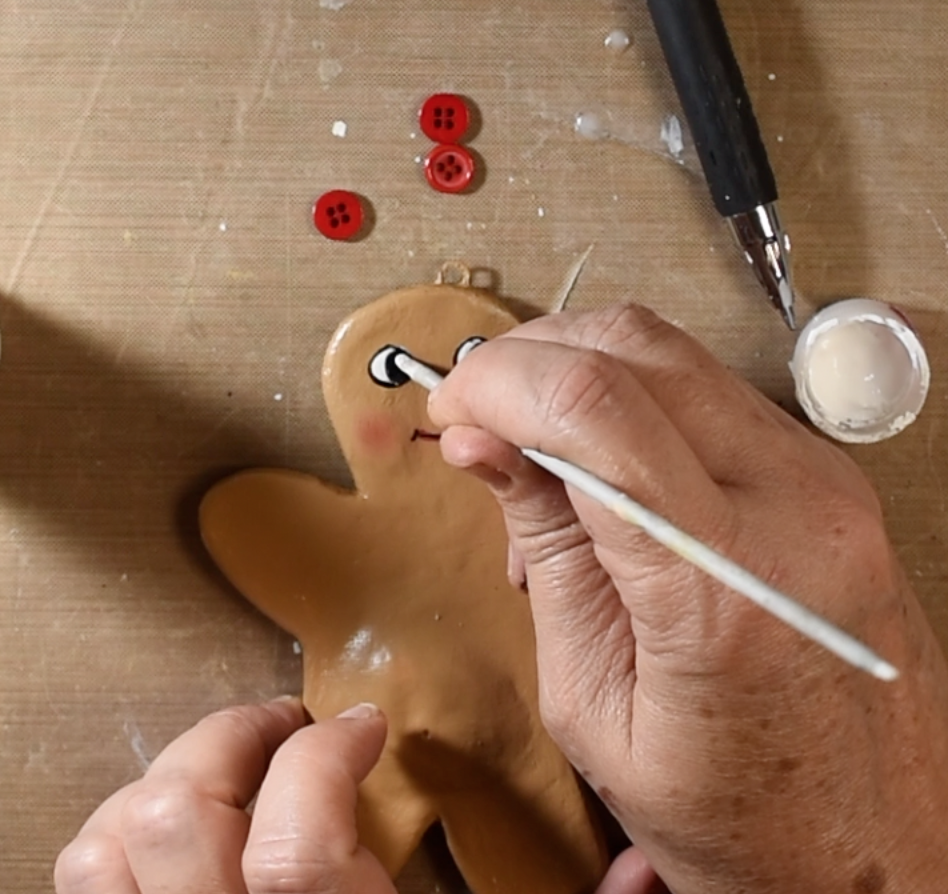
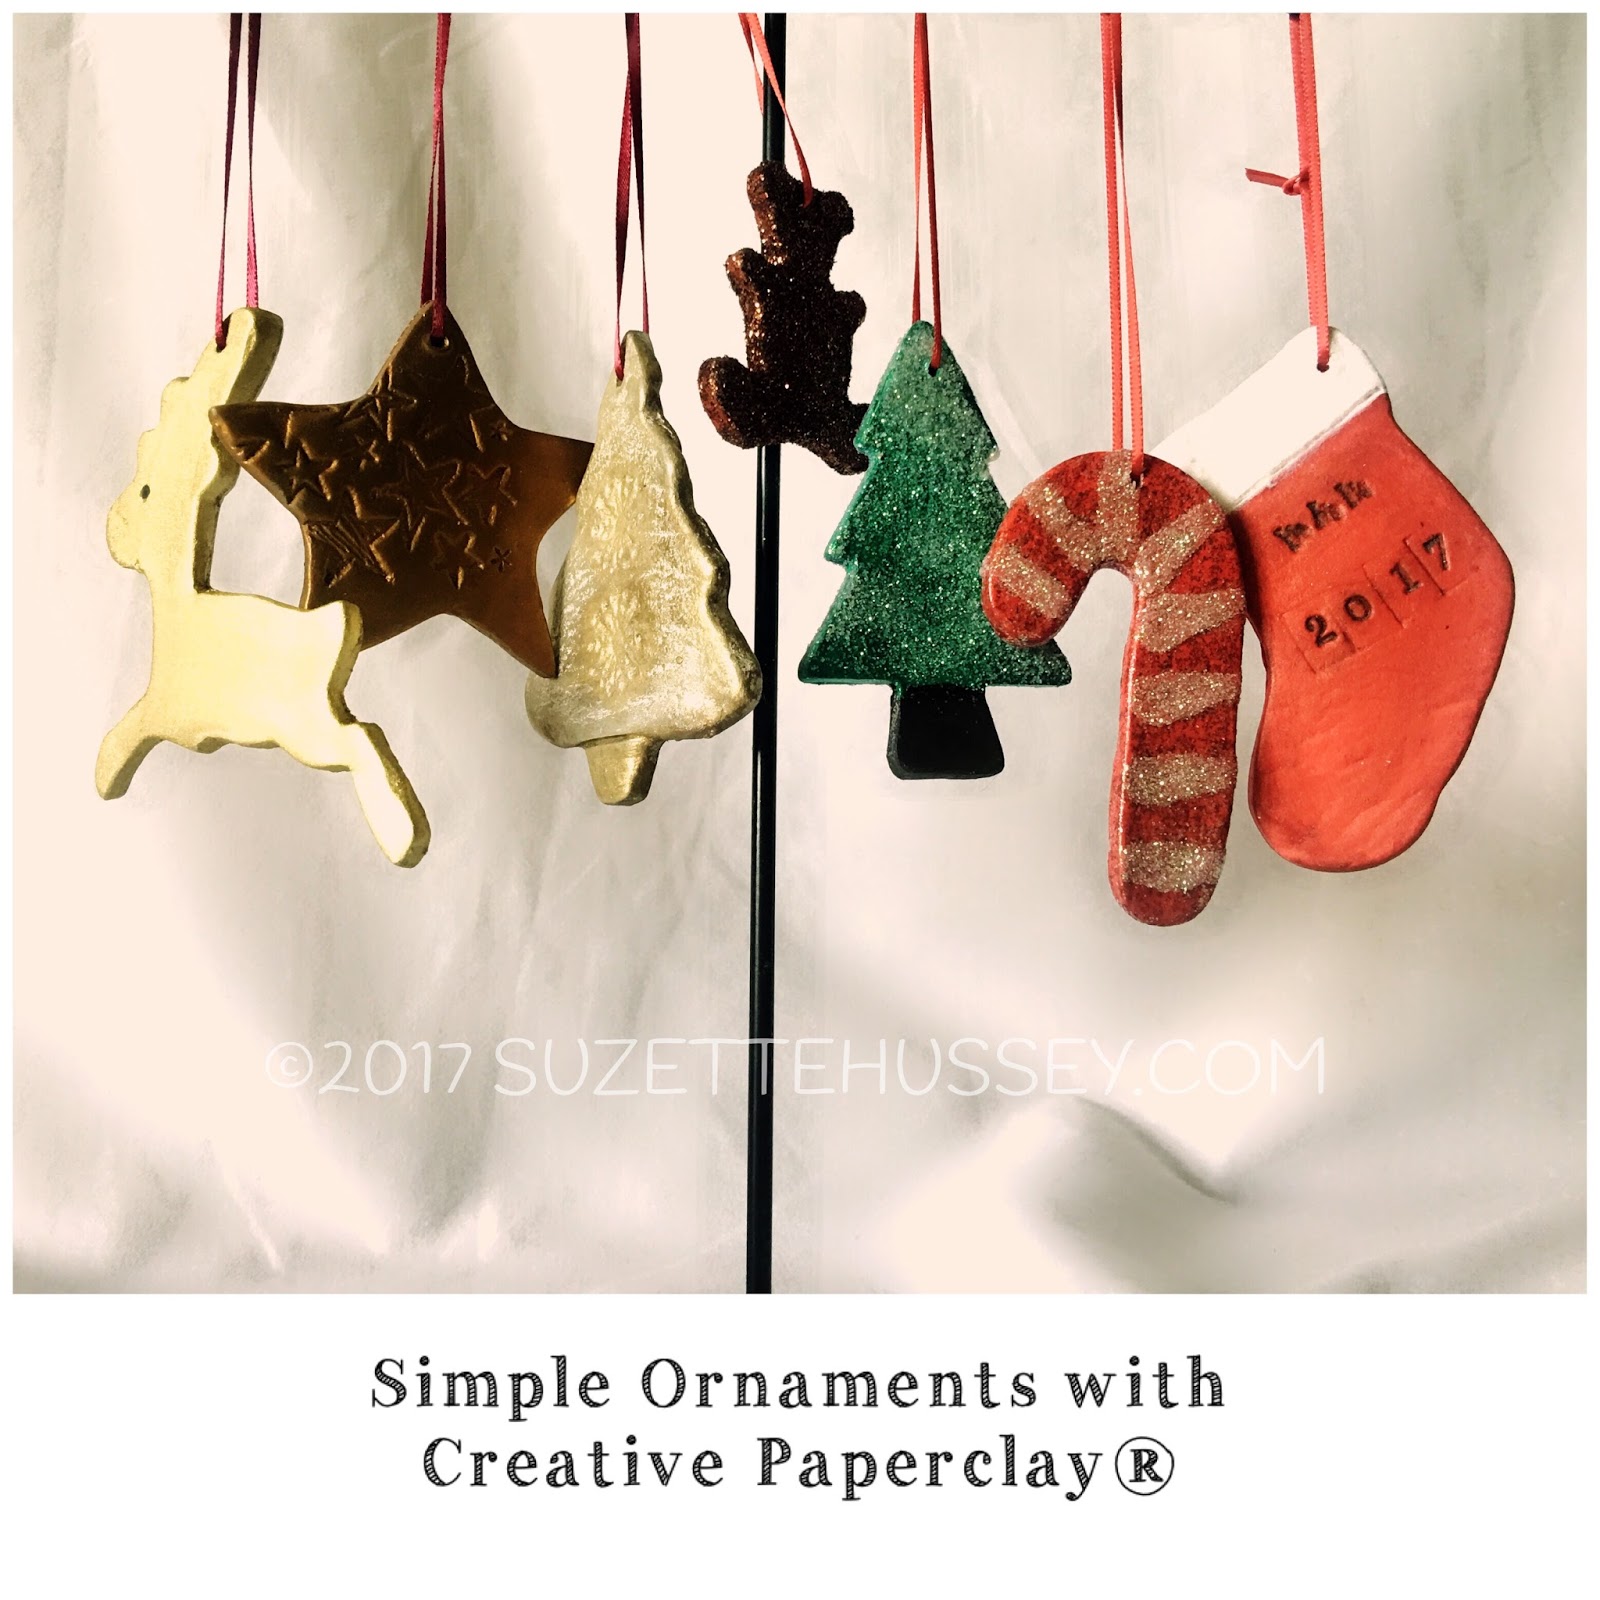
I have treat for you today. I decided to do a video showing how I made a beautiful Christmas Angel using Creative Paperclay®.


The supplies needed are as follows:

Follow along in this video tutorial.


I hope you enjoyed this tutorial! Thanks for stopping by and have a safe and peaceful holiday!

Suzette
Blog: https://papermachepatch.com
Instagram: https://www.instagram.com/papermachepatch/

Thursday, December 21, 2017

Believe - Home decor using leftovers

Hello there Creative Paperclay® friends and fans!!

Jenn here today to show you how you can use all of your leftover bits and pieces of Creative Paperclay® to create something unique and giftable! Using pieces, and adding in some ink and flowers, I made this pretty little wall decor titled Believe.

Here is How I made it!...........

I don't know about you but I save everything! All of the scraps, cut-offs, trims, and bits are kept in a container for later use. Saving some of the smallest things can be used later to create something unique and fun.

For this project, I coated a plain plaque in heavy white gesso and then once dry I added a brick stencil and ink sprays from Art Anthology. Using a glittery clear spray added just enough of a sparkly effect.

Now onto the leftovers!!

From previous projects, I had some leaves and a molded ornate side of a frame in Creative Paperclay®. I also had a molded face that was created with Delight® air dry modeling compound. After coating with heavy white gesso and allowing to dry I adhered them to my plaque.

Add flowers, glitter, and a sentiment stamped onto a small domino and there you have it! You can give as a gift or keep for yourself!

Creative Paperclay® products are available for purchase in our online store.
They are also available at the following craft stores: Michaels, Hobby Lobby, and Joann's

Thanks so much for viewing my post! Happy Holidays to you!!
Jenn


Tuesday, December 19, 2017

Sculpting a Santa Bauble ...... by Cindy Porter

Hi Creative Paperclay® fans, it's Cindy here, I am excited to share with you latest creation.using Creative Paperclay® a Santa Bauble..


keep reading to see how to create your own...

Supplies:

water
silicone and sculpting tools


Now onto a video demonstration .... enjoy


Hope you enjoyed this video...


till next time
Happy Creating

xC


Monday, December 18, 2017

How to Make a Gingerbread Man with Creative Paperclay®

Hello!
This is my last Christmas craft for the season, a cute little gingerbread man!


It is a simple tutorial, great for any level!


Supplies needed:

Creative Paperclay®
Template of gingerbread man (see below)
1/2" piece of craft wire
small pliers
3 tiny buttons
Assorted ribbons
Brown acrylic paint (I used Americana Multi-surface Paint: Brown Sugar)
White acrylic paint
Black acrylic paint
Red acrylic paint
Chalk pastels
Black gel pen
Spray Varnish
sculpting tools
Gesso
Sand Paper
craft knife
water


Transfer to thin cardboard and cutout.

Step 1

Transfer template to thin cardboard such as a cereal box and cutout.


Step 2

Roll out clay no less than 1/4" thick.

Step 3

Place gingerbread template on clay and cut out.


Step 4

Smooth edges with water.


Step 5
Make a hook with craft wire and press into top of gingerbread man. Set aside to dry.


Step 6

Add clay for the cheeks and a tummy. Smooth and set aside to dry.


Step 7

Sand if needed and apply a coat of gesso.


Step 8

Paint your gingerbread man brown.


Step 9

When dry, draw on face and paint.


Step 10

Use chalk pastels to add cheeks.


Step 11

Outline the eyes with a pen.


Step 12

Add a dot of white acrylic paint to the eye.


Step 13

Spray with varnish and let dry.

Step 14

Stick on the buttons.


Step 14

Add ribbon.


Step 15

Hang on your tree!

You can also follow along in the video below.


Thanks for stopping by!

Happy crafting!
Suzette
Blog: https://papermachepatch.com
Instagram: https://www.instagram.com/papermachepatch/

Thursday, December 7, 2017

Getting Festive with Creative Paperclay®


Hello friends and fans! Jenn here today sharing my Holiday Spirit by getting festive with Creative Paperclay®!!

Using Creative Paperclay® Modeling Material and some simple holiday cookie cutters I have created a few different things today to share.

First, here is how I started with all the fun shapes!

First, roll out a nice even layer of Creative Paperclay® with a rolling pin onto wax paper. Cut each shape desired with cookie cutter. Let these dry for at least one night. 
As an added tip***lightly brush some corn starch on your rolling pin to prevent any sticking when rolling out your clay.

Now we are on to the painting and adding hangers!

All of the pieces were painted using acrylics. The tree was assembled as an ornament using ribbon adhered to the back. The stars were assembled using a string of metallic red beads which were embedded into the clay before drying. The other pieces were painted and set aside to use as embellishments for another crafty creation!

As you can see creating these lovely ornaments and embellishments is simple and fun using Creative Paperclay®!! This would be a fun holiday project to do with your children as well!!

Creative Paperclay® is available to purchase at the online store as well as Michael's, Hobby Lobby, and Joann's.

Thanks so much for viewing my post today and Happy Holidays!!


Tuesday, December 5, 2017

Creative Paperclay® Leaf Bowls...... by Cindy Porter

Hi Creative Paperclay® fans, it's Cindy here, I am excited to share with you latest creation...   Creative Paperclay® Leaf Bowls...
Keep reading to see how to create your own...


Supplies:
large tree leaves
sculpting tools
  
Now onto a video demonstration .... enjoy


Hope you enjoyed this video...

till next time
Happy Creating


Monday, December 4, 2017

Making Simple Ornaments for your Christmas Tree with Creative Paperclay®

Hello and welcome to another tutorial using Creative Paperclay®. Today I will show you how to make simple ornaments for your Christmas tree. This is the perfect tutorial for beginners!


Supplies needed:

Creative Paperclay®
rolling pin
cookie cutters
craft knife
rubber stamps
baby powder or cornstarch- optional (this prevents rubber stamps sticking in clay)
acrylic paints
glitter paint
watercolor paints
gilding paint
gilding wax
Rub 'n Buff
varnish
glitter
flocking
stamp pad
Sharpie or pen

paintbrushes
sculpting tools
water

ribbon

Gather your supplies and follow along in the step by step video tutorial below.


Please share your creations with us on our Facebook page.


Happy crafting and thanks for stopping by!

Suzette
Blog: https://papermachepatch.com
Instagram: https://www.instagram.com/papermachepatch/
Facebook: https://www.facebook.com/papermachepatch/
Pinterest: https://www.pinterest.com/suzettehussey/

Friday, December 1, 2017

December First Friday Fan Day


Need some inspiration for your next Creative Paperclay® project? Check out what folks are making with Creative Paperclay™.


Angel Ornament
Christmas Wall Hanging
Owl Family
Snowman Trinket Box
Snowman Ornament
Holiday Elf Decoration

How to Make a Snowman Ornament Part One
How to Make a Snowman Ornament Part Two
How to Make a Snowman Ornament Part Three
How to Make a Snowman Ornament Part Four
How to Make a Snowman Ornament Part Five
Gourd Ornaments Using Creative Paperclay

HELP US FIND YOU!!
  1. Use the hashtag #CreativePaperclay on all your social networks.
  2. When using Facebook, be sure the your posts and images using the #Creative Paperclay hashtag are set to public, otherwise we won't be able to find you.
  3. Share your projects on the Creative PaperClay® Facebook page.
I'm always trolling the web, looking for great Creative Paperclay® projects. If you find something, post it on our Facebook page.

GOT QUESTIONS???

Find the answers to your paperclay questions. See what other folks are creating. Stop by our Facebook group and say, "Hi!" Creative Paperclay Q&A
Carole

Friday, November 24, 2017

Bejeweled Creative Paperclay® Painting


I have been working on a series of 48" x 48" paintings using Creative Paperclay® as part of my narrative. This piece is in its early stages and is just blocked in at this point. I loved combining the old with new in my work so I started with a traditional pose from the 1500's combined with highly decorated clay hearts.

SUPPLIES
Creative Paperclay®
Silicone mold
Found objects
Acrylic paint
Amazing Molding Putty
E6000 glue
Soft gel gloss


I started by casting a series of hearts. The mold was made from my collection of milagros and exvotos using Amazing Molding Putty.

While this was drying I gathered beads, found objects and E6000 glue.

The dried hearts were attached to my painting with soft gel gloss. BTW I work on wood panels.


People leave me bags of broken jewelry and other goodies at my door step. Last week I received three bags from three different people. It is like Christmas when I get these.

At a thrift door the last week, I found large bags of broken jewelry and odds and ends for a cheap price and I didn't pick them up. When I went back they were gone. Still kicking myself. 

This piece has faux pearls from the 30's, old bracelet and small charm.


I definitely have a baroque heart in this body that keeps trying to come out. Decorated with faux pearl, salt water pears, micro beads and vintage broach.


Old beaded necklace, broach and some mica flakes finished off this heart.

The finished piece will be posted on my facebook page when done - https://www.facebook.com/darleneoliviamcelroy

Dream in Color and throw nothing out.

Darlene Olivia McElroy

Tuesday, November 21, 2017

Sculpting a Sea Turtle..... by Cindy Porter

Hi Creative Paperclay® fans, it's Cindy here, I am excited to share with you my latest project....

A Sea Turtle
keep reading to see how to create your own...


Supplies:

water
silicone and sculpting tools

Now onto a video demonstration .... enjoy


thank you for stopping by and joining me here today,


Till next time
Happy Creating
xC


Monday, November 20, 2017

Making a Santa Gnome with Creative Paperclay®

Hi! Are you ready for another Christmas decoration tutorial? Today I will show you how to make a Santa Gnome using Creative Paperclay®.

Santa Gnome


Supplies needed:

Large styrofoam egg
Creative Paperclay®
Gesso

Acrylic Paint

Martha Stewart Tartan Red
Martha Stewart Beetle Black
Delta Ceramcoat Santas Flesh
Crafters Acrylic White

White Glitter
Knife to cut Styrofoam
Aluminium foil
Glue gun and glue Sticks
Sculpting tools
Sand paper
Glue

Follow along in my step by step video tutorial.


Please be sure to share your creations with us on our Facebook page.

Thanks for stopping by!

Happy crafting,
Suzette

Blog: https://papermachepatch.com
Instagram: https://www.instagram.com/papermachepatch/

Thursday, November 16, 2017

Use Your Scraps!

Hello, Creatives! So, If you are like most crafters you probably find yourself creating things and then setting them aside at times. I do this all the time! I create many many embellishments using molds and Creative Paperclay® and then I do not always use them. I let them dry and they end up in a bin for later use. Today I want to show you how to create a quick little project to use your scraps!

First gather up your scraps and bits that you have created with Creative Paperclay® and paint them all with gesso to prime them. While they are drying grab a canvas board and paint it with black acrylic or any color you wish.
Take a long piece of jute, doubled to create a loop at the top. Next, carefully glue the pieces you have chosen to the jute. be sure to straighten the jute as you glue each piece to it.
Finally, Glue the piece to the canvas board, leaving the bottom scrap loose. Now it is ready for painting and embellishing however you like!
I hate to waste things and this is just one way to utilize all of your scraps and make something unique and beautiful!
Thanks so much for viewing my post and I hope that you are inspired to use those scraps! Once I embellish and paint mine I will share on our Creative Paperclay® Facebook page so be watching for that and also please share what you do with your scraps!
Creative Paperclay® has many products available online HERE.
Creative Paperclay® Modeling Materials are also available at Michaels, Joanns, and Hobby Lobby stores.