Saturday, December 26, 2015

Happy light bulb Christmas ornament

Happy light bulb Christmas ornament by Tamara Dozier


I got dozens of these mache eggs on sale and have been trying to figure out what to do with them. I came up with the idea of sculpting them to look like a Christmas lightbulb and of course, I had to add a happy little face to them. 

Here is the video I did of how I make these ornaments.


Thursday, December 24, 2015

Playing with Scraps

When I get to the end of my bag of Creative Paperclay® and just have scraps, I bring out my silicone molds and just starting making objects. It's perfect when you don't have enough time to create a whole piece plus you will always have a drawer full of objects to use in a future project. Periodically I will trade molds or gift these objects to art friends. Nothing like having coffee with my friends and being able to give them a goodies bag. It has become tradition that we have something to share whenever we get together.

SUPPLIES

Creative Paperclay® scraps
Silicone or press molds


I have drawers full of molds. I thought I had a lot until I saw what my good friend, Pat Chapman, has. Jealousy!

Have fun playing and dream in color!

Darlene Olivia McElroy

Sunday, December 20, 2015

Lynda's Ornaments


I love Pinterest - and recently found some really adorable ornaments I was going to make and send on my kids' Christmas presents...  However the month just escaped me - oh you have no idea how bad!!!  I ended up keeping the ornaments, and have placed them on my tree!!!  I have a monthly challenge I do on my blog (link below) on the 15th of each month - to get ready for the next few months...join me, and I will be sharing different things I am getting done - both Creative Paperclay related, as well as paper craft related!  Join me!      

When you decide to create your own - I have a few tips for you:
  • Do not flatten your Creative Paperclay really thin - for this project, you really want to make it thicker!  
  • After you cut out your ornament with a glass, use water to soften up the sides and make it smoother and look nicer.  
  • Be creative and think outside the box when making these - look at birthday presents, or as toppers on presents for this holiday!
 

Supplies used:
Creative Paperclay
Rubber stamps
Silent Setter
Xacto knife
Cup
White paint
Luminart paint - 
      Pretty Peridot
      African Jade 
Glitter glue -
      Silver

      Red
      Green
Water

Thanks for stopping by, I really had a lot of fun in creating these ornaments!  I am sure they are NOT going to be my last!  Stop by next month, I am working on some really fun magnets and a candy jar, just in time for Valentines day!  See you next month!


Lynda Jeffs
Creative Paperclay Design Team 2015

Friday, December 18, 2015

Easy Earrings

These earrings are so easy to create, that you could make a pair now for a last minute holiday gift. So, let's get at it!!

The first step is to roll out a stab of clay about 1/4" thick. Then, texturize the top of the clay. I used a clay texture sheet to press into the clay, but an embossing folder would work, too. Or a rumpled piece of foil. Just about anything that will add texture to the surface of the clay.
1/4" thick slab of clay
Texture sheet in place on clay
Next, take a clay cutter, cookie cutter, or free hand cut a shape for your earring.

Texturized clay
Cutting the earring with a canapé cutter
Use a toothpick or other sharp object to pierce a small hole in the top of the earring blank. This is where you'll attach the finished clay piece to the jewelry findings with a jump ring. Or, if you prefer, you can drill a hole in the dried clay blank.

When the blanks are dry, sand any rough edges. I like to use Sandits for this type of sanding.

Paint the blanks with your choice of acrylic paints. After the paint on mine was dry, I dry-brushed them with gold metallic acrylic paint, just hitting the high spots. Combine with beads and jewelry findings and attach to earwires. Voila!! A pair of earrings—ready to present as a gift.
Close up of finished purple earrings
Close up of finished coral earrings
Carole

Thursday, December 17, 2015

Christmas Project Joy!

Today I will share pictures of projects that I created with some of my students at school.  This is my 2nd Christmas season teaching art to K-8th grade in Triangle, Virginia.  I say on a daily basis that I have THE BEST job in the whole world as I get to experience art through the eyes of children.

I decided to use Creative Paperclay with my 6th graders and Delight Air Dry with my 2nd graders.  Both groups were thrilled to be working with clay and listened intently to instructions (or so I thought).  One of the first instructions I gave was to roll the creative Paperclay flat between 2 pencils before starting to design their individual angels.  A few of my students heard the pencil part, but translated it to "roll the clay as long as a pencil"  Of course the mistake wasn't discovered until they had created gorgeous angels and went to put them on the drying racks.  Hmmm, okay...kind of skinny, but I am used to adapting.

My second graders used Delight air dry to also create angels for a mixed media canvas.  Their instructions were a bit different though.   Each student had already created a halo from construction paper and metallic markers.  With that glued down to a painted canvas they were given a piece of Delight air dry clay and a damp paper towel.  They could use the clay to make an entire angel or combine components of clay with paper elements.  As you can see from the pictures that follow, no 2 were the same and each child had a definite vision of what he or she wanted to accomplish.

I couldn't be more proud of what they all made (both classes) and I think there will be many happy parents or grandparents when packages are opened on Christmas day.  Now for the pictures...some are process and some are finished projects.

6th graders at work.  Each student had a damp paper towel to keep the clay moist.  Each table also had a cup of water to help adhere details.


A dab of water to attach pieces of clay angel together.  


Best "tool" I ever bought for my classroom!  Stackable cookie racks from Ross.

The finished projects.  The backing is a wood board which they collaged with paper and music and inspirational passages.  The backing was not a part of the original project, but became necessary after some of the angels became a bit too skinny to stand alone.

Angels were painted with metallic paints before gluing to covered board.

The angel on the left is one of the larger, skinnier angels.  I am in love with the one on the right!  The student chose her board specifically because of the knot at the top and then used that in her design.  FABULOUS

Students used construction paper, tissue paper, magazines, calendars, and much more to create a backdrop for the angel.  I love the variety.  No 2 are alike.


2nd grade Delight angels.  

The students were given the option to add words to the canvas.  Some place the words on top and some worked the words around the edges of the canvas!

I love the expression on this one.  The student worked very hard to get her eyes "just right".  Paint wouldn't work the way she wanted, so she painted the white, added brown paper for the color, and then a dot of white in the center of each...perfect!


See the angel, top left?  The child wanted hair for her angel.  We found a bag of doll hair in a box of classroom supplies...gave her the perfect curly hairdo.

I hope you have enjoyed these and can see how easy it is to use Creative Paperclay and Delight Air Dry with children.  Have a very Merry Christmas and Happy Creative New Year


Tuesday, December 15, 2015

Mix n' Match Mediums - Tori's Tip for December


Wondering if you can use a certain type of paint, crayons or markers on Creative Paperclay®?  Here's my tip - If you can use the medium on paper or wood, then it's okay to use on the clay.  The "secret" is in the prep work.  The assortment in the photo above contains just a few of the many artistic mediums I've used with this amazing modeling material!

- acrylics, watercolors and other water-based media can be painted directly onto the clay without any prep work.  The paint will be absorbed into the clay up to a point, but if you get it too wet you will start removing it rather than adding it, so let the paint dry between coats or washes.  The paint will also be absorbed differently in areas that are left just as the clay dried, and those that have been sanded.  These absorption rates can be used to your advantage to enhance textures, etc.  These media can also be used over gesso.

- pencils, crayons, chalk & oil pastels can also be used directly onto the clay as it dried.  Again, you can take advantage of the texture of the material, leaving more "tooth" for the mediums to grab on to, or sanding the clay smooth.  With pencils, you can either use a light touch to keep the pigment on top of the clay, or use a heavier touch and actually change the surface for texture and 3-D effects.  (Plus, the crayons can be melted onto the clay too! - you can see some of the effects here)

- oils, oil pastels, markers and spray paint, are best used on a surface that has been prepared with gesso, in the same way you would prepare a wood panel.

- inks & dyes also work well with the clay, and it's a great surface for stamping onto with rubber stamps and stands up well to embossing, layering and texture effects.

I suggest making up some samples of dry clay and having a fun day of just playing with different media and prep techniques with no objective in mind other than exploration.  It's a great way to get some inspiration and new ideas!  You might try making up a bunch of 1 or 2 inch square "tiles", using those to practice and play with various mediums, then putting them all together for a unique art piece. (What about a play date with your artsy friends?!) Thanks for joining me here, I'll close with my usual advice - Play, Experiment, and Have Fun!


I'd love for you to join me for more projects & art adventures on my personal blog
Find me on Facebook, or peruse & ponder pics with me on Pinterest


Friday, December 11, 2015

Snowball Ornament

Hello, Ann here from the Creative Paperclay® Design Team and the blog: Annmakes.  Today I have a fun altered project for you.  Here it is:


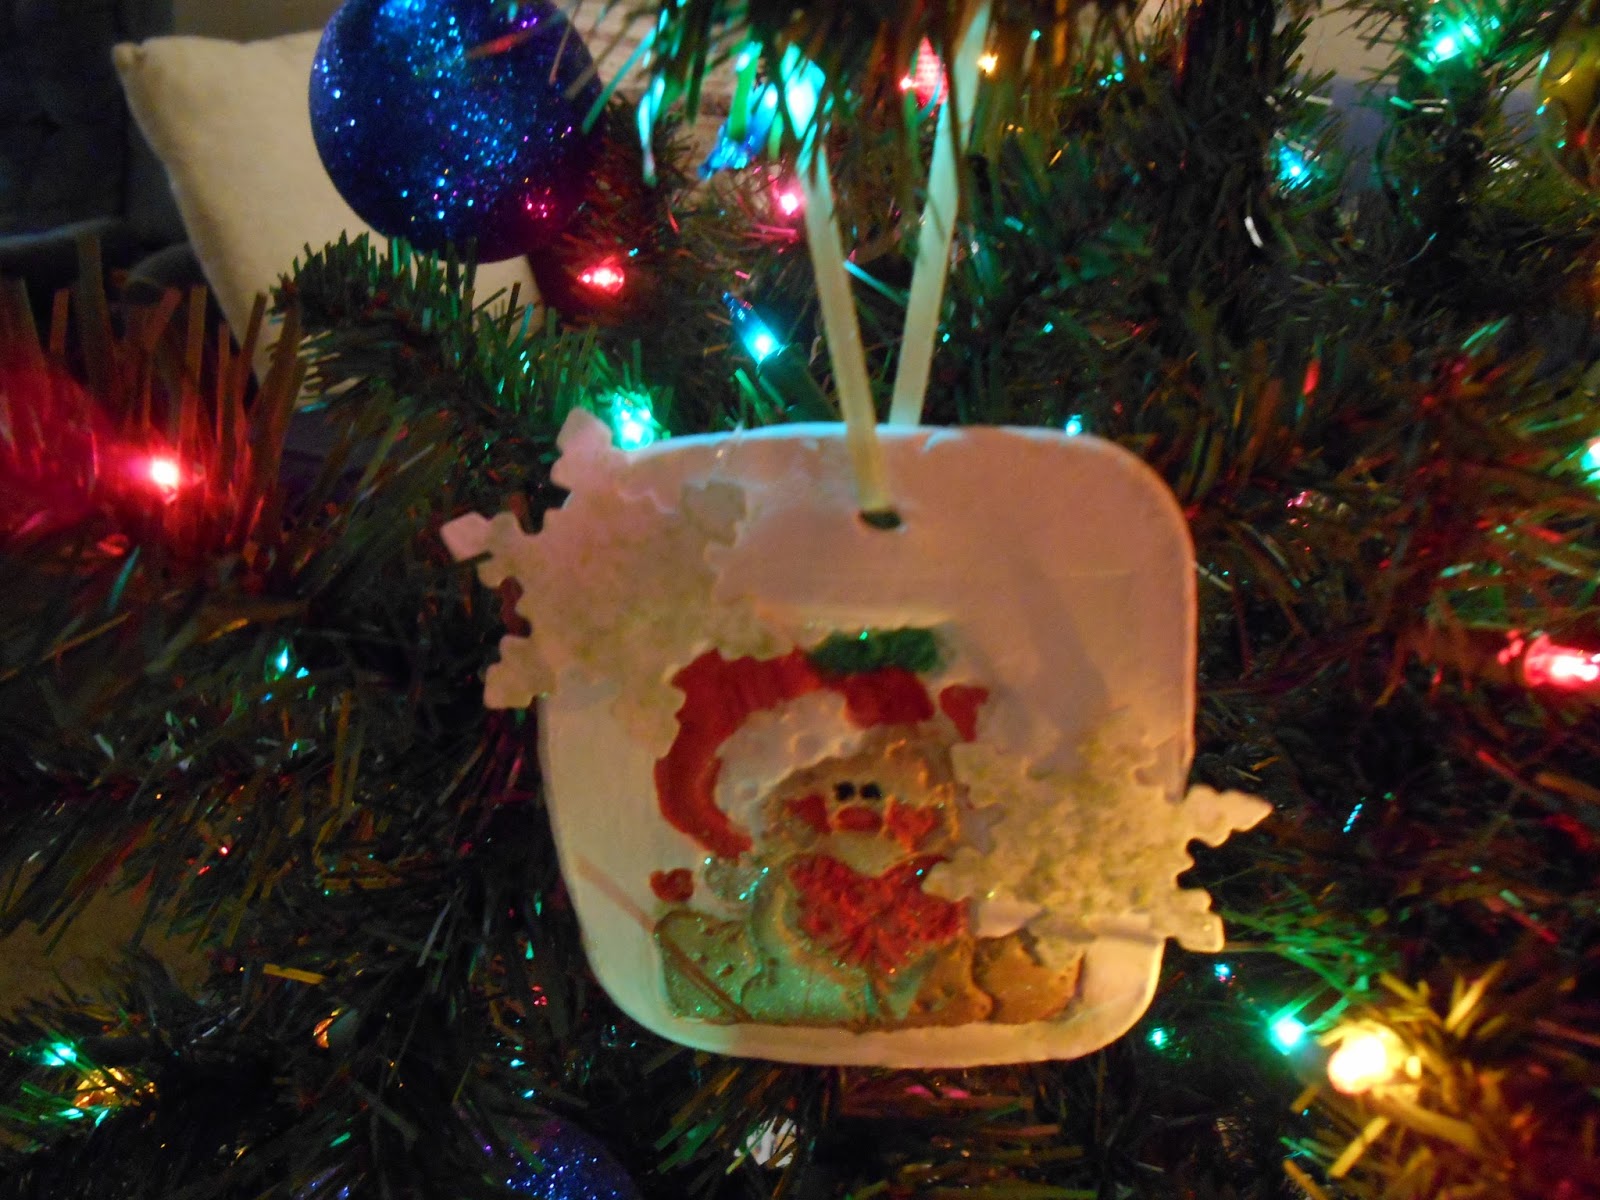
To make this glittery snowball tree ornament I actually rescued a broken tacky christmas decoration from last year.  By itself the gold plastic ball looks, well, blah.  It was part of a very nicely decorated gift wrapping, once upon a time.  Now, it was going into the bin or I was going to save it and transform it into a usable ornament for a Christmas Tree.


So, I started with this gold plastic ball.  I covered it with Delight™ and purposely left the bumps so it would look more like a real icy snowball.  The kind you make on a wet snowy day.  Yes, here in Canada we have names for the several varieties of snow we get.  LOL.


I also made a new hook by inserting half of a paperclip into the top part and secured that with a dab of glue.


Once the Delight was dry I covered the top part of the snowball with some shiny sealer that already has a golden glitter incorporated into it.


Once the sealer dried I glued on some acrylic snowflake table scatter, a piece of gold ric-rack and a bow.


Finally, I strung a piece of ribbon through the hook to hang the snowball from the tree's branch.

I hope that you are inspired to make some ornaments or other winter decorations of your own.

Supplies used:
Repurposed tacky gold ball/decoration (my own)
Paperclip (Staples)
Ric-Rac in gold (my stash)
Acrylic snowflakes (my stash)
Piece of white and gold cord (my stash)
Glitter Mod Podge (Plaid)
Glue (Tombow)
Delight™ (Creative Paperclay®)

Please stop by my blog at: http://annmakes.blogspot.com some time and check out my other projects.

Thank you for stopping by.  Happy Holidays.

Thursday, December 10, 2015

Multiple choices with Creative Paperclay®


I decided to try and make a faux handmade paper with Creative Paperclay® and netting. Think of all the things you could do with this. It didn't end there. I cast a couple little men so I would have multiple options.
Here's what I got out of my experiments.

SUPPLIES

Netting
Creative Paperclay® slurry
Silicone mold of man
Gold Metallic acrylic paint
Soft gel gloss
Gold glitter
Ribbon
Small bag


I laid the netting on wax paper then applied the Creative Paperclay® slurry on top.


I laid another sheet of wax paper on top and brayered the slurry flat. I left the wax paper on until the slurry was almost dry.


Next I applied slurry into a silicone mold and left the slurry to dry in the mold.


Next, I painted both gold. There can never be enough gold and bling.


I applied soft gel gloss through a stencil then removed the stencil and added coarse glitter for a rich tapestry look.


Glue the cast man and a ribbon and you have a great gift tag, gift card or ???


Or make a pocket shrine for your man, maybe a Chinese fortune cookie fortune, herbs, etc. Then tuck it in your purse. Or gift to a girlfriend that is looking for a boyfriend or husband for luck!


Dream in Color

Darlene Olivia McElroy