Friday, January 22, 2021

How to Make a Heart Pendant for a String Necklace Using a Paint Blocking Technique


Hello and happy Friday everyone, Cinnamon here and I am going to show you how I created this pendant using a paint blocking technique with artist tape. I chose the Pan African Flag design to celebrate Black History Month, but you could apply this technique to any design that you would like.

Supplies:
Creative Paperclay®
artist tape or masking tape
Sand paper
Skewer
Leather string for a necklace
Thin 22 gauge wire
Acrylic paint
Sealer, Varnish


Start with the amount of clay that you would like to use for your piece. Since this piece is small, I didn't use any type of filler to cut down on the amount of clay that I would use as I normally would. Create the shape of your choice and smooth it out as much as you possibly can, I chose a heart.


Make the hole for your string with your skewer before the piece dries. Make as many adjustments to the hole as you need. Set the piece aside to dry for at least 24 hours or until it feels dry to the touch.


When the piece is dry, this would be the perfect time to sand it. I am happy with the imperfections of this heart so I chose to leave it as is.


I painted this first with a layer of black paint. I chose black for the underpainting so that it could show a bit through the top layer for a rustic worn look. Set the piece aside to allow coat of paint to dry.


After the coat of paint is dry to the touch, use artist tape to block out any part of the heart that you don't want to paint on by accident. I like to use artist tape because it is designed to not damage paper if you remove it from artwork. You could sub it out for masking tape as well but just make sure to be extra careful when you are removing it. I blocked out the middle of the piece with the artist tape so that I could get perfectly straight lines on the top and bottom.


I painted the top and bottom with a dry brush technique so that the black layer underneath could show through.


When the paint dries pull the artist tape up to see if any of the paint layers needs to be touched up again. If you are happy with the finish, spray your piece with protective coating and set it aside to dry.


I had a wide flat leather string, so I was not able to tie a knot in it as I could if it was a thinner piece. I had to improvise by wrapping a piece of wire around the base to pull the strings in the front and back together and also separate them in the front as shown in the second photo so that the pendant would lay flat.


This is what it looked like after I was done. Tie the loose string in the back to the length that you would like the pendant to hang.


This dress form is 1/4 scale, so the pendant looks way bigger then it actually is.


Thank you all once again for stopping by, and I hope that you enjoyed 
today's tutorial! You can find Creative Paperclay® at the following 

See more of my work at Melandolly.com, catch updates on 
my Instagram page and here is a link to my shop!


Friday, January 15, 2021

Be My Valentine


Just in time to create one of a kind Valentines for that special someone, or maybe just for yourself.  


Supplies needed for part one
"The Sculpting"

Creative Paperclay®
Cardboard
Masking tape
Aluminum Foil
Scraps of lace for texturizing
basic clay tools
small bowl of water
    Your imagination!  

To prepare supplies for step two:
 "The Painting and Finishing Details"

Acrylic paints the colors you desire
 *I used titanium white, linen, metallic champagne,  and color change pink
Gesso (optional)
paint brushes
paper towel
water
lace or ribbon for creating the hanging piece and bow
glue
buttons (optional)


A time lapse video is available by clicking on the video link below.  The sculpting of the project took about an hour, not including the drying time.  For best results let the air dry clay cure over night before sanding and then painting.  

PART ONE
"The Sculpting"

PART TWO
"Painting and Assembling"


If you have any questions about this project you can comment in the section below or send me an email at ArtbySusieK@gmail.com / Subject line Be My Valentine Tutorial.  


Enjoy yourself and take all the creative freedom you need to make this your own.  


         I invite you to visit my other art spots:

* @artbysusiek For Peculiar and Halloween

* @WillowHollowWoods  for Earthy Characters and Magick

* @FloorArtbySusieK  Art for your floors and other home décor

          CREATIVE PAPERCLAY® Design Team Member

Email ArtbySusieK@gmail.com


Wednesday, January 6, 2021

Taino Daka - Goddess Warrior - Creative Paperclay Bust


Happy New Year everyone!  I'm back with Taino Daka.  Part 2 of 3 - I posted the first of 3 parts of this project on the Creative Paperclay Blog last month.  You can see it here: 

Here are the supplies & tools you will need:
  • Creative Paperclay 
  • Aluminium Foil
  • Foam Ball
  • Bamboo Skewer 
  • Hot Glue
  • Leather or felt ( for base and shawl)
  • Yarn, ribbon, or strip of leather
  • Black Gesso 
  • Acrylic Paint
  • Spray Sealant  (Krylon Crystal Clear)
  • Sculpting Tools
  • Sandpaper 
  • Texture Sheets 

Build your bust out of aluminium foil.  Carve eye sockets and nose into foam ball.  Attach foam ball head with a bamboo skewer and hot glue.


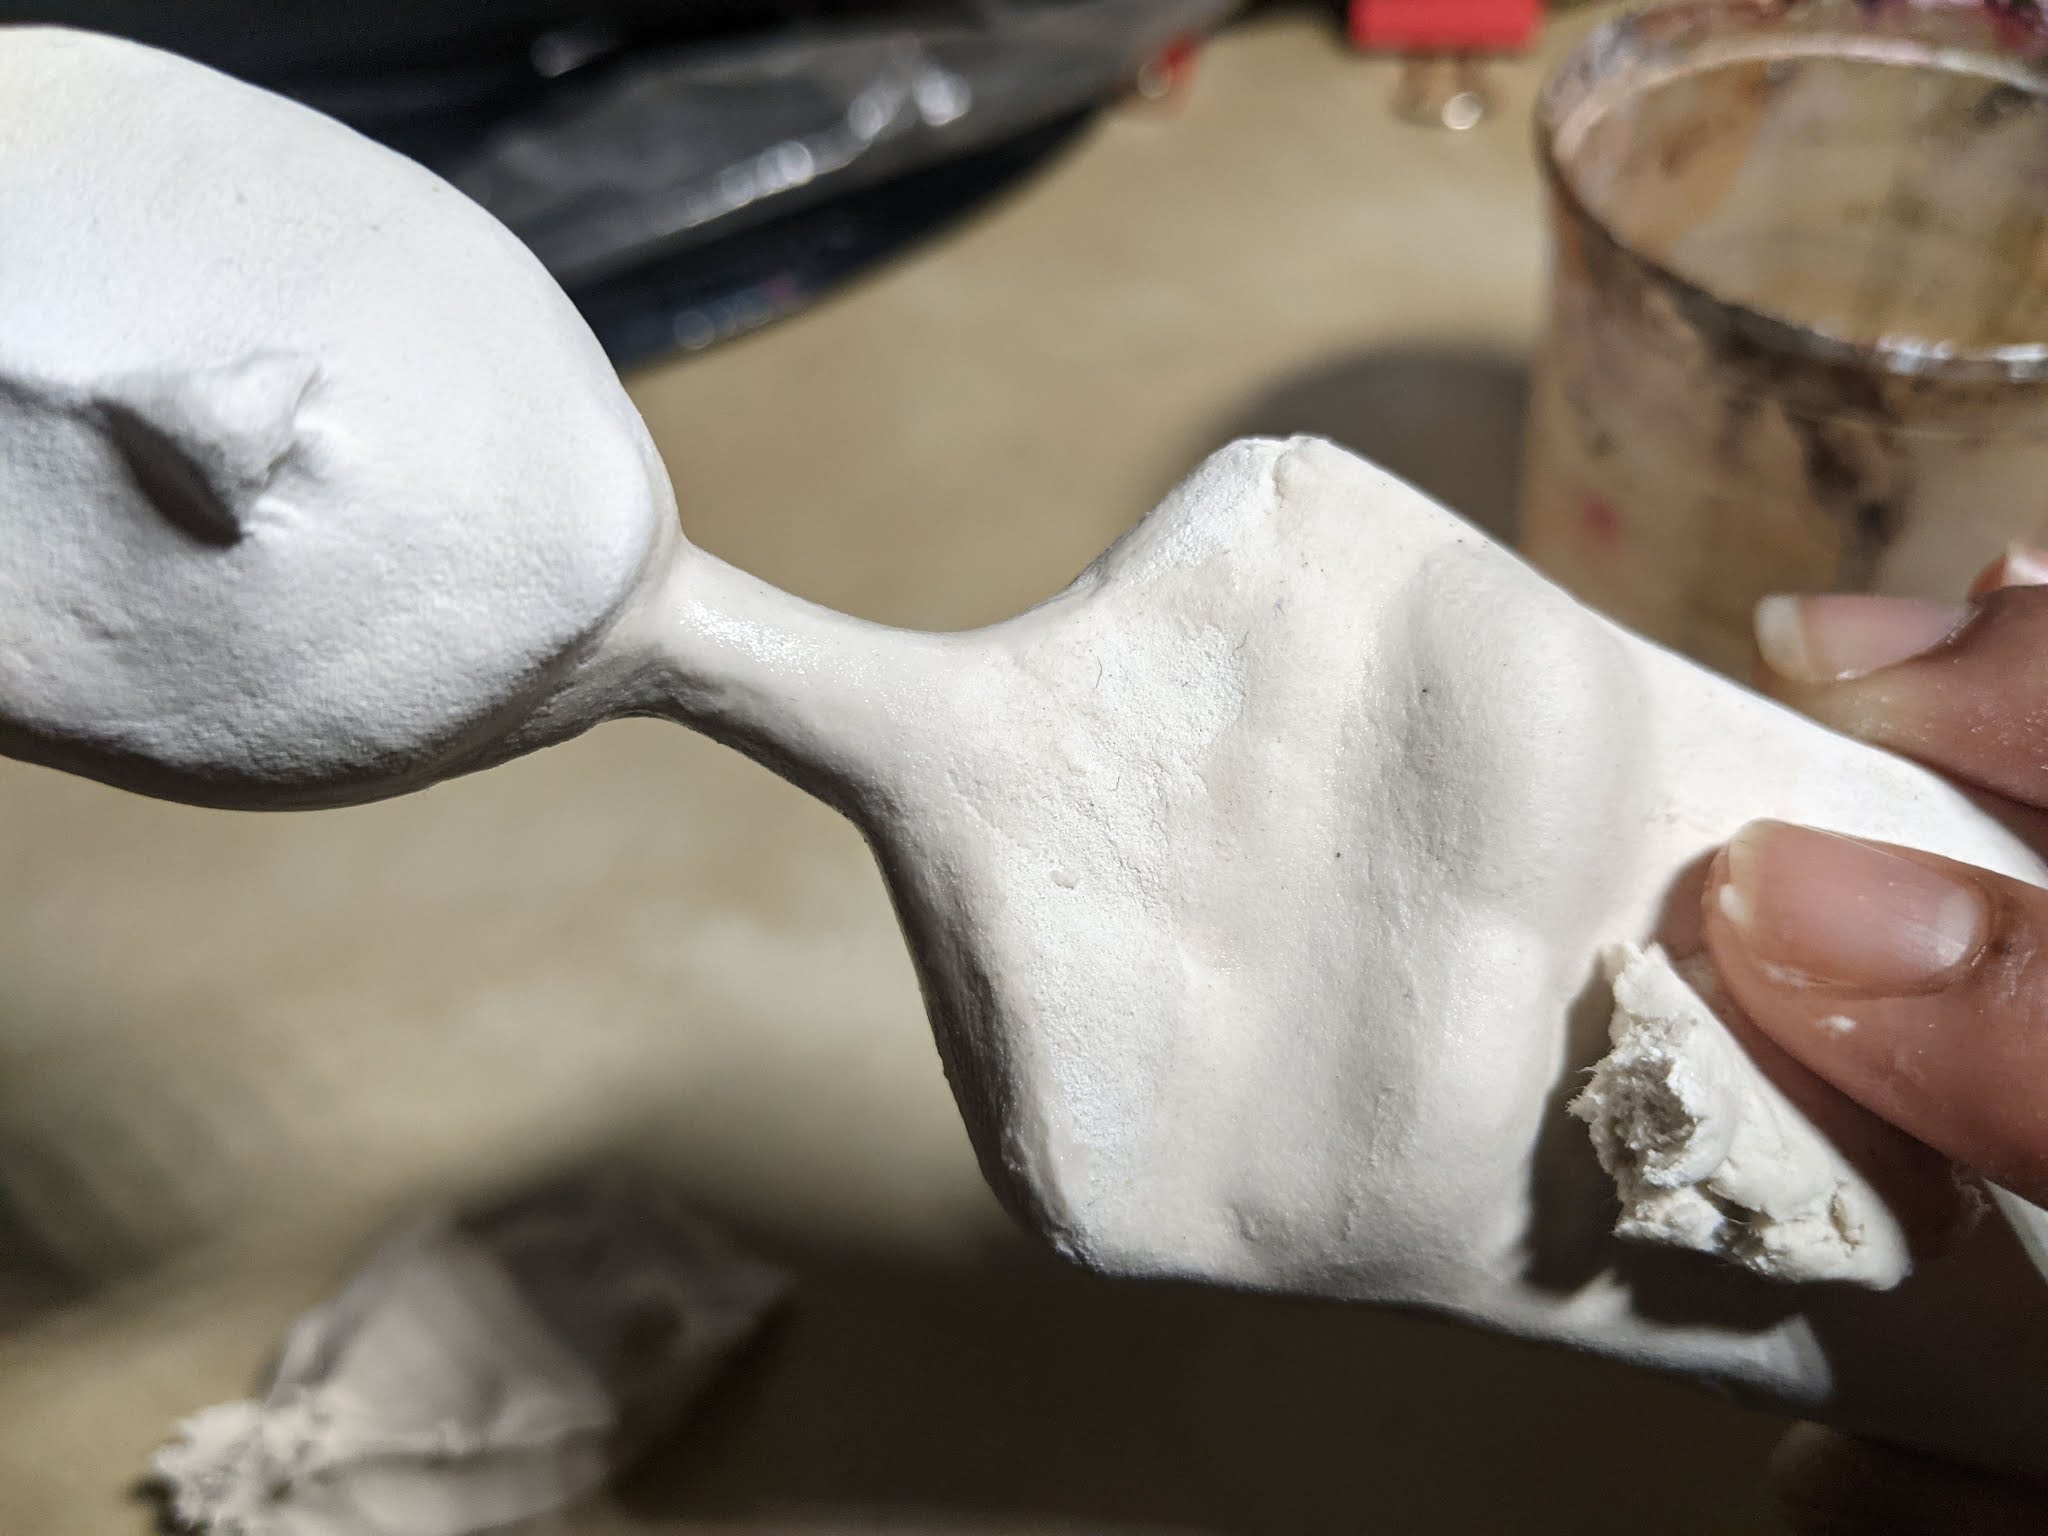
Cover the entire bust with a very thin layer of Creative Paperclay.  I was working with a very gooey lump of clay.  Yours will probably be much smoother than mine.  I let it dry up for a couple of hours to eliminate the stickiness.  


Add another layer of Creative Paperclay on the entire piece.  Smooth it out using tools, your fingers, and a bit of water.


Allow your sculpture to dry completely. 

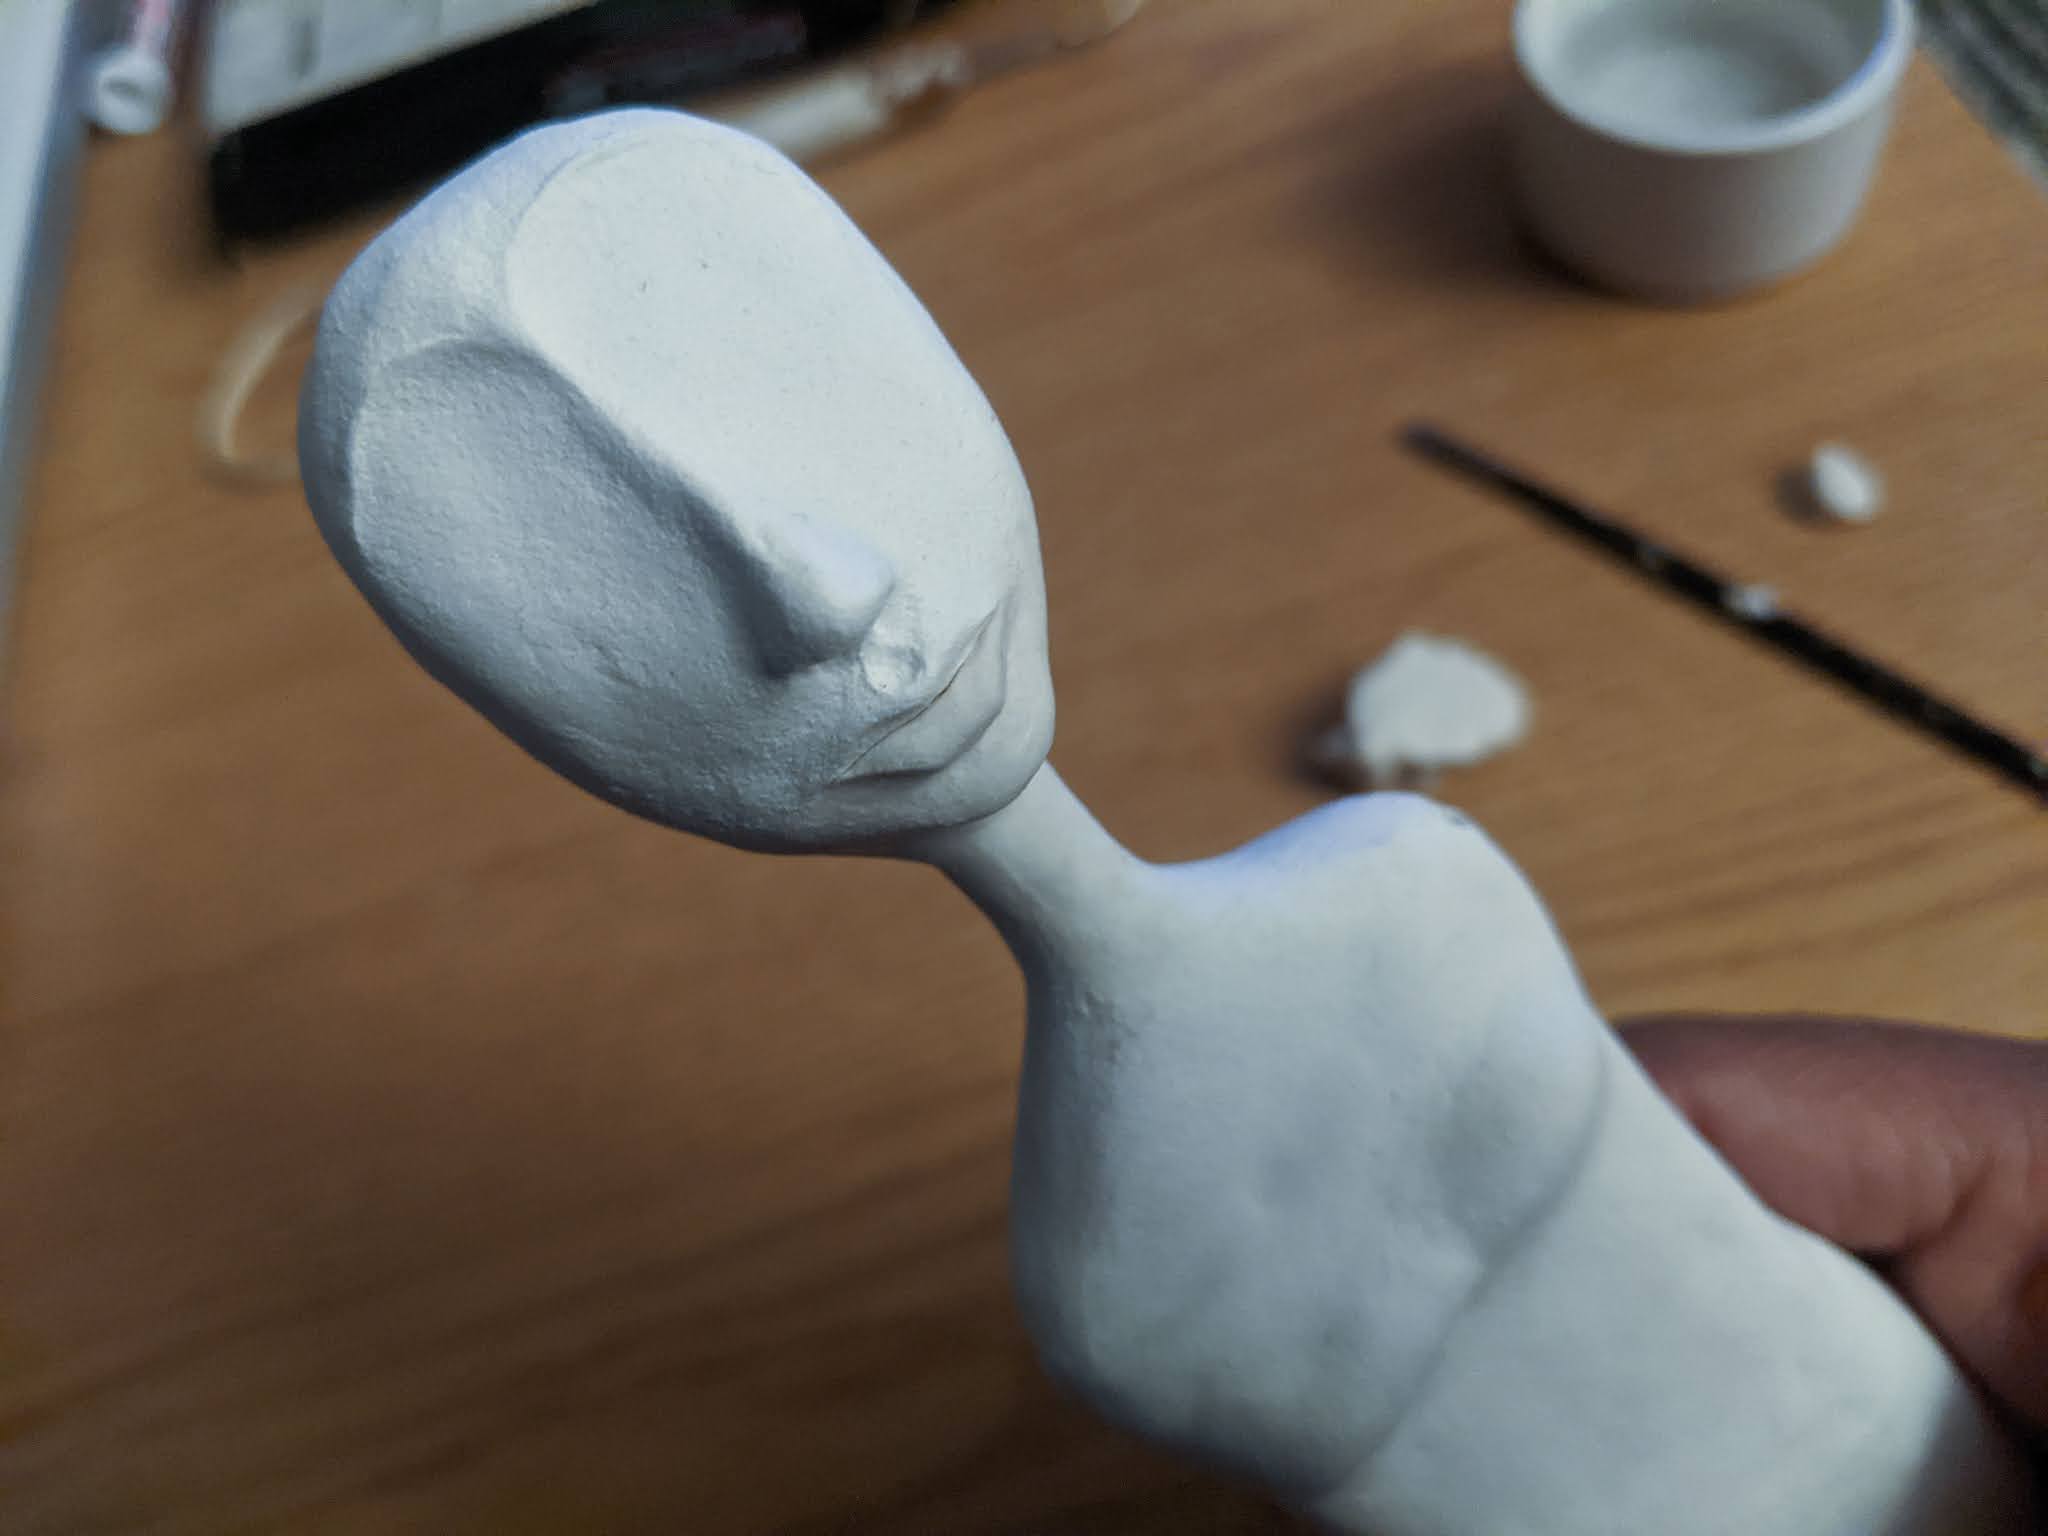
Once your sculpture is completely dry, sand off any rough areas.  At this point you can fill in any gaps or cracks and imperfections.  

Apply a couple of coats of black gesso.  Allow it to dry completely between coats.  You may need to do more sanding to smooth out imperfections that become more prominent or gesso stroke marks.

Paint the rest of the sculpture, apply a couple coats of clear sealants.  


Finish off by gluing leather or felt to the base.  Create a shawl with soft leather, felt, or other material.  Hot glue in place and tie in place with silk fibers, ribbon, or a  thin leather strap.  


Creative Paperclay® Online Store
Blick
Joann's
Michael's

I'll be back with more "What's On My Workbench Wednesday" fun on the first Wednesday of each month.

Until then, stay creative!

Chau!

LaLa

Instagram: https://www.instagram.com/redwoodcoastcreativearts/

Facebook:https://www.facebook.com/LaLaRedwoodCoastCreativeArts/

Pinterest: https://www.pinterest.com/lala_415/

YouTube: https://www.youtube.com/user/babylalamermaid1


Saturday, January 2, 2021

January 2021 First Friday Fan Day


Need some inspiration for your next Creative Paperclay® project? Check out what folks are making with Creative Paperclay™.


Sculpt a Leaf
Make a Dahlia
Teabag Holder
Decorative Clay Bells

Options for Glazing Air Dry Clay Projects
Making a BJD
Kid's Valentine Button

HELP US FIND YOU!!
  1. Use the hashtag #CreativePaperclay on all your social networks.
  2. When using Facebook, be sure the your posts and images using the #Creative Paperclay hashtag are set to public, otherwise we won't be able to find you.
  3. Share your projects on the Creative PaperClay® Facebook page.
I'm always trolling the web, looking for great Creative Paperclay® projects. If you find something, post it on our Facebook page.

GOT QUESTIONS???

Find the answers to your paperclay questions. See what other folks are creating. Stop by our Facebook group and say, "Hi!" Creative Paperclay Q&A
Carole

Friday, December 25, 2020

How to Make A Spring Base Sculpture


Hello and happy Holidays everyone! Cinnamon here and I am 
going to show you how I created this spring base sculpture. I chose to 
leave the piece as is but you could easily use the spring to put a skirt over 
it for the doll to appear to be standing on it's own, or use this to turn your 
doll into a tree topper. This can can come in handy in many different ways! 
The tools that I used are listed below.

Supplies: 
Creative Paperclay®
Masking tape
Pliers
16 gauge steel wire
Thin wire roughly 20-22 gauge
Cardstock paper or cardboard
Sand paper
Wooden Skewers
E6000 Craft Glue
Acrylic paint (optional)
Sealer, Varnish


Begin by getting your piece of cardstock and skewer prepared.
Cut the paper or cardboard down to the size that you would like to 
make your torso. Get your skewer and poke it through the middle
Make sure that it sits in the middle of where the shoulders are going
 to be. Get your masking tape and secure the paper to the skewer.


Start adding your paperclay to the torso. Get a second skewer and 
plot out where your holes are going to be for you to run the wire 
through after the piece dries. You would want to make these tunnels
before the clay sets and one should be in the middle where the waist 
would be and at the top where the shoulders are. The best way is to 
build up the torso around the second skewer
 and carefully slide it out before it dries.


This is the first rough layer of clay. Keep in mind that whatever weight
 you add to the front of the piece would have to be matched in the back 
as well for it to stay in balance on the spring. The holes are on the side
on the top and in the middle of the torso which is not easily seen here.
Set this aside and allow it to dry which would roughly be 24 hours.


Using another skewer for sizing purposes, begin creating the head for this
piece. I used a small piece of tissue paper so that the head is lightweight. 
It is important for the head to not be top heavy so that the piece
 can be in good balance with the body. Take a small piece of 
masking tape to wrap it around the tissue to secure it in place. 
Put the clay on top of the piece of paper while it is on the skewer. 
You will want to keep the front and the back of equal in the amount they 
protrude so that one side won't be heavier then the other. This is important 
to maintain the center of balance for the piece. Set the head aside to dry.


When the head and the body are dry, try fitting the head on the skewer 
of the body to make sure that it fits the way that you would like it to. If  
it looks good, take your e6000 glue and glue it on to the skewer. Set it 
aside to dry overnight.


Take your piece after the glue dries and cover up where the head
and the neck meets with the clay. This would be the time to build
up other pieces of your sculpture that you would like to fix.


Start working on the features of the face. I usually start working on the top
lip, let it begin to dry a bit and the begin working on the lower lip. 


I decided to sculpt the eyes closed. Make sure to try to keep
a sense of symmetry with the placing of the eyes. 


Scraping off the bottom of the lid to keep it to the same size as the
other one. Set the piece aside to dry again.


Use sandpaper to smooth down your piece. if you wish, this would be
the best time to paint your piece and seal it with varnish. I choose to leave it.


You should start out with at least 3 feet of wire, the longer the better. 
You can always cut off the wire that you don't need at the end. 
Take your wire and make a tight fold at the end so that 
there aren't any sharp parts sticking out. 


Start coiling up the wire in circles like a spring. Start with larger circles at
the bottom and get gradually smaller as you work your way up. You may 
need pliers to help you along the way, smooth out bends and try to 
shape the wire in a smooth circular pattern.


When you feel that your spring is at a good height, begin to run the top 
part of the wire through the tunnels that you made on the torso and the 
shoulders of the doll in the beginning of the tutorial. Run the wire from
the middle and make a loop up to the top as shown above. 


This is the hard part, getting your piece to be in balance. You will need to 
keep adjusting the coil of your spring to get the piece to sit right in the 
center of it. This part took me about an hour to get right, keep working 
on it until you get to a place that you are happy. 

This piece should be balanced in weight on the front and the back 
to make this work. If you are adding hair, keep it to a minimal so
 that the majority of the weight isn't in the back of the piece!


I added a little bit of reinforcement to the bottom of the piece with a 
thin piece of wire. Forcing the coil to keep it's shape and height at the 
bottom adds a ton of stability, this will help if you are having an issue 
getting the piece to stand up straight on it's own.


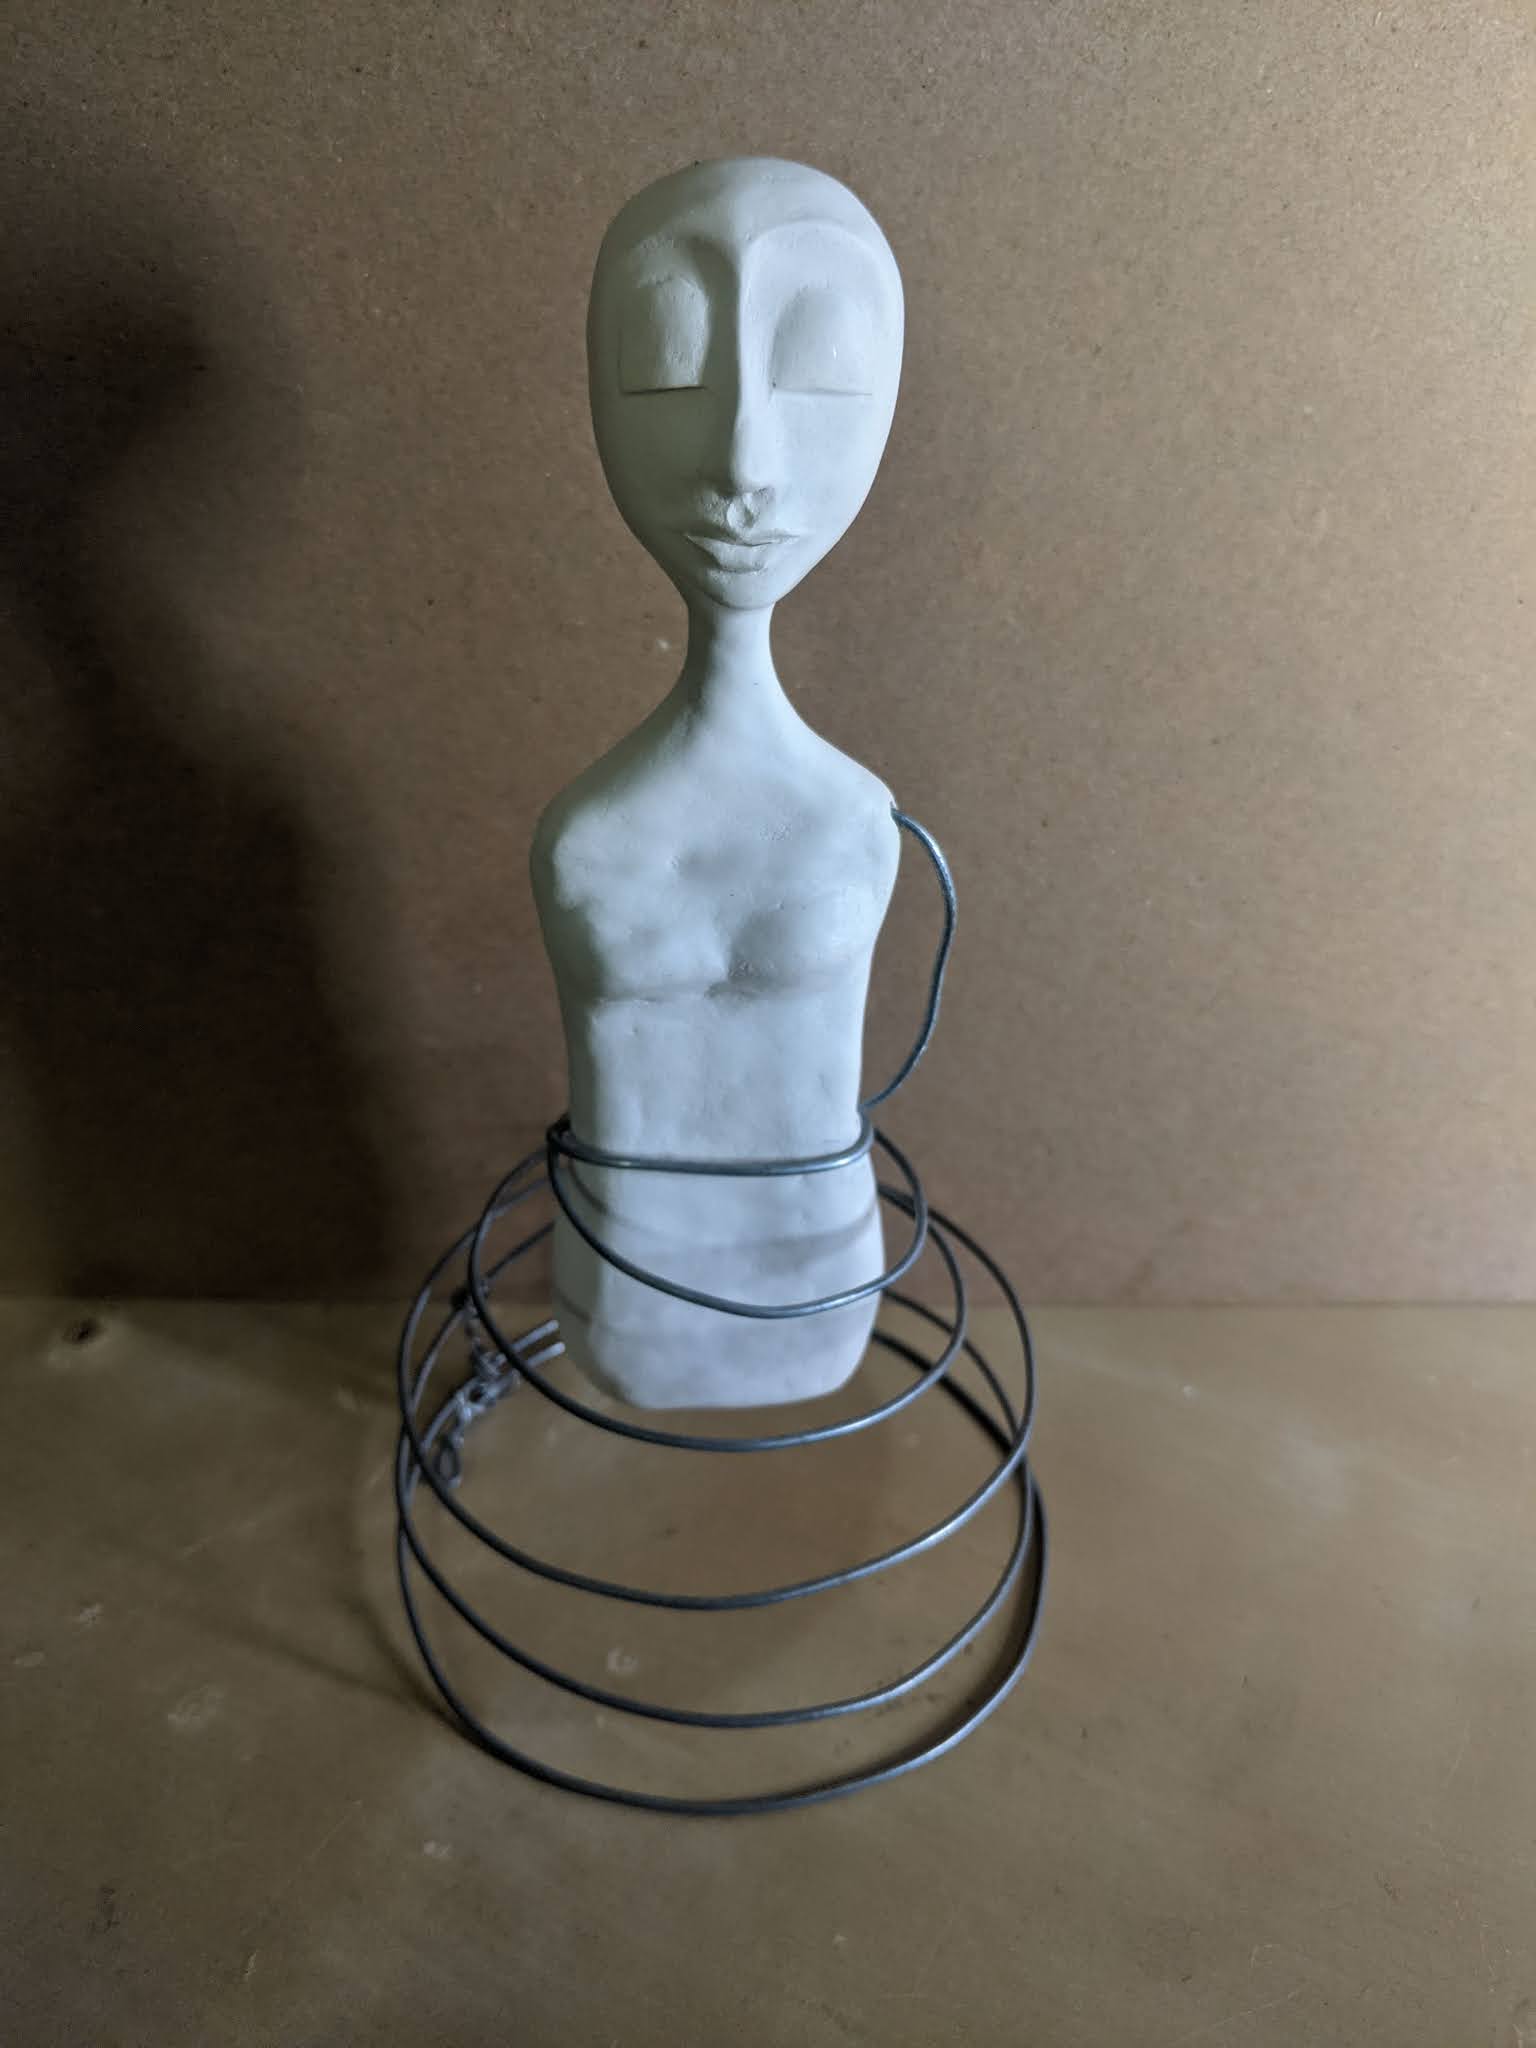
Here is the finished piece!


Thank you all once again for stopping by, and I hope that you enjoyed 
today's tutorial! You can find Creative Paperclay® at the following 

See more of my work at Melandolly.com, catch updates on 
my Instagram page and here is a link to my shop!