Showing posts with label Sandee's suggestions. Show all posts

Monday, June 20, 2016

Sandee's sugesstions

Well, what did I learn from the week before when I made my little mushroom door for my fairy garden?
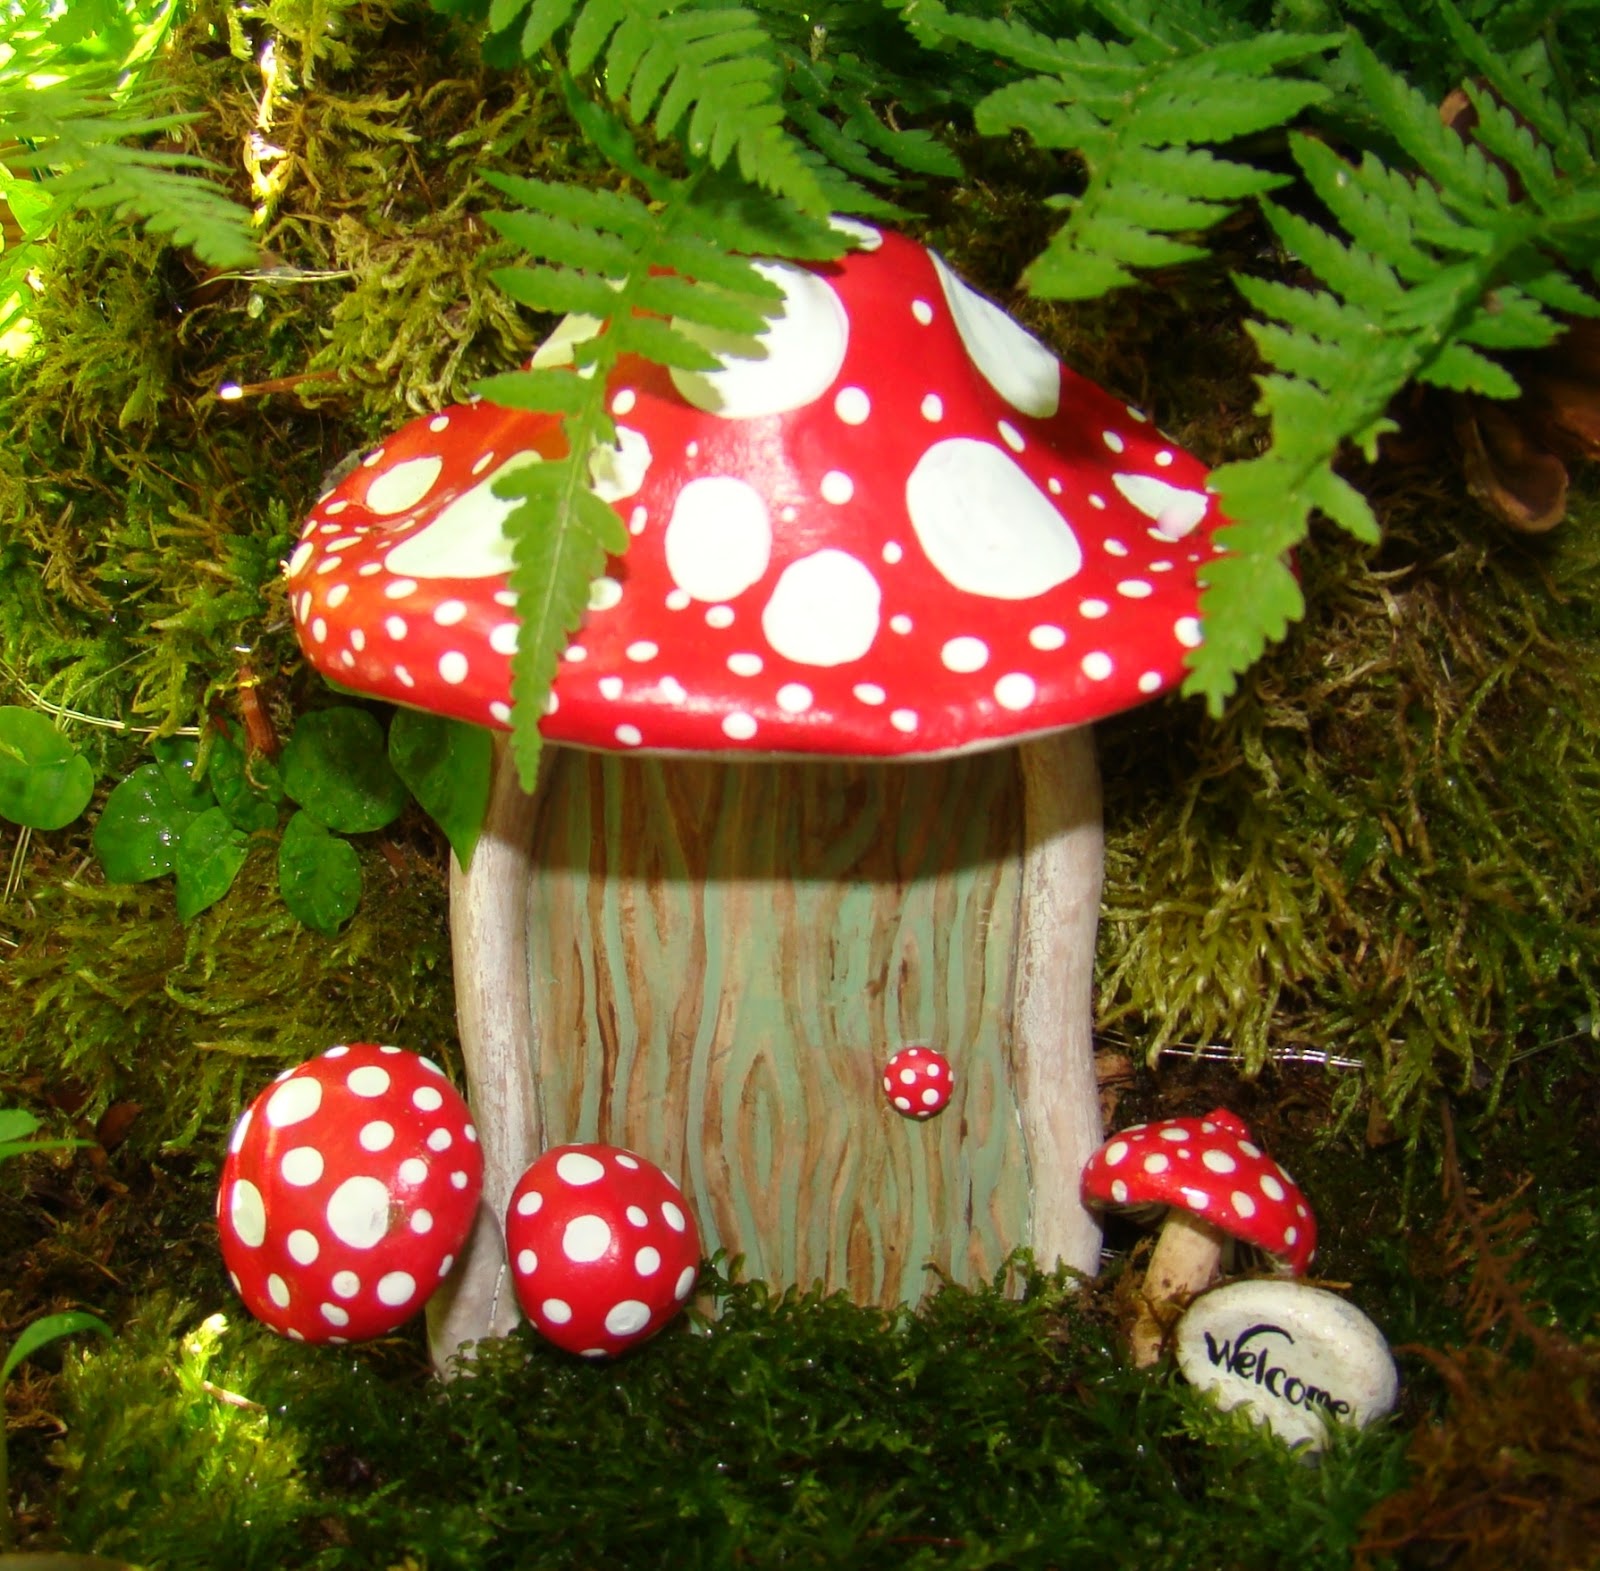
Pre-poke all your holes while the clay is still damp and then remove the objects before baking. After they have dried and cooled off you can re-reinsert pieces back into the clay with a touch of glue and you won't have to worry about anything cracking.

Reinforce heavy parts with a sturdy wire to make sure pieces don't fall over if they are not balanced like the top of the mushroom cap; which by the way, as thick as this piece was I had no cracking what so ever in it when it was dry.

If you want to have a curve to something you can use all sorts of items to set the curvature, just make sure to let the piece air dry and then remove said items before baking.

You might notice that all my pieces are on the baking tray, that's because I go ahead and move them over to the tray when I am adding the finishing touches so I have less of a chance damaging anything when they are ready to be baked.

Monday, April 18, 2016

Sandee's suggestions

When I take out my Creative Paperclay to play with I try and use up every bit, and it's great to have some embellishments on hand later. I already had some leaf embellishments ready to play with when I created my wall hanging, sometimes that can mean a lot. Afterwards I took the left over pieces one step further and painted all of them up while I was decorating the ones for the art piece. I figured why not even make it easier to use later on? I can always change the colors later on if I need to.


I also never miss a chance to make more embellishments too, and this time I added some faces to my supplies. I didn't paint these because they needed to dry first but the next time I need a face I'll have several on hand to experiment with.

I store each group in separate baggies so they are easy to find and easy to store.
Little things like that make art time even more fun!

Monday, March 21, 2016

Sandee's suggestions

Well, it's time for...what have you learned Sandee that another beginner might enjoy?

I have been learning and enjoying how flexible and forgiving Creative Paperclay really is. When I was working on my Book of Life canvas, I used a cookie cutter mold to make the bunny rabbit in ...which is when I ( by accident mind you ) discovered that Paperclay is quite flexible. 

Originally I made 2 rabbits from the mold ( just to make sure I had an extra in case I messed one up ) and when they both looked good enough to use I decided to stack them together to create some dimension and that's when I discovered I had pulled an ear slightly off when removing it from the mold.
 
(The bunny on the left has the "pulled ear" and I drew a line where the other ear goes so I would know where to put my glue, except I decided to stack them differently but you get the idea.)

But joy, joy, it looked great because that gave him a 3-D appearance!
( I love accidents, don't you?)

Next, I noticed that one of the feet had warped a little while it was drying and I love how wet glue just softens up the Paperclay enough so that you can clamp them together and it straightens itself out.

A little sanding and painting and he was ready to hop down the easter trail!

Hope everyone has a "hoppy" Easter!

Monday, February 15, 2016

Sandee's suggestion

I cannot, in all honesty, say I am adept enough to give you any tips or tricks dear Creative Paperclay readers as this is a delightful new world to me. However as a beginner I can suggest things that I am learning, and hope there is someone like me, who is learning along side me.

I can suggest that you brush a little baby/talcum powder along the edges of your plastic molds before pushing them into the clay so they don't stick. It doesn't take much and makes a world of difference when lifting the molds from the Creative Paperclay.

If the clay adheres to the mold you might get results like this. The bottom part of the chin and mouth became distorted when I had to pull it from the mold because it was sticking, and the eyes are also stretched, making one larger than the other.
( I might have to use this in some Halloween project, it looks like a very scary clown face to me! )

When in fact it is suppose to look like a sweet little girls face, 
or at the very least a sweet little clown face?

Hopefully, you will be seeing her in my next post :)