Showing posts with label slip. Show all posts

Saturday, September 27, 2014

Let's fix that crack!


Hi, it's Donna here from Memes Art Place.

I am up this week. I hope you are ready for fall! It is here and with that, it brings more crafting time! I know that summertime we all are having picnics and family time. Now that fall is here we start thinking of Halloween and Thanksgiving and then, dare I say Christmas? UGH!

Well good thing we are not doing Christmas today!

Today I just want to remind you that cracks do happen! When they do it is important to have slip made and ready to be used! Look at those cracks I have. It is okay, we can fix this.

 My slip is already made and is stored in this little plastic tub. I have just added some harder pieces of Creative Paperclay® to this container. I just add a little more water and mix it up. I do this when a piece of the Creative Paperclay® gets left out a little to long, I just plop it into the slip container and add a bit more water. Now none goes to waste!
 Here is where I have done the repair on my cracks. I used a paint brush to apply some water to the area where the cracks needed to be repaired and then just added slip into the cracks. Once this was done. I smoothed it out a bit with a larger brush.
Smoothed out a bit more. That is it! Just make sure you have plenty of water and slip and you will be able to fix all the cracks you have!
 I put this together at the same time, but it did not crack at all!
 Nor did these!
Can you guess what Holiday I am working on?

Halloween! It is a favorite!

Speaking of witch (which), are you linked up for our Blog Hop?

It is coming fast and we want YOU to join us!

Link Up Blog HOP
 

Make sure you link up by October 7th............It will be a spooky good time!
 
I have given you a sneak peek of my project, can you guess what it is? It is the one with all the cracks in it! It is turning out so cool......you will have to Hop with us to find out what it is!
 
Thanks for stopping by the blog today and I hope you will join us again soon!
 
Donna
                                                                                                                                                                                                                                         

Monday, February 17, 2014

Let's Experiment! Tip #4 by LeeAnn Kress


Hi Everyone!

Welcome to the the Creative Paperclay® Blogsite!  Happy Monday!

Most of us are lucky enough to have today off ... me too!  So, since I am relaxing around the house, I decided to experiment with some paperclay.  This experiment is kinda off the cuff for me ... and I figured that I would share whether this experiment went good or bad.

I wanted to see if Creative Paperclay® could be made into something with the texture of frosting.  I have a wonderful faux frosting recipe that I came up with years ago, but I am always looking for new ways to incorporate the confections style/look in my art.  Why not with clay?

(All my comments will be below the picture I am referring to.)


So, I took some clay and put it in a plastic zip lock bag.


Next, I added a little water ... a little at a time.  I am looking for the consistency of frosting.  Seal your bag and squish it up really well.  Next time, I think I might try using my blender that is specifically for clay.  That would be better ... and faster too!  Try and get it really smooth, creamy, but not runny.


Here I am using a frosting tip and a cake decorator bag.  I tried using a tip at the bottom of a zip lock bag, but when I put pressure on the bag the tip kept ripping the zip lock and then the tip would fall out.  LOL!  That was a failure!  A frosting decorator bag was the answer as it is thicker and sturdy.  The tip stayed secure.  Yay!


I placed down a sheet of wax paper and started to squeeze out the clay through the tip.  Now, I am not a professional cake decorator ... far from it.  But, I am brave enough to try it out.


Here is my practice sheet of wax paper.  I am pretty happy with my first attempt.  I will definitely need more practice.  However, I can see those cute flowers painted up as they might make really cute embellishments.

The great thing about this, is if you don't like any of it, scoop it up and put it back in to the frosting bag and try again.  If you have left over clay, put the remainder in a container and make slip with it.  Slip fills in any cracks you might have with a project you are working on.  It is essential to have on standby.  A couple of our artists here on the Design Team have mentioned how to make slip on this blogsite.  If you have left over clay, slip is a good thing to make and easy too.  No clay goes to waste.

So, my tip for you this month is EXPERIMENT!!!    

If you have tried a new technique with Creative Paperclay®  (good or bad) leave a post here and tell us about it.  We would love to hear the good, and maybe the Design Team can help with any bad experiments.  We would love to help your experiments grow!

I hope you enjoyed my post.  If you have time stop by my blog at www.charmedconfections.com and say hello.  There you will find all my other creations in clay.

Until next time!  LeeAnn

Friday, February 14, 2014

Slip Slidin' Away


Slip sliding away, slip sliding away 
You know the nearer your destination, the more you slip sliding away


Hi, there!! Carole from Create & Craft with a tip for working with clay. In many of my projects I use slip. Slip is a "liquefied suspension of clay particles in water." Fancy way of saying watered down clay. You can learn how to make your own slip from Diane's blog post. Slip is like good wine—it improves with age. As it gets older, it gets smoother and creamier. I add a drop or two of chlorine bleach to my slip to retard mold growth. Yes, I keep it that long.

To me, slip is like magic—it covers a multitude of sins. I'm not a big fan of sanding. So, I've discovered that adding a coating of slip to a dried piece, and letting it dry again reduces, and in some cases eliminates, the sanding required. It can also produce a great vintage aged texture. For this technique, the slip I use is the consistency melted chocolate.

I used this technique for the piece that I'll feature in my next blog post. Here's a sneak peek. 

Sunday, January 19, 2014

A "SLIP"pery Tip, by Diane

Hello and welcome creative friends!
Diane here, ready to share a tip that I use everyday in my studio, while working with Creative Paperclay®

I'm going to talk about "SLIP" 
Slip is something I like to keep right on my worktable at all times while sculpting. 
When I create a sculpt and it has dried, sometimes there will be a few small cracks on my dried piece.
There are several methods for filling those cracks, but for me I have found that filling the cracks in with slip is a quick and efficient method. 
This is how I create my SLIP.

Making a batch of slip:
When I am working with my clay, I may have small scraps. Those little scraps dry and get a little crusty on the ends very quickly and I don't want to use those crusty pieces on my sculpt....


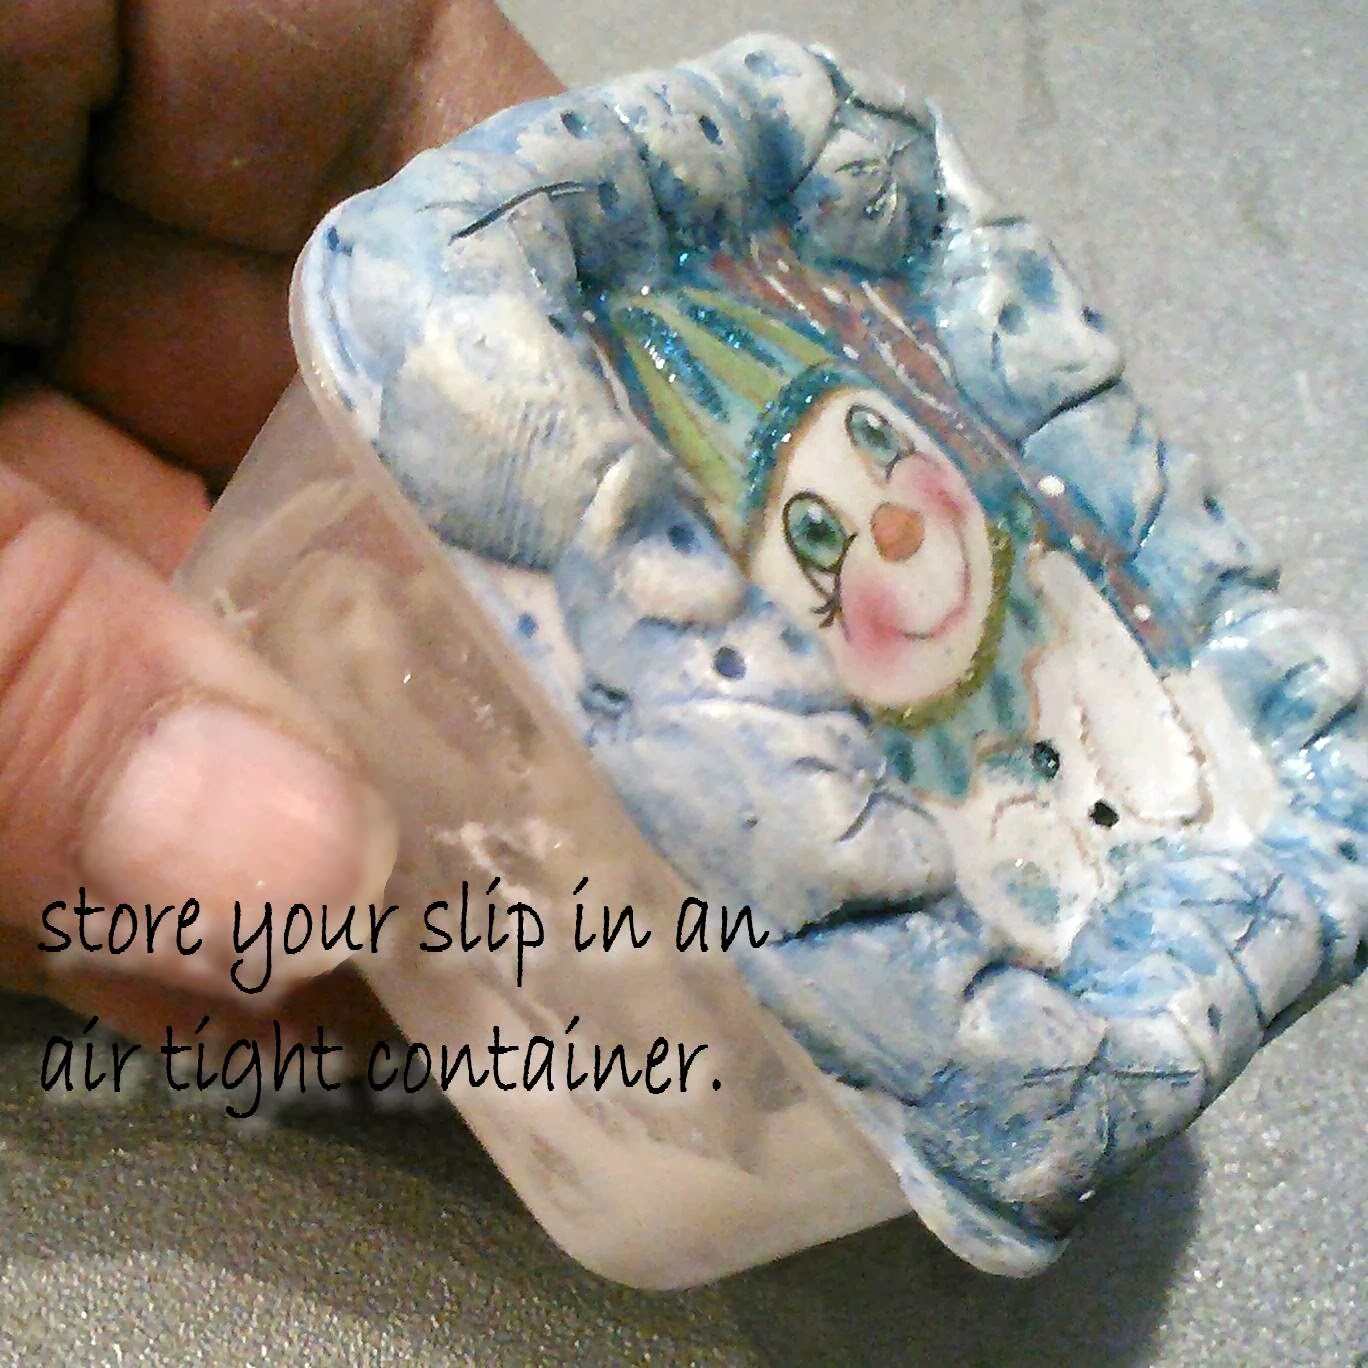
So, they get tossed in my little air tight plastic container.
As you can see in the pic above, I break the clay up into small pieces. I add just a little water, maybe a teaspoon or so. Then I place the lid on the container and let it sit a couple hours, or sometimes overnight if I get sidetracked..


When you come back to your slip it will have absorbed the water and have a fluffy, yet slimy appearance.
I stir it up and try to get all if any lumps out. You want it to have  smooth consistency. I try to get the consistency a little thicker then cake batter... maybe a thick mustard. I add a couple drops of white glue ( Elmer's) and mix it well. By adding water, its breaking the clay down and loosing some of its strength. By adding the glue, it gives the slip its strength back when dry and it also adds to the nice smooth flow and ease when filling in your cracks.


Here is a crack that I am going to fill in.


With my paintbrush I apply the slip to the crack.


Work your slip in the crack and smooth out. Allow to dry thoroughly, then sand your sculpt.


after filling in all your cracks, replace  the lid to keep your slip slippery ;)


Thanks so much for stopping by to see one of my tips. I hope it has been helpful with your Creative paperclay®  journey!
~ Diane
dianiemacdegns.blogspot.com