Monday, August 14, 2017

How to make Butter Slime with Delight™ Clay and Contact Solution

Hi Friends:  Did you know that you can make Butter Slime with Delight™ Modeling Compound and Contact Solution?  It's pretty easy to do, and it makes your Slime flexible while still allowing it to hold it's shape - and it spreads like butter!  I really thought that Slime was just for kids, but I had so much fun making this Butter Slime - it made me laugh and giggle just playing with it!

Butter Slime


Here are some photos showing how well it holds it's shape:

Butter Slime Shapes


Butter Slime Pretzel

Earlier this month, Creative Paperclay® DT member Suzette used a recipe with Borax.  Today, I'm going to use a recipe with contact solution - something many of us may already have on hand.  I tried a couple of different recipes - here's the one that worked best for me:

Recipe:  Mix together the following ingredients in the order shown
1/2 cup white glue
1/2 cup water
Coloring medium / food color
1/2 teaspoon baking soda
1-2 tablespoons Contact/Saline Solution - it must contain Boric Acid to work - add slowly until the Slime starts to pull away from the edges of the bowl

Remove from the bowl, then knead in:
1/4 cup Delight™ Modeling Compound

HAVE FUN PLAYING!!!

Directions: Please see my video tutorial for full details on making this Butter Slime:


Supply List:
Delight™ air dry modeling compound
white glue
water
Stampin' Up! Reinker - Brilliant Blue
baking soda
Contact/Saline Solution

I hope you enjoyed learning how to make Butter Slime with Delight™ and Contact Solution. Thank you so much for stopping by the blog today. Have a great, creative day! -Patti


Thursday, August 10, 2017

Pirate Treasure Chest and Booty!

Arrgh!
It's time for a Pirates treasure chest and the booty to go with it!

Hello there, it's Meri from ImagiMeri's Creations.  I found a wooden box laying around the studio and I thought it would make a great little treasure chest for my grandsons.  Since there are three grandsons under the age of 3, I have to make the treasure (booty) large enough that they can't swallow it and I also thought we could make a fun game of finding the treasure around the house.  You can make this with any cardboard box, too.  Here's the directions and supplies:

These are the different finishes I used for the treasure box
and the coins themselves.

Gloss brown paint, gloss black paint, two-part Folk Art rust
paint, Decoart fluid media's, Inka gold paste, and Elegant
Finish bronze paint.
These are the supplies used to create ornaments for the treasure box and also to create the coins.

Creative PaperClay, wooden box, corn starch, brush to apply
corn starch to mold, rolling pin for clay, knife, sandpaper,
tacky glue, water and clay mold (Prima).

First I had to sand down the wooden box as it had a shiny
lacquer surface.
I then proceeded to set up my Prima air dry clay mold.
Using a paintbrush, I dabbed cornstarch into the mold.  This
will help make the release of the clay easier.
I gently tapped out the excess cornstarch.
Using a ball of clay I then flattened it out into a pancake and
then placed it over the part of the mold I wished to use.
Using my knife I then proceeded to smash the clay into
the mold while at the same time scraping away the
excess.  I did this carefully so as not to shred the clay
already in the mold.
Once I had it nice and level I then placed it in my little
toaster oven set at 250 degrees.  I only let it set for about
10 minutes and then pulled it out.  I was able to remove the
piece just fine (using a potholder to hold the mold) and
put it aside.  I then proceeded to make three more (one extra
in case I messed one up).
Here they are, not completely dry, but sturdy enough for me
to work with.
When you can handle them without fear of breaking them, you
can then start cleaning off the "fringes" around the edges.
I use an Xacto knife for this.
I have measured and found the center of my box top.  Using
the Tacky glue I then glue three decor pieces down and let
them dry.
I didn't show this in the supplies, but I found some gold
Dresden in a Greek key design and thought I'd add it around
the edges.  You can definitely add whatever you feel like
to your creation.
This is after one coat of gesso.
Second coat of gesso.
While the box was drying I rolled out some clay, used a round
cookie cutter and cut out some large 3" rounds.  I then pressed
them into one of the designs in my mold to make them look
like "Royal" coins.
After much painting and layering of finishes, I'm done with
the Pirates treasure box.
Golden coins, too!

I hope you enjoyed this project.  Please leave a comment and let me know if you give this a try.

Hugs,
Meri

Tuesday, August 8, 2017

Owl creative paperclay tutorial

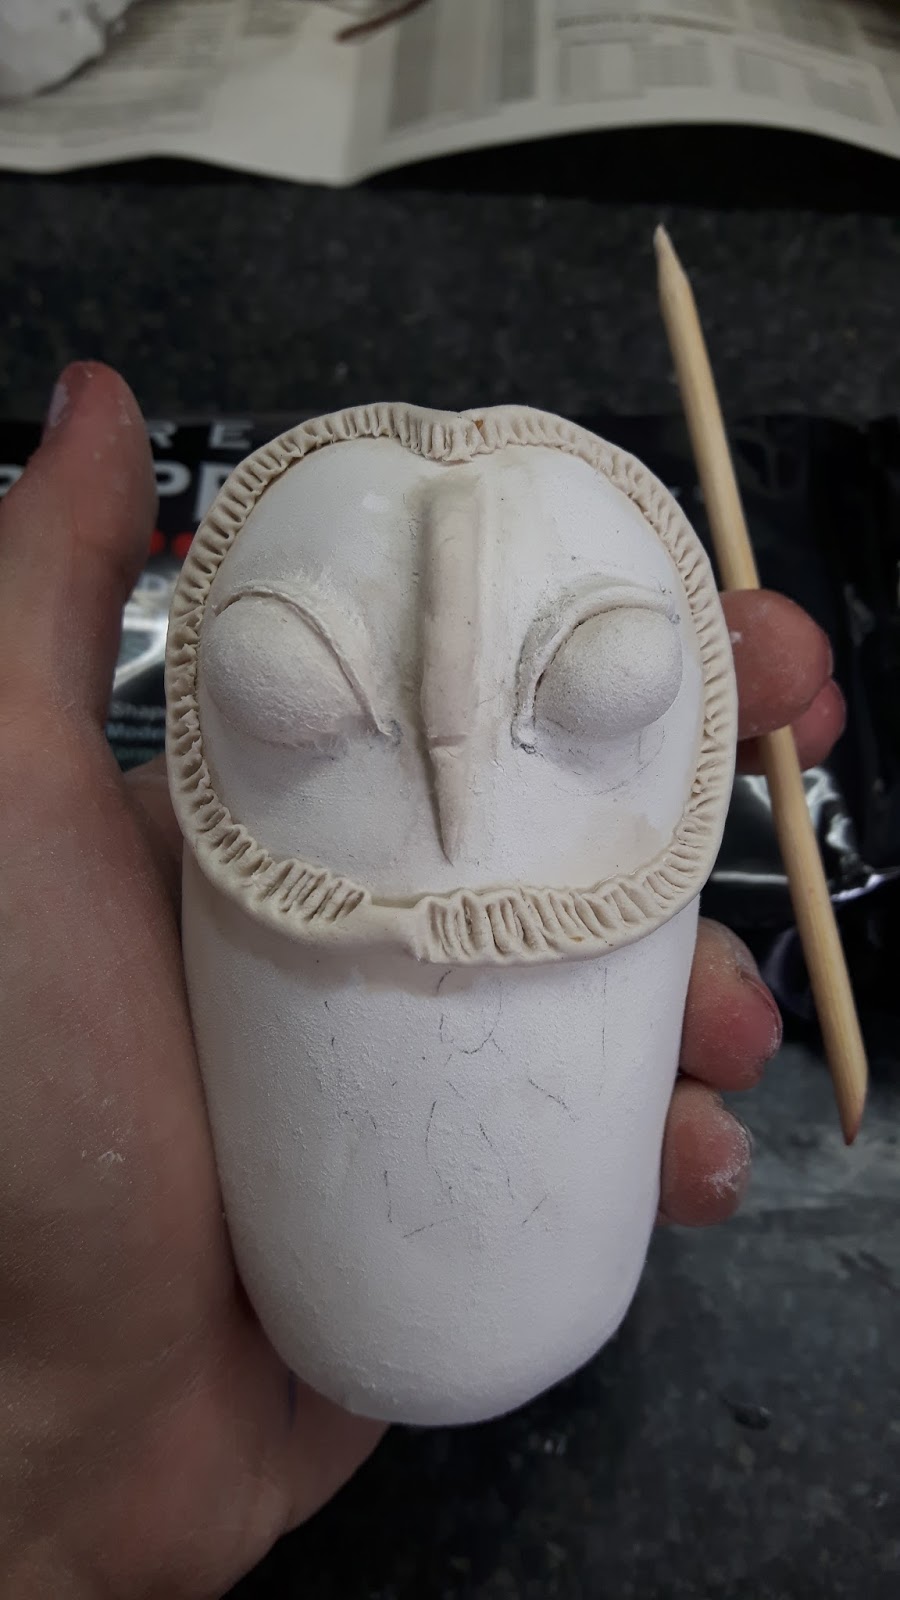
Hi! This time we are going to sculpting a beatiful owl with Creative paper clay.
¡Lets have fun!.
Materials needed :
-Creative Paperclay
-Alumine foil
-Acrilyc paints
-250 sand paper
-Masking tape
-Wire
1-Make a roll with alumin foil and cover it with a masking tape


2-Then cover it with the paperclay

3-Draw the next pattern:
4-Start with making tiny rolls and put them over the eyes.
5-Make some balls and put htem in the place.
6-Make ther nose with a roll
7-Put some big roll around the head.
8-Make the texture with a wood pencil
9-Put some rolls under the eyes.
10-Start to make the lace


11-Start making the Owl's feet with the wire in two sections like this:
12-Make this pattern for the wings

13-Now cover the Owl's feet with paper clay and  paste the wings to the body with some water

And now you can paint it like you want,here is mine!


Monday, August 7, 2017

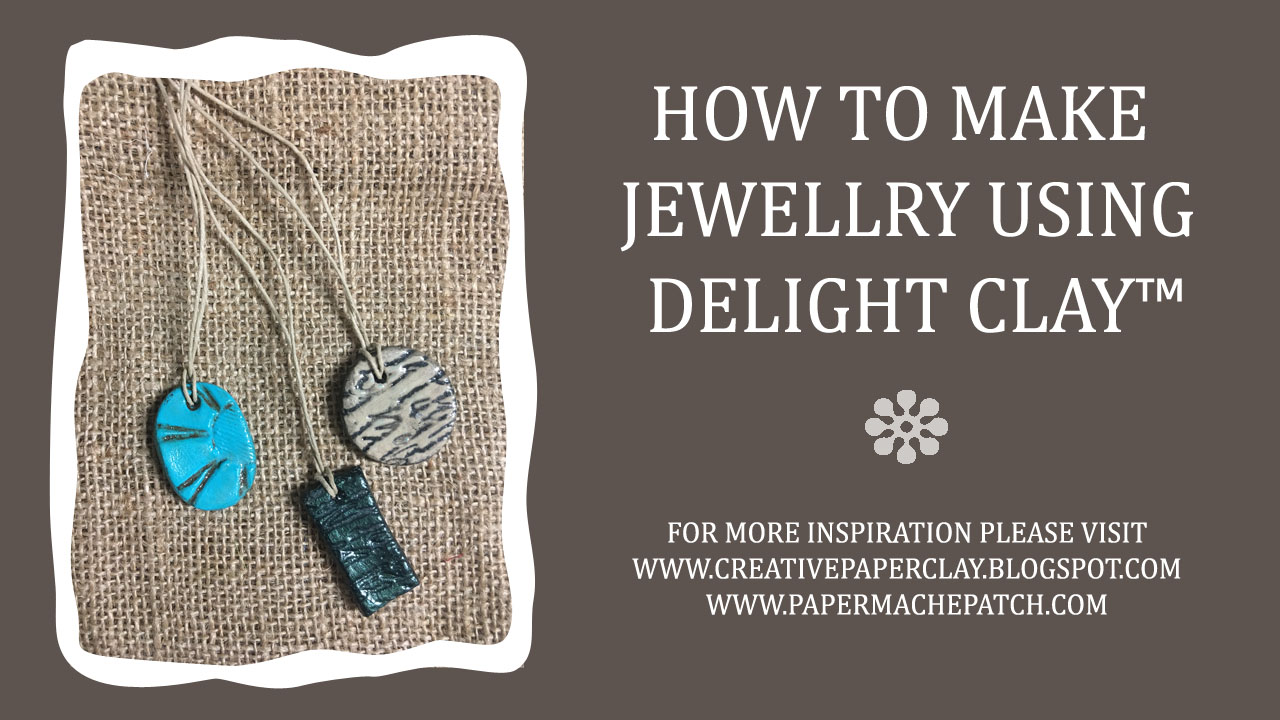
Making Jewellry with Delight™ Clay


Delight™ Clay is so light it's great for making jewellry! Today I will show you how to make these wonderful pendants using Delight™ Clay and a few other supplies you should have laying around the house. Let's get started!

Supplies needed:
Rubber Stamps
Clay or Cookie Cutters
Craft Knife
Craft Sticks and glue
Baby Powder
Paint Brush
Acrylic Paint


Step 1:

Glue two sets of craft sticks together. These will act as a guide for rolling out clay more uniformly.

Roll out the clay between the craft sticks. 


Step 2:
Press your rubber stamps into clay.


Step 3:
Use you clay/cookie cutters to cut out shapes.


Step 4:
Use the end of a paint brush to poke a hole at the top.


Step 5:
Leave to dry.

Step 6:
Apply a coat of gesso and put aside to dry.


Step 7:
Paint with acrylic paint and let dry.


Step 8:
Paint with a contrasting color and immediately wipe off with a paper towel. Alternatively you can brush with a mica powder. See video for demonstration.


Step 9:
Varnish and set aside to dry.

Step 10:
Add your favorite beading cord or string.


Follow along in this short video to learn how to make these fabulous pendants using Delight™ Clay.


Thank you for stopping by! Please be sure to visit me at www.papermachepatch.com for more inspiration and great tutorials!

Happy Crafting!
Suzette