Monday, July 29, 2019

Want to make a whimsical Owl ?


Supplies needed with this project:

Small Cannonball Gourd
Paint Brushes
Container with water
Glue
Plaid Paint - White, Purple Flash/Color shift, Moon Yellow,
Wild Iris, Ocean View, and Gentle Violet


Assemble materials that you have and choose which ones you would like to use. I chose the small Cannonball Gourd that you see in the background. You get a general idea of the size by looking at it and the cup.


Start by making all of the extra pieces of clay that you will need to assemble your owl. The points on the owl's head were attached to start with and also the beak.


The thicker the Paperclay, the longer it will take to dry. These Paperclay pieces took two days. I used the wooden dowel that you see in the picture to roll out the Paperclay, like you would a pie crust. In this case the clay was rolled approximately 1/4" thick. The points on the head and the nose were sculpted free hand and the eyes were cut out with metal circles, much like cookie cutters. You can purchase them where you find clay. I used the clay tool in the picture to make the markings and holes.


I chose several different colors of Plaid Paint . The body of the Owl was painted with Purple Flash-Color Shift paint. The rest of the owl was painted in the other colors of regular acrylic Plaid Paint in: White, Moon Yellow, Wild Iris, Ocean View, and Gentle Violet.


After everything was painted, the eyes and feet were attached with glue. Not all sculptured pieces have to be precisely like the original, live animal. I love whimsy and loved making this cute owl. I think you would too. If you're not a gourd artist and have them laying around, I'm sure you can find another ball to create your whimsical Owl with. Play with your Creative Paperclay and see just how much fun it can be! 

Please leave me a comment as I do read them.

Barbara

Friday, July 26, 2019

Create a Miniature Faux Animal Head Sculpture

Hello everyone, Cinnamon here again! Today I am going to show you all how I created this faux mounted animal head. After seeing the Stettheimer Dollhouse on display in the museum of the City of New York, I was inspired to work in small scale. You will need the following supplies:

Supplies: 

Creative Paperclay®

Masking tape
Small wooden base
Twigs or anything that could pass for antlers
Cardboard
Exacto Knife
Small hook with a screw for mounting
Drill
Sand paper
E600 Craft Glue
Acrylic paint
Sealer, Varnish


I started out with a piece of cardboard folded up and taped with masking tape to form the neck for the animal head. 


Start to build your animal onto the tube that you created with the Creative paperclay. Make sure to set your ears in the right position according to the type of animal that you are trying to create. Keep in mind that this will be later glued to a baseboard. Try to sculpt the piece so that it sits on the angle that you would like it to be on once it is hung on the wall to avoid having to alter it later. (I will show you how I altered mines below.)


Once you are all set with the positioning of the ears, take your twigs or whatever you decided to use for antlers and stick them in the clay while it is still wet. I used some dried up stems from my orchid, use what works best for your piece. Set the piece out to dry.


Once the piece is completely dry, if you are not happy with how the base sits on the piece, you can alter the bottom of the neck as I did here. As I have mentioned earlier, it's much easier to sculpt with this intention in mind so that you could avoid this step. Sand the back flat so that it can sit flushed on to the wooden base.


Here I am using a drill and securing the hook on the back of the baseboard with a screw. Make sure to place a block of wood underneath so that you don't drill into your table!


Okay, I know what you are saying, "oh another gold sculpture". I apologize, I just love making metallic gold and bronze pieces now! Feel free to paint your piece whatever color you would like, spray a coat of varnish on it and then glue it with the E600 craft glue to the base.


Behold, a tiny mounted animal head sculpture! 

Thank you all once again for stopping by, and I hope that you enjoyed today's tutorial! You can find Creative Paperclay® at the following retailers Creative Paperclay® Online Store, Michael'sAmazon, Joann's.

See more of my work at Melandolly.com and be sure to catch updates on my Instagram page


Friday, July 5, 2019

July 2019 First Friday Fan Day


Need some inspiration for your next Creative Paperclay® project? Check out what folks are making with Creative Paperclay™.


Wind Charm
Votive Holders
Necklace Made with Clay Beads
Napkin Rings

Clay Rose Tutorial for Beginners
Dry Erase Board (or Picture Frame)

HELP US FIND YOU!!
  1. Use the hashtag #CreativePaperclay on all your social networks.
  2. When using Facebook, be sure the your posts and images using the #Creative Paperclay hashtag are set to public, otherwise we won't be able to find you.
  3. Share your projects on the Creative PaperClay® Facebook page.
I'm always trolling the web, looking for great Creative Paperclay® projects. If you find something, post it on our Facebook page.

GOT QUESTIONS???

Find the answers to your paperclay questions. See what other folks are creating. Stop by our Facebook group and say, "Hi!" Creative Paperclay Q&A
Carole

Monday, July 1, 2019

Seaside Shells with Delight Clay™

Hello and welcome to another blog post. Today I am continuing with my seaside theme. We will be making some shells using Delight Clay™ and a mold. 


Supplies needed:

*If you don't have these use a pearl acrylic paint.

Follow the steps below:

Begin by adding a drop of off-white acrylic paint to the Delight Clay and blending. This will give a nice base color for the shells.


Now press the clay into the mold.


Gently remove and set aside to dry.

Trim the edges with scissors if necessary and sand away any uneven bits. I nail file is perfect for this.


Apply a coat of clear gesso and allow to dry.

To finish off, mix a bit of gold mica powder with an acrylic glazing medium and use to paint the shells.


Arent those beautiful! And they were so simple to make. Be sure to save these as we will be using them on a mixed media board soon. Next month I will be making corals, also with Delight Clay™ so be sure to subscribe so you don't miss out.


Thanks so much for stopping by. You can share your creations with us on our Facebook page. We would love to see them! For more inspiration have a look around the blog. There are tutorials for many levels using Delight Clay™ and Creative Paperclay®. You can also visit my blog www.papermachepatch.com.


You can find Delight Clay™ online at Creative Paperclay Co and also at Michaels, Hobby Lobby, Dickblick, and Amazon. 

Thanks for stopping by!

Suzette


Friday, June 28, 2019

How to Create a Hanging Set of Earrings


Hello everyone! My name is Cinnamon Willis and I am going to walk you through the steps on how I created this set of earrings.

Supplies:
Creative Paperclay®
Parchment paper
Earring fish hooks
Sand paper
Acrylic paint
Sealer, Varnish

I had these lovely round earrings and after loosing one, I have found it hard to find a similar replacement. I decided to use this one as a guide to help me get the right shape for the earrings that I planned on making. 


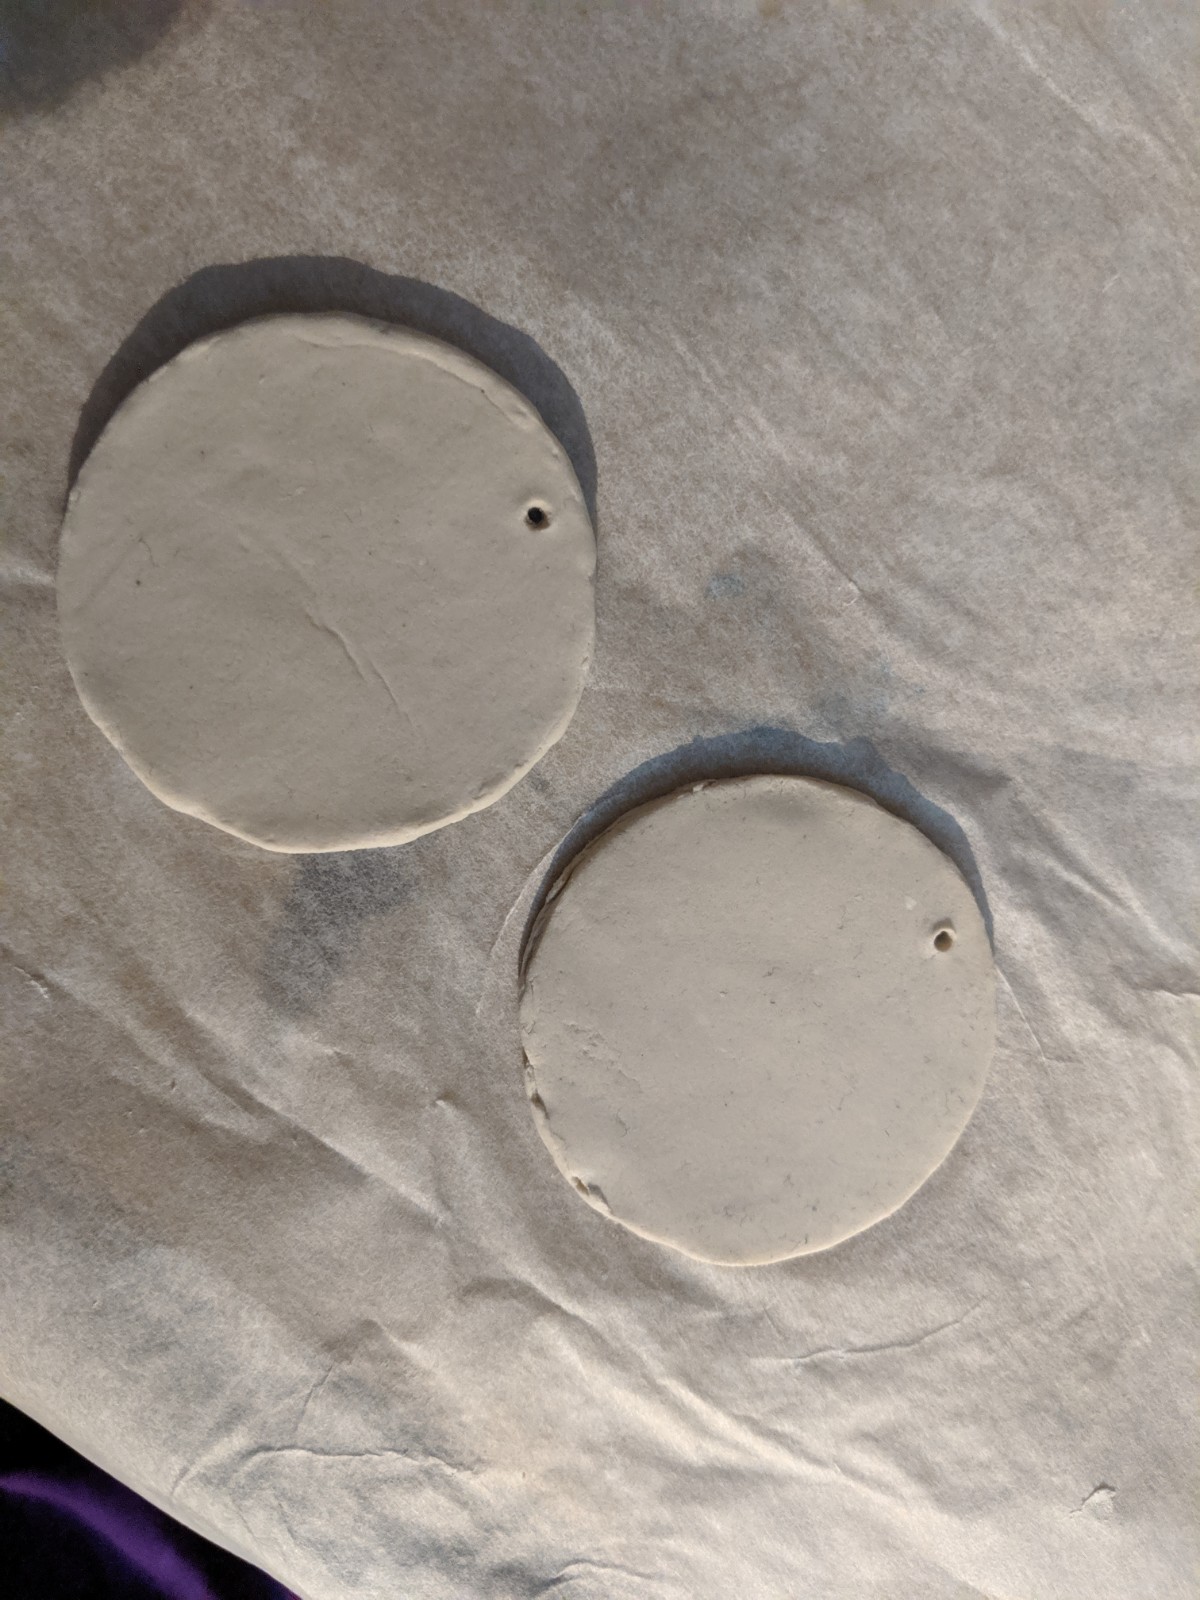
I start out by rolling out the parchment paper and flattening out the clay over it.  You can use a rolling pin here to flatten out the clay but I used a metal scraper since I had one lying around.


When the clay was flat enough, I pressed the earring into it and traced the shape with the end of the scrapper. 


After getting the shape right for the earrings, I poked a hole where I want the hook to go before the clay dried.


Set the earrings aside to dry but put a book or something with a little bit of weight on top to prevent them from warping during the drying process.


When the earrings dry,  sand them down to the smoothness that you would like them to be.


Use acrylic paint to color the earrings to whatever color you would like. Spray them with a varnish to prevent paint from chipping.


Take the fish hooks and attach them to the holes that was previously made in the earring.


Now these lovely earrings are ready to wear!


Thank you all once again for stopping by, and I hope that you enjoyed today's tutorial! You can find Creative Paperclay® at the following retailers Creative Paperclay® Online Store, Michael'sAmazon, Joann's.


See more of my work at Melandolly.com and be sure to catch updates on my Instagram page!


Monday, June 24, 2019

Making cute things with molds and Creative Paperclay


Every once in awhile you just need an article on products that work well with each other and that can be used in different ways. 

Supplies Needed for this Project:

Molds
Powder or cornstarch/makeup brush
Water and mild dish soap
clay tools
glue


I have a great many molds, including some that I've made myself which are not pictured. I have many more molds than those shown here. These are all silicone molds but I use plastic molds also. A great place to find molds for different holidays is at your local Dollar Store. They usually have Seasonal or Holiday silcone ice cube trays that are awesome to use with Creative Paperclay or Delight Clay, just don't fill them to the top. 

I used Delight Clay for these molds but in the future I will probably stick to the Creative Paperclay as opposed to the Delight Clay.


When using molds with my Creative Paperclay I dust the molds with baby powder but you can also use cornstarch. You can use many molds for making embellishments for mixed media pieces and even ones that are very thin for cards (or just don't fill your mold up completely). The leaves in the following picture are about an eighth of an inch thick.


Put Creative Paperclay into several molds at first and let them start drying around the edges before popping them out of the molds. I've found this works better than trying to pop them out all at once. Do the same with the Delight Clay that you use.

I recently saw life-sized busts of the Rock Star Group "Kiss" on the web that were made using Delight Clay that looked amazing and so life like!


This picture is of the Creative Paperclay & Delight Clay while it is still wet. The difference is noticeable.

This picture is of the Creative Paperclay & Delight Clay after it has dried. The difference between wet and dry can definitely be told on the Creative Paperclay but not at all on the Delight Clay .

Once your clay is dry you can paint it with acrylics or inks. I would use the same medium for both the clay and the item I'm putting it on. By popping your clay out of the mold while it's just dry around the edges, you can bend it to fit whatever you are placing it on. One thing I have found with gourds is that it will adhere nicely on it's own but I still don't trust it and use some glue also.

Clean up of the molds is very easy. Let them set in some water with mild dish soap for just a few minutes and just rub any leftover clay off the mold! You might want to use a fingernail brush to clean out any little, hard to get to spots.

I hope this article helps you to feel undaunted while using molds to create many embellishments. Some molds can be used for ornament making too.

So go on over to the Creative Paperclay website and pick you up some Creative Paperclay and Delight Clay or buy it from different retailers in your area.

Barbara