

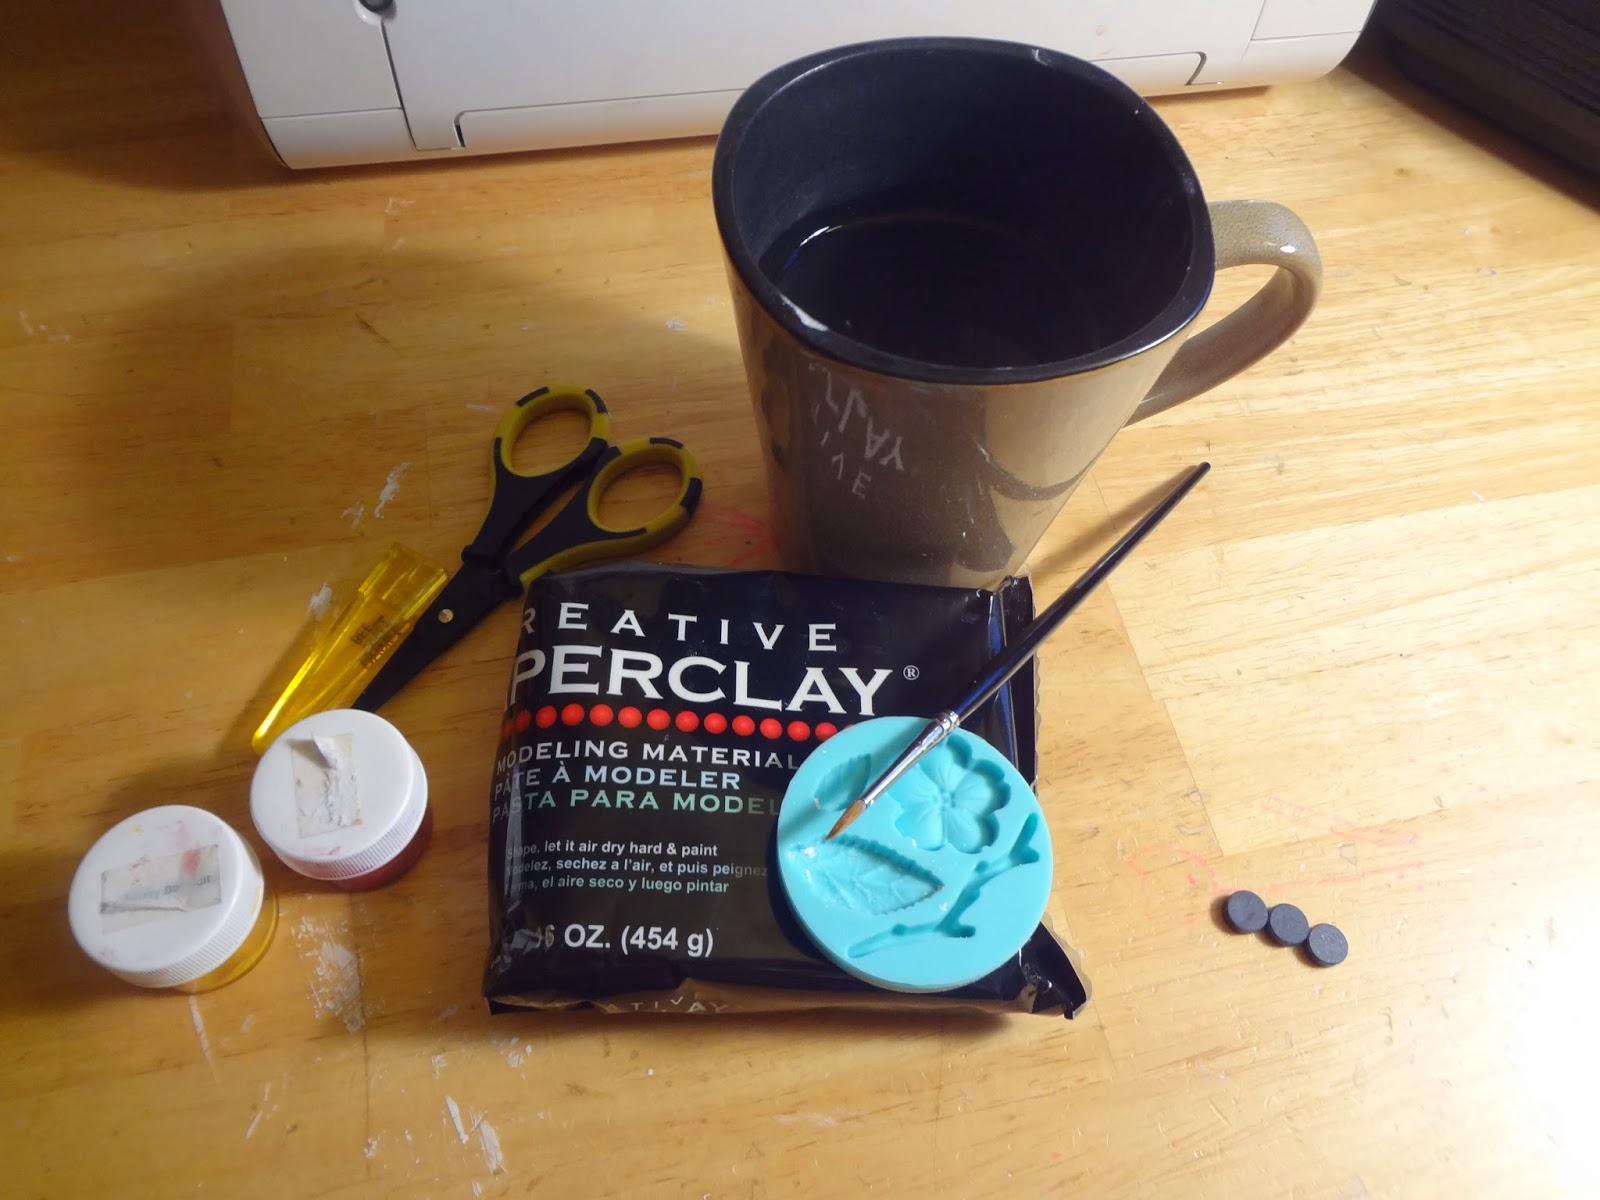
 Supplies used:
 Creative PaperClay
Paint (I used Radiant Pearls Paint)
Flower mold
Magnets
Hot glue gun
Directions:
 Step one: Using a small bit of Creative PaperClay, round it in a ball, then flatten it out to get all the imperfections out.
 Step two: Place the clay in the mold, putting the best looking part of the clay in first, filling up the entire mold. Make sure to trip the back to flatten it out for the magnet.
Step three: Allow to dry either overnight, or heat in the oven for 30 minutes at 250 degrees.
Step four: Paint the clay pieces the colors you want, with the paint you have available.
Step five: Add the magnet to the back of the clay pieces - add to your magnetic frame!
By using molds, any kid can make a one of a kind magnet board for their room, made with little supplies and effort customized to their room! And the fact they made it themselves is sure a great boost for the ole' soul if you know what I mean! I hope you enjoy today's project, and it gives you inspiration to create your own magnets!
Lynda Jeffs
Creative PaperClay Design Team
and Memories in Tyme
1 comment:
I think this is a super fun project for the kids and adults too.
Thanks for the fun idea and tutorial!
~Diane
Post a Comment