Showing posts with label #Redwood Coast Creative Arts. Show all posts

Wednesday, September 2, 2020

Angel With Wild Hair Ornament


Angel With Wild Hair Ornament 


Let's have some fun with an angel with wild hair and fiery colors!

SUPPLIES:

Creative Paperclay   
Mod Pogde or other glossy sealer
Alcohol Inks ( I used Jacquard Piñata Inks)
Pan Pastels or chalk pastels
Gold Acrylic Paint 
E600 or other strong glue
about 10" of 16 or 18 ga. wire
Rubber Stamp Ink Pads (I got the best results with StazOn)

TOOLS:

Rubber Stamps & Texture Sheets
Rolling Pin or Jar
Craft Knife
Needle Tool
Pliers & Wire Cutters


Start by rolling out 2 - 12 x 5 inch pieces of Creative PaperClay to abour 1/8


Add texture with rubber stamps, texture sheets, tools, and other items you have on hand.


Find your most pleasing textures and cut out your body and wing shapes with a craft knife.


Roll out your scraps.  You may need to add a few drops of water.  This piece should be very smooth and clean for the rubber stamped face and embellishments.


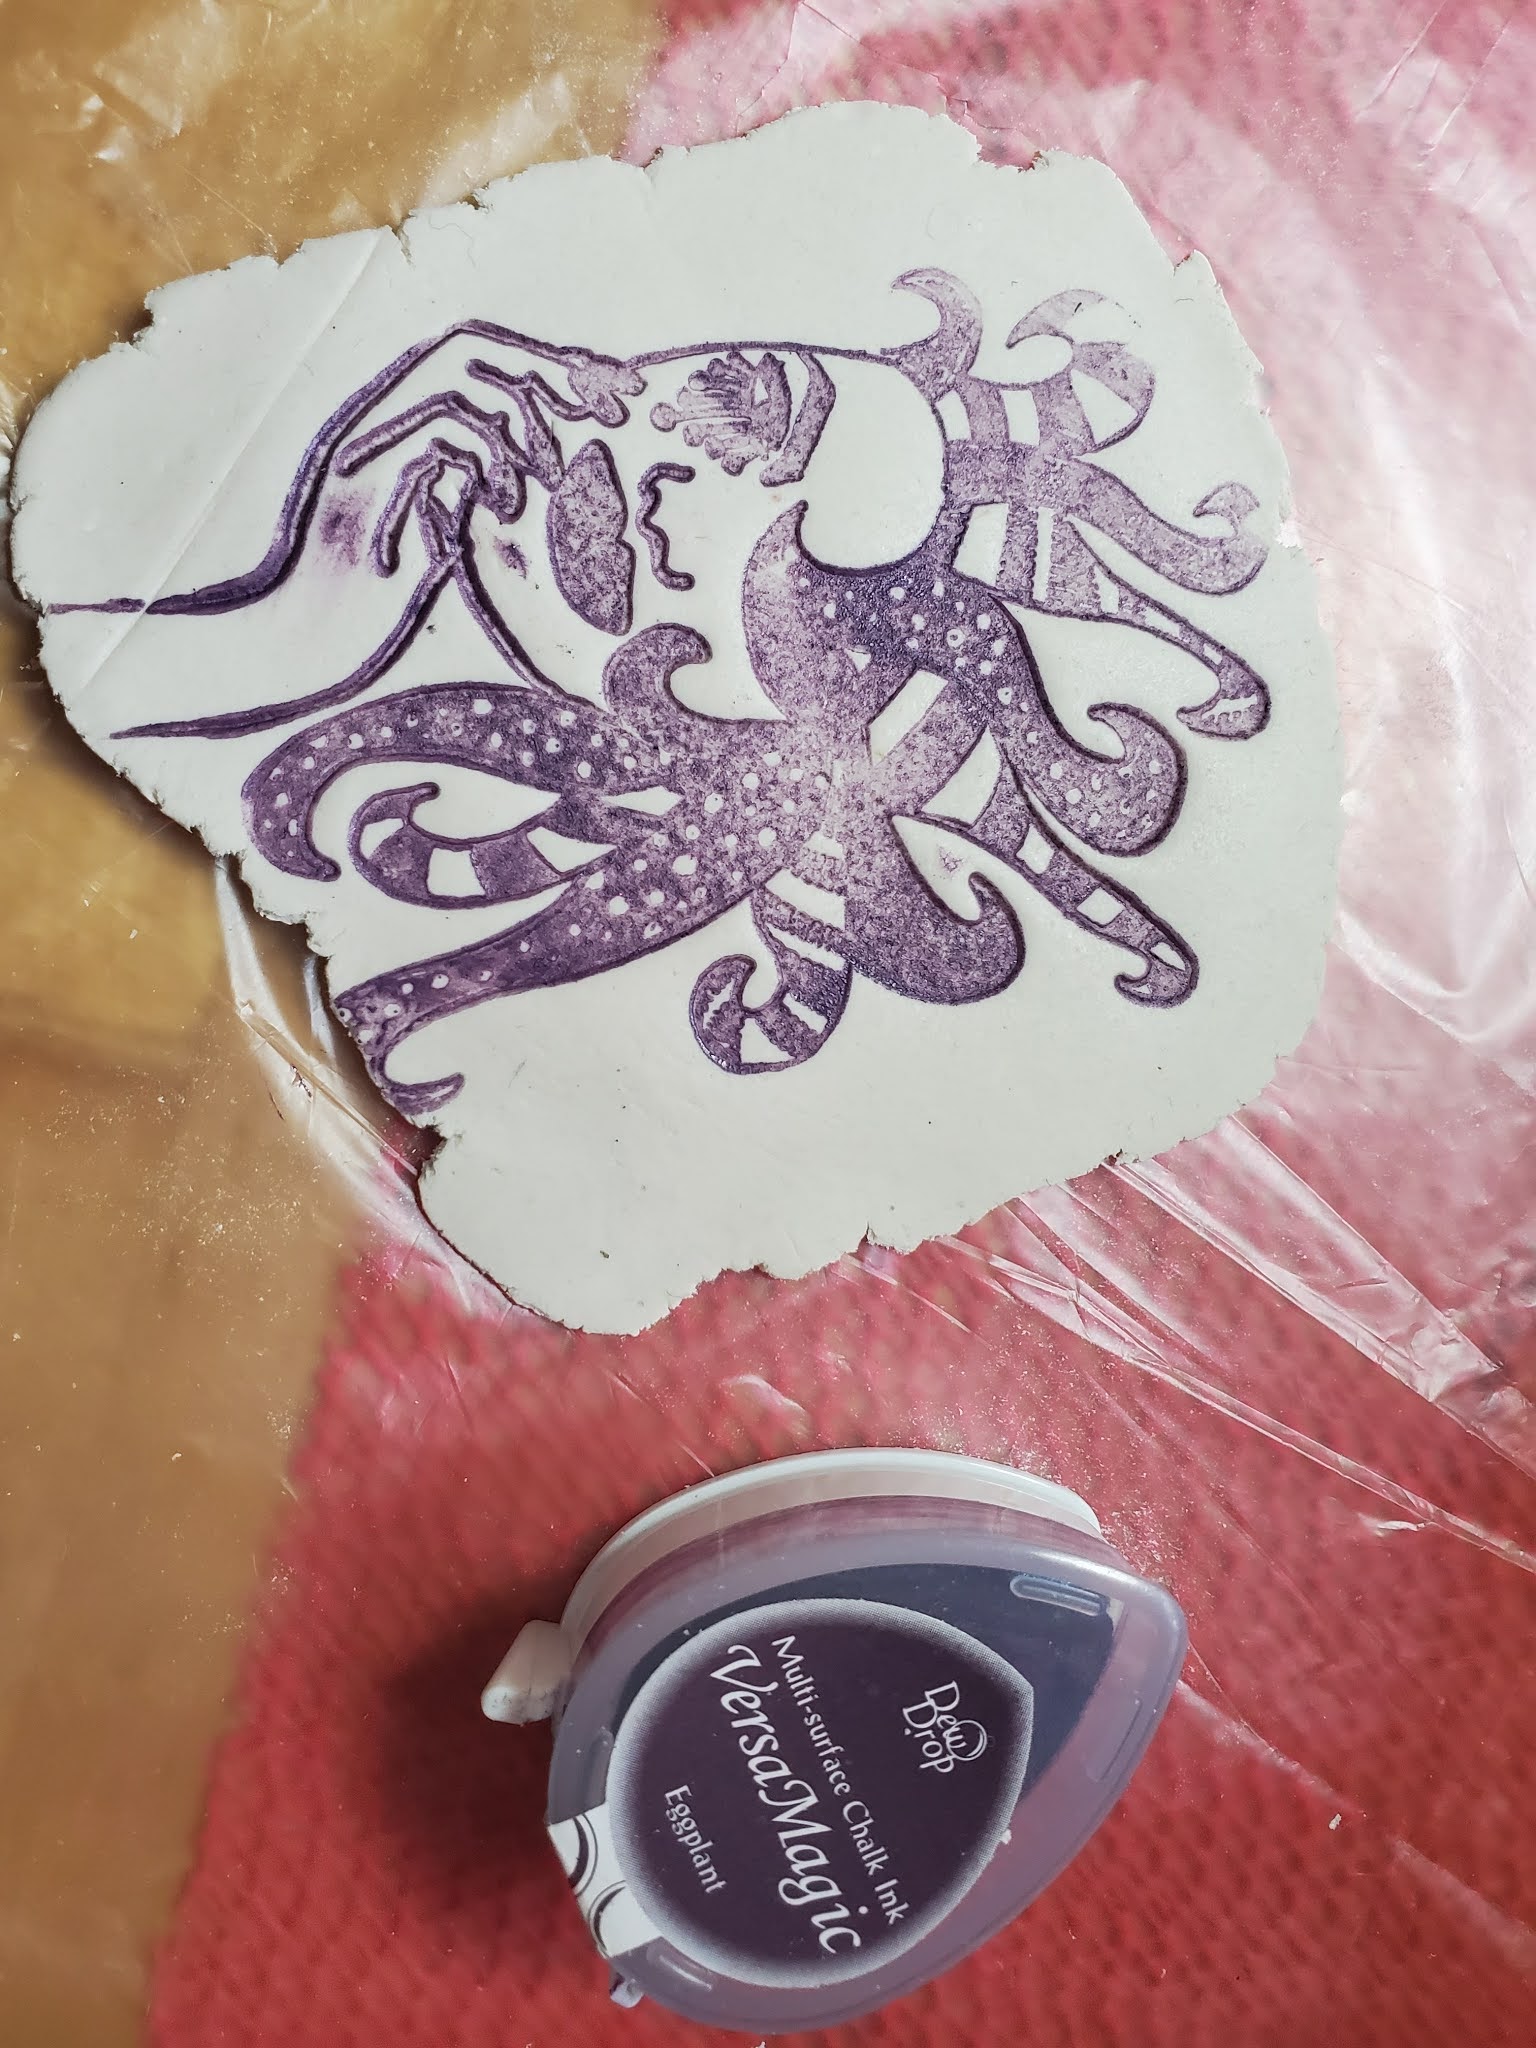
I used these stamps by Ranger.  Any face images you like will do.

It took me several tries to get a good impression.  Don't be discouraged.


I liked the black best.  What's your favorite?


This StayzOn ink pad gave me the best impressions.


I really wanted to love the purple but, it was not pronounced enough.


Add some blush with pan pastels.


Cut out your faces and embellishments with a craft knife.


Add holes in the wings with the needle tool.  Don't get too close to the tips.

Allow all of your pieces to dry overnight.  After about an hour put a heavy book on top to prevent curling.

After all of the pieces are completely dry.  Seal them with Mod Podge or other sealer.  once it dries, add color with alcohol inks.  Start with light colors first, let some blend together before they dry.

Once the inks dry, create a finished edge with gold acrylic paint.  Then seal with another coat of Mod Podge or other sealer.  

Once this last coat of mod Podge dries Glue all 3 parts together.  Allow it to dry again.  

Add wire in a loop through holes in the wings.
                                       Instagram: https://www.instagram.com/redwoodcoastcreativearts/

                                                         https://lorraineteresina.wixsite.com/lala
                                              YouTube: https://www.youtube.com/user/babylalamermaid1
 

Wednesday, March 4, 2020

Painting a Creative Paperclay® Art Doll Bust


Painting a Creative Paperclay Art Doll Bust


Today I will demonstrate my painting techniques for a Creative Paperclay® Art Doll Bust.

Here is a list of tools and supplies that you will need:

Creative Paperclay® Art Doll Bust
Black Gesso
Acrylic Paints - I prefer heavy body for full coverage
Carbon Black  

Titanium White

Burnt Umber
Titan Buff

Quinacridone magenta
C.P. Cadmium Yellow Medium

Phthalo Blue
Prism Violet
Fixative/Sealant - Krylon (or Hairspray) Acrylic Gel Medium or Mod Podge (Optional)
Assorted paint brushes.  

At least some fine detail brushes and some flat for dry brushing
palette knife - for mixing paint colors
palette - a ceramic tile or paper plate will work
receptacle for water and a couple of rags for clean up.


This is a hand sculpted Creative Paperclay Art Doll Bust based on a design by my friend Linda Misa.  She came to teach in my Northern California studio all the way from Australia!  That's really far away!  Anyway, it was a wonderful workshop!  If you get the chance to sign up for a class with her, jump on it!  She is super generous with her knowledge and ensures that everyone is successful with their project!

At this point the bust is dried and lightly sanded.
The texture on her bodice was done with a beautiful silicone texture sheet by my friend Victoria James. Click on the link to check out her great designs. She will ship them anywhere within the continental U.S. for FREE!

http://www.victoriajamesart.com/realtextures/

First I add a coat or two of black gesso.  I used Golden brand.  You'll notice the streakiness.  That was because I started painting her and didn't like it so I covered her up with more black.  I was also really impatient to get back to painting.  You can always sand yours down to smooth things out. 400 - 600 grit sandpaper is good.  I'm going for a more primitive look so I won't do that here. 


Supplies and intro


Flesh Tone Underpainting

Shadows and Lowlights - I use some weird colors


Flesh Tone Highlights

Highlights, eyeliner, eye whites, blush, lips, and brows
Eyes
Once you get the eyes in she starts coming to life

Final Face paint.  Isn't she a cutie?  I darkened her eyebrows to go better with her dark hair.  
I painted the bodice and hair black.


Eyes, Pupils, Hair, & Bodice

Here are the final photos.  
The bright lights washed out her complexion a bit 
but, you can see the highlights in her hair and dress this way.