Hello! It's Rachel Whetzel. Today, I'm sharing the process of creating a base for a future Art Doll I have plans to make. I have made a lot of Alice in Wonderland themed dolls. I've made
Alice, in various ways, I've made the Queen of Hearts, and the Cheshire Cat. I've made the
White Rabbit, and the
Mad Hatter, and I've always wanted to make the Caterpillar. The thing is, the mushroom has always gotten the better of me. Until now.
In my tip earlier this month, I shared a bit about creating the bones of a structure, and how to help make it strong. I also utilized items I had on hand, and some I had thrifted.
I also went on line, and did some research on the Amanita muscaria mushroom, and used pictures like the one below for reference and inspiration.
WHAT YOU'LL NEED to make your own Caterpillar's Mushroom:
- Something to form the bones of your piece. I used a large wooden candle holder, and an old plant tray
- Newspaper
- Tape
- Creative Paperclay®
- Paints. I used Krylon spray for the red, and acrylic craft paints for the rest
- Knife or something straight to press into wet clay
- Sandpaper
To get started, I further filled out my base using news paper and tape as I have shown you
HERE and
HERE. Then I got to work covering the whole piece in clay.
Once the whole piece was dry, I filled in any cracks, and then added another layer of clay to the underside of the mushroom. Once I had that layer of clay added, I used a Dough scraper to put lines in the clay to form the gills of the mushroom.
I used water to smooth out the edges of the gills. When I was finished, they looked like this:
Then I added the edge to the mushroom, and when the edge was finished, I pulled the gills to the VERY underside of the top.
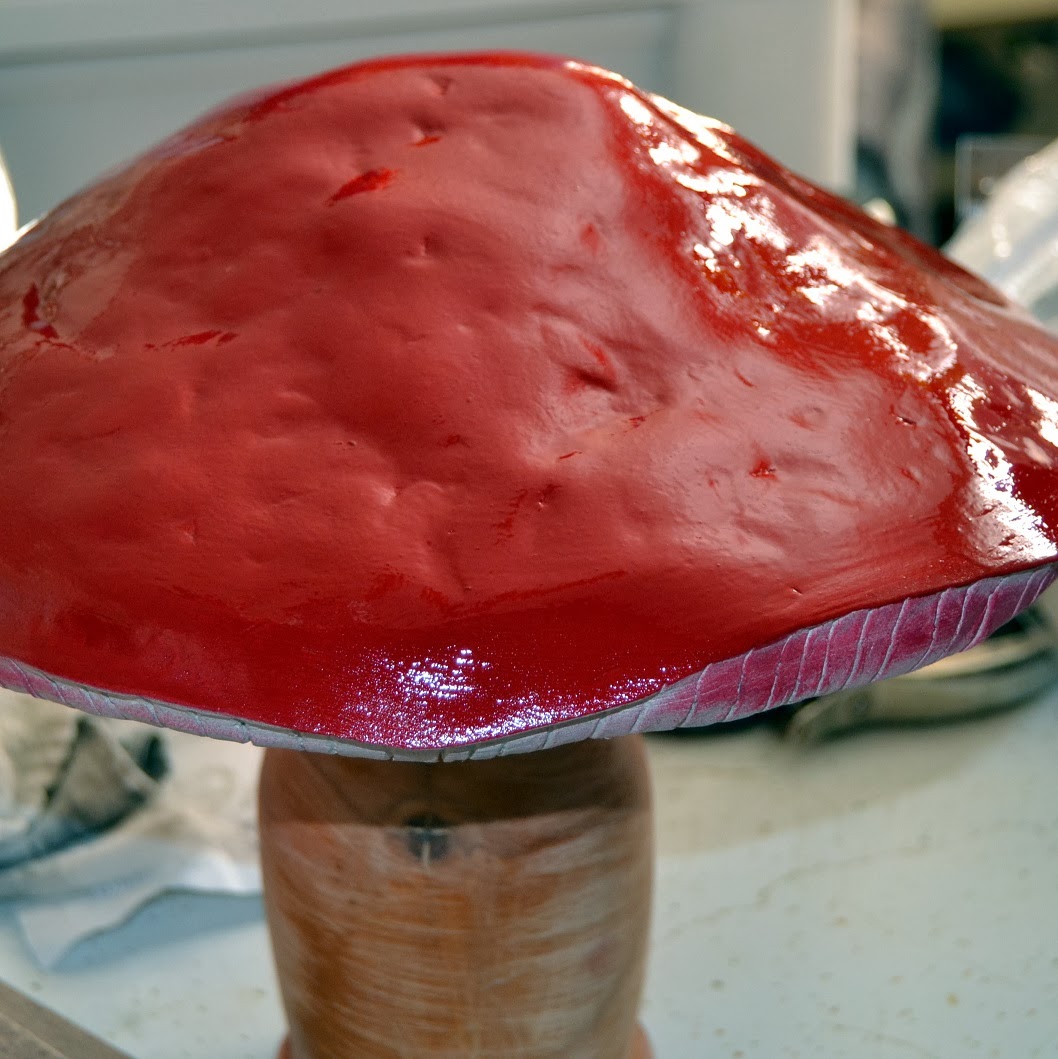
Once I had the general shape and feel I wanted, I let my piece dry overnight, and sanded it. When I had sanded the piece into well, I wiped it down with a wet washcloth, and spray painted the top of the piece with red spray paint.
As you can see, I also sanded the wooden candle base that has become the mushroom stem in order to prepare it for paint. Then I cleaned up the overspray of my red paint, and put stripes on the stem to add a whimsical touch to the piece. While the stripes dried, I added spots to the top of the mushroom.
Once all my paints had dried, I used some Valspar antiquing paint to add depth to the gills of the mushroom, and onto the stem as well!
I may end up muting the antiquing paint with a bit of white paint later, but for now, I like the way it turned out!! I can't wait to create the Caterpillar and his Hookah and place them on this cutie.
Leave me a comment and let me know! I would love for you to
visit me at my "house" too!! Thank you so much for reading!! ~rachel