Showing posts with label stencil paste. Show all posts

Monday, September 11, 2017

Elephant Wonder Tag Featuring Creative Paperclay®

Hi Friends:  Did you know that you can make your own Creative Paperclay® molds from favorite objects that you have around the house?  It's really easy with a product called ImPRESSive Re-Usable Putty.  The Creative Paperclay® design team was given the opportunity to try using this reusable putty with our paperclay.  It was great!  I chose to create a mold of a favorite elephant pin that belonged to my mom.  I followed the directions on the package to prepare the putty, then pressed the elephant pin into the clay, let it harden using the package directions, then removed the pin.  I created this great elephant mold that I can use any time I want.  And, if I decide that I want to make a mold of something else, all I have to do is reuse the putty with another charm/item that I choose.

Once your mold is ready, you can use Creative Paperclay® to make a clay embellishment to use on your projects.  Here's a project that uses my elephant mold with other Wilton molds to make this fun tag:


Here are some detail photos of the cast elephant and flowers, along with the sentiments that I used:
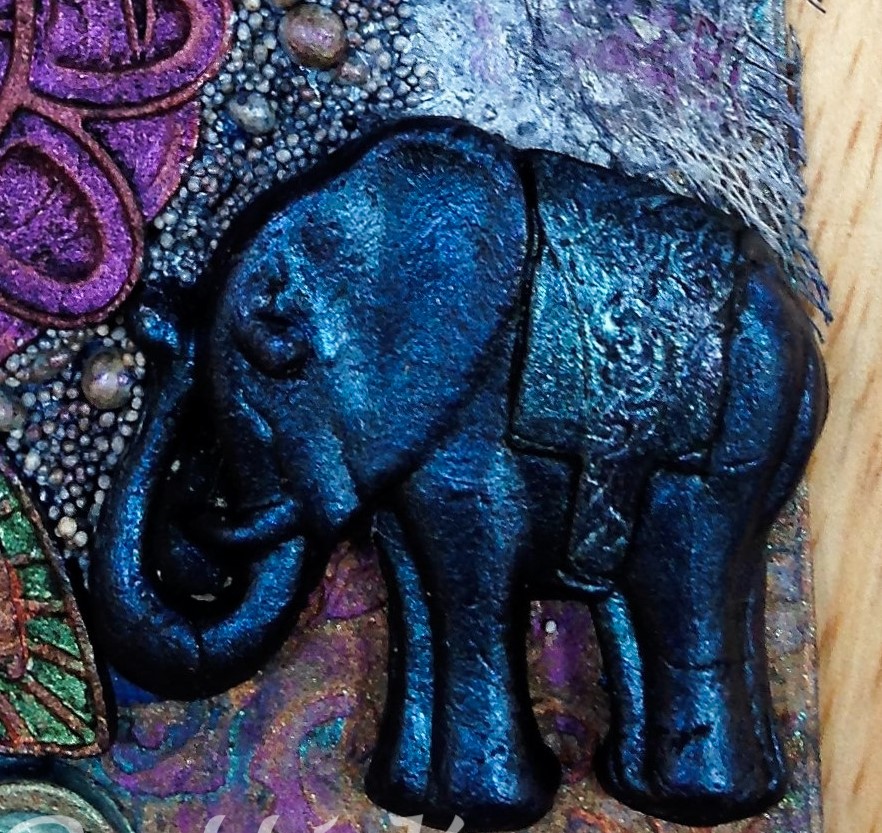

Here's the original pin and the mold that I created:


Directions: Please see my video tutorial for full instructions for how I created the mold and the tag.  I do have to confess that, in the middle of filming the tag project, I spilled a large amount of ink on my craft table.  So the final background colors changed a bit during the filming. LOL.  But, I decided to make the best of the happy (?) accident and just go with the change in the colors.


Supply List:
Lindy's Stamp Gang Sprays (Amazon):  Brushed Nickel, Opal Sea Oats, Afternoon Delight Denim
Liquitex Matte Super Heavy Gel Medium (Amazon) Liquitex Professional Clear Gesso (Amazon)
Prima Marketing Art Alchemy-Antique Brilliance Amethyst Magic (Amazon)
Prima Marketing Art Alchemy-Antique Brilliance Lucky Emerald (Amazon)
Prima Marketing Art Alchemy-Antique Brilliance Mystic Turquoise (Amazon)
Prima Marketing Art Alchemy-Metallique Wax-Rich Copper (Amazon)
Prima Marketing Art Alchemy-Opal Magic Wax-Turquoise Satin (Amazon)
Ranger Adirondack Metallics Acrylic Paint Dabbers, Silver (Amazon)
Tim Holtz Small Talk Stickers (Amazon)
Studio 71 Black Gesso (JoAnn)
Wilton Doilies
Basic Grey Out of Print 6X6 paper pad
Other:  cheesecloth, fibers

I hope you enjoyed my project and learned how to use homemade molds in your projects. Thank you so much for stopping by the blog today. Have a great, creative day! -Patti


Friday, January 16, 2015

Stenciling on Canvas

I've been thinking about this project for awhile now, and decided to put the thoughts into action. I wondered if Creative Paperclay® could be used as a stenciling paste. Good new—it certainly can!! This can be a great project for an older child, but it was beyond what my five year old partner was able to manage. I think this would be a more appropriate project for an eight or ten year old.

I started with an 8" x 6" Artist's Loft canvas (available at any of the big box craft stores). I colored it with a wash of Purple Mist and Burnt Umber acrylic paints.


While the canvas was drying, I worked with the Creative Paperclay® to make a smooth paste. I added water—a little bit at a time—until it was the consistency of smooth cake icing. Remember: it's easier to add the water a bit at a time than to get the mixture too runny. This step did take a considerable amount of blending to get a smooth, creamy consistency with no random lumps of the Creative Paperclay®. When I reached the consistency I wanted, I added a couple drops of Mars Black acrylic paint.


Next, I used painter's tape to tape the stencil onto the canvas. It is important that the stencil stays securely in place when you are applying the Creative Paperclay® cream/paste. I started with the top, then taped the two sides, and lastly, taped the bottom.


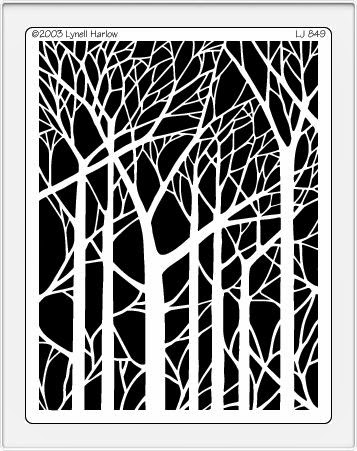
I used one of my favorite stencils—Bare Trees from Dreamweaver Stencils.


This is the tool that I used to apply the paste. Smooth a layer of the paste about 1/8" to 1/4" thick over the stencil. Next, scrape off the excess paste making sure all the openings are evenly filled and the stencil surface is smooth.

Next, carefully remove the tape and lift the stencil off the canvas. I removed the tape from the bottom, then the two sides, and then, every so carefully, lift the stencil, using the top piece of tape as a hinge. When the stencil is clear of the design, I peel the stencil and the tape off the canvas. Using the top piece of tape as a hinge insures that even if you do happen to drop the stencil, it will fall right back in place, and not damage your stenciled surface.

Immediately, wash the stencil or soak it in a shallow dish filled with water until you can properly clean it so that the clay doesn't harden on it. 

While the clay was still wet, I sprinkled fine onyx mica flakes on the surface. Here's my finished canvas. 


Carole