With Halloween behind us and Christmas fast approaching I thought an Autumn Acorn Elf bridging the gap would be fun!

Supplies you will need
1.Creative Paperclay®
2. a face mold
You can make an easy face mold using a pre sculpted face and
http://amazingmoldputty.com
3. tools
scissors
xacto knife
dental tool
wire cutter
needle and thread
fine grit sand paper
pencil
4. 18g galvanized wire
5. cotton muslin
6. cotton batting or polyfil
7. Tacky glue
8. assorted fabrics, trims, wool for hair and acrylic paints
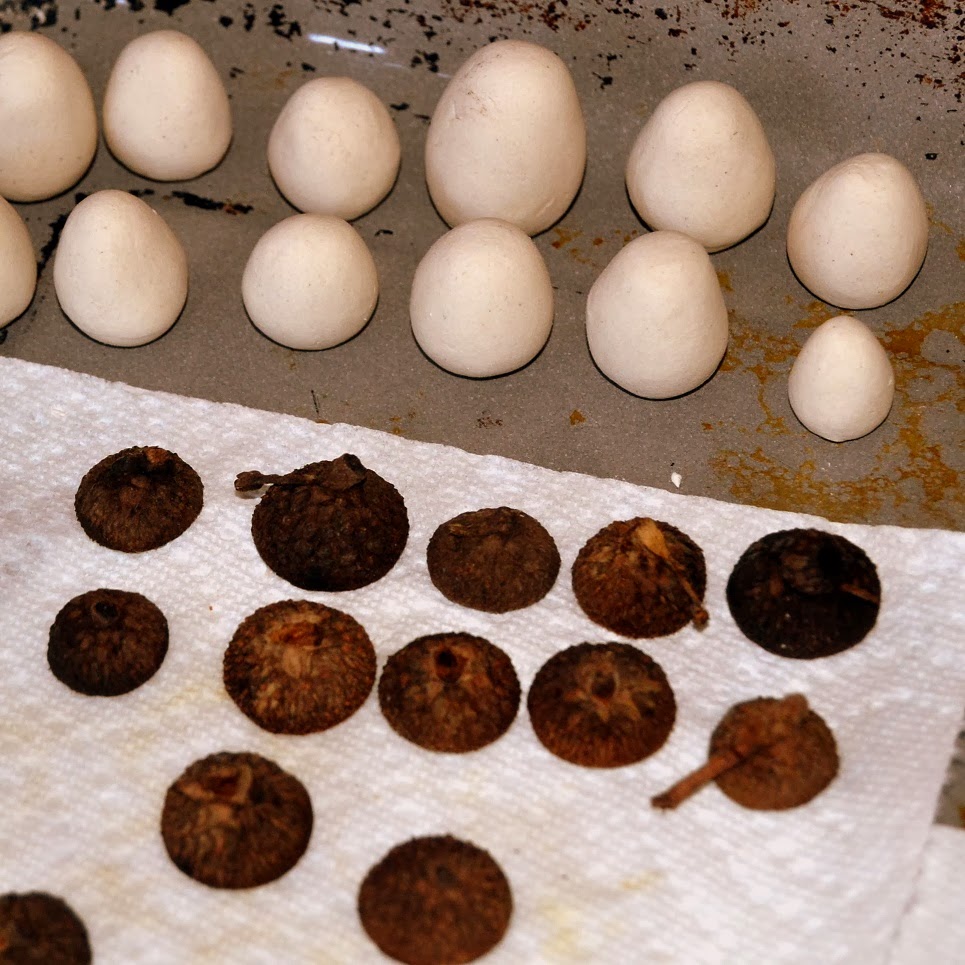
9. acorn tops
First Let us Create the head, arms and legs.
Using a presculpted head Create a mold from Amazing Mold Putty.
Fill the mold with Creative Paperclay ® leaving some hanging off the sides. You will use this part to gently pull the face from the mold.

After approx. 10 minutes gently remove the head. The Creative Paperclay ® may have hardened a bit on the outside and that is fine.

Using your dental tool define the facial features adding nostrils and lip features.
Trim the remainder of Creative Paperclay ® from the edges of the face.

Cut lengths of wire to run from the top of the head to the base of the torso.

Placing wire at the back of the head place enough Creative Paperclay ® to form a nice rounded head.

Finish by adding the neck and pointy elf ears.

Sculpt arms and legs
You will only need the lower limbs.

After your pieces have dried use a fine grit sander and gently sand smooth.
Part 2 creating the cloth body.
Take your dried and sanded pieces and lay them on 2 squares of muslin fabric.
with a pencil draw a basic body shape without arms.

Cut out the 2 pieces of muslin. Sew 2 pieces together to create the body, you can either hand sew or machine sew the muslin pieces. Without turning inside out stuff very full with cotton batting or polyfil.


Insert head by putting wire down through the torso into the batting.
Fold down the front and back fabric at the top by the neck.
using your tacky glue run a fine line around base of neck where fabric meets.

sew the fabric around the neck to secure.

Cut two rectangles of muslin slighter longer than the arm length.

Using the tacky glue place the arm at the end of a rectangle and "roll" the sleeve around the arm.
sew the fabric around the arm to secure

Add tacky glue to the upper part of the legs and insert into the the leg portion of the body.
Sew the fabric around the leg to secure.

Now you will add the arms. Take the rectangle fold over the shoulders, sew at the shoulder repeat for other side.
Now you are ready to paint and dress!

Paint the faces :) basic acrylic paints work wonderful. Water them down a bit for a blushed look :)

Dress your new Elf with old trims and scraps of fabric
Be sure to add the acorn top on her head with a bit of tacky glue.
Thank you so much for following along.
I hope I have given you some inspiration to create your own Acorn Elf from Creative Paperclay ® Please visit me at my blog LuLusapplesauce and at my Facebook Page LuLusAppleDolls