
By Amanda Marks
This project is super easy and is a GREAT kids project! Since I wanted to show how easy this project is I enrolled the help of my children (the princess and the Booga). I will say this project was a little too advance for the Booga (he is 2 and thought we were making cookies - the disappointment was apparent when he tried a piece of clay) but was perfect for my daughter (who is 5). I used the Delight for this project because it is much easier for my daughter to handle (she doesn't like the "feel" of Paperclay - any clay for that matter. She thinks it has a muddy, icky feel.)
 Materials:
Delight Paperclay
Big Craft Sticks
Cookie Cutters (Halloween Themed)
Fondant Roller (Rolling Pin)
Water
Sculpting tool
Paint
Paint Brushes
Googly Eyes
Sealant
 "Smoosh" the clay into a ball and flatten it with the rolling pin.


Once the clay is an even thickness, take the cookie cutter and cut two pieces (one will be the front and one will be the back.)


Take one of the cut out pieces - scoring the clay with a scultping tool add water. Place the craft stick in the center and add the top piece of clay.


This project is super easy and is a GREAT kids project! Since I wanted to show how easy this project is I enrolled the help of my children (the princess and the Booga). I will say this project was a little too advance for the Booga (he is 2 and thought we were making cookies - the disappointment was apparent when he tried a piece of clay) but was perfect for my daughter (who is 5). I used the Delight for this project because it is much easier for my daughter to handle (she doesn't like the "feel" of Paperclay - any clay for that matter. She thinks it has a muddy, icky feel.)

Delight Paperclay
Big Craft Sticks
Cookie Cutters (Halloween Themed)
Fondant Roller (Rolling Pin)
Water
Sculpting tool
Paint
Paint Brushes
Googly Eyes
Sealant


Once the clay is an even thickness, take the cookie cutter and cut two pieces (one will be the front and one will be the back.)


Take one of the cut out pieces - scoring the clay with a scultping tool add water. Place the craft stick in the center and add the top piece of clay.


Smooth the sides together and allow to dry for 24 hours.


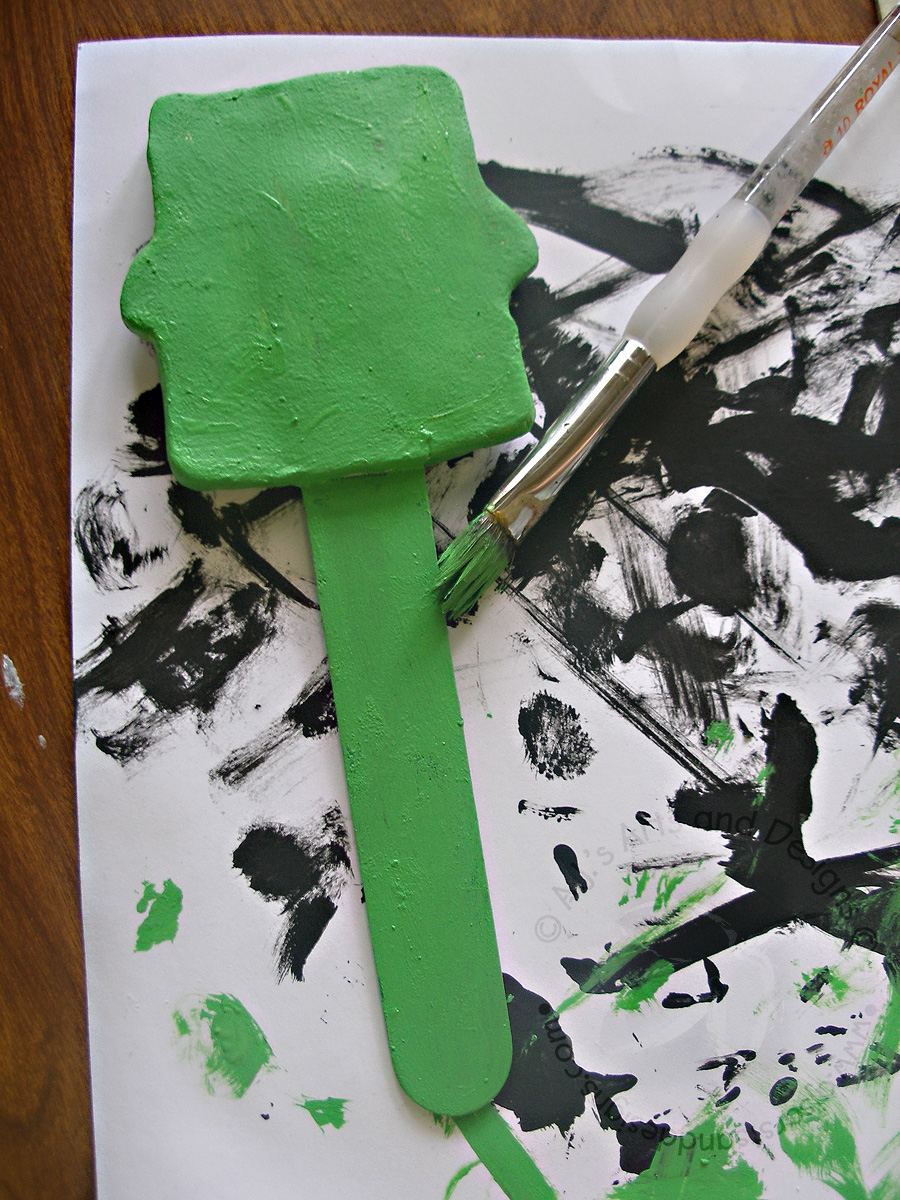
Paint, add googly eyes and seal.


Place in your new garden stakes in your plants!


