Showing posts with label Amanda Marks. Show all posts

Monday, April 23, 2012

Rose Fairy


Welcome to my final post for Creative Paperclay® Design Team.  I have had a wonderful year and am sad to see it come to an end.  I will be reapplying but I was unable to reapply this session (my little brother is getting married in August so I am really busy.)  I figured I would finish with a project that is similar to my first submission piece - a fairy.

For this piece we needed to include Sakura Hobby Craft 3D Crystal Lacquer and Terri Sproul Mixers.  I had so much fun creating this I hope you like it!

How to make Fairy Wings Step-by-step.  Terri Sproul has made these several times and I thought it would be prefect for my fairy this time around.

1.  Roll two balls of tin foil.  One large and small.
2.  Attach tin foil together with a wooden skewer.
3.  Cover with Creative Paperclay® Modeling Material .  Add eyes.
4.  Add nose, mouth and ears.
5.  Add hair - try not to smash the face.
6.  What happens when your thumb slips and you destroy the face.
7. Face rebuilt.
8.  Added additional clay to the forehead to make her a little less fugly.
7.  Add to base and paint.


Friday, March 23, 2012

Yooper Trolls™

By Amanda Marks

I have been making these since 1996 I can honestly say I haven't thought about them in 15 years.  I found an old box of slides and was going through them and found my Yooper Trolls™.  I decided to revisit them with Creative Paperclay®.

Step 1:  Tin foil Base
Step 2:  Cover in Clay
Step 3:  Add Eyes
Step 4:  Add Nose
Step 5: Add Mouth
Step 6:  Add Ears, Legs and Arms
Step 7:  Add Hands and Feet
Step 8:  Add Butt
Step 9:  Add Hair and Facial Hair with a Modified Needle Tool
Step 10:  Allow to Dry.  Paint and Add to a Base.


Thursday, February 23, 2012

Switch Plate Cover Using Articus Studio™


For this project I needed to use a mold from Articus Studio - I chose the Frozen Charlotte Mold.

Materials:
Creative Paperclay® Modeling Materials
Articus Studio™
Stamp
Fondant Roller
Switch Plate Cover
Terri Sproul's Mixers

 Roll out the clay and stamp the clay (I used a Close to my Heart Daisy Stamp)
 Trim the clay to fit around the switch plate
 Form the clay around the switch plate 
 Add the molded dolls to the switch plate and paint (I used Terri Sproul's Mixers)
Finished Switch Plate 

Tuesday, January 3, 2012

How-To Make Snowflake Earrings


By Amanda Marks

A special Creative Paperclay® Modeling Material Project for today (I am switching with another one of my Design Team Teammates).  This project was inspired by winter and the thoughts of a White Christmas, something that doesn't happen very often in the south.  I also figured if I did the snowflakes I could wear it longer than if I did Christmas Stuff.

Materials:
Creative Paperclay® Modeling Material
Fondant Roller
Exacto Knife
Sandpaper
Snowflake Mold
Snowflake Stamp
Liquitex Iridescent Gel Medium
Studio G Silver and Light Blue Glitter Glue
6 Seed Beads
2 Jump Rings
2 Fish Hook Earrings
Round Pliers


 1.  Roll out clay to an even thickness.

 2.  Push clay into mold.

 3.  Trim while in mold.  Allow to dry for about 10 minutes in the mold this will help the clay keep its shape upon removal.

 4.  Unmold clay piece and repeat steps 1 - 3 as many times as needed.

5.  Allow pieces to dry 24 hours.  Trim with Exacto Knife, sand edges, make hole for jump ring and paint.


 6.  Add beads to jump rings and fish hooks.

Friday, December 23, 2011

Christmas Collage Using VLVS

By Amanda Marks


Materials:
Frame
Brown Spray Paint (Rustoleum)
Creative Paperclay® Modeling Material
Cereal Box
Viva Las Vegas Christmas Collage Stamp #5157
Fabric Ribbon
Red Awning Red Glitter Robin's Nest Paper
Acetate
Gold Metallic Mica Powder
Paint
Brushes
Gold String
Snowflake Embellishment
Irridscent Gel Medium
Snowflake Stencil


1.  Roll out and create petals for the poinsettia (7 for the base - 5 for the 2 layer - 2 for the top).  Put the petals together one layer at a time.  Add little balls of clay for the center.  Allow to dry for 24 hours.

 2.  Spray paint frame Brown.  Use spray mount to adhere paper to the glossy side of the cereal box.

 3.  Add ribbon with Tacky Glue® to the frame.  Cut Acetate to fit inside the frame.


4.  Roll out more Creative Paperclay® and stamp into the clay.  Allow to dry for 24 hours.

  5.  Add gold Mica Powder while the clay is still wet.  It can also be added after the piece is dry.  Add Paint.

 6.  Use stencil and stamp the snowflakes on the background paper.

 7.  Add ribbon and music notes with the mica powder.  Using a gold string I attached the stamped piece to the background.  Using Tacky Glue®  everything else was mounted together.


Wednesday, November 23, 2011

It Would Take a Man 600 Years...

By Amanda Marks

If you did not get the quote you have never seen the movie Shawshank Redemption with Tim Robbins and Morgan Freeman (highly recommended if you have not seen it).  Christmas is just around the corner and I have been working frantically on Christmas gifts for friends and family which leads me to this design team project.  I can not guarantee that there won't be Shawshank quotes throughout this posts.

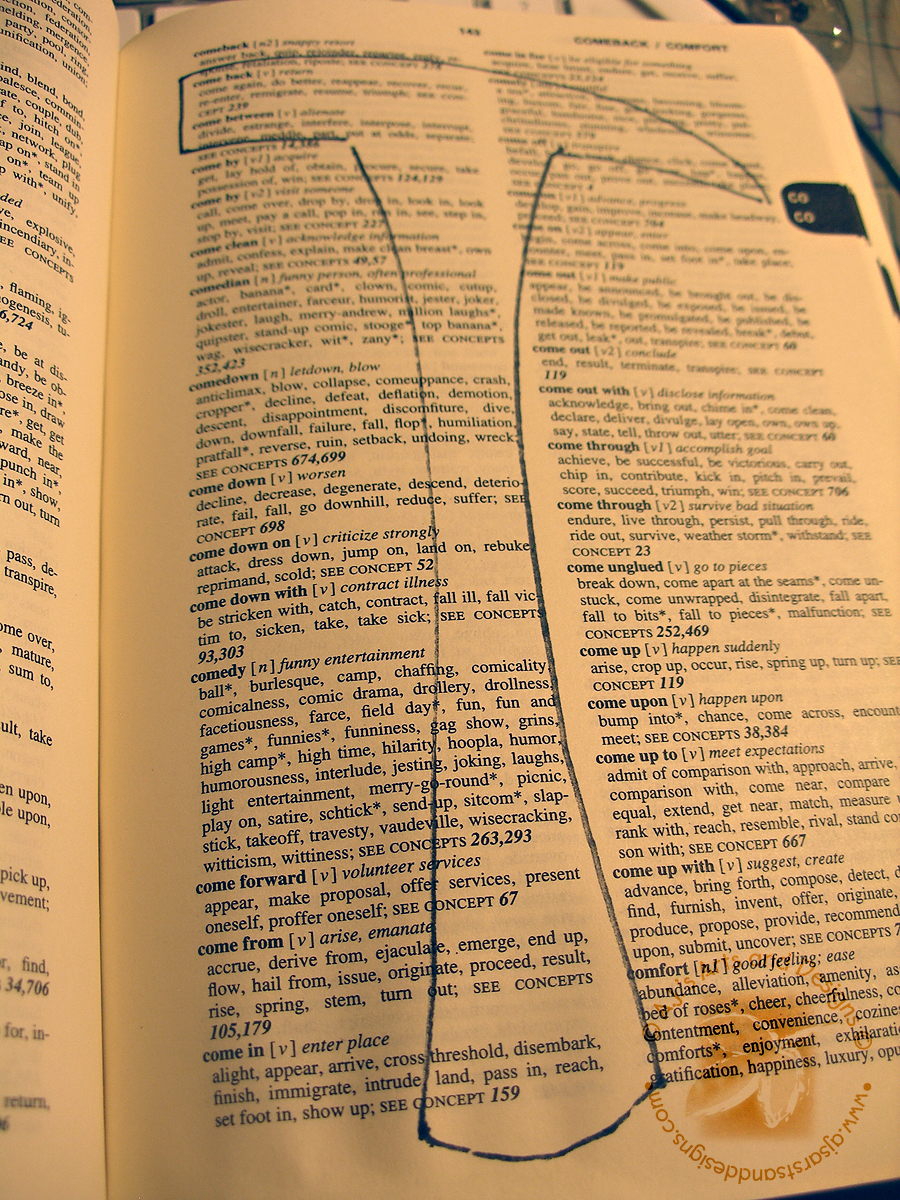
What do you get for guy friend who has everything?  My husband said it would be cool if you could replicate something from a movie.  The wheels instantly started turning because I have already made him the TIME Man of the Year Mirror from The Big Lebowski.  My husband started to quote Shawshank, which is not uncommon in my house and I knew I had to make the "Bible" with the rock hammer cut out.  Don't worry I did not cut a Bible (my husband would not let me buy a bible to cut up).  So I had to go to plan B which was taking an old Thesaurus and cutting the shape of a rock hammer into the Thesaurus.  I had no idea that cutting the same shape into repeated pages would be this time consuming (I went through 6 Exacto Knife Blades).  It took me close to 3 hours to cut all of the pages I needed.  I will say disposing of my evidence was much easier than toting it out to the yard a handful at a time.

Since the rock hammer would not work without the altered "bible" the pictures of the "Faux" Bible are first.
Not mine but what I wanted mine to look like.
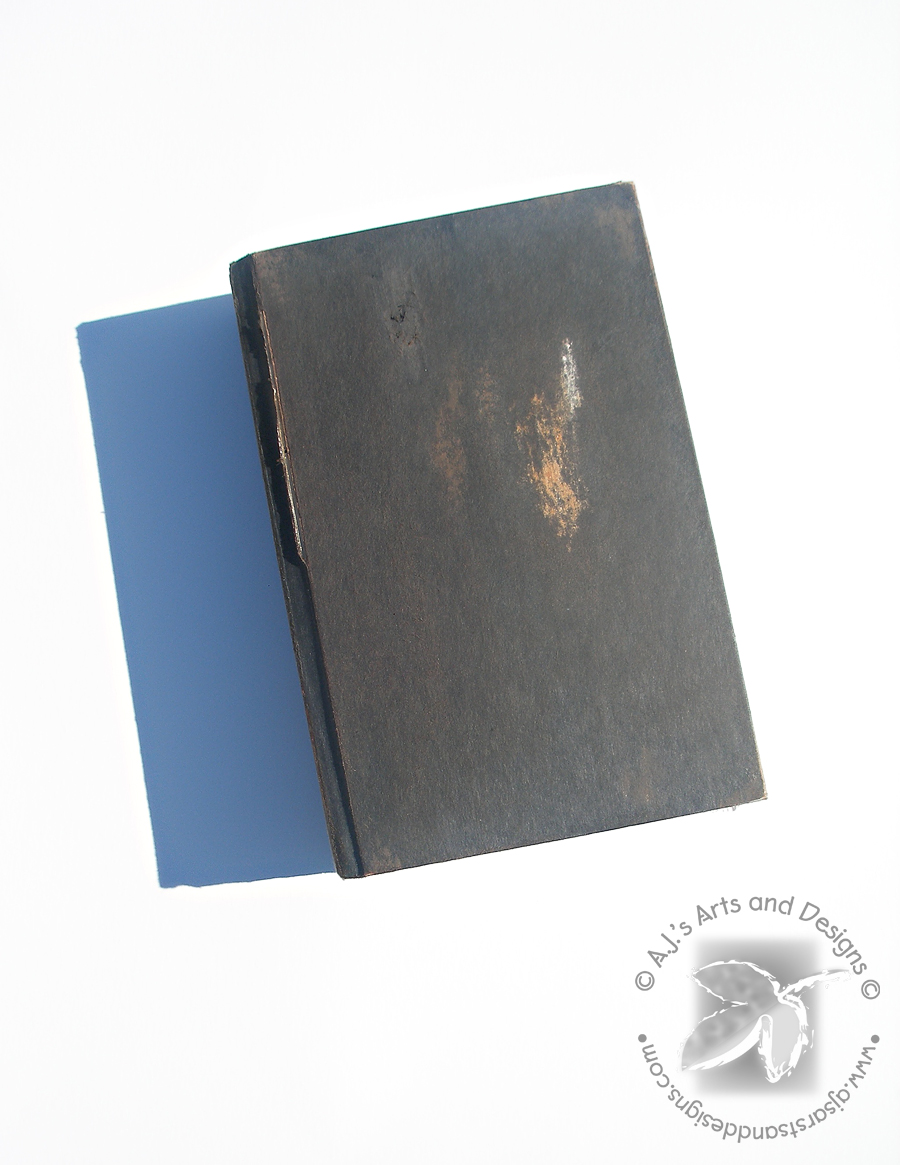
 The Thesaurus as you can see I spilled coffee on it when I was in college so it was well used.


 Three hours worth of work and a huge mess.

I distressed the book with sand paper and paint.  I added a little Tim Holtz Tea Dye Ink to the outside to really age the book cover.

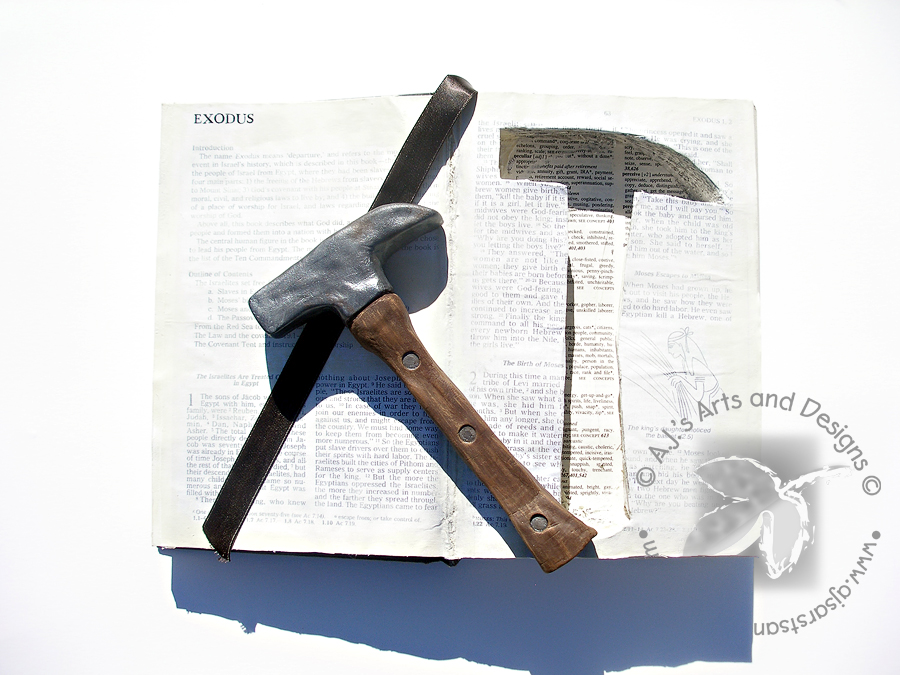
I needed a rock hammer to go on the inside of the book and removable but not change the weight of the book.    What better way to show off the versatility of Creative Paperclay® Modeling Material than to make a rock hammer for my book (I am hoping the people at Creative Paperclay® are Shawshank fans).  The rock hammer was actually really easy took more time to dry than to create and paint.  I also forged the inside message Andy wrote to the Warden (I am actually quite proud of that) because honestly it would not work with out that message.
Once again not mine but my inspiration

Materials:
Styrofoam (I used flower Styrofoam)
Dowel Rod
Exacto Knife
Sharpie® Marker
Aluminum Foil
Creative Paperclay® Modeling Material
Fondant Roller
Sculpting Tool
End of an unsharpened pencil
Paint
1.  Cut foam in shape of a rock hammer.  If you use the template for the book keep in mind the foam should be at least 1/4" smaller than the template.

2.  Cut dowel to fit in book and also have about 1" inside the foam.  Push dowel inside the foam.

3.  Cover the foam and dowel with tinfoil.  This will help adhere the clay to the base without seperation.
4.  Roll out clay.  Cover the base with clay.  Refine add detail - to recreate the nails in the rock hammer take an unsharpened pencil end and push down, repeat on the other side trying to line up as closely as possible.  Allow to dry for 24 hours.


5.  Paint rock hammer to resemble the rock hammer in the movie. 


I guess really you do need one of these in order for it to work...