It getting colder and colder every day in the beautiful Upstate New York. Winter is coming!
All these cold mornings sure had inspire a new twist to the classic winter icon character.
So let's welcome the Snowspook bygloricom and now it is time for you to see how this project was completed. Now let's grab a bag of Creative Paperclay® and be ready have fun and sculpt.
I
Materials
Creative Paperclay ®
Sakura 3D Crystal Lacquer
Scissors
Aluminum foils
White Gesso
Acrylic Paints by Martha Steward (Pearl baby blue, pearl orange, glitter sealer)
Acrylic black pearl by FolkArt
Glitter
Felt Snowman hat
Strip of fabric for scarf
Fake snow
11X14 blank canvas
Clear spray sealer
Aleene's Fast Grab Tacky Glue
Heavy duty paper towels ( Bounty or Viva works best)
Wood stick for hands from nature.
For a good 3D wall art you need to begin with the armature. the best way to make it is with aluminum foil. Star sculpting a rough shape of the snowman. It doesn't have to be perfect since this foil will be later remove to make the piece lighter and hollow.
Here is the approx shape and size for the 11X14 canvas of my 3D wall art.
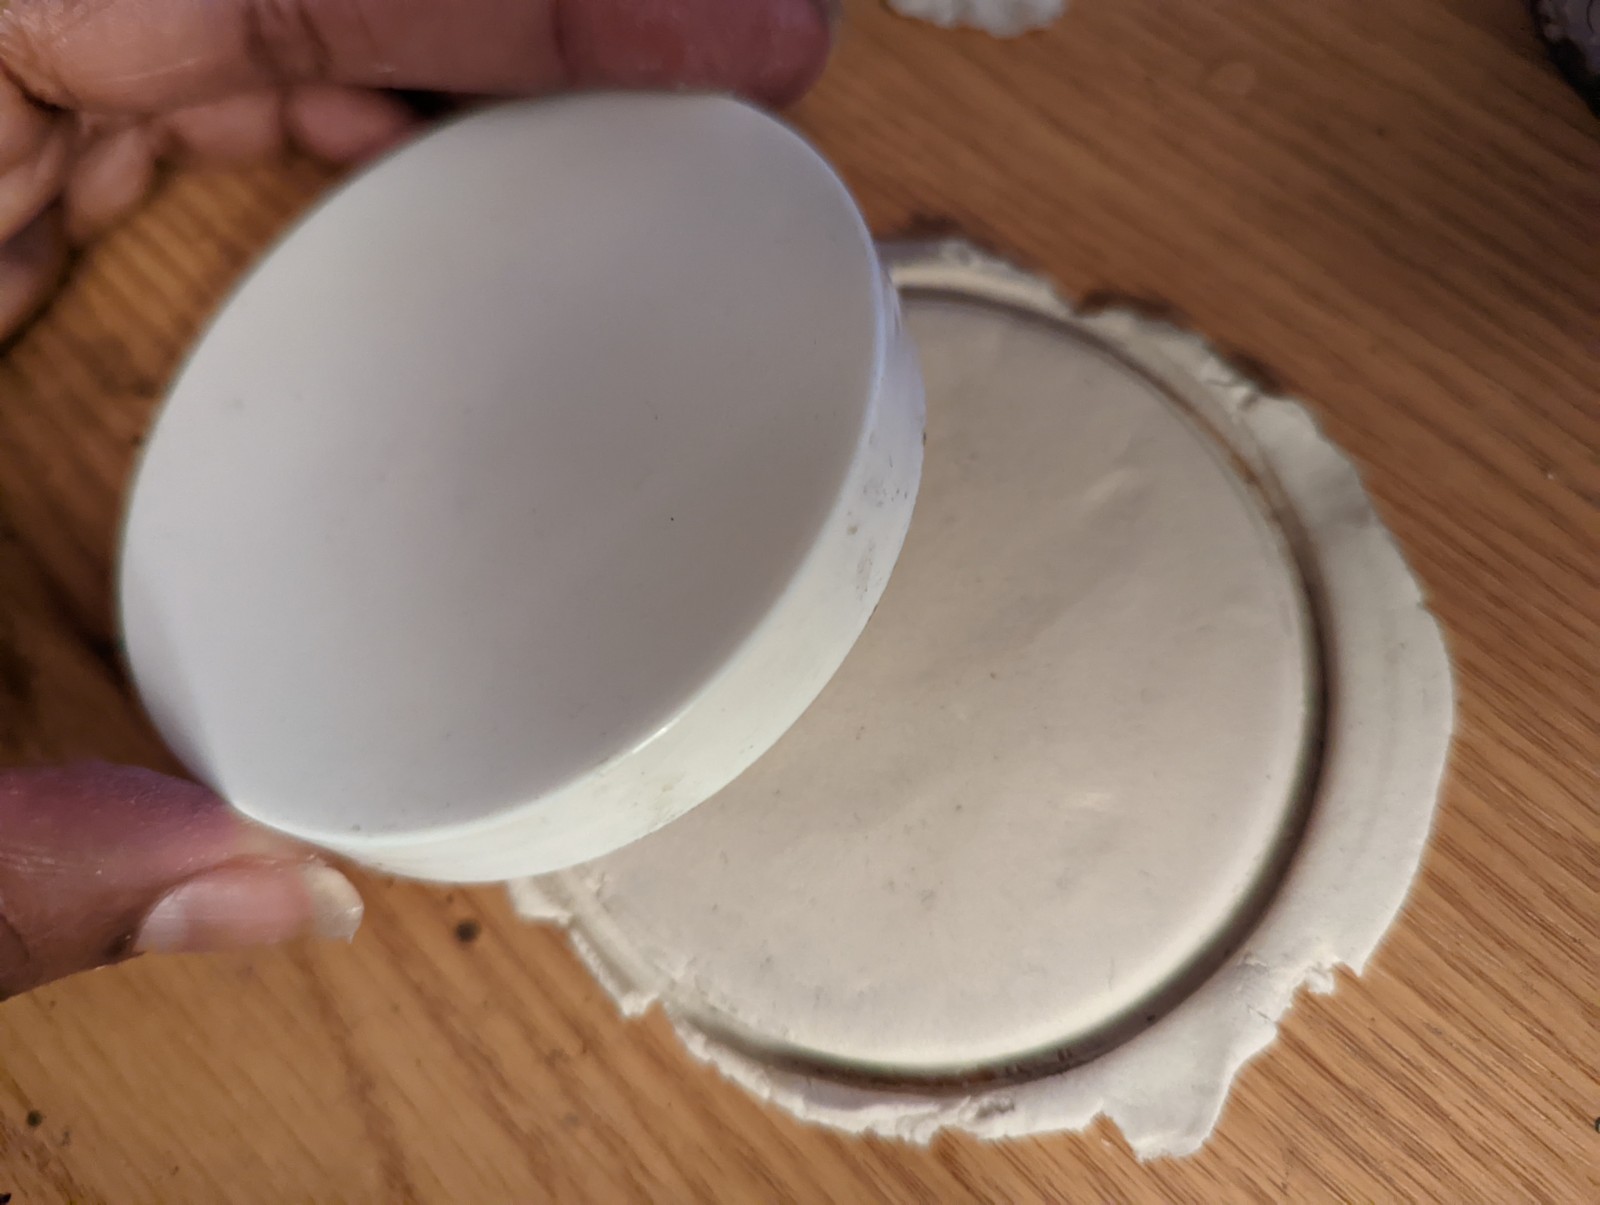
Roll your clay to no less than 1/4 inches thickness. If rolled too thing it will difficult you to add more clay since the dry clay will be get wet and soft with the adding of each new layer of wet clay .
Roll a big sheet. This will facilitate you the application for the first layer of the Snowspook.
Cover the aluminum foil core and try to shape it to the rough idea of your Snowspook.
Set aside and let it dry. Trick to faster drying is a NuWave oven to cheat a little. This air blowing oven in a low set temperature will dry paperclay in half the time.
Make sure the first layer is completely dried before adding any new layer . You will know when it it crispy to the touch and the color is much much lighter.
If you feel comfortable with your sculpt skills you can remove the aluminum foil now. If you want to have a more solid piece to work the final details feel free to leave it in.
Expose the hollow piece check for any holes or thin patches and add more clay from behind to strengthen the piece.
Now remember to work the details in layers and always listen to the clay. Yes the clay will tell you when it need to be dried before another layer is added . You will star to notice your piece getting smoochy and too soft to handle . Stop there and let it dry.
I added some of my belly and face details. It doesn't have to be perfect since these enhances and gives character to any Snowspook creation.
Leave the teeth for last. It will make a lot easier to sculpt them in place and add more details to them.
Just check that the belly are the shape you want and correct any detail you feel it needs a little more clay or remove any excess with your craft knife or sand it off.
Sand it and have in mind the sanding doesn't have to be perfect baby bumb smooth.
Being rough is what snow is all about. Also acrylic paints have a hard time to adhere to smooth Paperclay surface so give it little roughness to adhere to better
I do like to add a cover base of Gesso . Gesso will seal the Creative Paperclay® and will not need so many layers of the Acrylic paints for the details. Let the Gesso dry completely.
After the Gesso is all dried we can dilute a little of the Martha Stewards acrylic light blue paint and lightly cover the entire Snowspook and let it dry.
Now that is all dry lets add the Martha Stewards acrylic pearls orange paint to the carrot nose.
Dilute some of the Black pearl FolkArt acrylic paint with lots of water and with some wet paper towels wet it in the watery paint mixture and lightly dab here and there to give the old age to the snow. For best result use Bounty or Viva since they are more resistant under water situations.
For the eyes use the dry brush technique. Wet the paint brush and remove any excess paint off in a wet paper towel then lightly dab the swirls little by little with the black pearl FolkArt acrylic paint.
It might need more than one layer depending on the effect you want you Snowspook to have.
Use some of the water black paint to accent the teeth too. Sealed with a coat of the Martha Steward Glitter paint.
To achieve a more Glassy eye look and wet mouth feel. Use the 3D Crystal Lacquer on the eyes sockets once the base eye job paint has dried.
Now do not worry for the fade look the Sakura 3D Crystal Lacquer will dry crystal clear but this will take some time. In the mean time let it dry completely flat on his or her back.
The canvas doesn't have to be complicated. A simple Aqua blue with splashes of baby blue will do.
Just paint the canvas in a white base and apply big drops of different tones of blues and once your done with all the dots use a big soft brush and use a one direction stroke every single time until your satisfy with the base. Let it dry.
After the canvas base paint is dry. Spray heavily with the clear sealer until is really wet. You will need the extra sealer to hold the glitter and fake snow in place with out the need to gluing it in place .
Now have fun glittering the canvas and adding has much fake snow you want in it before the clear sealer dries. Now don't be shy have fun with your glitter and feel free to make a mess.
This is my kids favorite part.
While the canvas dry we can work with the different wood stick to see which one will look best for hands. Cut trim and measure the lenght you want your Spookman to have. Drilled the size holes and secure the sticks in with the Aleene's Fast Grab Tacky Glue.
Glue the hat at this stagewith Aleene's Fast Grab Tacky Glue so it look best once the Snowspook is glued to the canvas.
Use plenty of Aleene's Fast Grab Tacky Glue.
Not to worry clean any excess has best you cant but this glues dries clear so it works good.
Add the fabric strip to the Snowspook and with a few drops of Aleene's Fast Grab Tacky Glue position the fabric to give the feeling is moving by the winter breeze freely in the canvas.
Find any accessories you want your Snowspook to hold and place it in. Found this big Glass heart necklace and love to add it. Now it looks like this spook froze your heart .
Let check the photos of the different angles for you to enjoy the 3D wall art effects and why I always love the result I get working with blank canvas and Creative Paperclay®
Making Spookman could be the best way to welcome this early winter weather. Feel free to make has many has you want in any shape or size. They easy and fun to make. With just a little practice and determination you will see your dreams become true.
Feel free to leave me any questions in the comments below this post or click here to
email me.
Visit my web page or use to smart scanner to get there on your smart phone devise.
 |
| www.byglori.com |
Have a very bless day and remember to always have fun while crafting.
Sincerely,




.jpg)
.jpg)
.jpg)
.jpg)
.jpg)
.jpg)
.jpg)
.jpg)
.jpg)
.jpg)
.jpg)
.jpg)
.jpg)
.jpg)
.jpg)
.jpg)
.jpg)
.jpg)
.jpg)
.jpg)
.jpg)
.jpg)
.jpg)
.jpg)
.jpg)
.jpg)
.jpg)
.jpg)
.jpg)
.jpg)

