The weather has been so nice in Tucson that I couldn't help but do another garden project this month - I might just keep doing them until December! This flower is a kinetic sculpture, the inner flower petals move one way when the wind blows, and the outer petals move the other.
The materials needed to create the flower are:
Delight™ Air Dry Modeling Compound
tape
pencil
paper
tracing paper
compass
protractor
scissors
craft knife
bowl - the one I used is about 4" across the top
acrylic paints
wooden toy wheels (available in hobby stores)
- the ones used for this project are 3/4" diameter, by 3/16" thick, with a 3/16" hole.
wooden beads - the ones used for this project are 1/2" round, with a 3/16" hole
brass rod in the diameter that most closely matches the hole dimensions of the beads.
plastic wrap
rolling pin Paverpol
Start by cutting a strip of paper, holding it in place inside the bowl, and marking the edges to get the inside dimension of the bowl. Measure the length of the marks, then draw a circle with the same dimensions (or, cut the paper to the marks, fold it in half, and set your compass to match that distance :) )
Divide the circle into five sections (72 degrees on the protractor). Trace the circle and divisions and set this aside for later use on the inside flower pattern. Cut out one of the sections, fold it in half, and draw a petal shape onto it as shown. Cut out the petal shape and trace the design onto the remaining four sections. Tape the original petal back in place, then cut out the remaining sections on the paper to create the entire flower pattern.
Mix the desired color of paint with enough modeling compound (clay) to make a 1/8" thick circle large enough for your flower pattern. Roll the clay into a ball, place between plastic wrap, then roll it out to 1/8" thickness.
Place the pattern gently onto the clay and poke a hole in the center, marking it into the clay.
Line up the center mark on the clay with the center of the wheel and press the wheel into the clay. Work the clay around the wheel until the wood is covered, and clear the clay from the center of the wood. Again lay the pattern onto the clay, align the centers, the cut the clay out to the pattern shape (don't press the pattern into the clay or it will stick - another method is to place plastic wrap over the top of the clay, align the pattern, then trace around it gently with a toothpick to transfer the pattern to the clay, remove the plastic wrap, then cut out the design from the clay)
Once you have the clay cut out, cut out the petal sections of your paper pattern, fold each in half and place a small piece of plastic wrap over each folded petal. Use these petal shapes to prop up your clay flower petals, lining them up so that the fold of the petal is half-way underneath the clay petal as shown. Make sure you put them all facing the same way around the flower. Set aside to dry.
For the inner section of the flower, start by drawing a second circle, 1/4" less in diameter, over the tracing you made from the first circle, then create the pattern the same way you did for the first one (cut out one section, draw petal shape, etc.) Mix clay to desired color, and complete the steps for rolling out the clay and inserting the wooden wheel as you did for the first set of petals. Line the bowl with a piece of plastic wrap and place the flower inside.
Cut the petal shapes from the pattern, fold each petal in half and cover with a small piece of plastic wrap. Place the petals under the petals of the flower as you did for the first set, but this time put the folds going in the opposite direction. Set aside to dry.
While the petals are drying, paint wooden beads to use as spacers between the petals, and, if desired, cover another wheel with clay and sculpt the center of the flower. I was originally planning on using a bead for the center, but then decided to sculpt a larger center piece.
You'll need three or four beads, or three beads and a wheel.
When all the pieces are dry, sand any rough edges, and, if desired add additional paint accents - I brushed on some ColourArte Twinkling H2O's watercolors to add some extra sparkle.
Cover both flower sections and all remaining pieces except brass rod with Paverpol and allow to dry.
Test assemble the piece on the rod as shown; bead, outer petals, bead, inner petals, bead, end cap or bead. Make sure the petals turn freely. If not, remove them from the rod and clear the hole with the tip of your knife or a tiny bit of rolled up sandpaper. Once the flower sections can move freely when everything is assembled, mark the rod where the first support bead will sit (behind the outer petals) then remove all the pieces. Bend the rod if desired - the whirligig will also work well if the flower is left upright. Attach the support bead to the rod with Paverpol and allow it to dry. Re-assemble the remainder of the sections, then attach the end cap/bead with Paverpol. Allow everything to dry before placing it in the wind. Enjoy the breeze!
Unfortunately, every time I tried to get a video of the whirligig outside, all I got was gusts of wind which didn't show how the petals turned. So I made a quick vid. using the blow dryer - which made it spin too fast for you to see the different directions...so then I tried to slow it down a bit and back the dryer off - well anyhow, here is a 13 second video so you can at least see that the petals do actually turn quite well :) I hope you will make your own flower(s) and enjoy them moving in the garden.
I'd love for you to join me for more projects & art adventures on my personal blog
Spring is getting closer and since it's too early for spring flowers I thought I would create my own by making this mixed media wall hanging using my Creative Paperclay. The first thing I did was cover a small canvas with the Paperclay and once it was dried I painted the background and book edges with some ColourArte Primary Element Arte Pigments that were mixed with a gel medium.
I love that I learn so many things when I am creating with my Creative Paperclay, like patience and what I might be able to use as a tool. Trying to duplicate the paper edges of a book perplexed me at first. Finally, after letting the clay harden for about 2 hours I came back and scraped the surface with an old tootbrush and it worked like a charm!
The flowers were all made from molds and once they dried I layered on some ColourArte Twinkling H20's and then glued a bead into the center of each flower. I love how the look so glossy, almost like clay that had been dried in a kiln!
I also experimented with Paverpol in bronze to make the bookmark. I admit I was intimidated with this product but I was amazed at not only how easy it was to use but how well it worked! Although the ribbon hanging from the bottom didn't have to have an application of it, the top part did or the ribbon would flop over onto the front of the book when it was hanging on the wall. So I made a slice into the side of the book where I wanted it to go...then painted on the Paverpol and laid the ribbon ends into the slot and let it dry. Oh my word, again I admit I was doubtful it was going to be stuck into that small slot, but YES, it is! lol
Another texturizing tool is your handy dandy kitchen plastic wrap, perfect for adding a leather like surface to the spine of the book. It's easier to do this by rolling your clay onto a sheet of plastic wrap which will automatically wrinkle and place those onto your clay. OK, so I admit I discovered this by accident, but hey, it worked out beautifully!
I just love my little book I created by covering a canvas, you can lay it on a surface or display it but hanging it on a wall. It's full of texture and color and just makes me smile.
Along life's path you will encounter many people: some good, some "challenging"...all weave the cloth that is our journey on Earth. One of the special people in my journey is a girl named Annie. I have known her since she was small, watched her grow from an adorable redhead with spunk and musical talent into a beautiful woman. Now I watch as she enters her next chapter in life as a Catholic nun! To say I feel blessed to have watched her grow and develop would be an understatement.
Tomorrow I will go to a shower for her as she prepares to enter the convent. Her wishes and needs are simple: yarn, instruction booklets, oboe & piano music...I lucked into a couple of crochet books from "Annie's Crochet" (I thought that so appropriate!). I want to create a special card for her to go with the gift and you get to be a part of the design process.
For the base of my card I start with a white "linen" piece of 12"x12" from Recollections®. I cut it to 9"x12", folded it in half, and used a corner punch to curve the corners. The edges were rubbed along a black stamp pad to add an extra touch (NOTE: Be carefully when rubbing...less is more in this case).
For Annie's love of music I chose another Recollections® paper "Music Notes". I cut it down to 6"x6" and then carefully tore the edges. It is glued in place on top of the white...perfect so far.
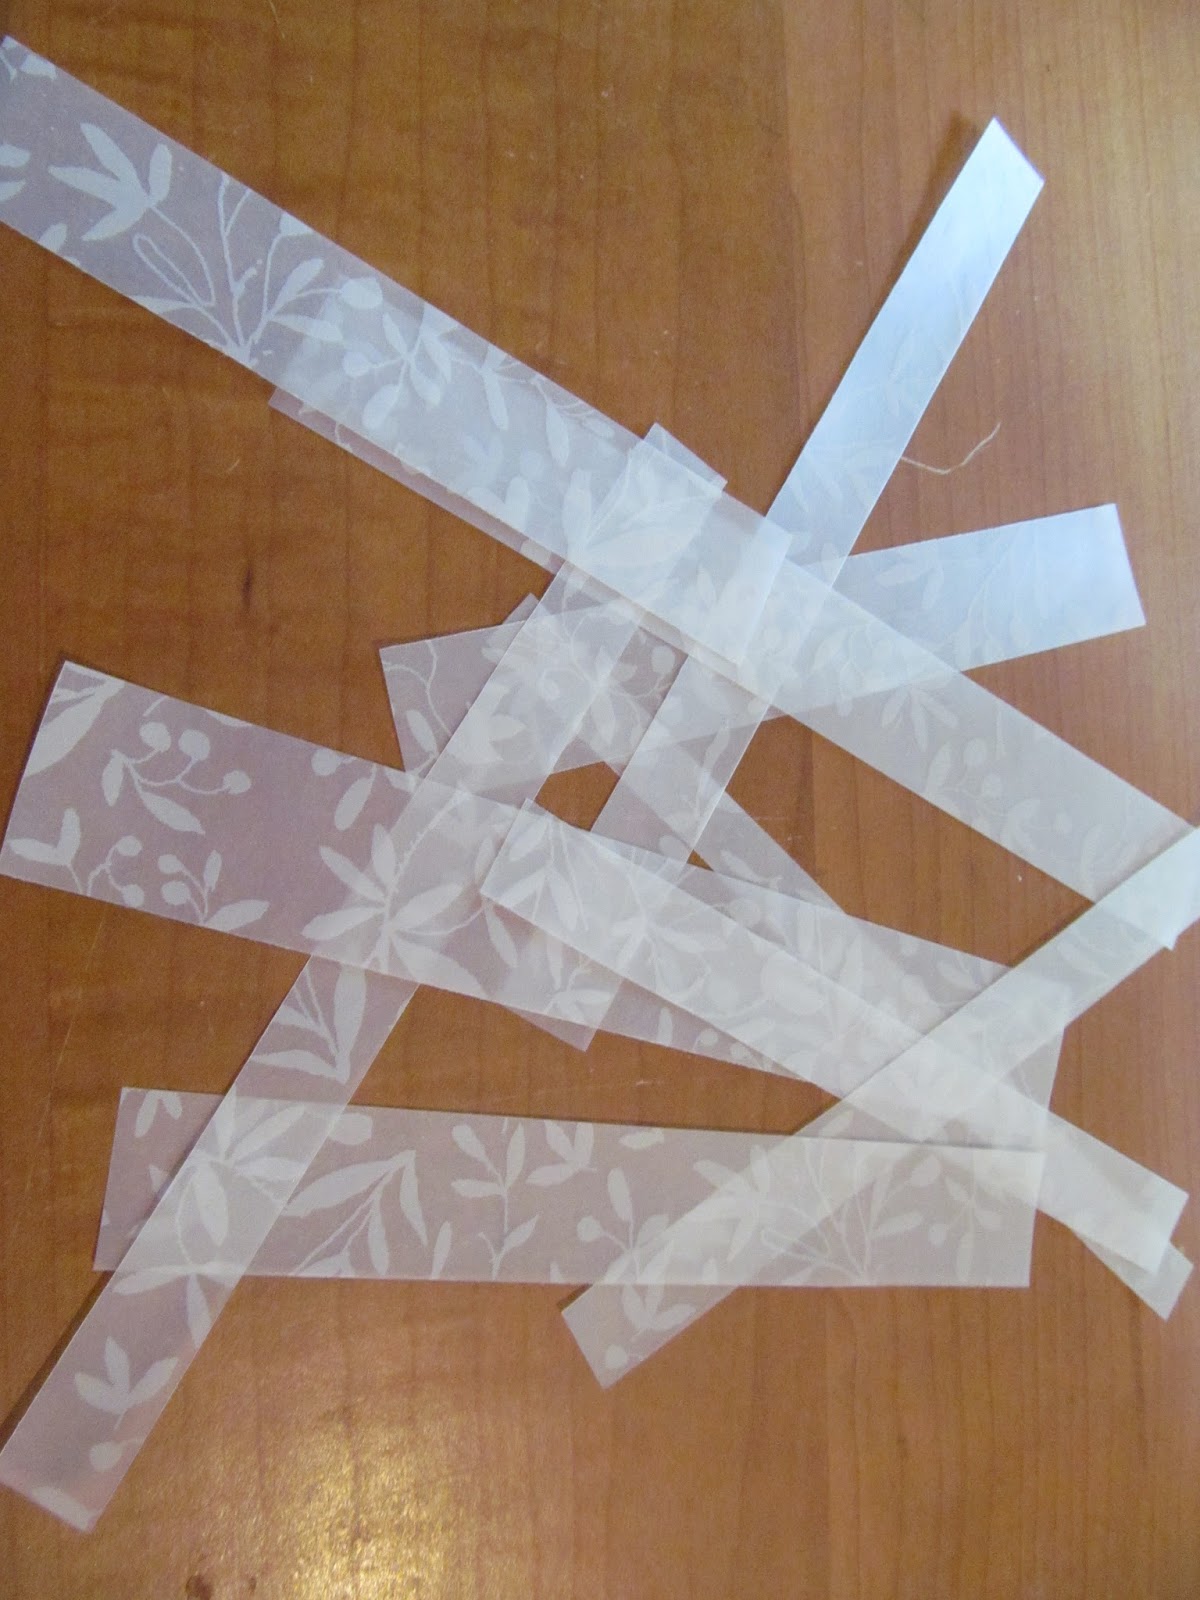
I found vellum paper strips on my table from a previous project. I wove them together ("Our lives are forever woven together")...nice.
But when I placed the woven pieces on top of the music it basically disappeared :-( Bummer
Not to be deterred, I went to my stash of paints and pulled out a few Twinkling H2Os (Pretty Peridot, African Jade, Sapphire on Ice, & Boysenberry) from ColourArte (http://www.colourarte.com/). I quickly learned that Vellum doesn't like water and curls,
but I was able to lightly paint the back of each strip. As the strips dried, they magically opened back up.
A few minutes under a book flattened them enough to re-weave for the card front.
Time to pull out the Creative Paperclay®. I worked a bit in my hands, then rolled it through my pasta machine to flatten it (NOTE: clay can also be flattened with a rolling pin or acrylic roller). I like rough edges rather than clean cut straight edges, so I tore the edges (towards me). I am not patient enough to wait for the clay to air dry, so into the oven it goes (275* for 15-20 min.) with a piece of glass on top to keep it flat.
It needs a little something else. I found this saying in my stamp box. PERFECT for the occasion! Stamped on a piece of the leftover white cardstock, edges torn, and rubbed over the ink pad. Glued in place...exactly what it needed!
One final touch. A shimmery ribbon and a couple of appropriate charms (Bead Landing™)
Hello, Ann here today from the AnnMakes blog over at http://annmakes.blogspot.com, and for the Design Team here at Creative Paperclay®. I tried something new to me recently and I liked it so I am sharing it with all of you!
I tried using the Creative Paperclay® to add dimension to a canvas with a stencil. Guess what? It worked. So here it is.
I painted the canvas with some acrylic paint and let it dry. I used a thick plastic stencil of a rose and spread the Creative Paperclay®over it. I made sure that the clay did not overlap the edges of the stencil and I took the time to press down on the clay to make sure it was sticking to the canvas. I gently removed the stencil by using a sharp edge tool to keep the clay from staying stuck to the inside rides of the stencil. I let the Creative Paperclay® air dry completely over night.
The following day I sanded the the rose with "Sandits" sanding sticks, blew off any dust and then painted. To colour the rose I used Twinkling H2O water color luminescent paints by "Colourate".
I wrote out a quote, inked the edges with distress inks, and adhered with gel medium.
Products used:
Creative Paperclay® air dry modelling material http://www.paperclay.com
Canvas
Acrylic Paint
Gel Medium
Ink
Sandits (sanding sticks) http://shop.sandits.com
Water colors, H2O's Twinkling by Colourarte www.colourarte.com
in: Pretty Peridot, Wild Vine, Coral Berry, Poppy Red, Sunset Glow, and Peppermint Taffy.
I hope I have inspired you to look at this wonderful medium in a new way. Have fun making your own creations. Please come by my blog to see what other projects I am into.