Showing posts with label crayon. Show all posts

Tuesday, August 25, 2015

Make your Own Recycle Crayons Stamp

 
Make your Own Recycle Crayons Stamp by Gloriann Irizarry
 
Are you ready for the kids to go back to school? It is almost time and with the wonderful task of back to school come the cleaning old supplies. Every year I come across this and since I like to recycle items I decided to find a better way to re use the one item we had the most from last year school supplies. Crayons and more crayons. Here I thought of a a way to use these for my Creative Paperclay Project I hope you enjoy this tutorial. 

Materials

Creative Paperclay Material
Old Crayons
One Glass Cup
Pot
Hot Water
Disposable Plastic Bowls
Hobby Knife


Gather all your left over crayons. 

 
Peel all the paper off the crayons
 
 
Break the crayons in small pieces and place them in the glass cup.

 
Place the cup in a pot full of water and place in a low heat.
Stir the mix until all the crayons are fully melted.

 
Once the crayon mix is all meted, carefully removed the hot glass cup from the hot water pot and pour the mix in the disposable plastic bowls. Place the hot mix in the fridge.
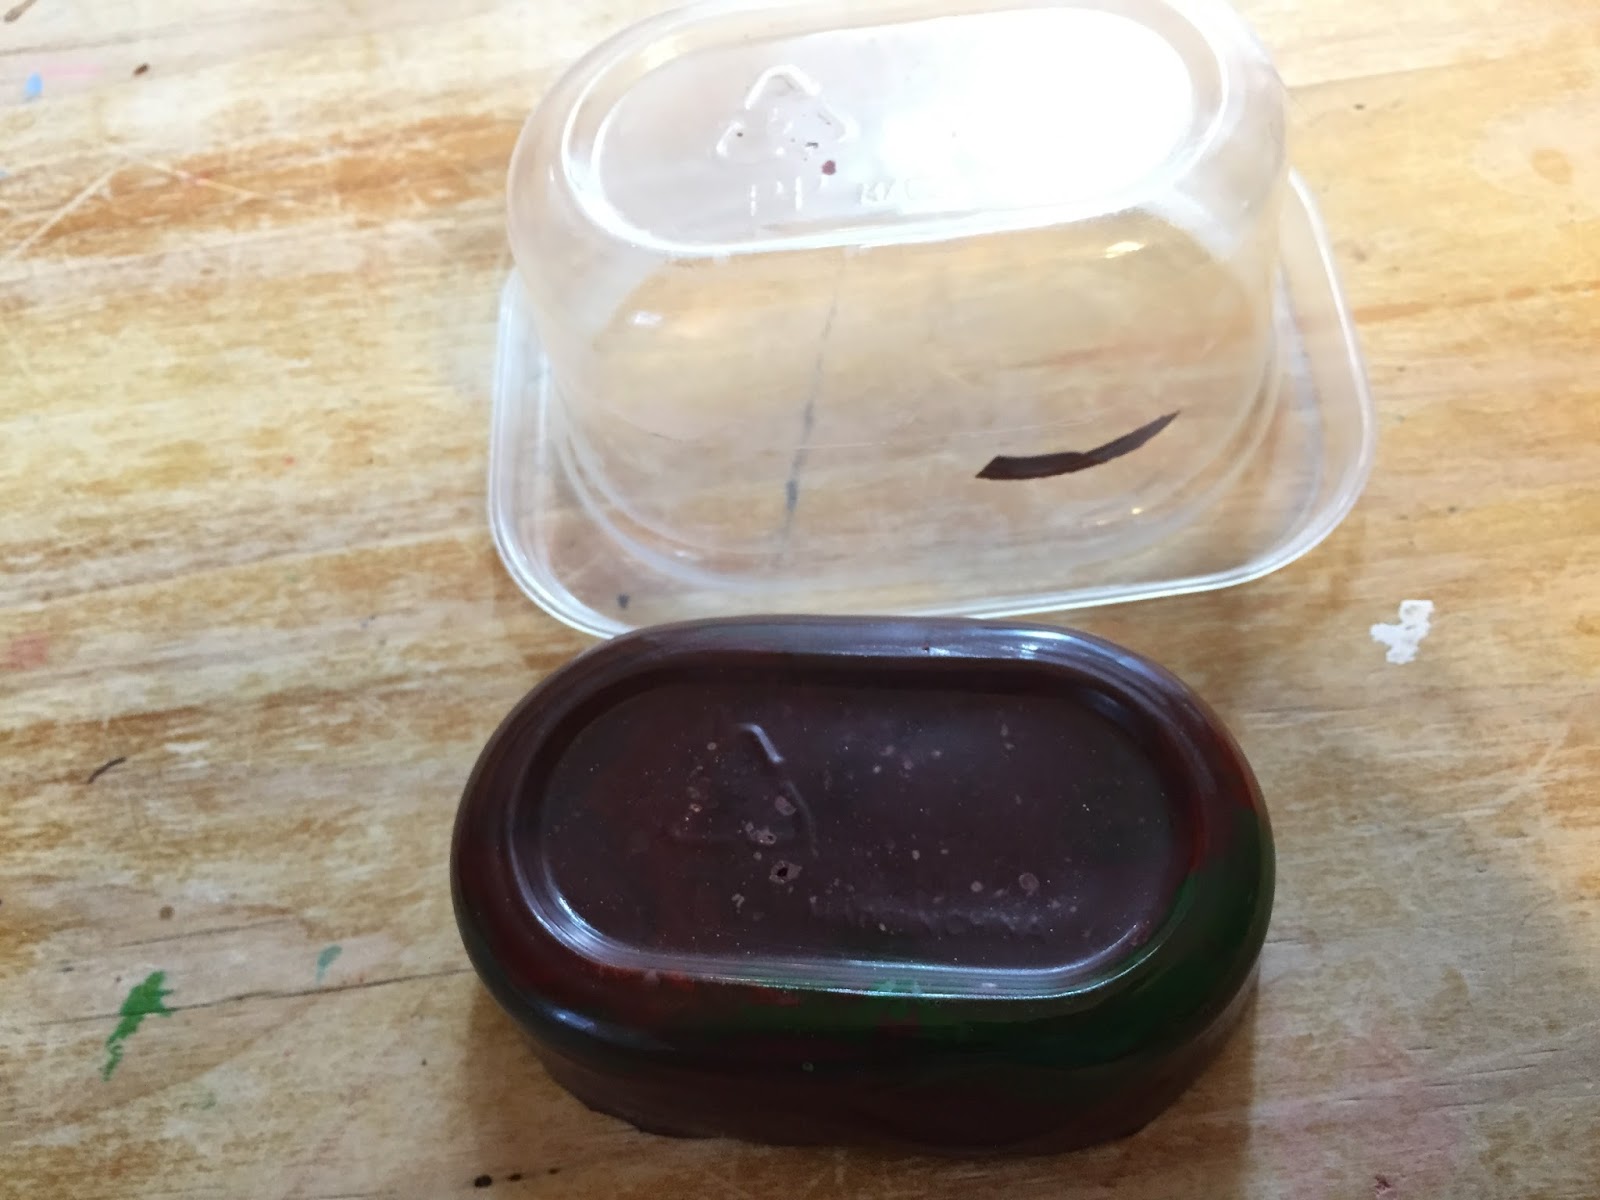


Wait about and hour and remove the bowl from the fridge.
Wiggle the plastic bowls until the wax mix is released.

 
Clean the edges out with the hobby knife.

 
Start carving your favorite design directly on the wax block.

 
You can make one continue pattern or a combination of patterns on the crayon wax block.

 
Have fun be creative and carve any designs you want. Once your satisfy the crayon block is ready. 

 
Grab your Creative Paperclay roll it out to your desire thickness.

 
Place your new stamp on the rolled out Creative Paperclay Material and apply even pressure to the stamp. Gently remove the stamp from the Creative Paperclay sheet and expose the new design under it. Now your stamp is ready to be use in any future paperclay projects.


 Feel free to join our Facebook Q&A group in click here . We will gladly help you out.
 
Have a great new school year and happy crafting.
 
Sincerely
Gloriann Irizarry


Tuesday, March 3, 2015

Hot Craft - Crayon Art Jewelry

Hi, it's Tori West, who can't believe we are already into the third month of the year!  Wishing it were warmer, so I'm going to share a hot trend today - Melted Crayon Art.  Most of what is on the web consists of crayons melted with a hair dryer to form a picture (usually with the crayons still attached to the picture).  I decided to heat that up a bit by using a heat gun, and see what I could come up with using Creative Paperclay®.


For this project I used:
Creative Paperclay® modeling material
scraps of jewelry chain
wire nippers
corrugated cardboard
aluminum foil
cardboard box
straight pins
heat gun
Crayola crayons
Delta Ceramcoat Satin Varnish


If you decide to try this technique please use caution and remember......
  • The heat gun gets really HOT
  • Everything within range of the heat gun gets really hot. The melting wax is hot and it will stick to your skin if you touch it. 
  • Using the heat gun may also cause the hot wax to blow onto other things. Certain colors of hot wax may permanently stain some surfaces.
  • The heat gun, wax, and surrounding area stay hot for a while, so make sure you don't touch them or set the heat gun against anything until everything has cooled.
  • The heat gun can create enough heat to cause the wax to smoke, so make sure you keep it at a safe distance from the wax and remove the heat immediately if smoke develops.
(You can do this technique with a blow dryer set to the high setting, however, I think using the heat gun is preferable due to the highly focused area of heat and faster melting of the wax.  You will not get the crayons to run and blend in the same way with a blow dryer)

First I prepared clay "blanks"

Rolled out clay and cut to desired shape,
then added a short length of chain. 
A second layer was added and cut to the same shape as the first
 After the pieces were dry, I sanded them smooth and did some further shaping.

I set up my work area, starting with a double thickness of corrugated cardboard covered with foil to use as the blank holding surface, then putting that work surface in a large cardboard box to catch any blowing wax.
work area set up


I removed all the paper from my crayons and set them aside.

The blanks were pinned to the work board with one pin through each loop, and one on each side to prevent the piece from blowing around while being worked on.

When all was ready, I used the heat gun to start heating the clay, then applied crayons.  As you can see in the video, as things got hotter I adjusted the distance of the heat gun from the clay.


After the pieces cooled I let them set for a few days, then applied several coats of acrylic varnish.

Some other fun things that can be done while the wax is still cooling is to push the wax around with a toothpick, or to use a colored pencil to add definition or enhance the designs.

Thanks for joining me again!


I'd love for you to join me for more projects & art adventures on my personal blog
Find me on Facebook, or peruse & ponder pics with me on Pinterest
Connect on Google+ or see what new creations I may have on Etsy