Showing posts with label custom stamp. Show all posts

Tuesday, August 25, 2015

Make your Own Recycle Crayons Stamp

 
Make your Own Recycle Crayons Stamp by Gloriann Irizarry
 
Are you ready for the kids to go back to school? It is almost time and with the wonderful task of back to school come the cleaning old supplies. Every year I come across this and since I like to recycle items I decided to find a better way to re use the one item we had the most from last year school supplies. Crayons and more crayons. Here I thought of a a way to use these for my Creative Paperclay Project I hope you enjoy this tutorial. 

Materials

Creative Paperclay Material
Old Crayons
One Glass Cup
Pot
Hot Water
Disposable Plastic Bowls
Hobby Knife


Gather all your left over crayons. 

 
Peel all the paper off the crayons
 
 
Break the crayons in small pieces and place them in the glass cup.

 
Place the cup in a pot full of water and place in a low heat.
Stir the mix until all the crayons are fully melted.

 
Once the crayon mix is all meted, carefully removed the hot glass cup from the hot water pot and pour the mix in the disposable plastic bowls. Place the hot mix in the fridge.
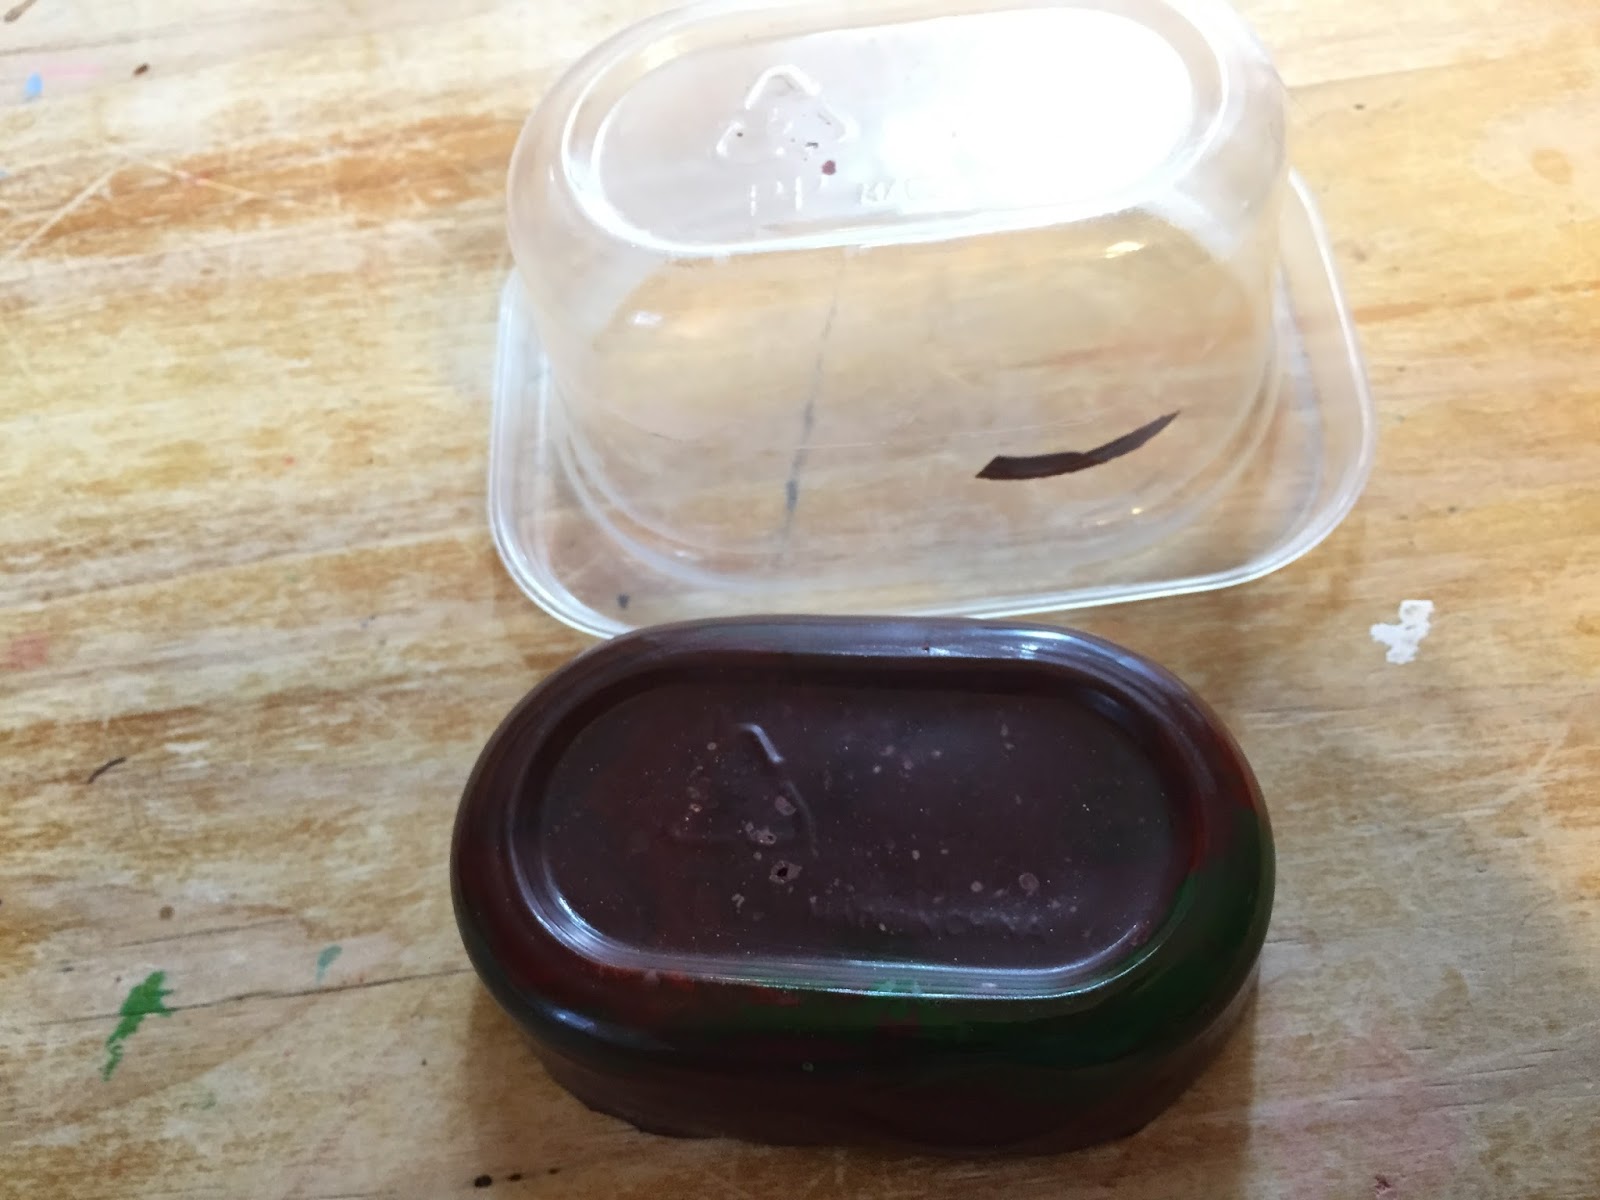


Wait about and hour and remove the bowl from the fridge.
Wiggle the plastic bowls until the wax mix is released.

 
Clean the edges out with the hobby knife.

 
Start carving your favorite design directly on the wax block.

 
You can make one continue pattern or a combination of patterns on the crayon wax block.

 
Have fun be creative and carve any designs you want. Once your satisfy the crayon block is ready. 

 
Grab your Creative Paperclay roll it out to your desire thickness.

 
Place your new stamp on the rolled out Creative Paperclay Material and apply even pressure to the stamp. Gently remove the stamp from the Creative Paperclay sheet and expose the new design under it. Now your stamp is ready to be use in any future paperclay projects.


 Feel free to join our Facebook Q&A group in click here . We will gladly help you out.
 
Have a great new school year and happy crafting.
 
Sincerely
Gloriann Irizarry


Friday, July 5, 2013

Making Custom Stamps for Cheese and Butter by Rachel Whetzel

Hello! It's Rachel Whetzel today, with something a little different than most of the "crafty" things we share here on the Creative Paperclay® modeling material blog!
Some of you may follow me on my own personal blog, or on facebook. If not, allow me to tell you that I in addition to being an artist, I am a farmer. I raise Nigeria Dwarf Dairy goats, and I milk them. Once in a while, I make cheese with that milk. When I was a little girl, my mom used to make butter, and she bought a butter stamp for her butter. That memory gave me the idea to use Creative Paperclay® to make a custom stamp of sorts for my cheese, using the logo for my herd name and logo.

I thought it would be cool to mimic the way that soap makers use their logos in their soap molds, and apply that idea to the food I make with my goat's milk. My farm name is MigMog Acres. MigMogs are a fictional creature that my husband and his brother made up when they were kids. They pretended that MigMogs make lots of mischief, smell like stinky farts, and have messy fur. We used to tease our boys that they were behaving like a MigMog when they were naughty, and my middle son drew a picture of what he imagined a MigMog looked like when he was about five or six. I used that picture in the creating of my logo.
To create your own butter or cheese stamp,
YOU WILL NEED:
To start, I printed out my logo onto regular paper in a couple sizes. I chose the smaller size for my stamp.
 Next, I rolled out some Creative Paperclay® and cut it into a round shape, since my cheese and butter would usually be made in ball shape.
Then I wet my paper, and wrote over the top of the paper with a ball point pen, onto the clay to transfer the image to the clay.
Next, I carved into the clay with a toothpick, and used a wet paint brush to smooth rough edges that the tooth pick made in the clay.
The ear on the right is how the edges look once the clay is smoothed with the wet brush.
 Once the piece was finished, I set it aside to dry.
Once the piece was dry, I used Amazing Mold Putty to create a food safe mold to become the stamp for my cheese and butter. To be sure that the putty got into all the nooks and crannies in my small carving, I spread small amounts of putty thinly over the Creative Paperclay® piece.
Then I spread the rest of the putty over the top and shaped it.
Once the putty set, I removed the new stamp. When you remove the stamp, your text and image will be backwards. That's OK!!
Last, I washed my new stamp, and tested it out on some butter!
I can't wait to try it on some cheese next time I make it! I made some for this post, but I used basil in it, and the basil obscured the stamp print a little too much for it to show well in the pictures.
I would love for you to let me know if you create something of your own inspired by this post! Leave me a comment, and let me know if you do!! I would love for you to visit me at my "house" too!! Thank you so much for reading!!  ~rachel