Showing posts with label easy. Show all posts

Tuesday, June 9, 2015

Creative Paperclay Figure Pusheen The Cat Tutorial


Good Day everyone! Today I wanted to share with everyone a little project I made a very special little girl in my life. Yes!  My daughter Sam. She wanted a Pusheen The Cat figure for her birthday cake so why not make it out of Creative Paperclay®  instead of fondant so she can treasure it for ever. This is how my OOAK figure idea began . Now she was actually very specific and wanted the cute cat in the scooter like on the Book cover of I Am Pusheen The Cat By Claire Belton. The Fan art figure turned out so easy and cute I wanted to share with everyone. I hope you like it.


Materials
Creative Paperclay®
Sandits®
Roller
Water mist bottle
Brush
Acrylic paint
Acrylic glossy sealer
Printed Image


I like to cover the working area with a plastic sheet so you can remove the clay in one whole piece.


Use your roller and start rolling a clay sheet to a 1/4 even thickness. 


Print the image you have chosen to desired size.
Cut the image out and place it on top of the rolled out clay sheet.

 
Trace it with a needle to cut the base shape for your Creative Paperclay®  cat figure.


Smooth any rough edges out with a wet soft flat brush.

 
Add some more 3D details with the Creative Paperclay® like the little cat  paws, scooter chair, scooter wheels, eyes, mouth and cat markings. Set to dry over night or if in a hurry out it in the over tray for 170 degrees no more than 200 degrees for one hour.
 
 
You can sand any imperfections out. I found the use of Sandits® to be very
helpful to sand all the details out.  Sandits® give you  full control over the area your sanding.
Check them out you will wonder how your live with out them.
 
 
Once is dry we can do the base colors for the figure.
Use at least 2 coats for each color so the image will look nice and bright.
 
Cat and wheels was colored in Silver gray, Scooter in Aqua pearls, Seat and steering wheel in flat pink.  Let the paint fully dry in between each coat. I actually paint it the details in the front of the figure and the back too. Set aside and let it dry.


Now that is dry it will be easier to add the black detailed line with out messing the other colors.
It is more easier to do if you use a nice fine brush and thin the black paint a little so it will not cloth all over when your painting the lines.


I could not stop on the front so I also painted the details on the back of this piece.
 
Once the black paint dry your ready to protect your piece with the glossy acrylic paint sealer. Set it aside to dry and your piece will be done.
 
This can be use has a cake topper, Magnet or a tree ornament. The choice is all yours.
 
 
Now Todays OOAK Pusheen Creative Paperclay figure was a Fan Art inspire by my Sam's favorite book covers I Am Pusheen The Cat by Claire Belton 
 
 
 Have a bless fun day!


Sincerely,
Gloriann Irizarry


Thursday, May 1, 2014

Spring Bugs, Create your own specimens by LuLu Lancaster


Hello There LuLu here again with some creepy crawlers :) Happy Spring and with Springtime I always think about Bugs. Usually the kind invading my home, but these are fun little colorful freeform Bugs ;)

All you need is 
Creative PaperClay®
needle and thread
Acrylic paints
I used brown red and gold
An Acrylic gloss

Start with multiple clay balls any size

squish a few of them together and elongate to make a bug like shape

You can make any type of bug shape I have a few caterpillar types ;)

take your needle and thread and run lengthwise of the body.
Leaving threads hanging on both ends. Creates the illusions of bug "parts"

Now run your thread across the body to create insect arms and legs


Let your new creatures dry in the sun :)


Paint fun colors with spots and stripes. You can even add "wings" from plastic with a drop of glue.


After they have dried add some acrylic gloss to shine them up :)

And that is how you make "bugs" with Creative PaperClay®


Thank you so much for following along :D I hope you have enjoyed this little project.
LuLu


Thursday, April 3, 2014

Spring Marshmallow Party Necklace using Creative PaperClay® by LuLu Lancaster


Hello This is LuLu lancaster with another easy Kids project with a little adult supervision.
My Granddaughter loves chunky necklaces. With their bright fun shapes and colors what kid wouldn't? I thought about a fun easy kid friendly project that brought the fun of coloring with egg dyes and creating something children could wear.  And here is the result!

A Marshmallow necklace :)

All you will need is:
Creative PaperClay®
a knitting needle I used a size 5
an xacto knife ( this part will need Adult )
a length of ribbon,yarn or string.
egg coloring dye
bowls
water
needle and thread (adult supervision)


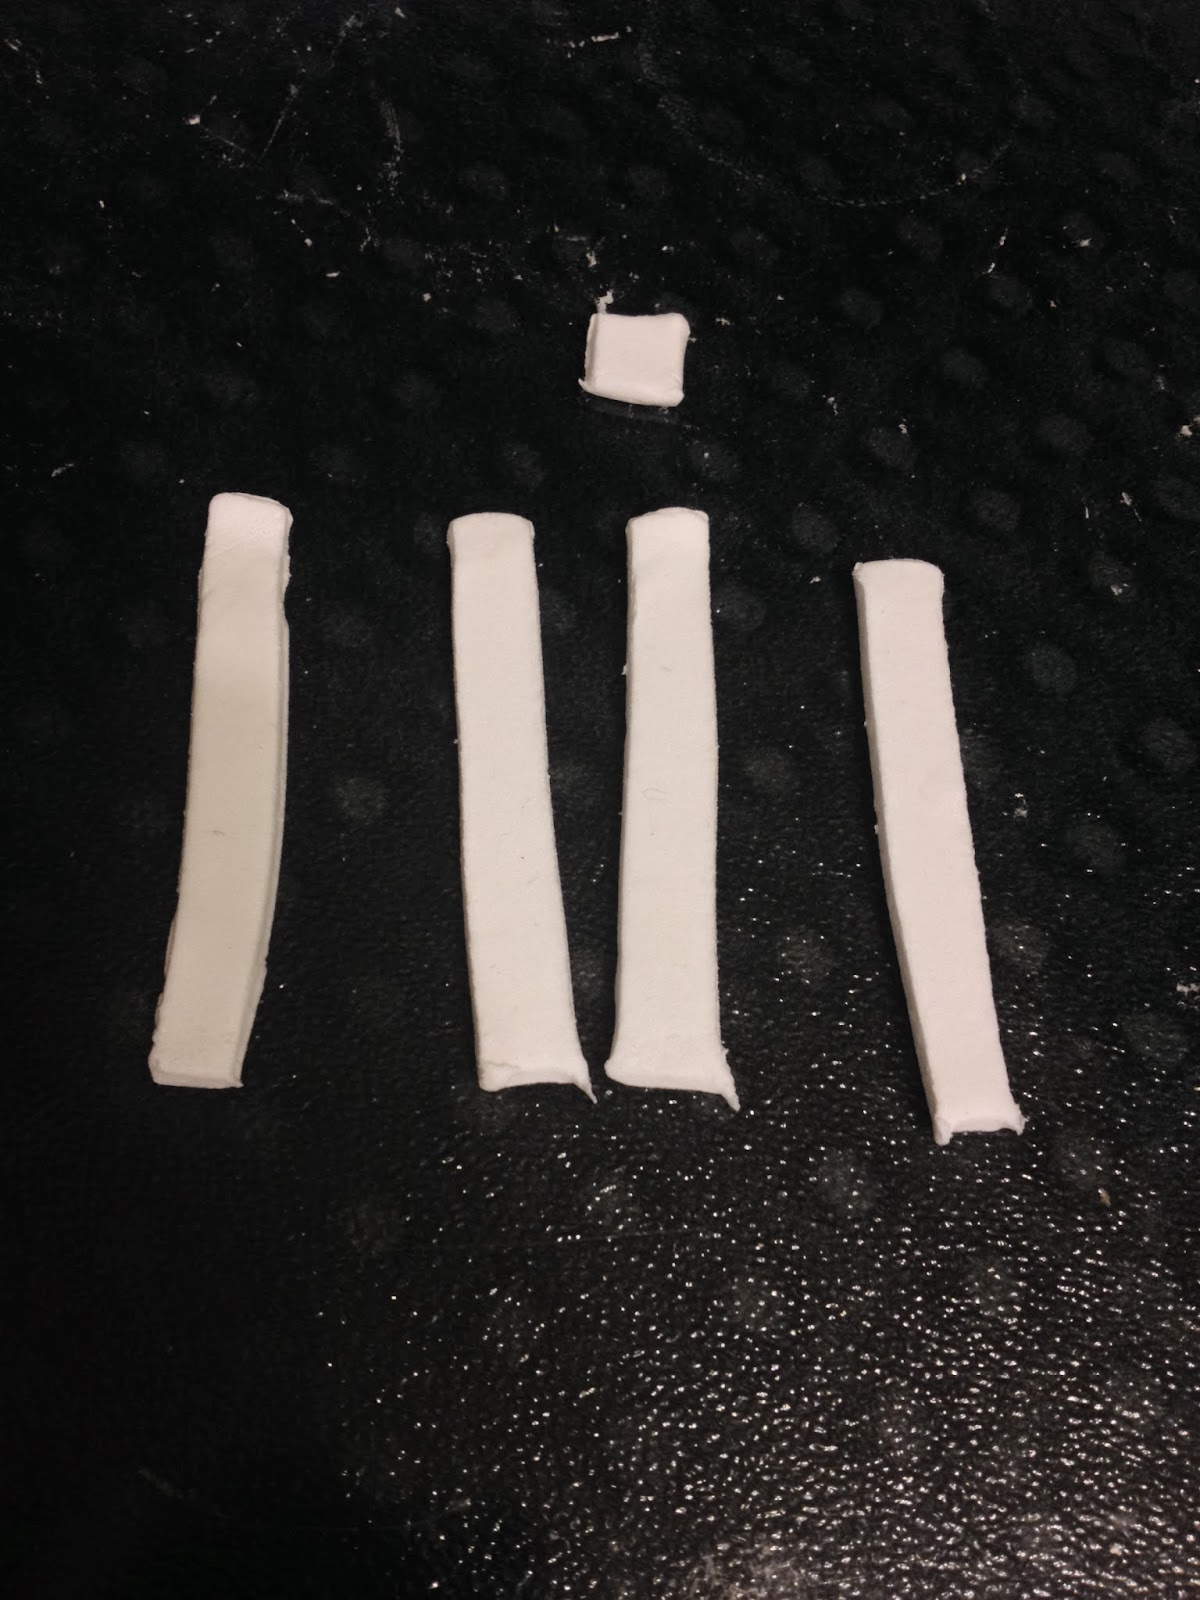
Start with the square mallows. Just slice squares off your clay. Mine are approx. 3/4 inch squared

Next sculpt a simple Marshmallow bunny 


Slide it all on the knitting needle. This will create the holes so it can be strung together.

Allow to dry before removing from the knitting needle. I put mine outside for the afternoon n a warm day.

Now you can take simple Easter egg dye tablets and select 2 complementary colors. We chose Purple and Yellow. Drop the tablets in the water and allow to dissolve.


using your needle and thread string through the hole. This will allow you to dip the "mallows" into the dye.

It only takes a couple seconds to dye the clay.
Do not leave the clay in the dye for too long it will dissolve. remember it is created from  Creative PaperClay® :)


Here we have all the "mallows" dyed and drying waiting to be strung together. 


You could even add little beads in between the "mallows" :)
Thank you so much for following along and I hope you have enjoyed this little project :)
LuLu


Thursday, March 6, 2014

Crystal Skull Fun and Easy Bling Project by LuLu Lancaster


Hello There This is LuLu Lancaster and I have a little project for you that is easy and fun and full of spooky  bling!
There is always room in my home for another skull and this one has some sparkle!


You will need a tub of assorted acrylic gems
2 styrofoam balls
xacto knife
Creative PaperClay®
Black Acrylic paint
a couple toothpicks
Triple Thick Gloss Glaze
Available at Michaels craft stores


First thing you will do is to cut a styrofoam ball in half.

poke the half with a couple toothpicks

Push the half into the whole styrofoam ball

Now cover the styrofoam with Clay.

with your fingers you can push out the eye sockets and the nostrils, using your exact knife cut a slit for the mouth. This is really only need for a guide where to put your gems.

wet the entire head with a few drops of water so that the clay is sticky.


Once your skull is covered in gems and has dried go ahead and paint the eye sockets and nostrils and a line for the mouth.

Once your paint has dried you will cover the entire skull in Triple Thick gloss.
While it is still sticky you can pop on some more gems if you like or even take it one step further...Cover it in sparkly glitter!


Thank you so much for reading along and I hope you have a Blingy Spooky filled day!!!
LuLu

Tuesday, January 14, 2014

Kid Friendly Paper clay Kitty Cutie with Creative Paperclay ®


Creative Paperclay ® Anime Kitty Cutie
Design Samantha Ellard.


Hi my dear friends this is Gloriann Irizarry creating a new tutorial that will be kid friendly. 
So friendly I had my 13 years old making her own design of this Cutie paper clay kitty.
The Creative Paperclay ® Anime Kitty was designed by Samantha Ellard and she completed this project all by her self. We both had so much fun making this critter. I will be describing each step so you or your little helper can complete this easy to sculpt cute cat friendly  project.


Material List

Delight Air Drying compound
1 Styrofoam ball
Acrylic paint (Gray, Pink and Black)
Water mist bottle 
Plastic sheet
Air Dry Ascent Black liner
School Scissors
Paint brushes
Plastic Cake decorating tools (safer for little hands)
 And my trusty roller.


Roll a clay sheet to a 1/4 thickness. 
Mist the clay lightly with water.
Place the Styrofoam ball in the middle 


Now grab the clay sheet and pinch it to close it tightly. 
Cut away any excess of clay.
Moist the clay ball. 


 Smooth so it look like a nice sphere.


For the ears you are going to create 2 triangle shapes.


Place the triangle on to of the paper clay ball.
Blend the triangle to the now kitty body.


  To make the little paws cut 4 pieces  and create 4 drop shapes.


Lightly water mist the drop shapes.
 Attach the drop shapes in the opposite direction from the ears to make her little paws.
Blend the leg unions to make a nice smooth piece.


To create the little tail is so easy. 
Roll a little clay into a worm shape.
Water moist to attached to the kitty body.


 To make sure your little round critter do not roll away from you.
Let's roll a little ball.
Water moist the ball.
Place it were you want you kitty to be standing.
Press the clay ball against a flat surface.


Since Samantha decided this cat is a little cat will be a girl she will be making a nice bow.
Cut  4 even pieces about 2 to 3 inches long depending how big you want the final bow to look.
Roll the clay in little worms.


 Bend two to create the one U shapes and stick them together.
Use the other 2 worm to create to the little draping down ribbons.
Choose your favorite position and moist to stick it safely.
Let the whole piece dry over night.


 Use a pencil to draw the face details. 
Paint 2 coats of the gray acrylic paint.


Detail the little cheeks with pink acrylic paint.
 Also paint the bow pink.


Use the back acrylic paint to create the cute eyes.

Oppsy!! We got some blue paint all over her hands. 
Sam wasn't too sure if her kitty would have a blue or pink bow. 
Well my friends it seem pink some how always end up winning at my house. 


We were looking for a 3D effect to the whiskers and mouth so we decided to use 
Air Dry Ascent Black liner to paint them up and create the look we were looking for.


Here is the little Kitty Cutie final piece after shes been seal with a Glossy finish.


Cutie Showing off her little tail.

Many other animals variations can be achieve using the same technique show above. 
Feel free to explore and exercise your imagination were everything is possible once you put your mind to it.

 If you have any questions feel free to email  me at Gloriann@byglori.com.
I hope you had fun creating this cute critter and remember my friend to have a bless day and happy crafting. 

Sincerely always.

Gloriann Irizarry and Samantha Ellard 
Gloriann @byglori.com