Showing posts with label figurative sculpture. Show all posts

Friday, March 27, 2020

Creating a Standing Bust


Hello everyone, today I am going to show you all how I created this standing bust that was loosely inspired by this Selma Burke sculpture for Women's history month. Selma Burke's most notable work was a Bas Relief sculpture of President Franklin D. Roosevelt that was used on the reverse side of the U.S. dime that she was never given credit for. You will need the following supplies for this tutorial:

Supplies: 

Creative Paperclay®

Masking tape
Small wooden base

thick and sturdy 16 gauge wire
Drill
Sand paper
E600 Craft Glue
Acrylic paint
Sealer, Varnish
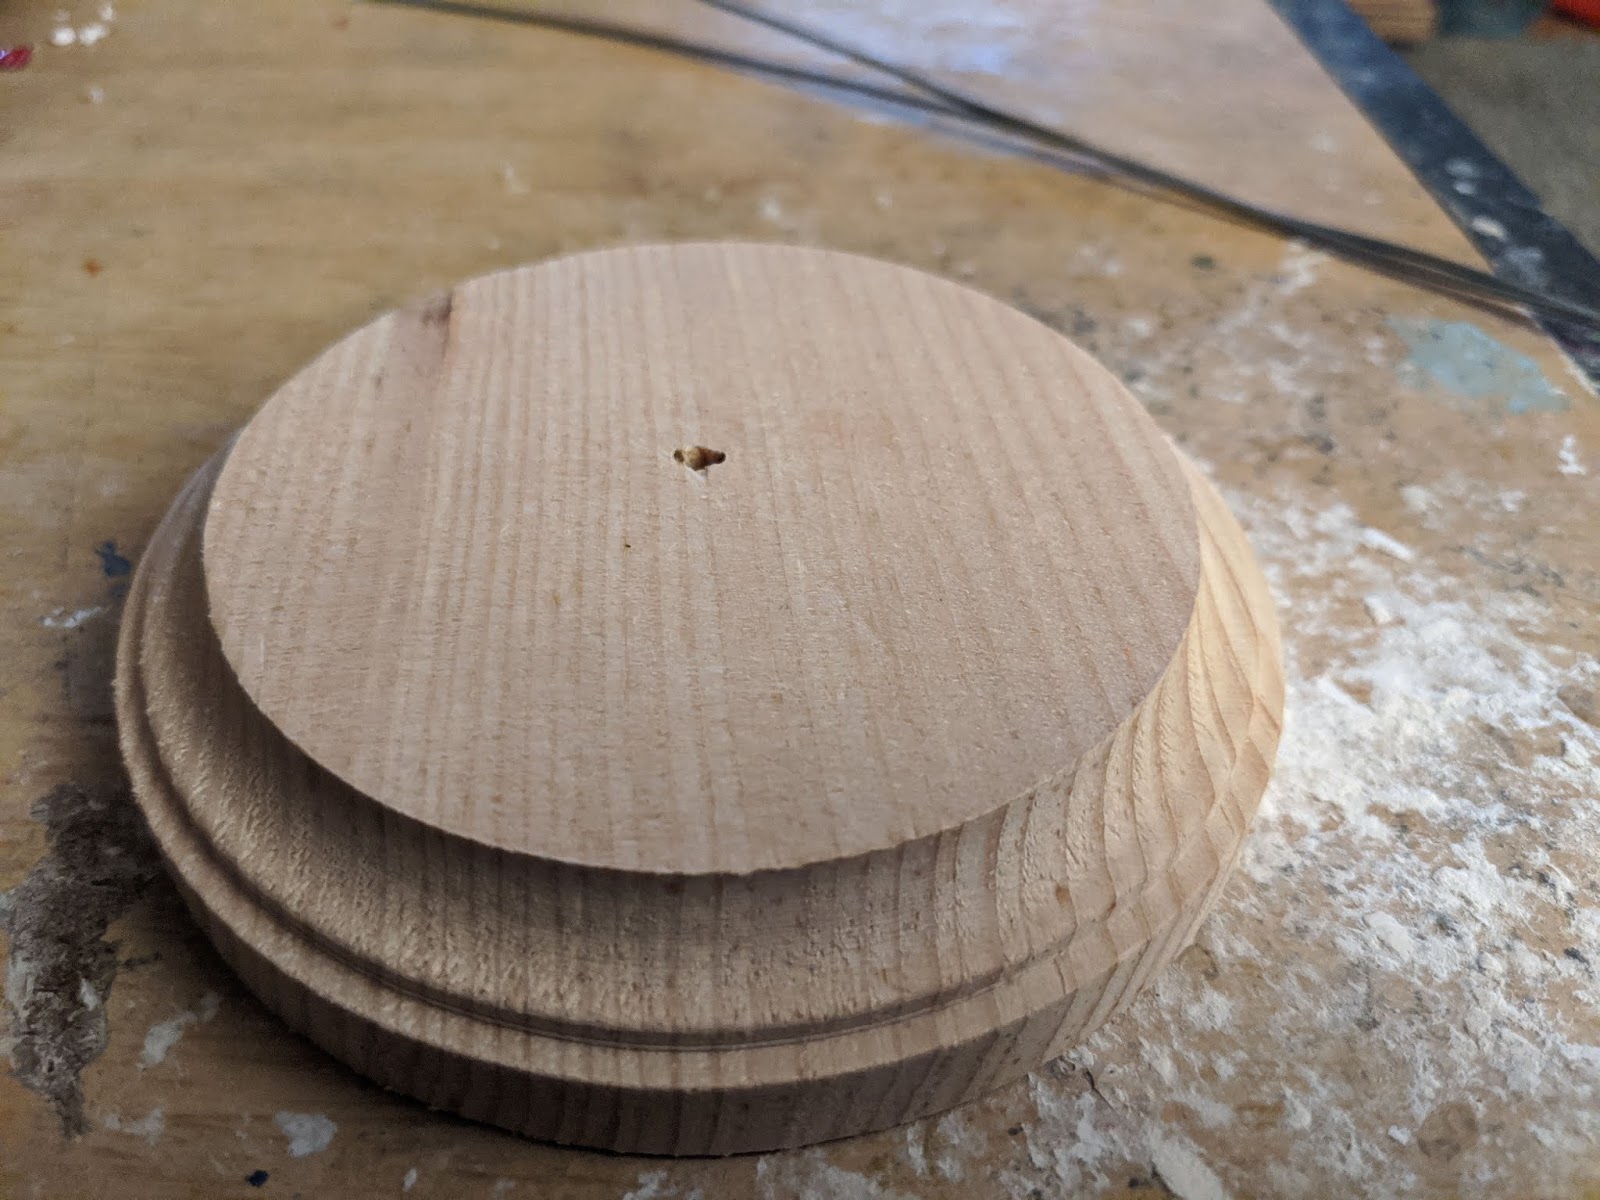


I already had a wooden base that I previously drilled a hole in laying around from a project that I didn't finish. Make sure that you use a drill bit that is just a smidgen bigger than the wire that you plan to use to stick into the base.


Create your armature with the heavy wire, make sure that you leave about a half inch of wire sticking out from the bottom so that you can later put your bust into the base. I doubled the wire here so that it would be strong enough to hold the piece up.


Begin building your sculpture, here I used some thick paper and masking tape. Keep bulking up and tightening it until you get it to form the shape that you want.


Begin adding clay onto your armature when you are satisfied with the shape.


Here I set the piece aside to dry since I work in layers. I after it dries I return to it to begin adding features. 


Here I am using a ball point stylus tool to work on building the nose with. 


After setting the piece aside to dry after a few passes, I am happy with how it looks and done with the sculpting phase. Here I am using an 800 grit sandpaper sheet to get the piece nice and smooth.


With this sculpture I decided to have the base removable so I did not glue the bust onto the base. If you chose to glue it to your base, I would do it at this point after your sanding is done. You can use epoxy if you want a really strong hold or E6000 glue could work as well.


Using regular acrylic paints here to paint my bust. I decided to give this one color instead of going with the bronze look as in the original sculpture. 


Just a shot of my messy portable work space, I rarely work in my designated work area.  When you are done, be sure to cover with a protective finish!


This is how she turned out, she needs a necklace...

Well anywho, thank you all once again for stopping by, and I hope that you enjoyed today's tutorial!

*****Stay Safe, be well and take care!*****


You can find Creative Paperclay® at the following retailers Creative Paperclay® Online Store, Michael'sAmazon, Joann's.

See more of my work at Melandolly.com and be sure to catch updates on my Instagram page


Friday, February 22, 2019

Create a Faux Bronze Bust with Creative Paperclay ®


Hello everyone! My name is Cinnamon Willis and today's tutorial is going to show you all how to create a faux bronze bust using Creative Paperclay®. In honor of Black history month, I am going to introduce you to an African American sculptor who was part of the Harlem Renaissance named Augusta Savage. She was a notable sculptor, teacher and an activist that fought for equal rights in the arts for African Americans. Most of her work was done in clay or plaster and painted to look like it was a bronze sculpture since she couldn't actually afford to work in bronze. Her art was heavily documented, but the location of most of the pieces are unknown. Her most notable work is the bust above called Gamin which is also made of plaster and painted to look like bronze. In today's tutorial, I'll be working in a style that resembles Mrs. Savage's style more so then my own. I hope you enjoy and take time to look at some of Mrs. Savage's other incredible works.


Courtesy Federal Art Project, Photographic Division collection, 1935-1942. Archives of American Art, Smithsonian Institution.

Supplies:
  • Chicken/poultry Wire
  • Thin wire
  • Pliers
  • Scissors
  • Creative Paperclay®
  • Newspaper
  • Masking tape
  • Sand paper
  • Acrylic paint
  • Sealer, Varnish


Start with a sheet of chicken wire, cut it down to the size you would need it to be for the head, neck and shoulders for your piece. Start shaping it with your hands and pliers, be careful not to poke yourself. I usually take the ragged ends of the chicken wire and fold them into each other. Take the lose wire and weave it if needed to fasten the ends of the chicken wire together.


Take your masking tape and wrap it around the chicken wire completely. You could paint a layer of gesso on top of the tape so that the clay could adhere better to it or just stick it on as I sometimes do. You may need to add a drop of water to the surface for the clay to grab hold to better.


Start adding your first layer of clay to the base. Once the piece is dry, which roughly takes 24 hours depending on the thickness of the clay, you could begin working on the details such as the face shape and features. This can be done by adding a drop of water onto the places that you would like to add clay to and blending the new clay into it. Don’t worry about getting things perfect when working with moist paper clay, most of the sculpting is done when it is dry.


When working on a piece like this, I find it easier to build up the face in different intervals and allow each stage to dry before I continue. This allows me to work without worrying about me ruining a part of the doll or bust that isn't dry yet. As I always state in my tutorials, the drying process can be sped up with a toaster oven set to approximately 200- 220 degrees. Make sure to check on it every twenty minutes to ensure it doesn’t get burned! It's great for those who are impatient like me!


While sculpting this bust I began to realize that it more closely resembled a man's face than a boy's. Instead of the painter's cap that was on the original sculpture, I decided to go with the classic Kangol cap.


After building up this piece quite a bit with the clay, I sanded down the parts that I wanted to be smooth such as the face. I use different grits of regular sand paper that you can find in the hardware store to get the results shown above.


I used Craft Smart's metallic brown to get the bust to look bronze. There are many other metallic brands that would give you the same results, this is just the brand that I had on hand. It took about 5 coats of paint to get the color to be even. If you want to take it a step further, you can do a wash with black paint over the piece to give it a worn look instead of this finish that I have.


Seal with varnish and you are done!


Thank you all once again for stopping by, and I hope that you enjoyed today's tutorial! You can find Creative Paperclay® at the following retailers Creative Paperclay® Online Store, Michael'sAmazon, Joann's.

See more of my work at Melandolly.com and be sure to catch updates on my Instagram page!