Showing posts with label hair accessories. Show all posts

Thursday, July 14, 2011

Easy Poppy Hair Comb in 8 Steps

By Amanda Marks

Materials:
1 Hair Comb
Paperclay
1/2" circle Clay cutter
Rolling Pin (I use a Fondant Roller)
Sculpting Tools (your choice)
Paint
Hot glue

 I guess the first step really is to have some inspiration and some old Hair Combs to recycle.


1.  Roll out clay and use the cutter to make a circle.

2.  Make 7 lines around the piece of clay

3.  Take a sculpting tool to dome the middle out  This will make it easier for the ball of clay to stay in place.
4.  Around each line on the end to form the petals.  Draw lines in between the petals smooth out with water.

5.  Add ball of clay.  Stab clay with the tip of an Exacto knife or use a sculpting tool  This will look like the center of the flower.

6.  Let dry.  Repeat steps 1-5 for each flower.

7.  Paint red and green for the inside.

8.  Hot glue to the hair comb.  Seal with sealant.

Saturday, June 25, 2011

Paperclay Barrette Tutorial

Ladies! Are you looking for the perfect hair accessory that no one else has? Make your own!

What You'll Need 
Creative Paperclay
Metal Clip Barrette (available at Michael's and Jo-Ann's)
Non-stick craft mat or wax paper
Rolling pin
Cup of warm water (for sculpting and paintbrush wash)
Sharp pottery tool
Acrylic paint
Glue gun

What To Do
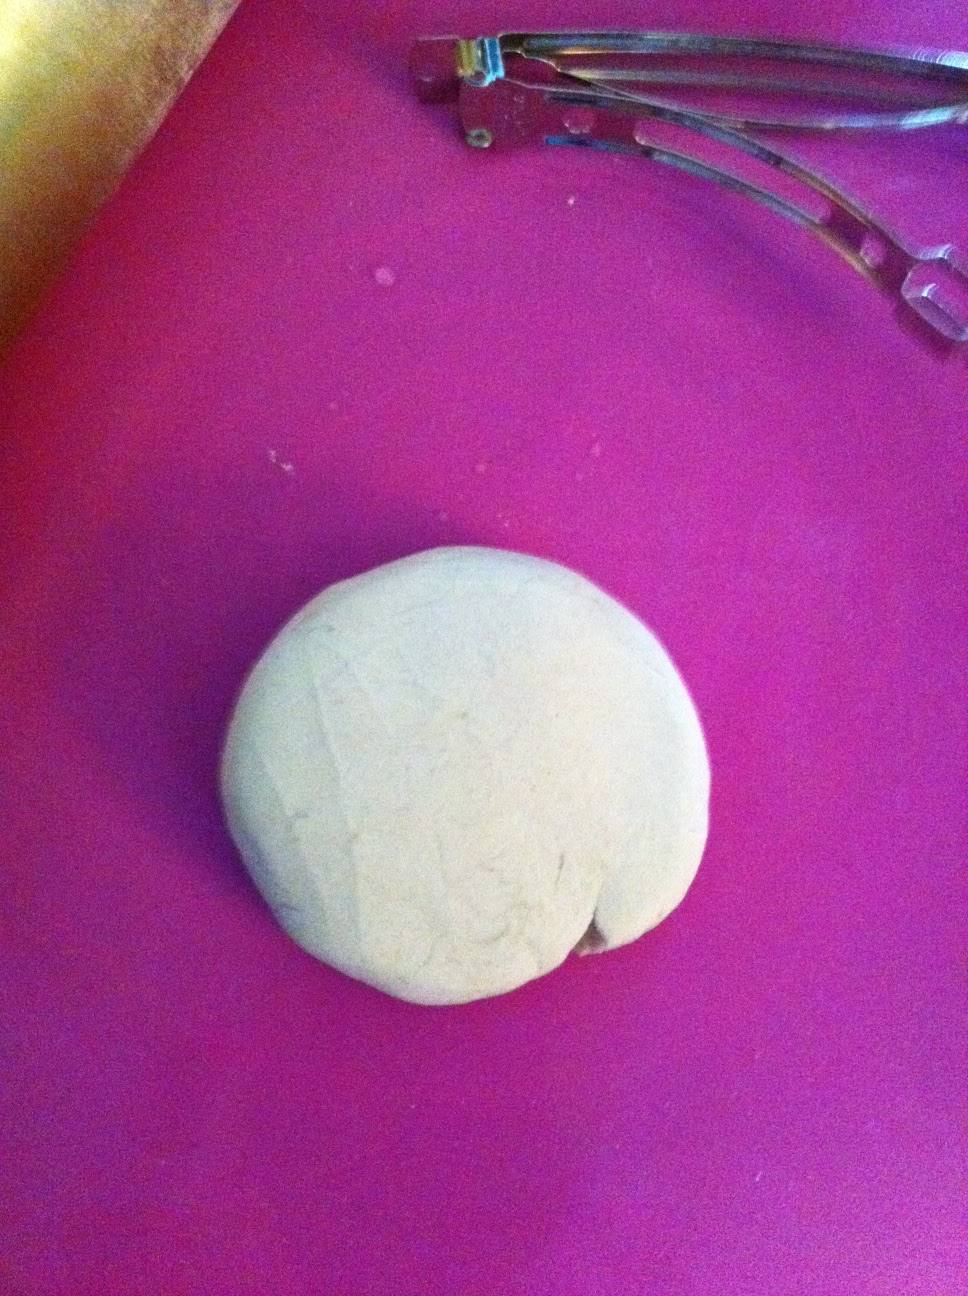
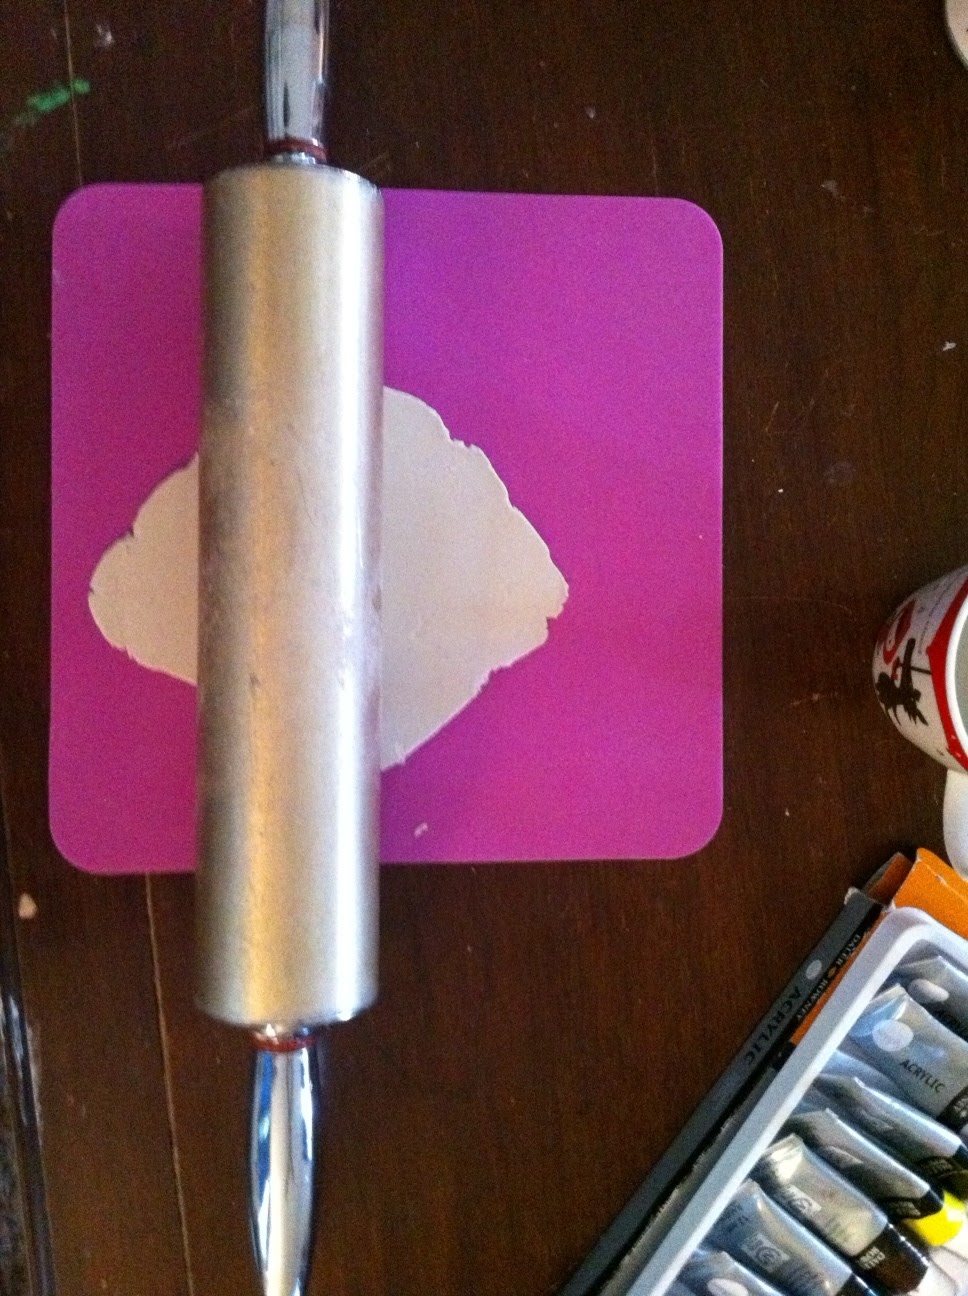
1.  Roll out a lump of paperclay to about a 1/4" thick.
 2.  Place barrette backing into paperclay.


3.  Cut around barrette with sharp pottery tool or butter knife. Feel free to make an oval shape, round shape, or angled shape to your liking.
4.  Smooth edges with water and make sure there is an impression of the barrette in the clay.
5. Place paperclay on top of the barrette. Make sure the clay takes the shape you desire and will glue flush to the barrette. Bake in your toaster oven at 250 degrees for 10-15 minutes. 
 
7.  Flip over and bake for an additional 10 minutes. Once dry, allow to cool.
8.  Time to paint! You have complete creative control, so have fun with it!

9.  Paint both sides. Allow to dry. Finish with varnish. Allow to dry. 
10.  Glue the flat part of the barrette to the back of your creation. Allow glue to dry and then go style your hair! 

Here is another barrette I did a while back...a complete one! The one above is still drying! Can't wait to wear it though!

Feel free to sculpt your barrette too! I am sorry the picture quality is not better. On this barrette, I sculpted grape bunches, leaves, and fashioned vines out of small gauge jewelry wire. Also feel free to glue flat beads, use glitter, decoupage, etc. The possibilities are truly endless with this project! Have fun!