Showing posts with label masking tape. Show all posts

Tuesday, December 24, 2013

Gloriann Irizarry's Drying Your Clay Tips for Creative Paperclay®


Many Drying tips and techniques for different armatures and cores.

Drying times can be affected by altitude, weather,  humidity and armature type used.
Have in mind the best way for your clay sculpture to be strong is by having the clay dry evenly.
This will reduced the amount of cracking on your piece.


If you use Styrofoam you should never place it in the oven to dry your sculpt.
Styrofoam when it melts it will produced toxic gases. This is not safe to be exposed to.
Also if you try to rush the drying process with ovens or heaters the clay will not dry evenly. Drying the clay with heaters or ovens will produce more cracks and opening that will need to be repair and cover up . 


But Styrofoam ball are great to use. I like them because they reduce the amount of clay consumption.
 It will allow you to sculpt more with the less clay. I like to used them on my Ball Joint Dolls heads. Is very nice because it will give you a great base to work and you can easily cut it in half to add the other details to the piece. I allow the piece to dry normally.

If you want to lower the drying time with out hurting your pieces. Specially on those high humidity places. I can recommend a homemade  Creative Paperclay® drying booth method I use. 
Is very easy to make and it will help your pieces to dry properly. 


Materials:
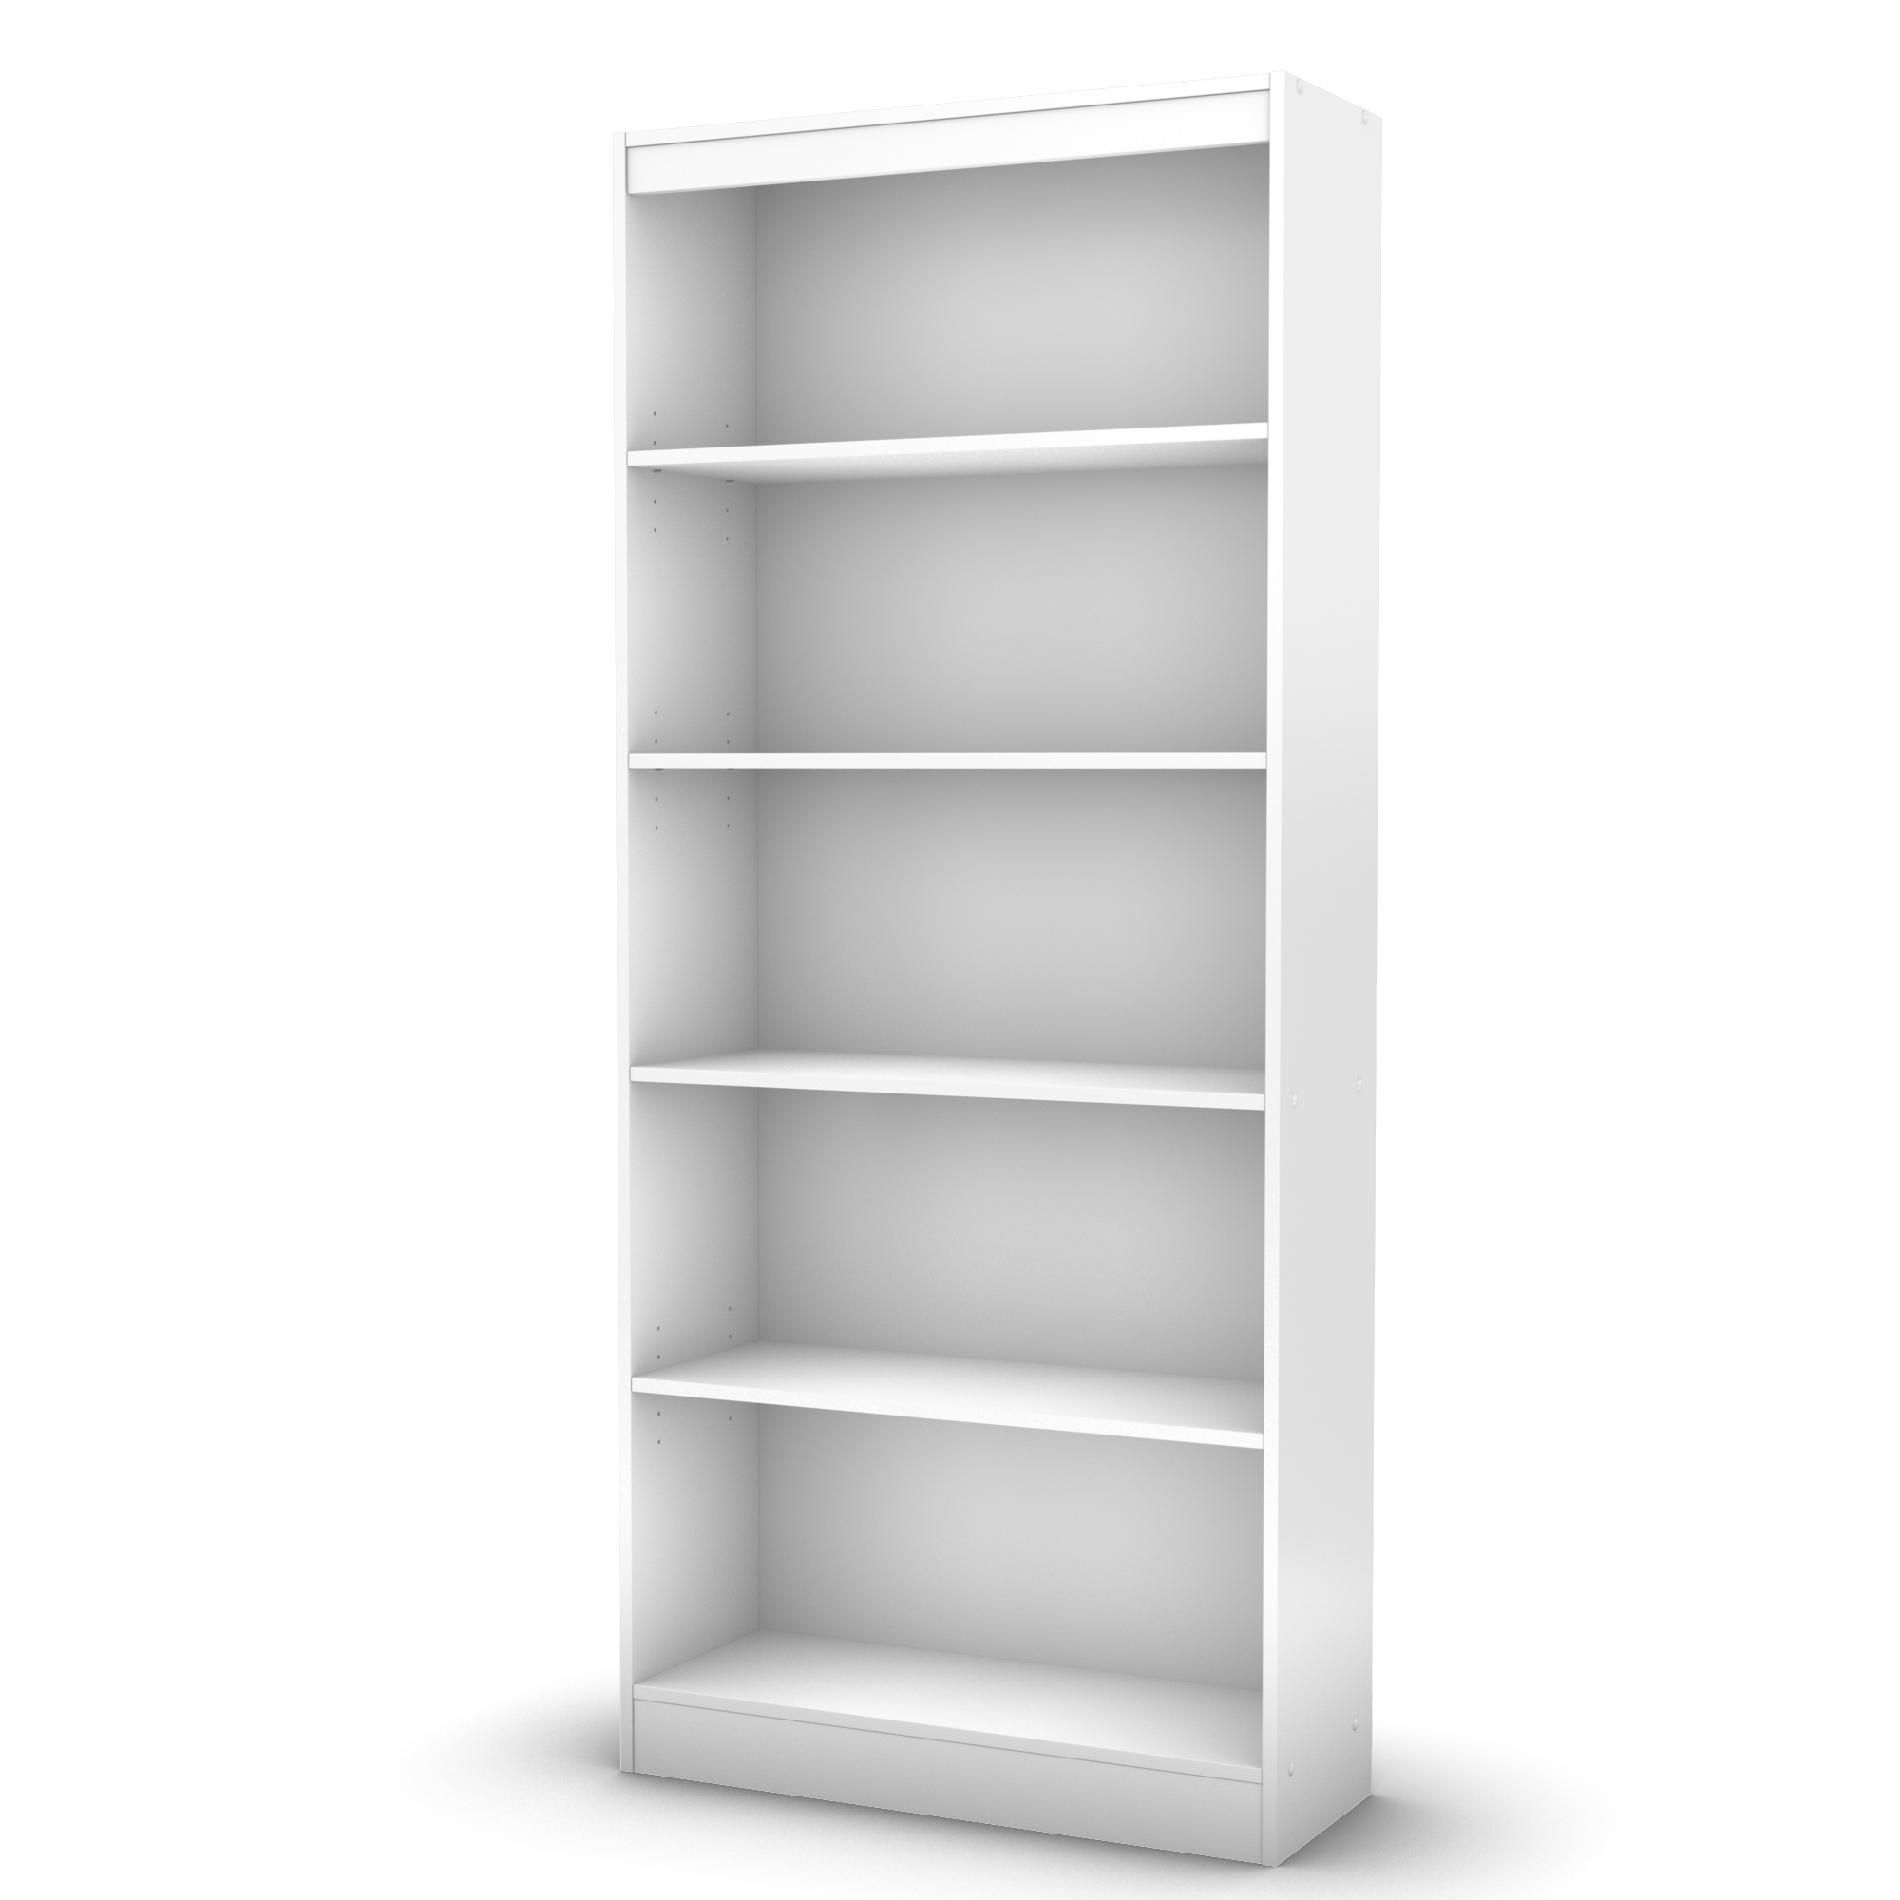
Book shelf unit.You can use a old bookshelf unit. 
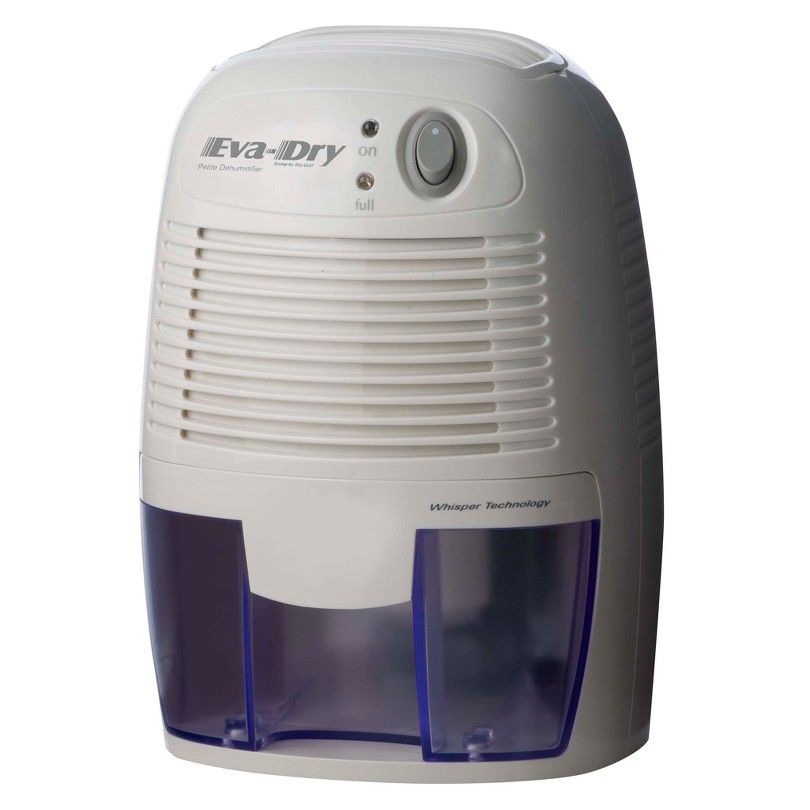

Eva-Dry Electric Petite Dehumidifier - White (EDV-1100)
A portable or small dehumidifier unit. 
 I can be a use one, garage bought or check your thrift store. All you need it to make sure it works safely. The one on the photo is from Target  Eva-Dry Electric Petite Dehumidifier (EDV-1100) 


Close this window
Painter's plastic sheets


DuckTape


Instructions:

Seal the painters sheet to the book shelf using the duck tape.
Make sure you place the dehumidifier next to the book shelf and cover it with the painters plastic sheets.
Create a door opening for you to load your sculpt and pieces to dry.
See the drawing for build reference.


More armatures and safe drying techniques I like to use is the wires, foil and masking tape. 
I favor this method for non moving parts Art Dolls Sculptures.
If your sculpting big pieces I strongly recommend it to be sculpt in layers and make sure the are fully dry before a new one layer is added. Doing this not only will ensure the project is properly dry but it will also be a lot stronger sculpt.

Built your armature with wires. Cover with aluminum foil and secure it with masking tape.

Start Layers one and wait to be completely dry.

Layer  two and wait to completely dry.

Layer three and keep doing this until your satisfy.


Between each step I place the sculpt in the homemade drying unit to get all the humidity out of the piece.
It works great, you will love how much even and faster your projects will dry. 
I hope you like these quick drying tips. More to come shortly so please stay tune . 


Any questions feel free to email me at 
Gloriann@byglori.com

Sincerely, 
Gloriann Irizarry


Sunday, December 15, 2013

Basic Armature Tips by, Diane

Hello Creative friends!
I'm so happy to be here this morning and share a few tips with you.  I thought a little  armature talk would be my focus here today and I hope it will be helpful to you, on your new journey with Creative Paperclay®.
Creative Paperclay® is a remarkable clay that adheres to almost anything. An armature gives your piece support and strength and as a bonus, you use less clay.

Today, I will share my two most favorite armatures. One we will make and the other, Mother Nature has provided for us.... please join me!


With most of my creations I use aluminum foil and florist tape (or masking tape) for my armatures. Why, you ask? Because it's inexpensive and I'm not limited to one shape. I can manipulate and form the foil into any shape or form that I desire. When I purchase my foil, I prefer to buy the very cheapest brand. it is a thinner foil and that makes it easier to form.


 In the above pic you will see a Snowman sculpt I'm working on. This Lil' Frosty started from a foil armature.

 Frosty has legs and is standing, which means he needs support for the clay. Without the support, his legs may wobble,droop, bend or topple over.

I am a very basic armature maker, so this should be easy for you to follow along.

1. Decide your shape, then start forming your foil by rolling, squeezing, pressing and pinching. Sometimes, I use needle nosed pliers to squeeze the foil tight. You can see above that I  have a basic shape. I cut the foil on the bottom, as this is how I will form my legs.


2. I add foil to the head and to the legs. Remember to keep it tight by squeezing as your form your armature.


Continue until you are happy with your armature. In the pic you can see by the legs that the foil is kinda lifted. Simply give a little squeeze with the pliers.


3. Now you can wrap your foil armature with masking tape or florist tape. This adds a little more strength to the armature and the clay will adhere wonderfully.


4. Now you have an armature for your clay. Let the FUN begin !
 Add your Creative Paperclay® remembering to moisten your armature lightly and the clay will adhere beautifully.

  My next favorite armature for Creative paperclay®.....


Oh for the love of Gourds!
Natures most beautiful natural armature.
 Creative Paperclay® & Gourds go together like Hot Chocolate & marshmallows.


With a few important steps you can create a masterpiece using clay and gourds.

1. I like to soak my gourds in a sink with warm water and just a little bleach, for about 10 minutes. Then let the water out of the sink.
2. Fill sink again with warm water and dish soap, then with a kitchen scrubber remove the dirt and debris.
With a dish towel, dry your gourds thoroughly.

.

Note: during this step you should always wear a dust mask, as the gourd dust may irritate your sinuses and, or lungs.

3. Using medium grit sandpaper, go over the areas you will be applying your clay. A gourd has a shiny smooth surface, so roughing it up a bit is an important step for the clay to adhere to the gourd.


4. Add some white glue to the area you sanded and lightly smear around.


5. Then add your clay to the sanded and glued surface of the gourd. Remember to use some water on the edges of the clay and feather onto the gourd to get a good seal.

Now just have tons of fun with all your sculpting and creative details.

I hope this tip has been helpful  to you on your creative journey.
Thank you, for visiting here today at the Creative Paperclay® blog.
 And as always, your welcome to visit me anytime at my place .

Merry Christmas & Wishes for a Happy New Year!

~ Diane