
Let's make a Rock Garden and play with texture and color.

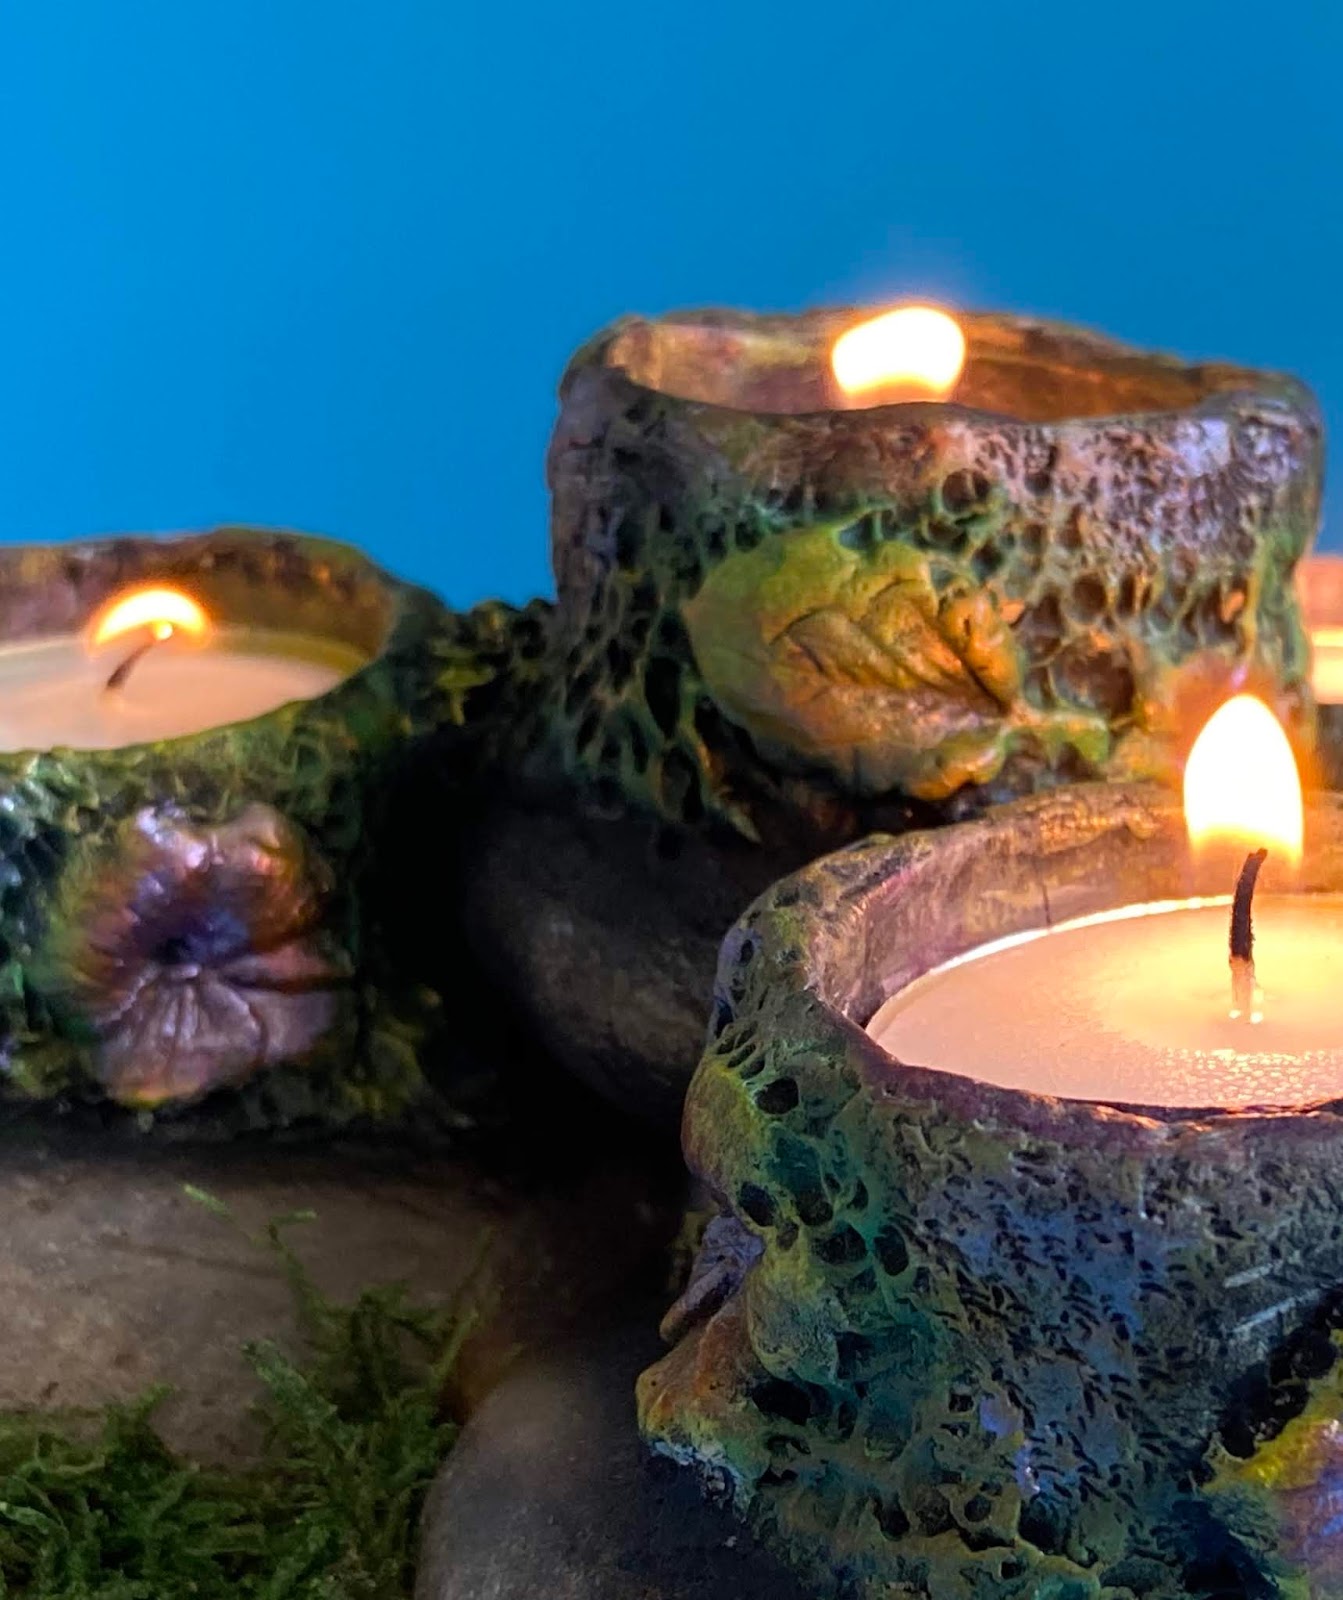

Hi friends! This little Rock Garden is part of a CREATIVE PAPERCLAY® tutorial. I'm part of the design team and am sharing my creation with you today. I'm better at working with clay than working with video so bare with me on this learning curve. Rock Garden Candle Holder Tutorial
I've been doing a lot of gardening so everything I thought about creating was dealing with nature. I picked up a few rocks and decided that was the base for this month's Second Friday Tutorial. Working with wood, rock, clay, moss, textures and finally fire what could be better.. Just a fun little project that can be transformed in so many ways. I hope you enjoy. Supplies: Wood base to hold your rocks Rocks that appeal to you Tea lights / battery operated (*if using flame, keep out of draft and never leave unattended. Use tea lights with metal or glass cups. Not recommended for votive candles) Card stock or file folders masking tape E6000 glue Acrylic paints CREATIVE PAPERCLAY® https://www.paperclay.com/ basic clay working tools or tooth picks and dowels Lace, buttons, molds, ferns, leaf, plant material - anything to create texture Paint brushes
Start by preparing your base of rocks. View the photos below and then click on the link to see the rest of the process via video.
 |
| Add caption |


 Click on the link for the full Youtube video
Rock Garden Candle Holder Tutorial
EMAIL: Susiewhc@gmail.com
FB and IG: @artbysusiek and @artbysusiek4home
WEBSITE: https://artbysusiek.com sign up for my Creative Breakfast Club
ETSY: www.artbysusiek.etsy.com
PINTEREST: https://www.pinterest.com/susiewhc/
CREATIVE PAPERCLAY® Design Team Member https://creativepaperclay.blogspot.com
Click on the link for the full Youtube video
Rock Garden Candle Holder Tutorial
EMAIL: Susiewhc@gmail.com
FB and IG: @artbysusiek and @artbysusiek4home
WEBSITE: https://artbysusiek.com sign up for my Creative Breakfast Club
ETSY: www.artbysusiek.etsy.com
PINTEREST: https://www.pinterest.com/susiewhc/
CREATIVE PAPERCLAY® Design Team Member https://creativepaperclay.blogspot.com 


