Showing posts with label quick tip. Show all posts

Tuesday, January 5, 2016

How To Keep Your Mind Inspired?


My name is Gloriann Irizarry and I wanted to welcome you back to the Creative Paperclay Blog.
Creative Paperclay material has created a fantastic 2016designer team to help you inspire, create and share ideas. Stay tune and subscribed to learn from the many tips and tricks soon to be shared here.
 
Today I wanted to start with a great way tip to the one question I guess asked a lot.

How do you keep inspired to create? 

Sound simple but sometimes the inspiration seems to take a vacation. Now in order for you not to feel in a inspirational hole I got a few tips to help you get and keep those creative gears moving.


Glori's Monthly Tip
 

Tip #1


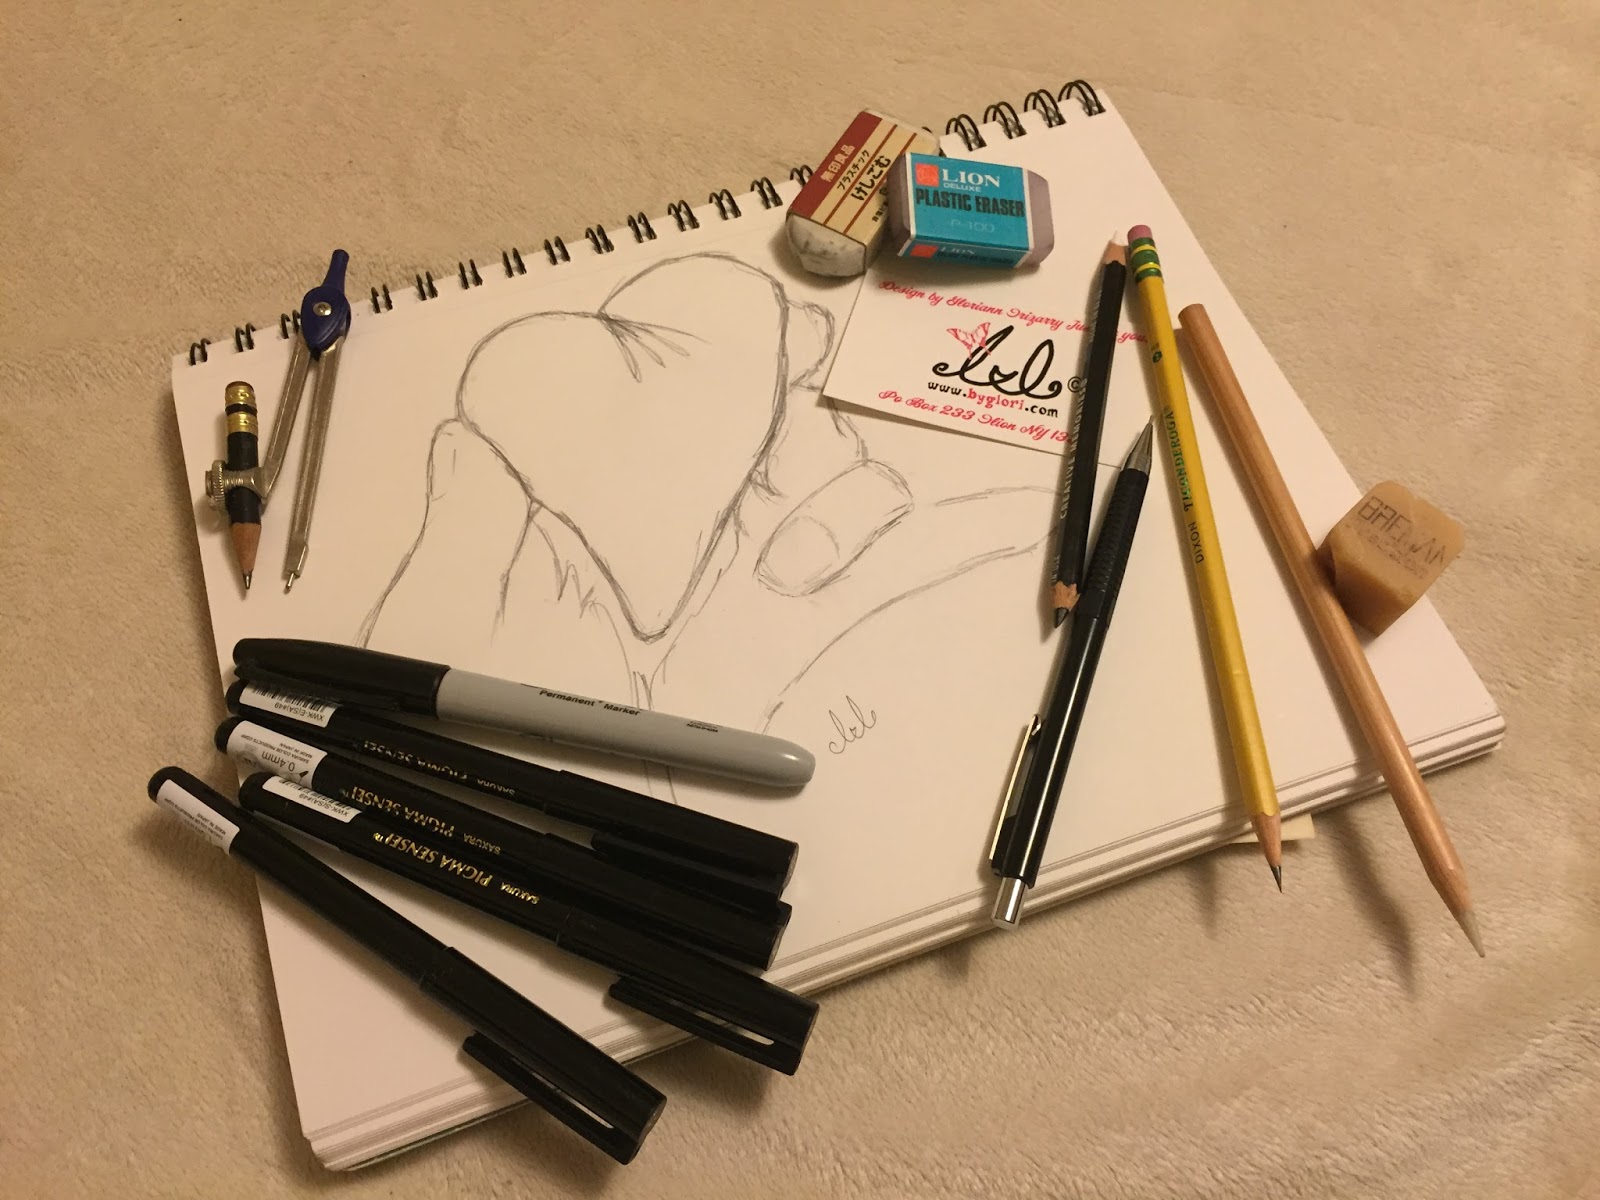
Keep an art journal and a pencil always handy. I always have one handy at the night stand or a small one in your purse with you. Feel free to keep has many has you want.  You really don't know when those creative ideas are going to pop in your head and even thou your not ready to complete the idea writing it down or sketching it will really save you the trouble to later on trying to remember what was that amazing idea you came up while your were at the doctors office or while waiting in line for lunch. Use it don't be afraid of taking your journal and write things downs.

This brings me to Tip #2

Don't be afraid to write details information about the idea down. Yes I had people said but I don't keep a journal because I do not know how to draw. Well to tell you the truth I know people that create amazing works of art and others that can barely doddle and still sculpt amazing. The journal is just a guide you kept so every time your out and enjoying the nature or viewing things that spark the imagination you can write them down and then continue with the normal daily routine and then when your ready to create to sculpt the instructions or template will be already there for you to follow. You can write them, doddle them or sketch them down what ever you do it will come very helpful for you. Then once your ready to work things will be a lot easier when your ready to start the project or craft you want.
 

Tip #3 

 
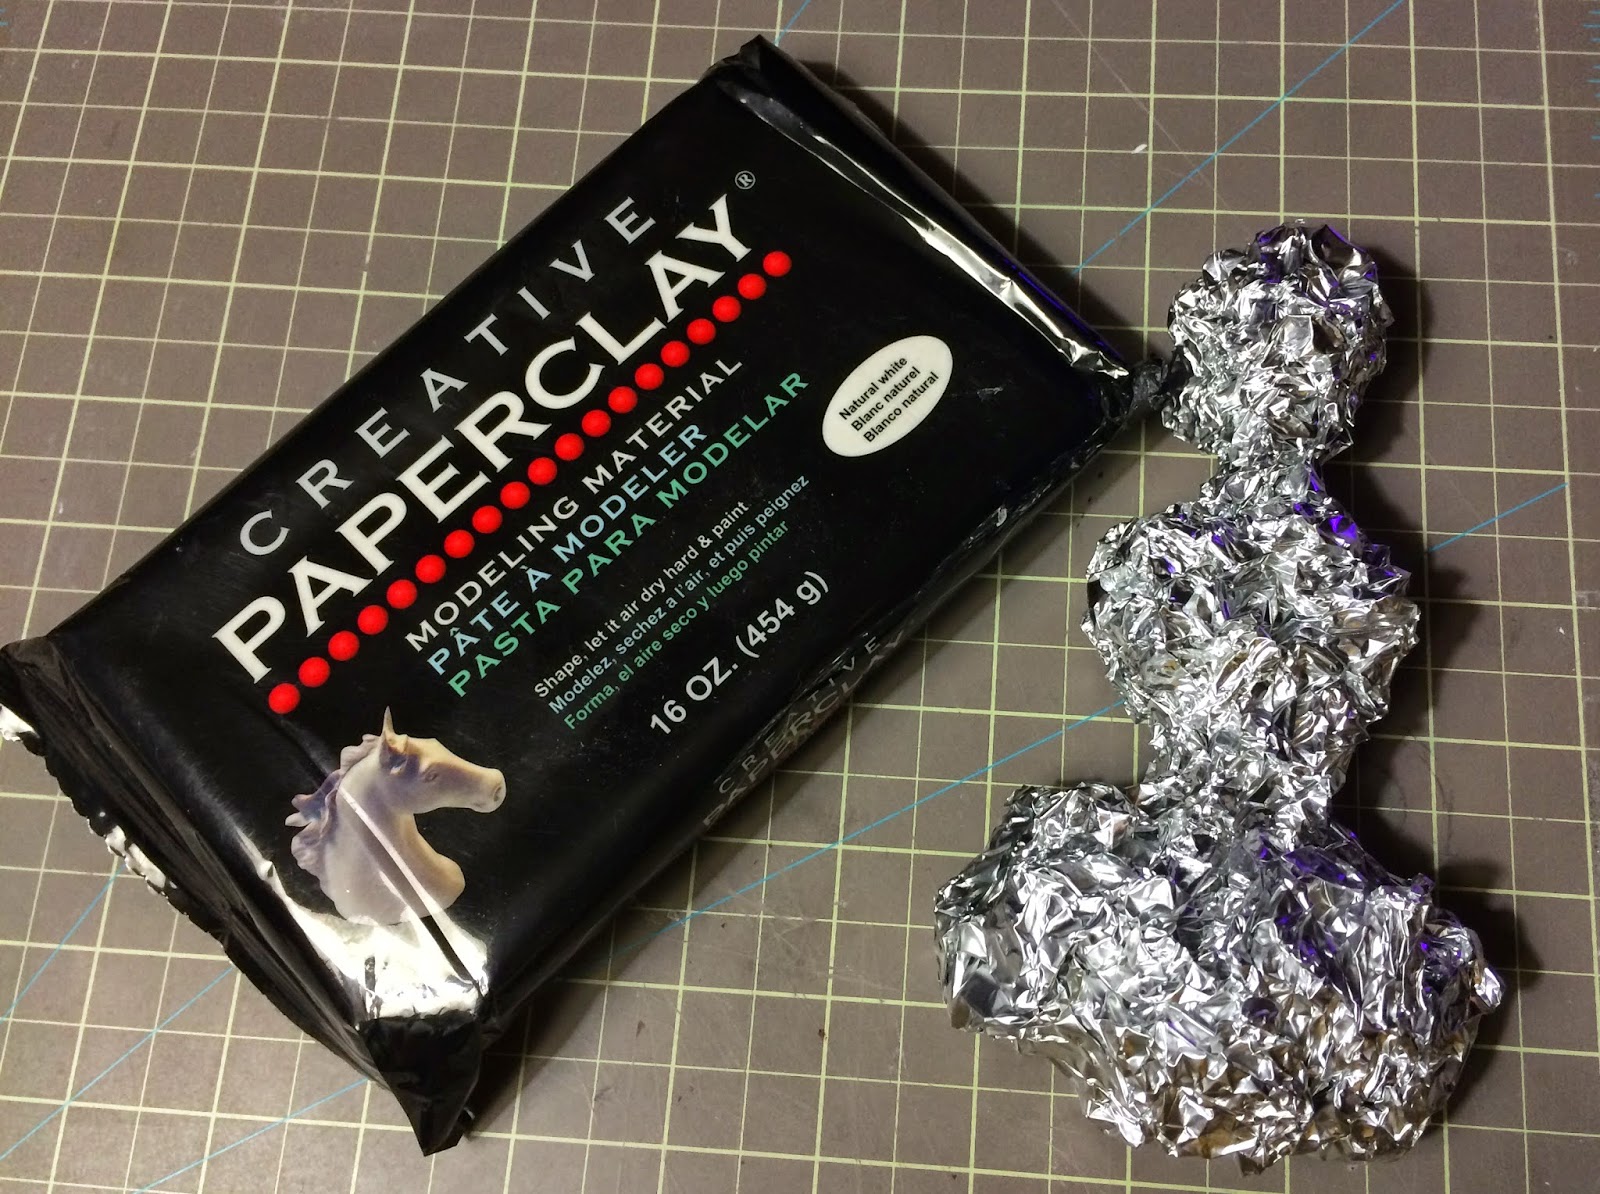
Organize your project idea material list. If your journal don't have what you want and feel like creating something totally new start by laying some items down in front of you. Choose some of you favorite fabric materials. The size of the armature you want your piece to be. Pick come of your favorite fabrics, wooden plaques, favorite Styrofoam shapes, aluminum foil and Creative Paperclay, Paverpol and lay it all down in front of you or in your working area sometimes looking at all these shapes, colors and forms could spark ideas or your next new project.
 

Some times having all these materials in front of your might help you come up with a totally new concept and create a new project that has no been added to your art/ideas journal.
Now don't be afraid to try or add other materials to your list or try to make it a challenge by adding a unique item like a soda bottle or a glass weird shape bottle


Example of a good how to keep inspire challenge would be
How could I include this unique shape Japanese soda bottle in my next project. Sometimes what the brains needs is a challenge to get those inventing gears moving.
Is all matter of patience and time both evenly distribute for you to come up with a great idea. Now do not try to force it if you don't end up right away with it is ok to walk away and rest. Do something else and come later to try to challenge your self again the beauty of the mind is that eventually that light bulb on top will light up.
 
Now I do hope this monthly tip help you to get inspire. The main trick is not to give up.
Have a great New year 2016 everyone and please stay tune for more tips and tutorials coming up.
 
Sincerely ,
 

Gloriann Irizarry

for Paverpol Designer 2016 Team


Tuesday, April 28, 2015

Creative Paperclay Material Sanding Tips By Gloriann Irizarry

 
Tips and tricks by Gloriann Irizarry for Creative Paperclay®
 
Welcome back to your Creative Paperclay® Blogs spot. Today I have a great tip to finish and clean your Paperclay creations.
 
If your like me and like to have a clean sanded project you see your self all cover in white and spreading all the dust everywhere.
 
 
Well I manage to cut down on dust by reducing the amount of sanding by using a nice
soft square flat brush before the piece completely dry.  
 
 
With the combination of these brushes and water will significantly reduce the amount of sanding.
Your probably wonder how, Well is not that difficult to do. Simply dab your brush in water once your done with your piece and before you place it to dry smooth any edges with the wet brush.
Make sure every so often you clean the brush in a washcloth to remove any Creative Paperclay® build up from the brush.  Once your satisfy with the look you can go ahead and set the piece aside to completely dry. I found this technique very helpful by cutting my sanding process in half.
 
If you smooth and rough edges before it dry with the brush it will less clay you need to sand off to make it look smoother. Keeping the brush with clean water will leave a nice smooth surface for you to work on when it dry. Go ahead try it. The softer the brush the better results you will get.
 
 
Another tip is also to get better results on your next  Sandits™  sanding project make sure you gently wash your Sandits™ tip with a toothbrush and warm running water. This will removed any fine Creative Paperclay® excess and give you the nice porous surface the tools need for your next project.
 
I hope these tips help you on your next Crafting project and remember.
 
 
Sincerely Gloriann Irizarry
I  


Monday, November 24, 2014

Creative Paperclay Material® Armature wire contruction helping guide


Hi and welcome back to Creative Paperclay Material® blog page.

It is a beautiful winter day. It is kind of cold and stormy but watching the snow falling sure reminds you how strong and beautiful nature can be. Now on this cold winter day  I will show you a couple of tips to help you choose the right kind of  wire to construct the armature for your one of a kind Creative Paperclay Material® sculpting creation.  Check the detailed options listed below.
Have in mind that all metals will eventually oxidize (some just a little slower than others and some just not so visibly). This article will include some helpful information to help you choose the best one for you to use.

The wires choices are listed from softer to harder strength.

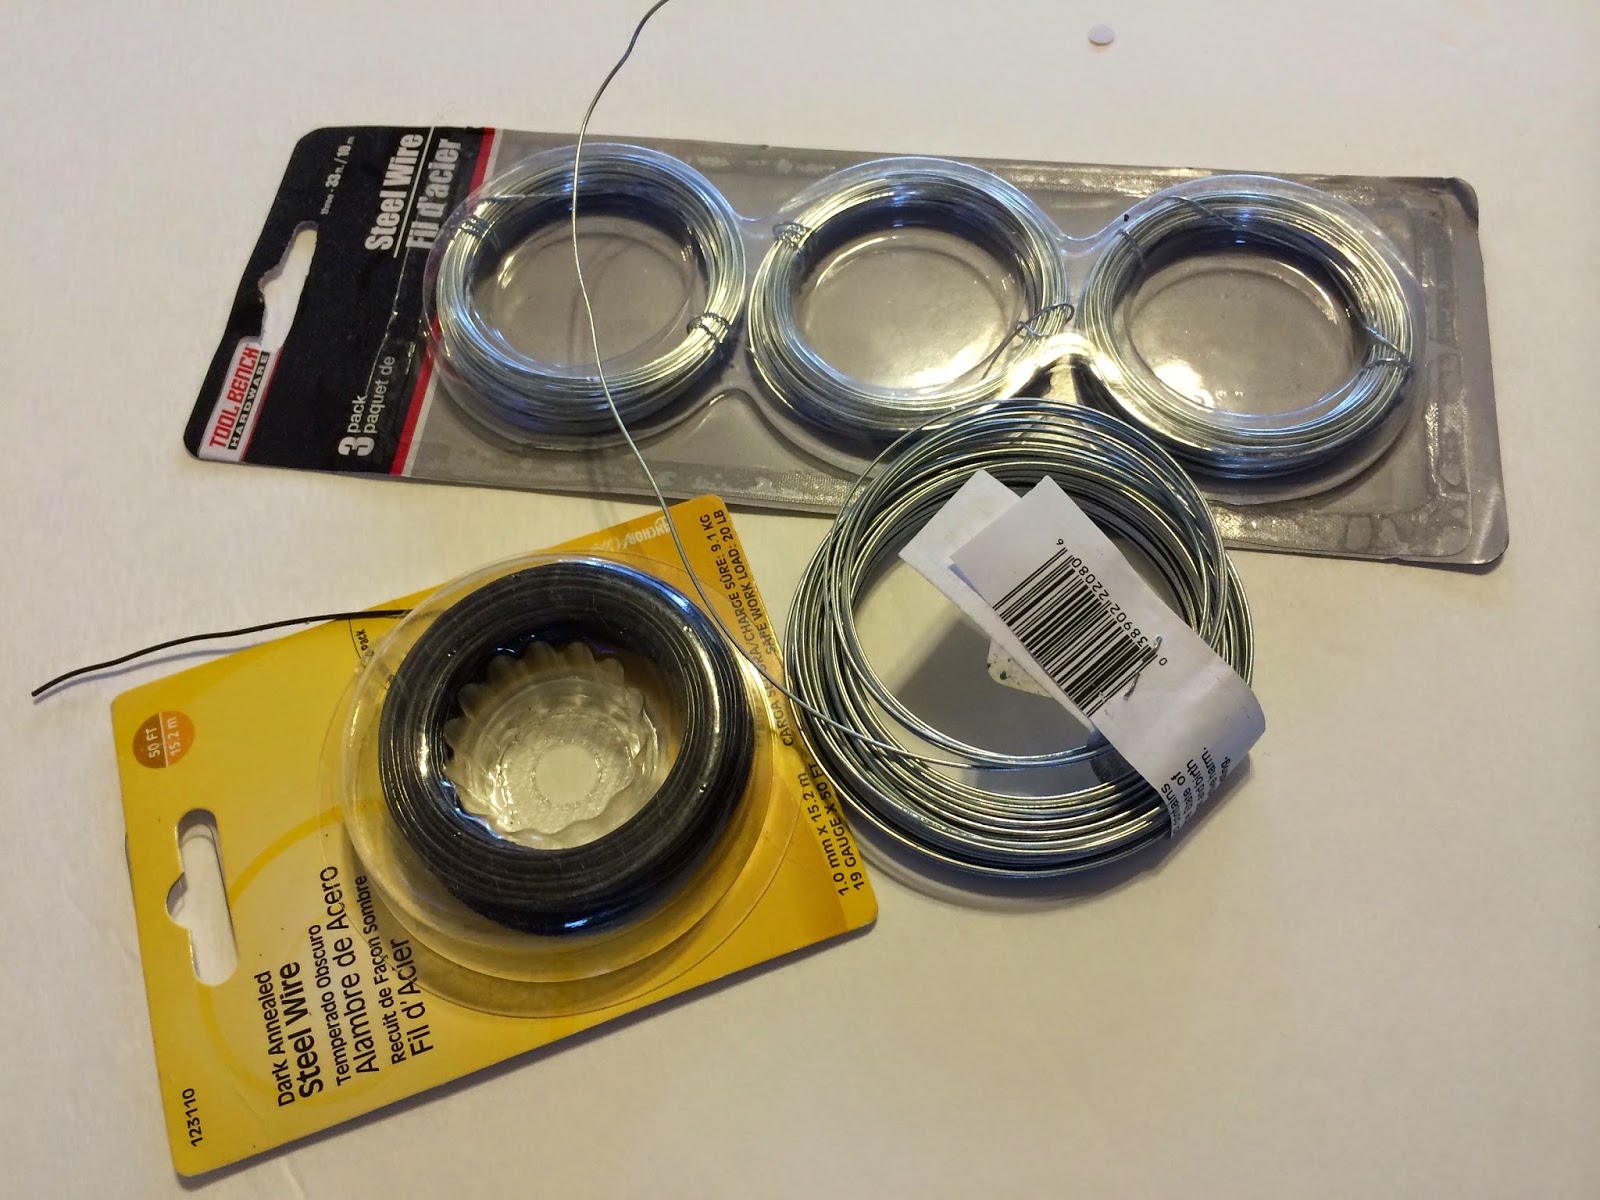
Strongest is the Steel Wire Option


Be careful with steel and iron. These can be the worst as the oxide for these is red. It is very important you choose a Stainless Steel. Stainless Steel is resistant to rust and corrosion because it is impregnated with nickel, chromium, niobium, molybdenum, or titanium. It is the best suitable for larger pieces because it is a lot harder to bend and it is a lot stronger. Steel also comes in many gauges and can be found at your local Hardware store wire section or at your favorite Craft Store in the floral or jewelry section.  Make sure it is water resistant because there is nothing worse than after you spend so much time sculpting you come back to a big rust stain on your final painted piece.


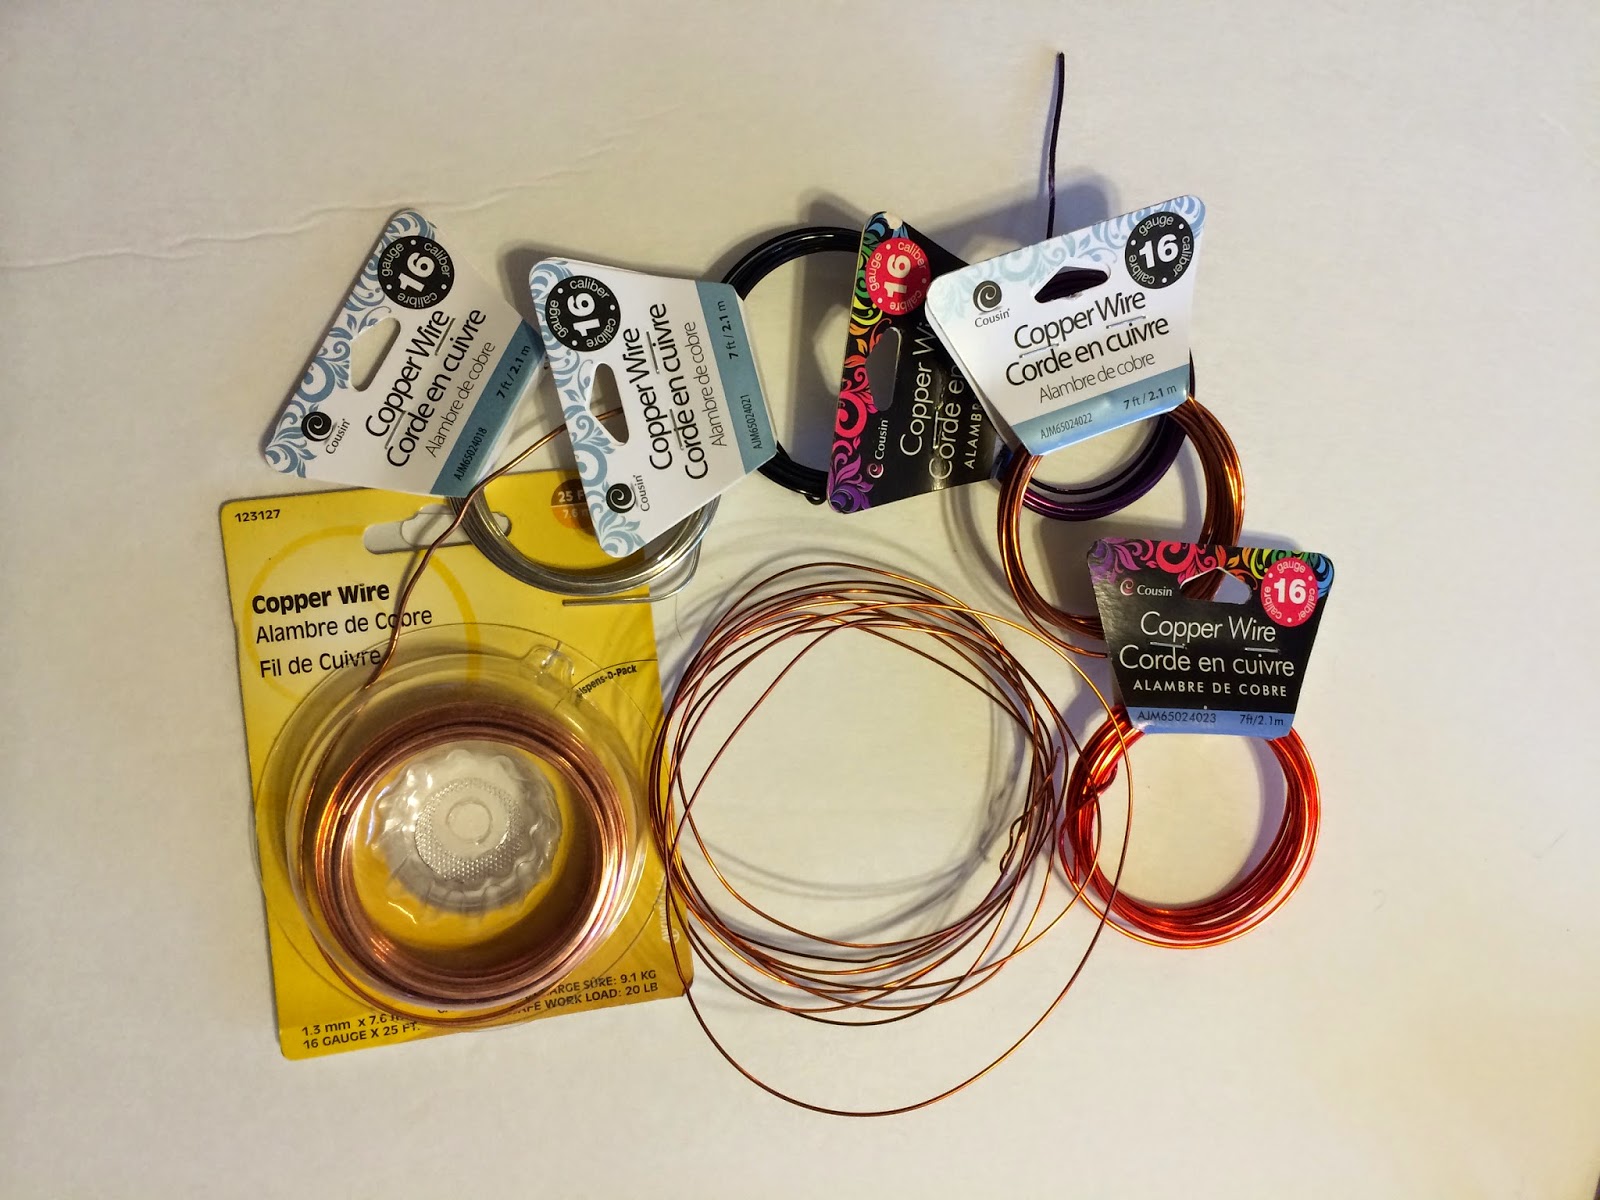
Medium Strength is Copper Wire Option


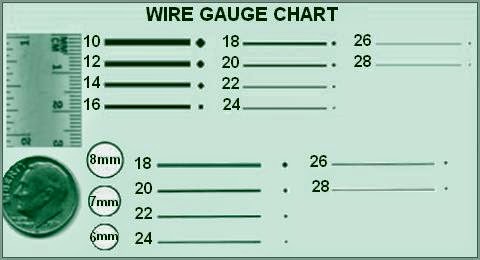
You can easily find Copper wire right at your favorite Crafts Store (check the jewelry making section). It can be also be found at your local Hardware Store in the electric wiring section . Now  they have many colors and gauges to choose from, and it will be the project that will usually determine the size you will need.  Not to worry:  I will include a very useful chart to help you choose the best wire at the end of this post.


Copper is very hardy and  rust free. It is very important that the wire is rust resistant because working with paperclay requires water and the clay is rich and moist. That can get the wire to rust and those stains will surface and damage your final sculpture. Keep in mind that copper metal is  a lot softer than the stainless steel, so for that reason I recommend copper wire for smaller armature figurines. Because copper is easy to bend, this will help you to create intricate patterns and bend it into shape.
I love this metal for sculpting small figures.


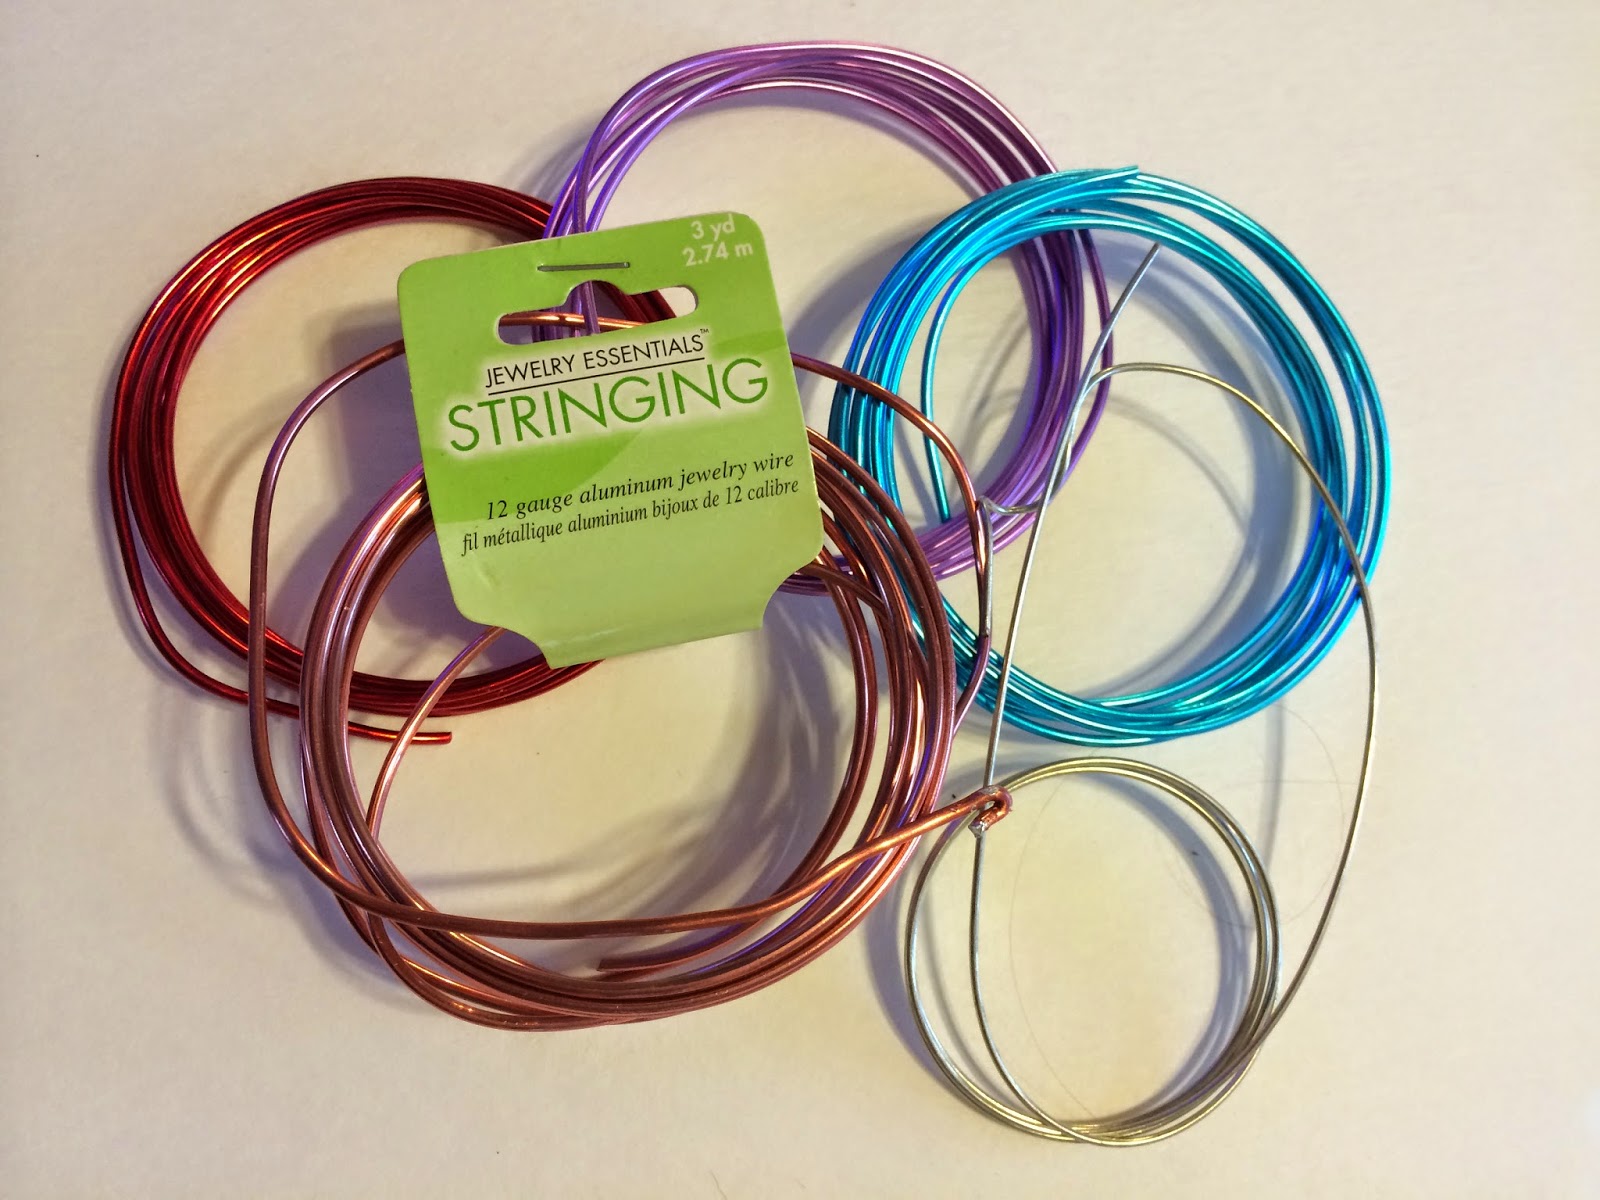
Softer Aluminum Option


Now one of my personal favorites is Aluminum.  It is my favorite because this metal is both malleable and sturdy. In fact aluminum is the 2nd most  malleable metal.  Available in wire or paper, this metal is one of the most useful in armature construction.. It is water resistant and very easy to bend. It also comes in different gauges and can be found at your favorite Craft Store in the floral or jewelry-making sections. This wire  can be also be found at your local Dollar Tree. Remember this wire is soft so if you need a stronger hold (for example a doll leg or arm) it is not recommended, But it is good for filler! Aluminum foil paper is well recommended for hollow pieces like 3D Wall Art and many other pieces that are required to be a lighter weight.

Having this information on hand, do feel free to have fun experimenting with the various qualities of all these metals. Keep in mind their unique properties before using them in your future crafting projects .

Now I will leave you with a very useful chart so you can get the right size for your next project.


Have a blessed day and remember


Stay tuned for more tips and tutorials here at your Creative Paperclay® Material blog.

Sincerely,
Gloriann Irizarry


Tuesday, June 24, 2014

Creating Clay Cutters from Paper mache forms By Gloriann Irizarry

Creating Clay Cutters from Paper mache forms 


Hello my dear  friends. This is Gloriann's June Creative Paperclay Tip

I will show you a neat trick to make oversize clay sheet form cutter.


Paper Mache forms come in many forms, sizes, styles and shapes so feel free to choose your
favorite and let me show you how to used it over and over for many projects to come . 


I start by using my favorite roller and rolling a clay sheet to the desire thickness.

I will not roller thinner than 1/4 so it will stay strong when it dries.


I choose a cute peace sign of paper mache I found at my local craft store.
They do come solid so a little cutting is required only on the once side of the letter. 
Be careful to cut it has even has possible and use a sharp blade or saw. 


This is how it will look once the entire side is cut off


Now put the shape on top of the clay sheet to like an oversize cookie cutter and use your roller 
to make sure the pressure is even distributed and the clay will cut nicely


Remove the paper mache for to reveal the amazing oversize print sheet ready for you to create anything you will like to used it for.

carefully remove any excess and let it dry completely before using it.


At this stage you can sculpt, stamp or imprint any detail to your letter then let it dry.

I like to place my shapes to dry on cookie cooling trays because the air flows better than laying on the table.


Now this technique can be apply in just about anyt paper mache form 
making the possibilities endless for you to create.


Now you will never see the Paper Mache Craft Store section the same way on your next visit.

Feel free to comment , explore or make any question and has always have fun creating. 

Many Blessing and Happy Crafting !


Sincerely Gloriann Irizarry


Tuesday, May 13, 2014

Using fabric to create texture to your Creative Paperclay® project by Gloriann Irizarry


A warm hug to all my wonderful friends, collectors and followers. 
It is Gloriann Irizarry with May,s Creative Paperclay® Tips and Tricks.
A warm hug to  Today I wanted to share one of my favorite ways to texture my Creative Paperclay
I like this technique because of  finished product. It looks very organic and has a natural feel to it.
Since there is so many types of fabrics out there the possibilities are endless
 Here I will show you how.


 Choose you favorite lace from the collection to be use for pattern transfer technique. 


So many and so pretty/.


 Here is how I use this technique:


Choose your favorite fabric.


Roll your clay out and place the fabric of your choice on top.


Carefully remove the fabric after rolled to reveal the beautiful pattern not transferred to your clay sheet.
I use a nice border cutter to give a even more fabric finish. 


Layer now your paint to give a nice effect to your Creative Paperclay® 


 Now it is time to practice and use has many textures you want. Using Creative Paperclay®  is so much fun and easy to do so keep experimenting and having fun while creating. 

Feel free to post any questions and comments below 

For more tips and craft project visit my webpage at @bygloricom


Have a bless day and have fun crafting.

Sincerely Gloriann Irizarry 


Thursday, March 20, 2014

Creative PaperClay® March Tip using pencils with LuLu Lancaster


Hello This is LuLu Lancaster with a quick little Tip to color your Creative PaperClay®
I have been using watercolor pencils and Derwernt Inktense Pencils for years to add color to my dolls. But recently discovered a little brush that makes this all the easier :) 

A water paintbrush is fantastic little tool to keep with you. I use the AquaStroke watercolor brush, they come in many different sizes :)
I am also using here Derwent Inktense pencils. They really are inktense and the colors are extremely vibrant :) These are all available on Amazon and at Jerry's Artarama.


You will simply draw on your subject, here I am using 2 face cabochons.


Next using the water brush you will "paint". start with the lighter colors and work into the darker ones. Your brush can be wiped off with a paper towel.


The great thing about using the pencils is you can keep adding more and still maintain a translucent look.
Have fun and Thank you for following along :)
LuLu


Friday, December 13, 2013

Tip: Look Beyond the Usual

Hey, there!! Carole here with a tip for you. Consider all possible sources when looking for your clay crafting supplies. Look beyond the clay aisle at your favorite big box craft store. Venture into the cake and candy making aisles!!Look beyond the art supply stores—what about the toy store, the hardware store?? And my personal favorite—local thrift and resale shops.

I found this gem of a princess castle at the thrift shop. It has molds everywhere—each side has a princess gown and there are accessory pieces bordering the bottom.


This couldn't be any easier!! Remember: it was originally made for a kid!! Here you can see I've loaded this gown mold with clay.

The  clay released from the mold beautifully. I'll have a bit of sanding and final touch-up, but very little. Here is the molded princess gown laid out to dry. 
Princess Gown
I'm intrigued by the bitty accessory pieces. They each could hid behind a dime.

Princess Fan

Rosebud

So--tell me where do you look for your alternative art supplies? What do you find?

Visit my Create & Craft blog to see what else I'm working on.