Showing posts with label wire. Show all posts

Monday, November 24, 2014

Creative Paperclay Material® Armature wire contruction helping guide


Hi and welcome back to Creative Paperclay Material® blog page.

It is a beautiful winter day. It is kind of cold and stormy but watching the snow falling sure reminds you how strong and beautiful nature can be. Now on this cold winter day  I will show you a couple of tips to help you choose the right kind of  wire to construct the armature for your one of a kind Creative Paperclay Material® sculpting creation.  Check the detailed options listed below.
Have in mind that all metals will eventually oxidize (some just a little slower than others and some just not so visibly). This article will include some helpful information to help you choose the best one for you to use.

The wires choices are listed from softer to harder strength.

Strongest is the Steel Wire Option
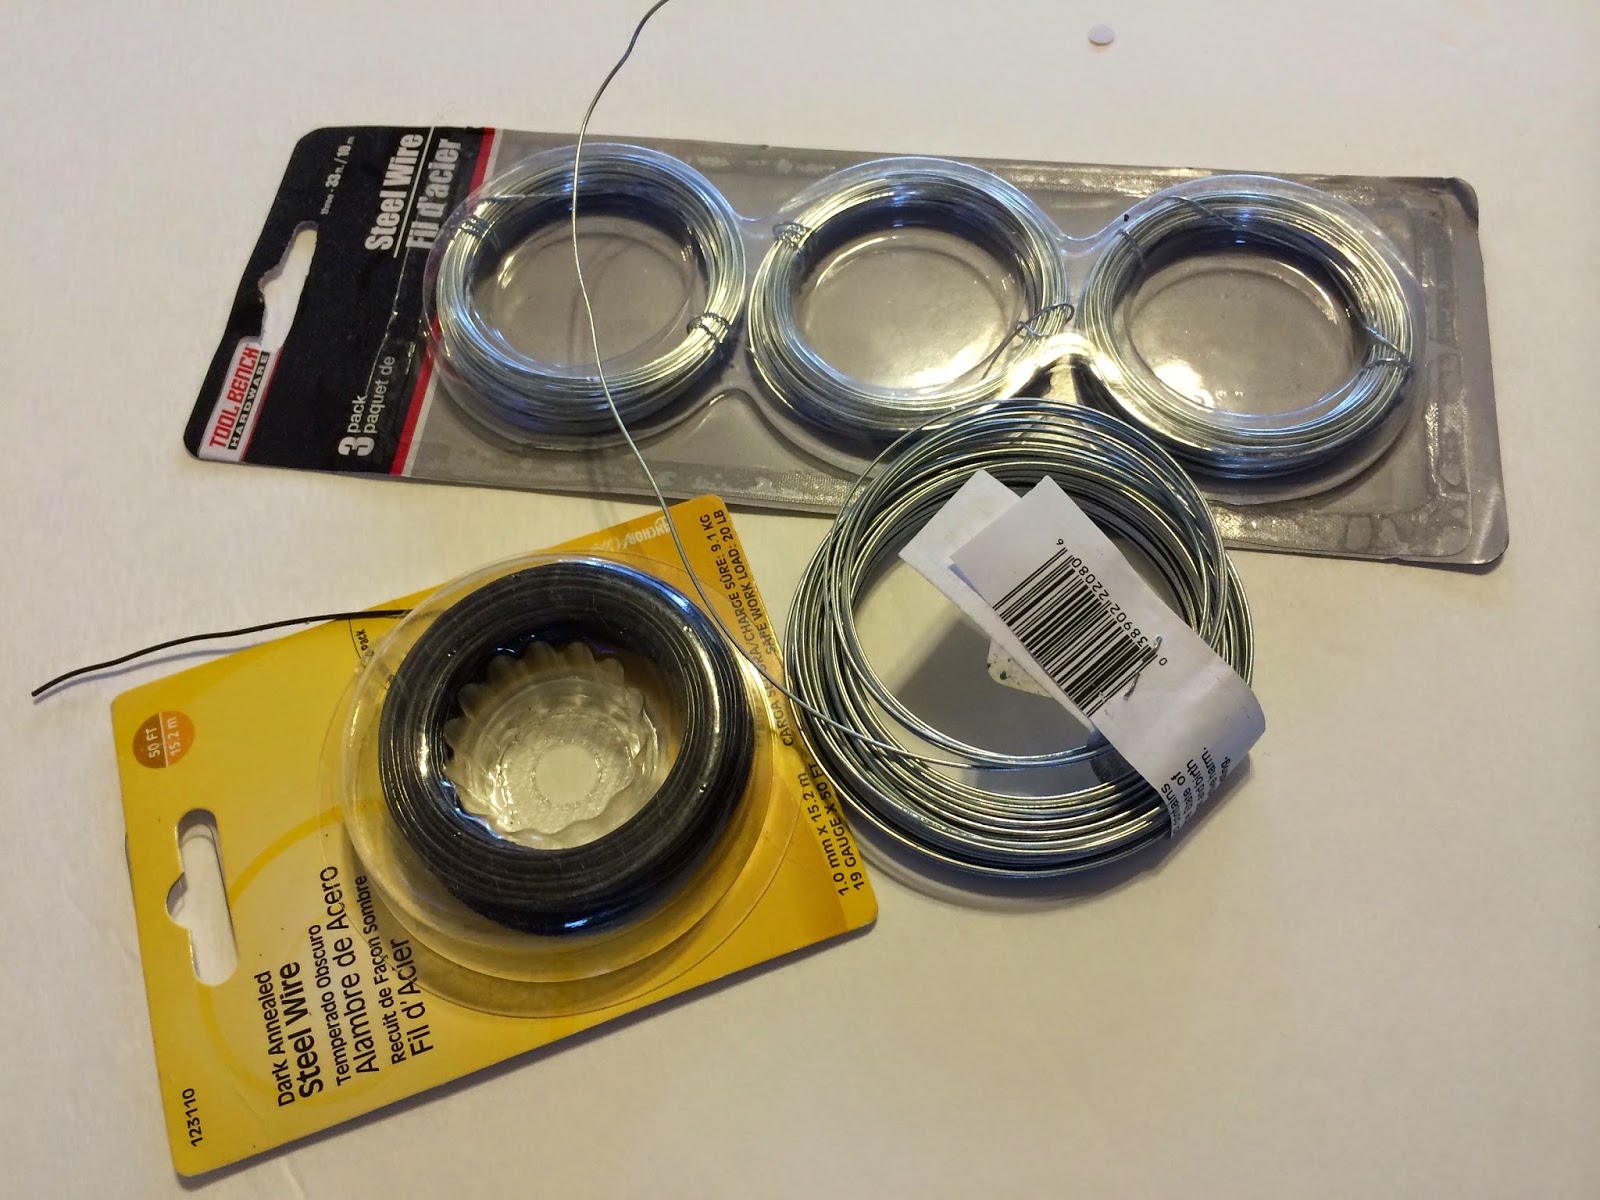


Be careful with steel and iron. These can be the worst as the oxide for these is red. It is very important you choose a Stainless Steel. Stainless Steel is resistant to rust and corrosion because it is impregnated with nickel, chromium, niobium, molybdenum, or titanium. It is the best suitable for larger pieces because it is a lot harder to bend and it is a lot stronger. Steel also comes in many gauges and can be found at your local Hardware store wire section or at your favorite Craft Store in the floral or jewelry section.  Make sure it is water resistant because there is nothing worse than after you spend so much time sculpting you come back to a big rust stain on your final painted piece.


Medium Strength is Copper Wire Option
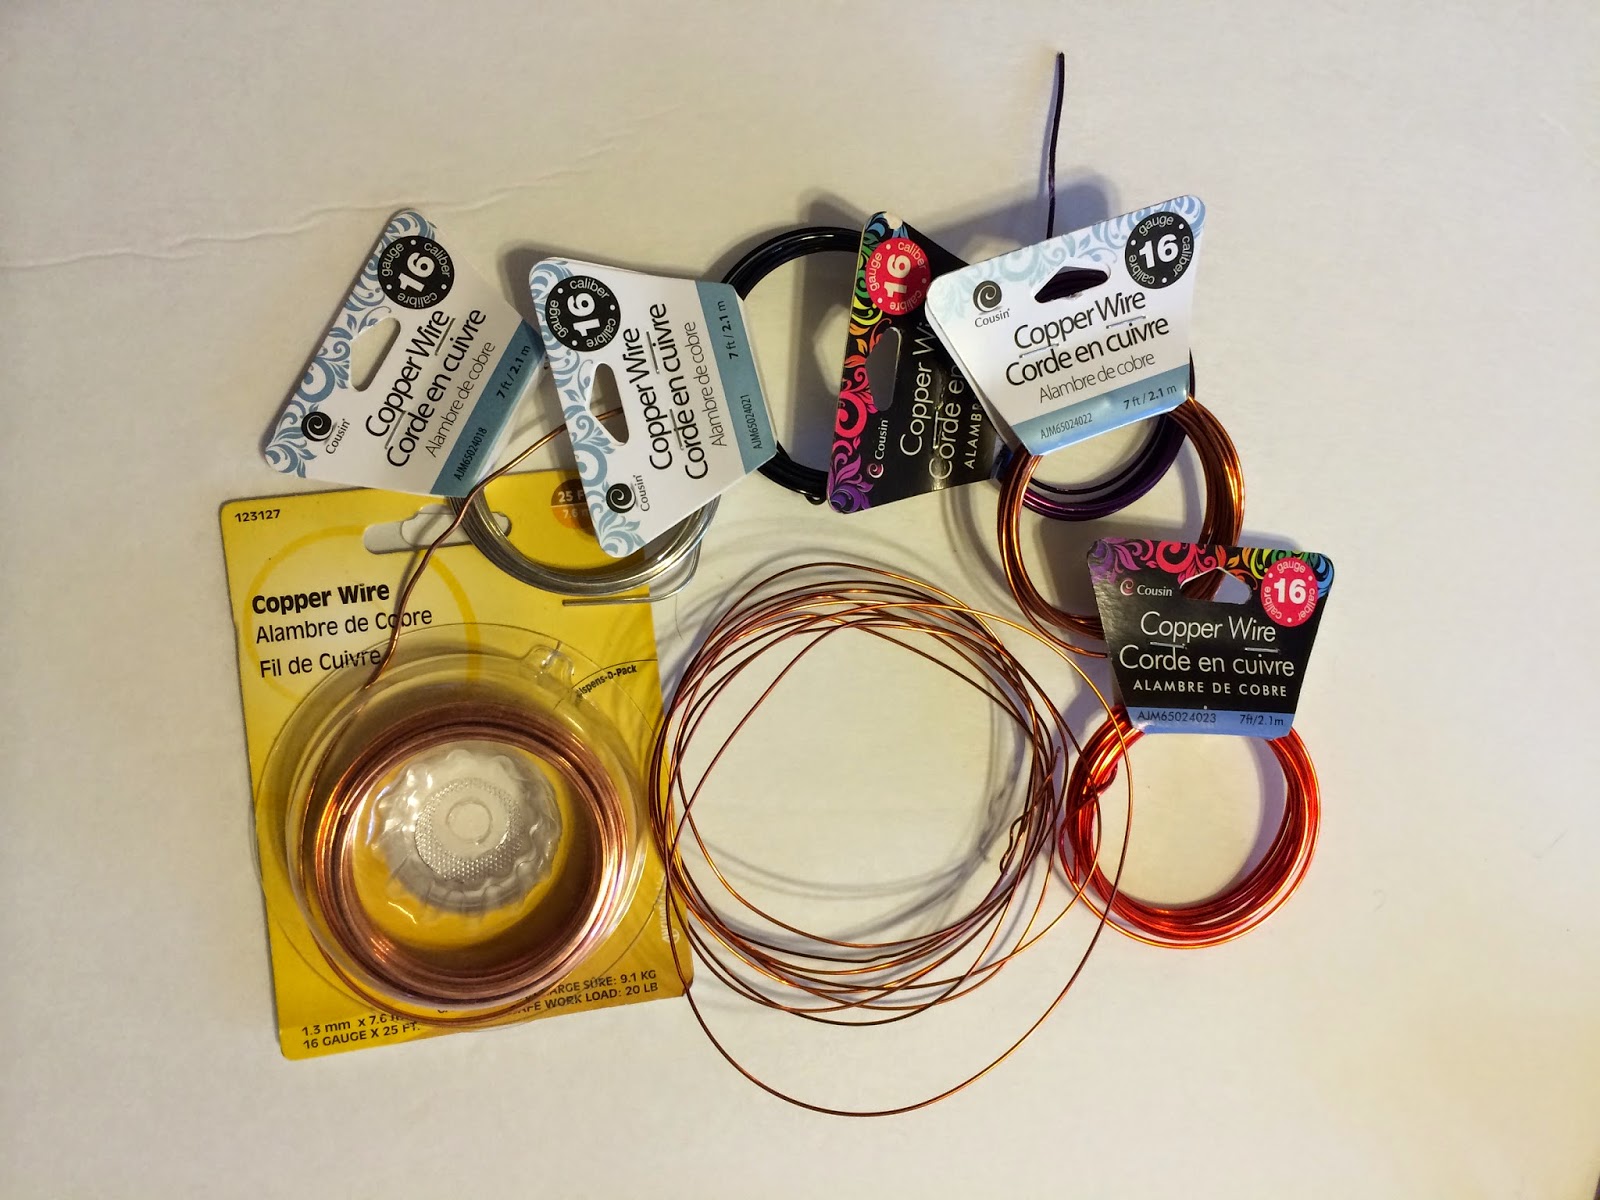


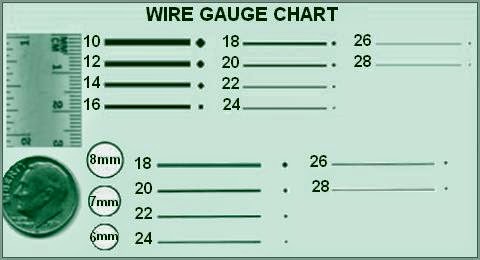
You can easily find Copper wire right at your favorite Crafts Store (check the jewelry making section). It can be also be found at your local Hardware Store in the electric wiring section . Now  they have many colors and gauges to choose from, and it will be the project that will usually determine the size you will need.  Not to worry:  I will include a very useful chart to help you choose the best wire at the end of this post.


Copper is very hardy and  rust free. It is very important that the wire is rust resistant because working with paperclay requires water and the clay is rich and moist. That can get the wire to rust and those stains will surface and damage your final sculpture. Keep in mind that copper metal is  a lot softer than the stainless steel, so for that reason I recommend copper wire for smaller armature figurines. Because copper is easy to bend, this will help you to create intricate patterns and bend it into shape.
I love this metal for sculpting small figures.


Softer Aluminum Option
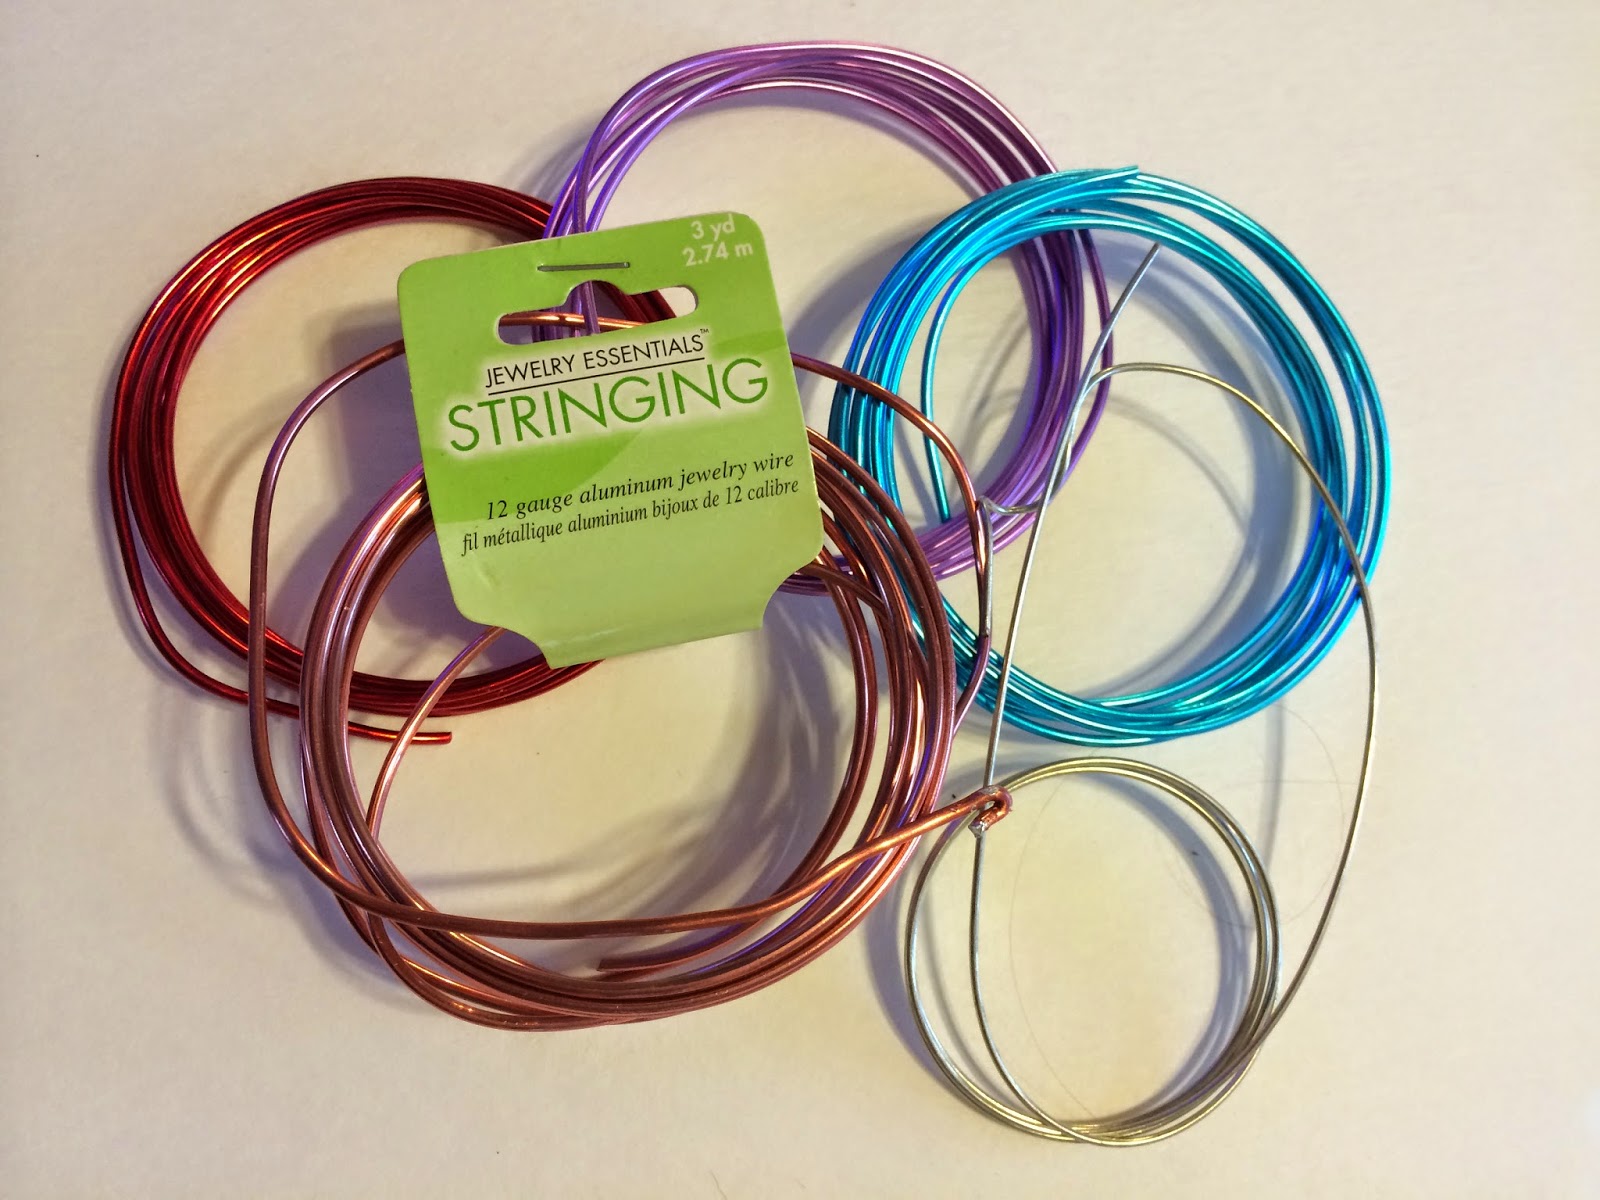

Now one of my personal favorites is Aluminum.  It is my favorite because this metal is both malleable and sturdy. In fact aluminum is the 2nd most  malleable metal.  Available in wire or paper, this metal is one of the most useful in armature construction.. It is water resistant and very easy to bend. It also comes in different gauges and can be found at your favorite Craft Store in the floral or jewelry-making sections. This wire  can be also be found at your local Dollar Tree. Remember this wire is soft so if you need a stronger hold (for example a doll leg or arm) it is not recommended, But it is good for filler! Aluminum foil paper is well recommended for hollow pieces like 3D Wall Art and many other pieces that are required to be a lighter weight.

Having this information on hand, do feel free to have fun experimenting with the various qualities of all these metals. Keep in mind their unique properties before using them in your future crafting projects .

Now I will leave you with a very useful chart so you can get the right size for your next project.


Have a blessed day and remember


Stay tuned for more tips and tutorials here at your Creative Paperclay® Material blog.

Sincerely,
Gloriann Irizarry



Thursday, October 25, 2012

Candy Corn Shelf Sitter


Inspired by Halloween and my love for tiny knick knacks, I decided to make a Candy Corn Shelf Sitter.  He's quite a cue little fellow you can sit on the edge of your book shelf or mantle.

Items Used:
Craft Paint
Floral wire
Round Nose Pliers
Googly Eyes


To start this project you first need to decide how big you want your Shelf Sitter to be.  Using Creative Paperclay make a rounded triangle shape that looks kind of like a piece of candy corn.
 Next cut two pieces of floral wire to the same length and wrap one end using a pair of round nose pliers.

 Stick them through the bottom of your triangle piece, these will hold your your legs.  Set this piece aside to dry.
Next roll out two small snakes and cut them to the same length. Cut them into at least for sections and round them out a bit with your fingers.  Use the same technique above for your wire.  Thread your pieces onto each wire and use your pliers to wrap the second end.  Be careful not to squish your pieces.

 Make two little feet and string them on two smaller pieces of wire.  Make sure to round your ends.

This is what your three pieces will look like when you are finished.  Set them aside to dry overnight.

Using craft paint, paint your shelf sitter to look like a piece of candy corn.  Add googly eyes and a smile.

 Attach all of your pieces with jump rings.  Viola!! Here is your completed shelf sitter.


Saturday, October 8, 2011

Skeleton Doll Tutorial

Halloween comes in just a few weeks and I have found myself very much in the zone for creating all things ghoul and ghostly. I have decided to give a tutorial on how to make a skeleton doll by utilizing a simple technique for making a skeleton head combined with my technique for making a doll body out of Creative Paperclay. Hope this gets you in the mood for trick or treating as much as it has for me!!!


What You'll Need
Creative Paperclay
Styrofoam ball - 2" or 3" cut in half
Cup of warm water for sculpting
Sharp pottery tool or toothpicks
6" of 12 gauge garden or jewelry wire
12" of 24 gauge jewelry wire
Acrylic paint
Fabric, lace, ribbon, buttons, etc.
Thread and needle or strong craft glue


What To Do
1.  Take your styrofoam ball cut in half, mold it a bit into an egg shape, and cover with paperclay. Use water to dampen, smooth, and blend the clay into the ball.


2.  Take two fingers or your thumbs and press eye sockets into the clay. Press up a bit to create little eyebrow ridges.


3.  Take your sharp tool or toothpicks and create little nostril holes in the shape of triangles or teardrops.


4.  Take a small bit of paperclay shaped in a symmetrical leaf shape, dampen with a tiny bit of water, and place where the mouth will be. 


5. Take your sharp tool and carve a mouth. I prefer lips and a line that divides the jaw and top of the head. Feel free to carve in teeth, a smile, a frown, a scared expression....whatever you prefer! I also like to add little details here, like little carvings above the eyebrow ridges, stitch lines over jaw line, heart shapes on the cheeks. You have creative control!!!


 6.  Take your 12 gauge wire and cut a 5" length. Insert this wire into your skeleton's head, a little off-center toward the back of the head. This will be your doll's neck and armature for its torso and waist pieces.


7.  Roll out a small snake of paperclay and insert it over the wire. Skeletons have bony necks, so make this part really skinny. Use a toothpick or your sharp tool to make the individual neck bones. 

8. Sculpt a two triangles out of the paperclay for the neck, top half of torso, and bottom half of torso. 

9.  Add two triangles with the tips touching each other to the wire.

10.  Dampen fingers and break off small pieces of paperclay to fill in gaps between the cylinder and two triangles. Smooth the clay as you go using slip which simply means that you take a small amount of paperclay, dampen it in your cup of water, and smoothing it between the two body pieces.  

11.  The pictures that were meant for the rest of this skeleton doll tutorial were lost due to a technical glitch. Sooo....To build the rest of this doll, visit one of my previous doll tutorials following steps #9-20. http://creativepaperclay.blogspot.com/2011/08/paperclay-kitty-doll-tutorial.html  You can also see how this doll body comes together by reviewing this tutorial!!! Please note that the neck style on the skeleton doll is completely different from the Kitty Doll. The skeleton doll neck does not need to be blended into the torso!!!

12.  Now that doll is assembled, go ahead and paint it. Allow paint to dry, seal with varnish and allow to dry again. 

13. And once the doll's paint is dried and sealed...EMBELLISH LIKE CRAZY!!! Visit another previous tutorial of mine to learn an easy technique for dressing your doll!!! http://creativepaperclay.blogspot.com/2011/08/glue-and-wrap-dressing-technique-for.html

My doll is far from finished, but this is what she looks like so far! 


Hope you enjoyed this tutorial! I'll be posting better pictures of my completed doll...hopefully this weekend. Please visit http://marissartdolls.blogspot.com/ when you have a chance! Until next time, happy creating!!!


Saturday, September 10, 2011

Help to Remember the Summer With Your Own Sun Ornament!!!

I love the autumn, but I cannot believe how fast this summer has gone by! I decided to make some ornaments that will remind me of the summer sunshine. I hope these ornaments do the same for you!

What You'll Need
Creative Paperclay
3" Styrofoam Ball
12 gauge jewelry or gardening wire
Butter knife or other sharp object able to cut through styrofoam
Non-stick craft mat
Acrylic paint (not pictured)
Embroidery floss (not pictured)


What To Do
1. Take the styrofoam ball and cut it in half.


2. Take some paperclay and cover one half of the styrofoam ball. Put the other half of styrofoam ball away for another ornament or project. Or, cover both and feel free to make an ornament buddy...like a moon!


3. Add bits of clay to the flat part of the covered styrofoam to build a face. I start with the nose and work my way out. Small dots of clay and teeny tiny snakes of clay work really well for building facial features. I use my fingers for most of the sculpting, but sometimes a toothpick is really helpful in placing tiny features onto a face.


4. Add the sun ornament's "rays" by sculpting 9-12 triangular shapes out of the paperclay. Make sure these pieces have some length so that they can be blended into the back of the sun.

5. Repeat this process until the sun has all of its "rays." If you have fumble fingers or are dislike doing things more than once (like me), then I suggest allowing your sculpted sun's face to dry before continuing with the ray application process. Very often, some of the face will be smooshed and will require a few quick fixes during the ray sculpting process.

IMPORTANT: If you prefer your facial features to dry completely, please skip to step 6 before you pop your ornament in the oven or set in on the windowsill!


6. Take 5 inches of your 12 gauge wire, fold it in half allowing for a loop at the top. Twist the wire and push it into the back of your sun ornament. Make sure it is nice and secure inside the styrofoam. Allow your ornament to dry completely, or pop it in a 225 degree oven for 15-20 minutes. (Every oven is different, keep a very close eye on your ornament or you may have a blown up alien-looking ornament instead!)


7. Once your sculpted ornament is dry, it's time to decorate it! I use acrylic paints...you can use whatever your heart desires!!!


8. Once your sun ornament's paint is dry, take some embroidery floss (or yarn, strong thread, whatever you have on hand) and string your new sun ornament up. I like to hang mine from a ceiling fan or door knob. My sun ornament reminds me of summer all year round! Hope it does the same for you!!!