Showing posts with label masquerade mask. Show all posts

Tuesday, April 14, 2015

Tears Masquerade Mask Tutorial By Gloriann Irizary


Time to sculpt with Creative Paperclay® and with all these new products this sure will be a fun project full of ideas tips and tricks. Stay tune for the full tutorial .
 
Material List
 
Foam Mannequin Head
 Handrill
Water Bottle
Rolling Pin
Scissors
Aluminum Foil
Paper Tape
Xacto or hobby knife
Paint Brushes
Sponge Sands
Clear Acrylic Spray Sealer


Start by covering the entire foam head with aluminum foil and masking tape.
 
 
Roll a clay sheet  inches thick.
 
 
Cover the entire foam head with the Creative PaperClay® sheet
and smooth the edges with water and fingertips.
  
 
Cut the mask in half while the Creative PaperClay®  still wet
to create two  even mask halves .Set them aside to completely dry .
 
 
Once is dry it should be easy to remove from the mannequin head thanks to
 the aluminum foil and masking tape used.
 
 
Make sure to be gentle removing the mask from the foam head due to the clay sheet be delicate.
 
 
Draw your eyes lines with a pencil.
 
 
To cut the eye sockets a lot easier drill a hole to introduce the Xacto or Hobby Knife.
 
 
Very carefully use your xacto or hobby knife and cut the drawn line off.
 
 
Now to sand the sockets and be precise use the  Sandits® to make the sockets finish complete.
 
 
Use the 3M Medium Sand to smooth the mask off.
 
 
Now that the Mask is all Medium sanded. Clean and remove any remaining dust.
 
 
Use the 3M Fine grain sand to finish the mask up. Make sure you remove any excess dust off.
 
 
To paint the mask Sun Flower yellow just  get your favorite brush wet and use the water color technique to start painting the piece little by little.
Here 2 layers were used to create a beautiful gold finish look. 
 
 
Painting the eye showdown Boysenberry.
Use the Vavoom red and paint the underneath of the eye. 2 layers were used here.
 
 
Add a pair of Vavoom Red lips to the mask and set it down to dry. 
 
 
To create the tears make sure you water down the African Jade and Sapphire on ice and slowly tilt the mask to make the tear run freely down.
 
 
Let the mask dry and then it will be ready for you to use your clear acrylic spray sealer.
 
Let it dry and the mask will be ready to wear or for home décor. The possibilities are endless .


Thank you kindly for viewing this tutorial is you have any questions feel free to contact me at my email Gloriann Irizarry or visit Creative PaperClay® Q & A Facebook Page
 
Sincerely
Gloriann Irizarry


Tuesday, October 21, 2014

Creating a LPS Phantom of the opera Creative Paperclay® Mask by Gloriann Irizarry

 
Happy Halloween!!!!
 
Soon my friends it will the time were little kids come running from door to door laughing, singing and having fun.
Now for that reason I wanted to make this project a kid friendly one and per suggestion of my own little Rayray we decided to dressed her favorite Littlest Pet shop Raccoon LPS toy has an iconic Masquerade character. Any guess?
 
Yes, it is the Phantom of the Opera.
 
Is so easy to make and all it takes is
 
Creative Paperclay® Material
A roller
Plastic sheet
Your favorite Littlest Pet Shop LPS toy
White Acrylic paint


Grab your Littlest Pet Shop toy collection and  
chose your favorite animal LPS toy.
 
 
We choose the raccoon to be out Phantom Of The Opera character.
 

Choose your favorite Phantom Of The Opera mask design so you can recreated it.
There is many styles to choose from.


Start by rolling a little clay to about 1/4 thickest or less.
 
 
Apply a little spray oil with over the side of the toy head for the mask.
Lay the clay flat over the little toys head. Make sure to cover one ear it will help the mask in place with out the help of any straps.


While the clay still soft use a piece of cloth, fabric or lace and click to learn how to use this fabric stamping technique  it will give the mask some great texture.
 
Let it dry overnight. Once is all dry you can pull it off the toy.
 
Paint the mask the traditional white or feel free to make it your own by making  designs of any kind and let the paint dry.
 
Now you can play pretend Phantom of the Opera with your favorite LPS toy.
Now  imagine the countless stories you can play with your new little friend. The possibilities
 are now endless. My little Rayray can't stop playing with her new one of a kind
Phantom Of the Opera Littlest Petshop  LPS Raccoon toy.
 
 
Thank you kindly for staying tune and feel free to use this technique on any toy you will like
 Zelfs, Trolls, Barbies, Bratz, Monsters High dolls, Ever After High doll and many more .


Have fun creating
 
Sincerely


Feel free to write your comments below or email me any questions.
Have a bless day.

Thursday, August 15, 2013

Jess B. - Masquerade Mask Part II

Hello Everyone,

Since my last posting I've come to discover the my littlest one, Kymora, age 4, wants to be more involved with my projects.  I don't have a door to my craft room and as much I express Do Not Enter, it just goes right over her little head.  Kymora decided to play with my mask and the rest is history.

I cannot get too mad at her as she is inquisitive. If she wants to express herself artistically why not.
I created a new mask and let her paint, glitter, and bling out the other one.

MASQUERADE MASK PART II
Once it was completely dried, I began rolling out
more Creative Paperclay® and used Lisa Pavelka - Simple Elegance Border Mold

With a cup of water and paint brush to applied the border and used the
heat gun to help me adhere quickly. 
I sprayed Adirondack Color Wash Red Pepper and Tsukineko Walnut Ink
Heat gun dry again and used the hot glue gun to give it more texture.
 
 I used silver rub-n-buff and Color Box Gold pigment ink
INGREDIENTS
Lisa Pavelka - Simple Elegance Border Mold
Ranger - Adirondack Color Wash - Red Pepper
Tsukineko - Antiquing Solution - Walnut Ink
Hot Glue
Rub-N-Buff - Silver
Color Box - Gold Pigment Ink

I hope this inspires you to create one for yourself.
The possibilities are endless.
Here is another piece I am working on

Thanks for stopping by

Thursday, August 1, 2013

Jess B's - Masquerade Mask - Part I

Hi Everyone!

My cousin is getting married this month and their theme is
Masquerade Ball
I helped them with their invitations
now creating Cake Topper and
centerpieces

I've had this mask for quite some time and not sure where I got it to purchase more
Creative Paperclay® to the rescue!!!

MASQUERADE MASK
 Let's Get Started!
 
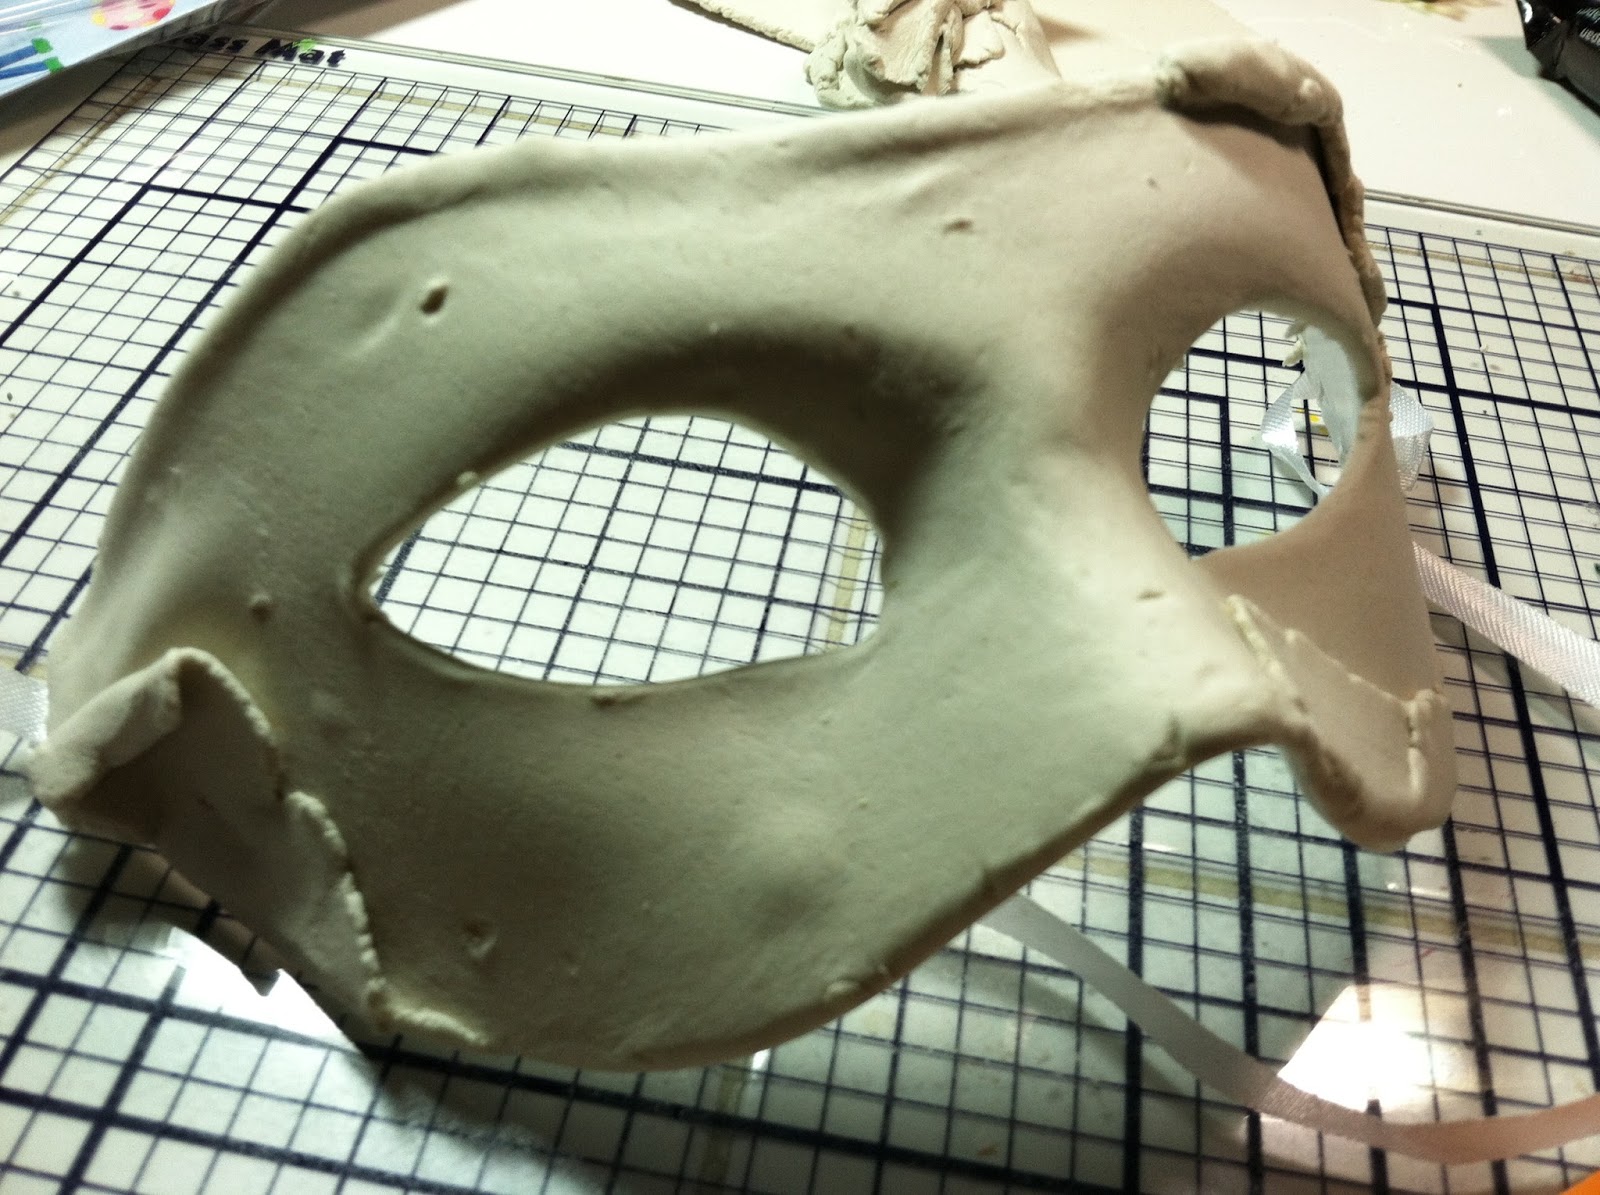
 Rolled out a thin layer of Creative Paperclay® 
 Placed clay across the mask and gave it some texture
I allowed it to air dry to keep its original shape
I will come back to show you how I will transform these masks leading up to the wedding.

Thanks for stopping by