Tuesday, July 14, 2015

Best Creative Paperclay Tools Tips by Gloriann Irizarry

 
It is finally Summer. The weather is getting nice and hot. Now I have been ask about Creative Paperclay and what's the best tools to use so I will be answering this question to full extend today. Feel free to visit our Creative Paperclay Q&A Facebook page if full of many wonderful Creative Paperclay artist always helping others with any question you might have about Creative Paperclay .


Rollers are the best way to roll a clay sheet.
It doesn't have to be fancy or expensive a simple old aluminum foil paper roller will work.
Has long the cardboard is thick it should do the trick.

 
Aluminum foil is wonderful to create nice armatures and it is easy to bend and shape to most desired shapes. You can keep in the sculpt or removed the paper after the clay dry.

 
Freezer paper is great to keep the clay from sticking on your working surface.
Lay a sheet on your working table and can be use to keep the clay from sticking when you roll the sheets of clay out.


Stainless steel wires and foam forms are one of my favorites to use to create armatures for paper clay projects. They will save you time and money.


you can also use regular object like water bottles and foam to create intricate shapes. 
The best way to keep them from falling apart is Hot glue. Now the trick is not to use high temperature but use Low temperature instead and let it fully dry so it nice and thigh.


Hobby knife and carving tools work great .
 
Any spray bottle can be recycle for you to use has a water clay mister

 
Paper tape is wonderful to create nice armature or use has fillers for your sculpt.


Flat brushes are my favorite to smooth the sculpt with water.


Now don't be afraid to try other tools like executers, texture plates or mold design or marketed for either polymer clay of cake fondant they work wonderful on Creative Paperclay . You will be surprise all the wonderful thing available out there for you. If you cant find a tool you like don't give up is always fun to make your own too.  Now the possibilities are endless all you need to do is let your imagination Fly.
 
I hope this help and feel free to visit our blog for more wonderful tips by many other great designers team members so stay tune .    

 
 
Sincerely
 

Sunday, July 12, 2015

One of a Kind Card for a One of a Kind Person by Linda Hess

Along life's path you will encounter many people: some good, some "challenging"...all weave the cloth that is our journey on Earth.  One of the special people in my journey is a girl named Annie.  I have known her since she was small, watched her grow from an adorable redhead with spunk and musical talent into a beautiful woman.  Now I watch as she enters her next chapter in life as a Catholic nun!  To say I feel blessed to have watched her grow and develop would be an understatement. 

Tomorrow I will go to a shower for her as she prepares to enter the convent.  Her wishes and needs are simple: yarn, instruction booklets, oboe & piano music...I lucked into a couple of crochet books from "Annie's Crochet" (I thought that so appropriate!).  I want to create a special card for her to go with the gift and you get to be a part of the design process.

For the base of my card I start with a white "linen" piece of 12"x12" from Recollections®.  I cut it to 9"x12", folded it in half, and used a corner punch to curve the corners.  The edges were rubbed along a black stamp pad to add an extra touch (NOTE: Be carefully when rubbing...less is more in this case).

For Annie's love of music I chose another Recollections® paper "Music Notes".  I cut it down to 6"x6" and then carefully tore the edges. It is glued in place on top of the white...perfect so far.

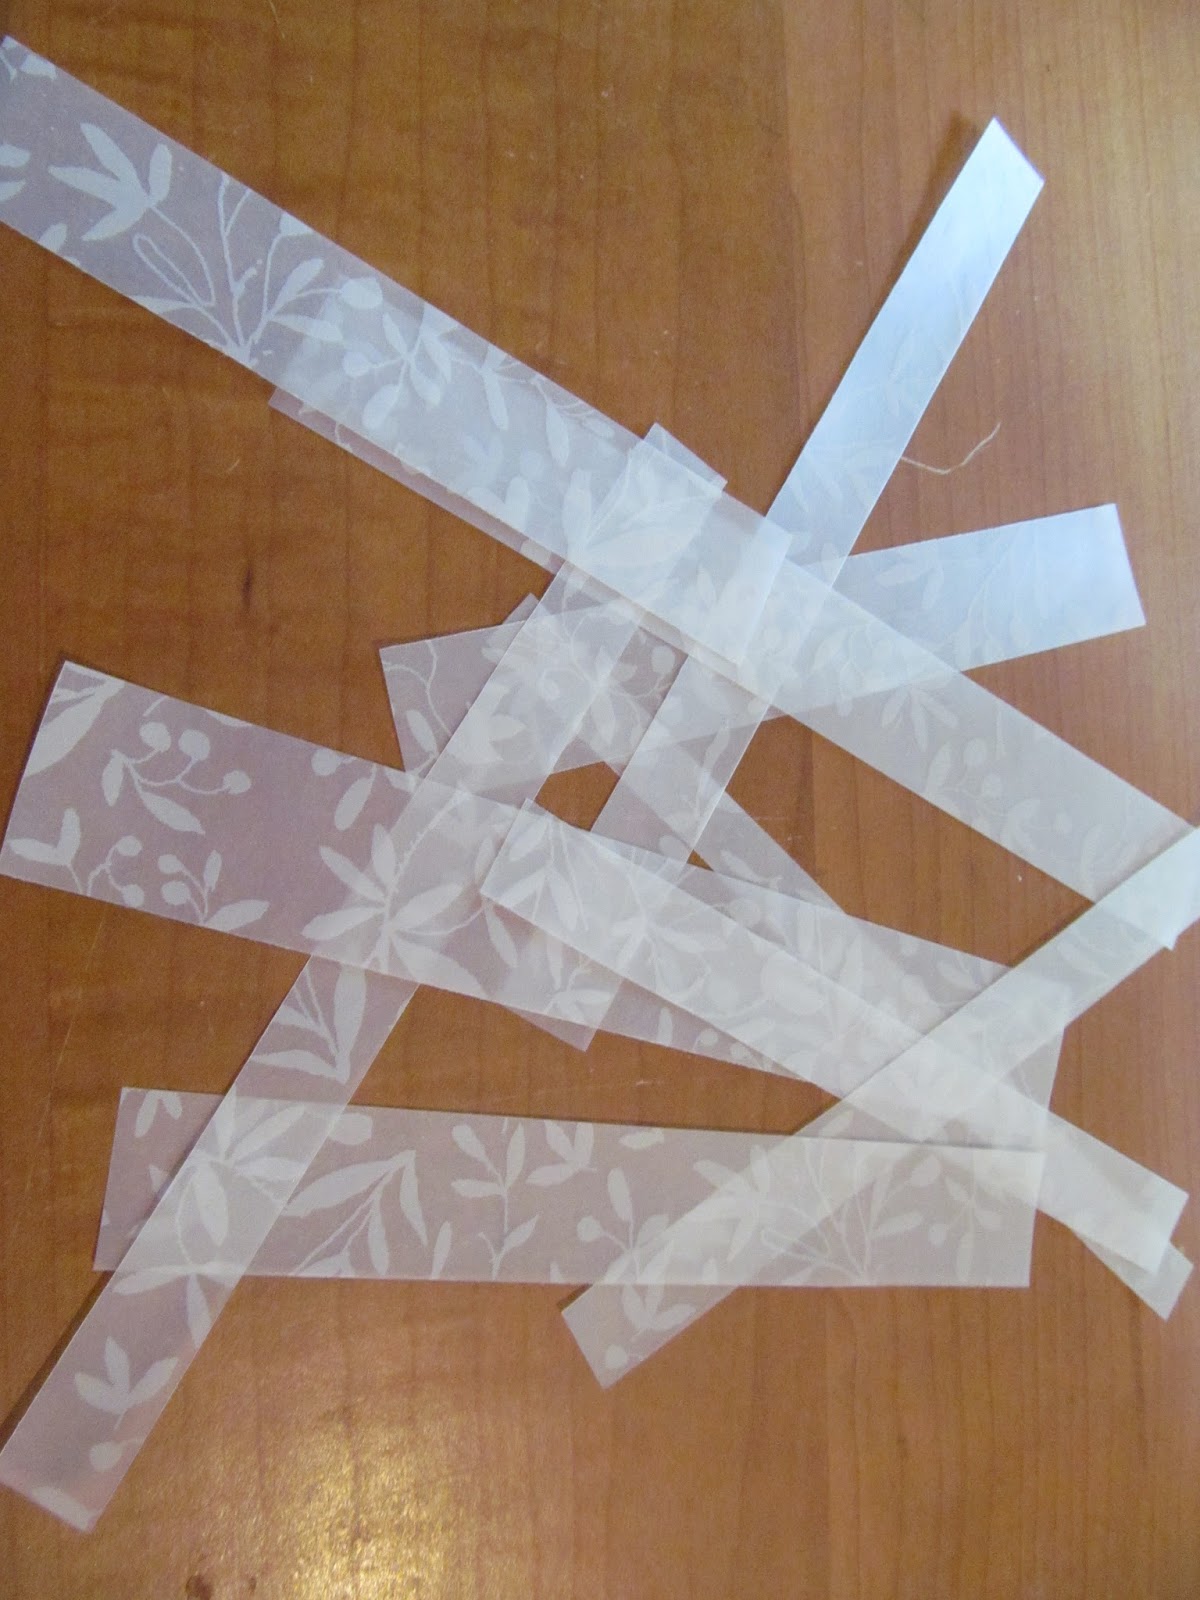
I found vellum paper strips on my table from a previous project.  I wove them together ("Our lives are forever woven together")...nice.

But when I placed the woven pieces on top of the music it basically disappeared :-(  Bummer

Not to be deterred, I went to my stash of paints and pulled out a few Twinkling H2Os (Pretty Peridot, African Jade, Sapphire on Ice, & Boysenberry) from ColourArte (http://www.colourarte.com/).  I quickly learned that Vellum doesn't like water and curls,
but I was able to lightly paint the back of each strip. As the strips dried, they magically opened back up. 
A few minutes under a book flattened them enough to re-weave for the card front.

Time to pull out the Creative Paperclay®.  I worked a bit in my hands, then rolled it through my pasta machine to flatten it (NOTE: clay can also be flattened with a rolling pin or acrylic roller).  I like rough edges rather than clean cut straight edges, so I tore the edges (towards me).  I am not patient enough to wait for the clay to air dry, so into the oven it goes (275* for 15-20 min.) with a piece of glass on top to keep it flat.

Once cooled, the piece is stamped with a beautiful scrolled cross (Rubber Stampede© #0403)
and then painted using Twinkling H2Os. 
Pearl dots complete the cross details. 
It is glued in place with The Ultimate! glue from Crafter's Pick™ (http://crafterspick.com/)

It needs a little something else.  I found this saying in my stamp box.  PERFECT for the occasion!   Stamped on a piece of the leftover white cardstock, edges torn, and rubbed over the ink pad.  Glued in place...exactly what it needed! 

One final touch.  A shimmery ribbon and a couple of appropriate charms (Bead Landing™)


Friday, July 10, 2015

Embellished Gift Bags

Hello, Ann here from Annmakes and the Creative Paperclay® Design Team.  Today I want to show you how I turned a plain white paper gift bag into a cute bag.  Use it for a gift and the recipient can reuse it as cute storage, or a tote.


To make the embellishments I covered some chipboard pieces with a nice thick layer of clay.  Once dry I sanded any nicks I had made.  Then I painted them with Fluid acrylic paints.  I also used a black pen to add more details.


Each piece was given a coat of Liquid Glass to make them hard and shiny.


The three pieces were glued onto the card stock which was also adhered to the bag with double sided adhesive.

To see my other projects please visit my blog at: http://annmakes.blogspot.com.
Thank you for stopping by.

Supplies:
Creative Paperclay® Modelling Material 
Chipboard shapes ( butterfly, heart, and flower) Dollarama
Fluid Acrylic paints (Hansa Yellow Medium, Cobalt Teal Blue, and Primary Magenta ) DecoArt®
Liquid Glass.    DecoArt®
Double sided Scotch® tape 3m
Glue Tombow
White paper gift bag my stash
Black fine tip permanent pen Dollarama
Cardstock in Light blue Recollections by Michaels
Sandits


Thursday, July 9, 2015

No Bake Cake with Creative Paperclay®

Make a permanent cake for a friend's birthday or wedding. This would be great for table decorations also. I have painted my white with clear glitter but it could be painted in wild colors or your friend's favorite color.

SUPPLIES
styrofoam
toothpicks
Creative Paperclay®
acrylic paint
paint brushes
dimensional paint
molding paste
fondant mold
I stuck two rounds of styrofoam together with toothpicks. You can also use white glue or styrofoam glue. Since I am going to cover the whole shape with Creative Paperclay® this was enough strength for this project.


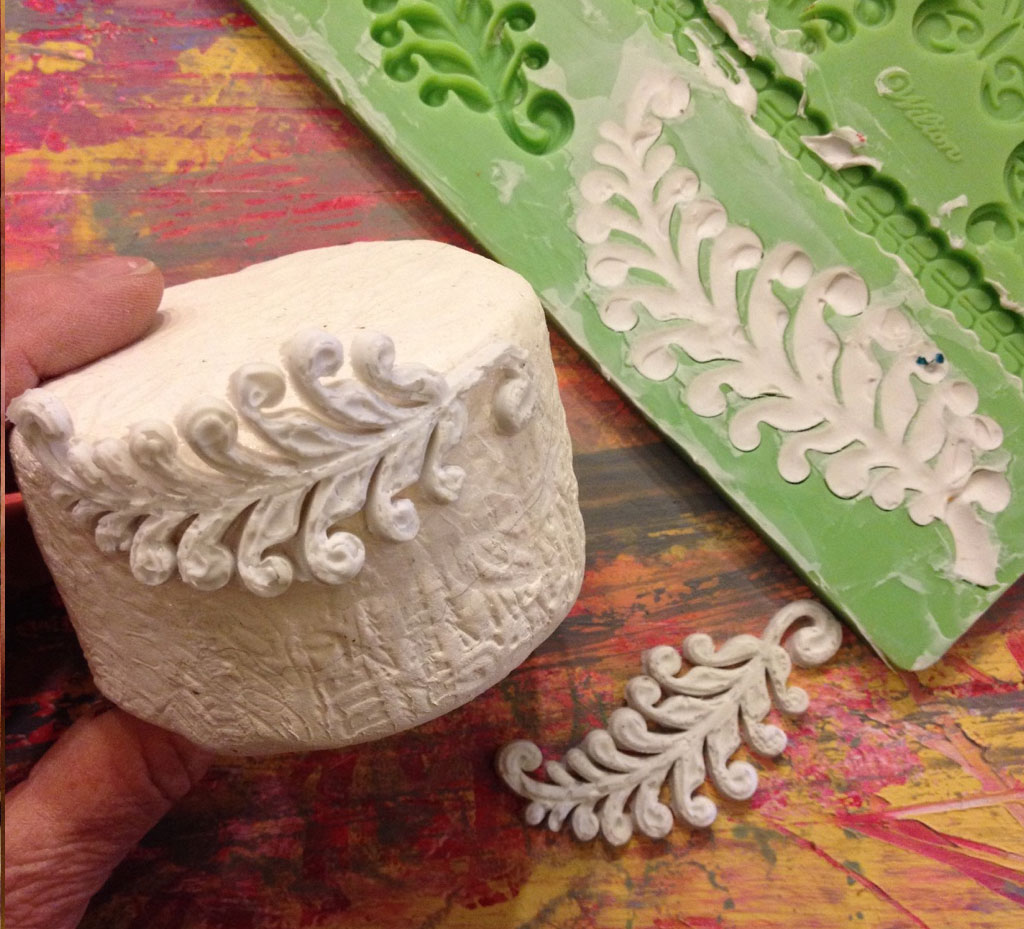
Next, I covered the form with Creative Paperclay® and stamped into it.


I applied molding paste into the recesses of my fondant mold and waited 24 hours for it to dry. I used the molding paste because it is flexible and I could glue around the curve of the cake shape.


I made and applied roses and cast leaves while I was waiting for the next batch of cast molding paste to dry. I dipped my finger in water and smoothed out the rose petals and let the piece dry.


I added finishing touches to the clay and sanded any rough edges with Sandits then painted and added glitter and a tea light.


The last step was to paint my piece white, add some glitter and a tea light. This would be great presented on a plate with a doily.

Have fun and dream in color — Darlene Olivia McElroy

Tuesday, July 7, 2015

Tori's Tip for July - little rollers

Hi it's Tori West again with this month's tip - though I usually post a project at the beginning of the month, and a tip later, I'm switching things up this month.  The reason for the switch is because if you make yourself a couple of these handy little rollers, you will have them ready for the project I'm going to post later in the month.  However, even if you don't want to do the project, you might find these useful whenever you want thin pieces of clay for embellishments, covering small objects, etc.


Just like the work boards I showed you in a previous post, ceramic tiles are great to have around the studio.  In this case, I use 4 1/4" x 4 1/4" tiles (available at home improvement stores) tape wood strips on opposite sides, and use them, along with a 5" piece of acrylic rod and a sandwich baggie with three sides of the seams removed, to create an even thickness when rolling out clay.  The baggie can be used over and over again just by rinsing it off in between usage.  I find this method much easier to use than a pasta machine, and definitely easier to clean up!  The thicknesses I use most often are 1/8" and 1/16", so I've made tile rollers for each of those. These are great for when you just need a little bit of clay for a stamp or scrapbook embellishment.


I'd love for you to join me for more projects & art adventures on my personal blog
Find me on Facebook, or peruse & ponder pics with me on Pinterest


Sunday, July 5, 2015

Lynda's July Post -

Creative Paperclay - is such a fun product...for me - my favorite use is with molds!  I can mold a bunch of different flowers, buttons or leaves - and use them later on, painting to match the project at hand!  Being "newer" at creating with the product, I haven't delved into larger projects as much (I have done a few, but nothing really over the top) - I scrapbook, and use the product for embellishments more than anything!   Today's tips, are all things that are helping me out - working on larger projects rather than smaller ones!  


Since I do scrapbook - and mostly use paper products - creating embellishments made out of Creative Paperclay is really fun for me!  Each piece turns out different because of the papers and products I end up using!  I don't like things to look like something else I have made - even though I end up using the same type of things on each project!  Each turns out different because of the products!   
So, I have some tips for you - things that are helping me out - I figured they might help a few of you out as well!  

  • Find a place where you can keep all of your ideas - such as a notebook or sketchbook! This way, as you are looking at things, or thinking about things you want to create, you can keep the information in one place!
  • Sketch the idea out on a sheet of paper, sketch pad, or design sheet!   What do you want the piece to look like when it is finished?  What supplies do you have for it - what do you need for it?  Do you have a container (or something) you can put it in while you are creating?  
  • Look back at the amazing ideas on this blog, on other blogs, Google "Creative Paperclay" and check out the images there, or even look on Pinterest for more ideas!  
  • Lastly - don't be afraid of playing with ideas!  Some of the favorite things I have done, have been done by taking the time to write things as to what I want to do, with it sketched out if possible!  
Thanks for stopping by, I will see you in a few weeks with a few gift ideas you can make, and decorations for your Christmas tree (if you celebrate)!  Most of my ideas you can tweak....use your own supplies and products YOU like while you are at it!  See you next time!
Lynda Jeffs
and Memories in Tyme    

Friday, July 3, 2015

July First Friday Fan Day


Need some inspiration for your next Creative Paperclay® project? Check out what folks are making with Creative Paperclay™.


Birds on Pedestals
Bunny Ready for the Beach
"I Love You" Greeting Card
Blue Bird on a Mushroom
Gabrielle—The Paper Clay Doll

Love Bug Treat Box

HELP US FIND YOU!!
  1. Use the hashtag #CreativePaperclay on all your social networks.
  2. When using Facebook, be sure the your posts and images using the #Creative Paperclay hashtag are set to public, otherwise we won't be able to find you.
  3. Share your projects on the Creative PaperClay® Facebook page.
I'm always trolling the web, looking for great Creative Paperclay® projects. If you find something, post it on our Facebook page.

Carole