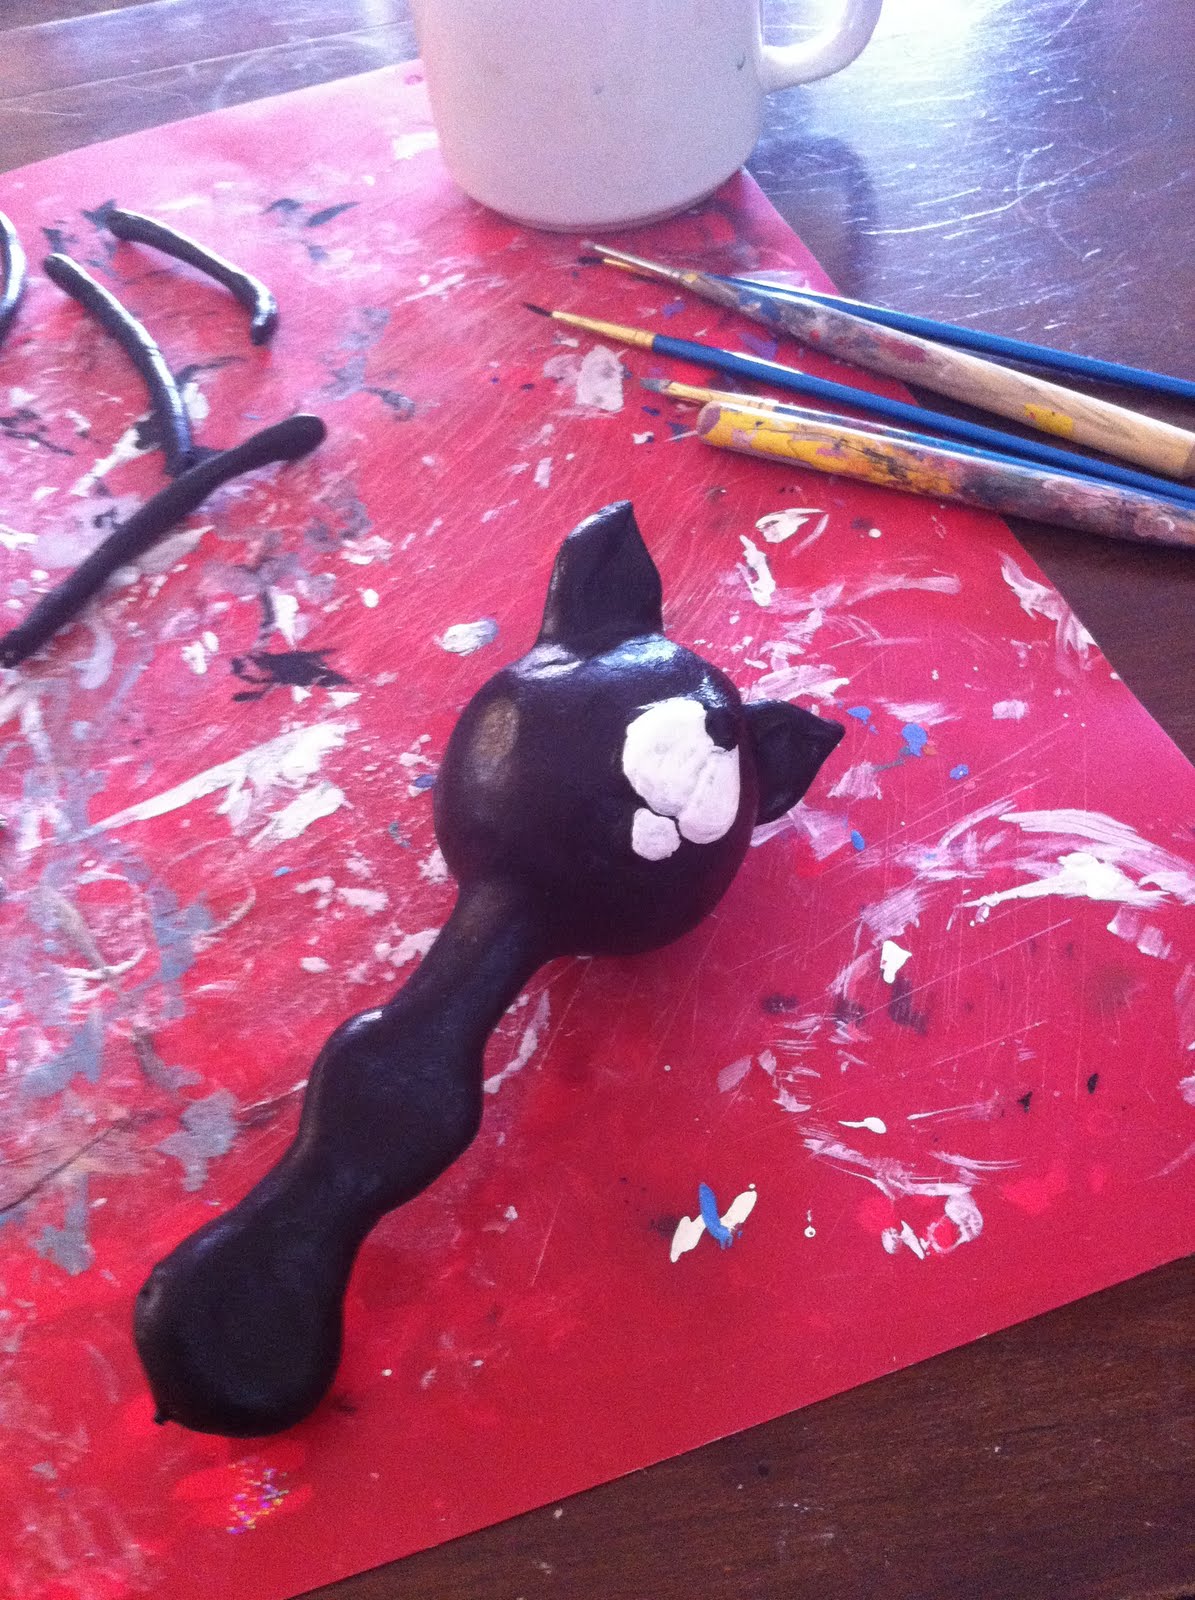
I love my cat. His name is Wylie, he is two years old, and he is always dressed to impress in his tuxedo. He inspired me to make a kitty doll out of paperclay. Here's how you can make your own!
What You'll Need
Creative Paperclay - about 4 ounces - preferably new, fresh package
Small cup of warm water
Non-stick Craft Pad or Wax Paper Taped on Work Surface
1 Styrofoam Ball - 3" or a 3" Aluminum Foil Ball
6" - 14 gauge jewelry or garden wire
12" - 22 gauge jewelry wire
4 - jewelry head pins, corsage pins, or sewing pins
Wire cutters
Pottery cutting tool or butter knife
Acrylic paint, paint pens, pencil
Matte Spray Varnish
What To Do
1. Start by inserting the 14 gauge jewelry wire into the styrofoam ball. Make sure that you insert the wire a little bit behind center as this will be the doll's neck.
2. Open your package of Creative Paperclay if you haven't already!!!
3. Remove a clump of paperclay and smooth a layer of it over the styrofoam ball. Use the warm water to really smooth it.
4. Sculpt a small cylinder shape and two triangles out of the paperclay for the neck, top half of torso, and bottom half of torso.
5. Insert the small cylinder shape onto the 14 gauge wire below the styrofoam ball and blend the edges in to the head.
6. Add two triangles with the tips touching each other.
7. Dampen fingers and break off small pieces of paperclay to fill in gaps between the cylinder and two triangles. Smooth the clay as you go using slip which simply means that you take a small amount of paperclay, dampen it in your cup of water, and smoothing it between the two body pieces.
8. Insert a pin across the new little body you have created. Create a hole through the top where the shoulders will be, and create a hole through the body where the hips will be. Make sure you work the pin in a circular motion to widen the hole just a bit.
9. Depending on how big you made the doll body parts, you should have at least a 1/2" of wire sticking out of the bottom of the body you just created. Use this to pick the doll body up and place the doll on a clean baking sheet.
10. Bake the doll at 200 degrees for 10-25 minutes. VERY IMPORTANT! Everyone's oven is different...Make sure you closely monitor the baking of this doll body. Check every 5 minutes. Otherwise, you may step away and come back to an alien-looking thing with a blown up and melted styrofoam head!
Paperclay turns white when dry.
11. While the body bakes, you can make the arms and legs. Just don't forget about it!!! :) Roll out a long snake of paperclay. Use water to keep the paperclay moist, workable, and smooth.
Okay, you have lots of room for personal preference with the arms and legs. I tend to make my arms and legs long. Sometimes I make all the limbs the same length, sometimes I make the legs much longer, etc. You want to use a doubled-up cut of 22" gauge wire that is twisted for these parts. This gives the clay a better armature to hold on to and less chance of these delicate appendages from cracking. If you choose to make arms and legs longer than 4 inches, you may want to consider using a heavier gauge wire.
12. Cut wire into two pairs of equal length for the arms and legs so you should have eight separate pieces of wire. Twist equal cuts of wire together. You should now have two arms worth of twisted wire, and two legs worth of twisted wire.
13. Cut snake with of paperclay with butterknife into two arms and two legs.
14. Insert wire through individual snakes of clay and then roll on non-stick craft pad for smooth finish. Use water to further smoothing.
15. For the arms, round one end of the snake for shoulder and flatten the other end for a little hand, or in this case a paw.
16. For the feet, round one end of the snake for hip and form a foot by pinching a little ankle and making a little pointed foot. More clay can also be added to make shoes.
17. Take those pins that you used earlier to create the holes for shoulder and hips and create holes in the four limbs you just made. These holes can be close to pin holes...just make sure you have a little movement in the hole, otherwise your doll limbs won't move easily!
18. Now you can bake your doll limbs! These parts do not take long at all...Bake at 200 degree for 5-7 minutes. Look for that nice, white color that indicates the paperclay is dry.
19. While your doll's arms and legs are baking, determine whether or not you want your doll to have kitty features, puppy features, doll features witht sculpted hair. If you do, this is the time add features to your doll's head.You have full creative control here...Play around with it. The best thing about this step is that wet paperclay can easily be added to dried paperclay...and vice versa. If you don't like what you see, remove the wet paperclay and start again.
20. Once your doll parts are dry, it's time to assemble them. (For this doll, I waited until after the parts were painted before I assembled the doll. Sometimes this is best, especially with dark, contrasting paint!) First, you'll need to cut your pins so that they each fit inside the doll body. It is safe to cut about half of each pin off. Next, thread a pin from through the holes in each limb, and then secure the limb to the body with the pin. Use a drop of superglue inside the body holes, and then add a bit of paperclay to really secure the pin inside the hole. Make sure the limb has a little movement on its post. You can cut off the excess wire off of the body in this step as well. Once you have completed this step, place your assembled doll body into the oven for 2-3 minutes to dry, longer if you have added some hair and features.


21. Congratulations! You now have a blank doll body to paint, detail, dress, and embellish! I typically sew clothes onto my dolls, but you can certainly glue fabric, paper, beads, or any other findings that may interest you! I use a pencil to draw in facial features, and paint pens to design the face and small details.
I hope you have enjoyed my tutorial on making a doll similar to the one pictured above. Please feel free to ask questions and leave comments! I'd love to see your creations as well! Cheers!

 Then I took the Creative PaperClay and used it to cover the whole structure with the paperclay. I added a mask and horns and a few other little embellishments that I wanted to give him.
  I let it dry and then painted the body part green and the rest black. I textured his face a bit and painted it a black/red and his horns and eyes red. I love my little piece and it will be added to my other clay pieces sitting around that I love to make!


 I hope this inspires a Halloween Craft out of you and when you do, you use Creative paperclay to do it with! It is so fun to use with kids!!