These little refrigerator buddies are fun and easy to make for you and the kids! (To make it safer for the kiddies, use pipe cleaners for antennae.)
What You Need
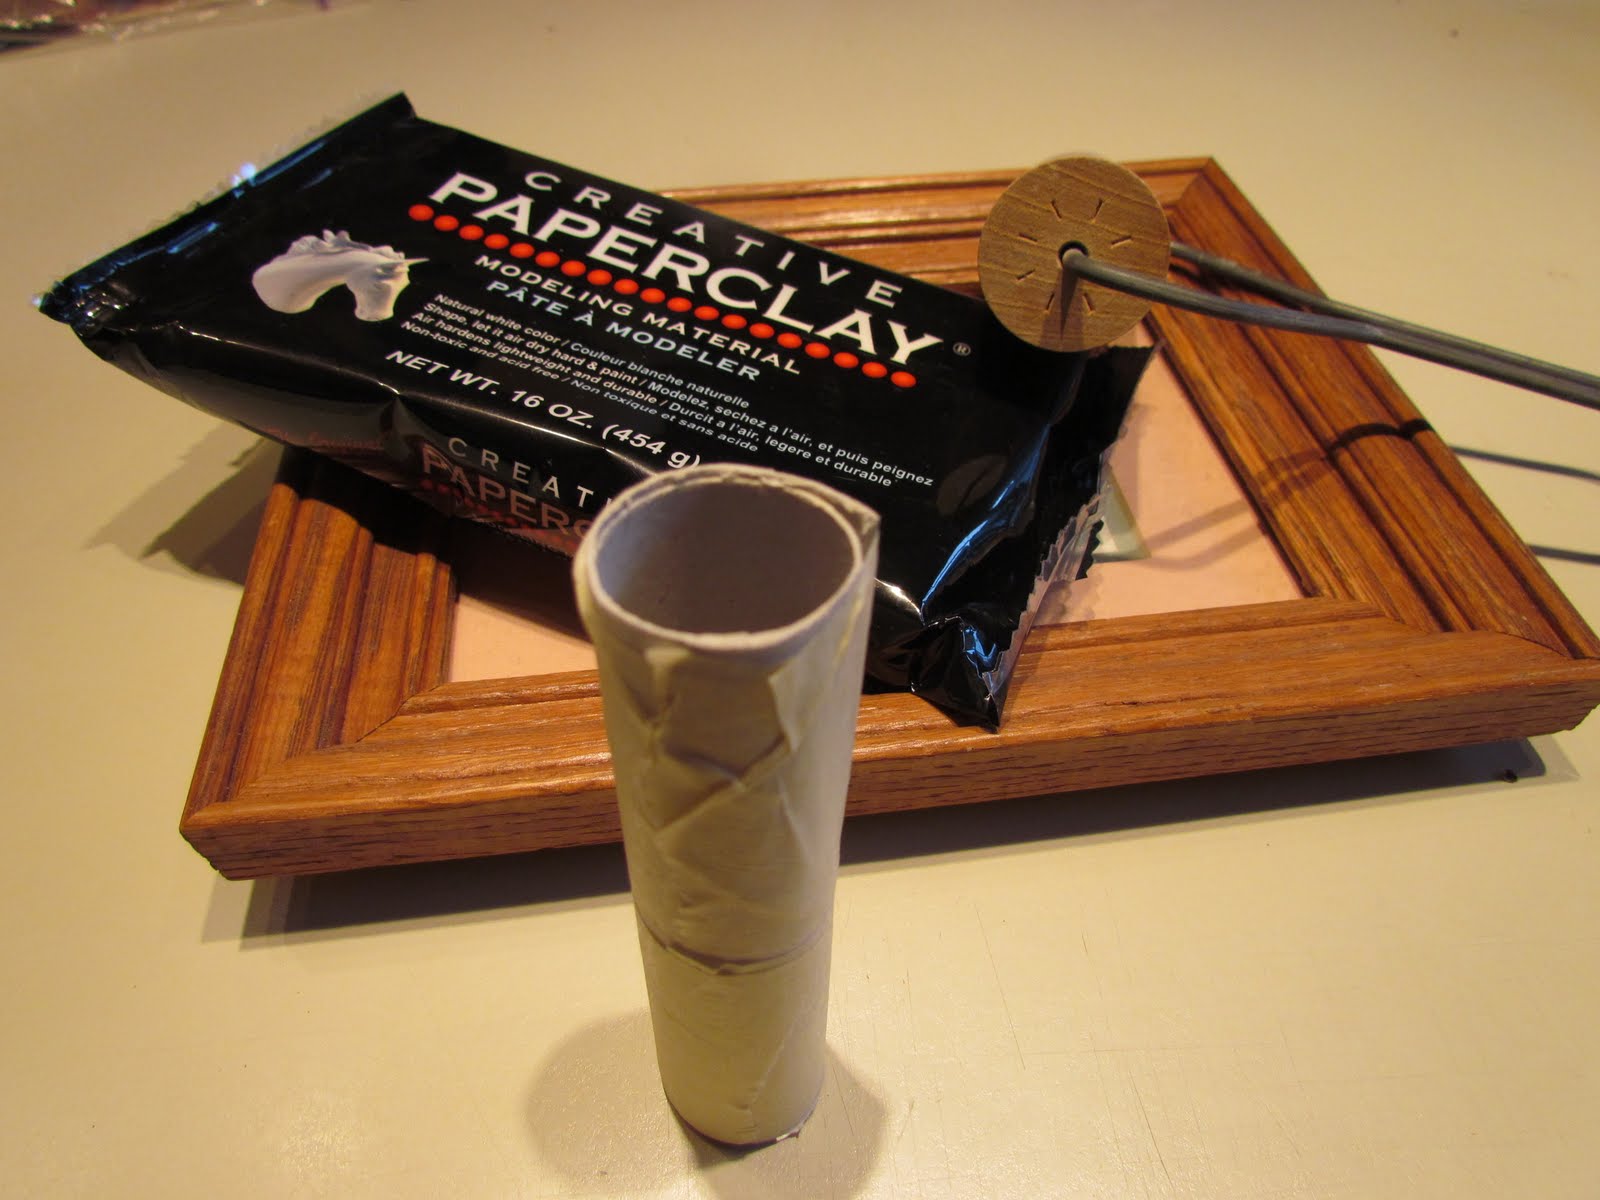
Creative Paperclay
Non-stick craft mat or wax paper
Cup with water
22 gauge wire or pipe cleaners
Wire cutters or scissors
Needle nose jeweler's pliars
Pottery sharp tool or butter knife
Acrylic Paint
Paint Brushes
Paint Pallette or paper plate
Paper towel
Superglue or strong craft glue
Small round magnets

What To Do
1. Take out a good-sized lump of Creative Paperclay.
2. Roll the lump out into a long snake.
3. Using your butter knife or sharp tool, cut the snake into three pieces. I like to make a Mommy Snail, Daddy Snail, and Baby Snail. So my snakes are 5, 6, and 7 inches long and about 1/2 inch thick.

4. Keep your snakes moist with water...not wet, just a little moist. This will help you to roll the snakes into snails (if that makes sense) and prevent the paperclay from cracking.
5. Pinch the tail end of the snake so it comes to a point.
6. Roll your snake's tail inward and anchor it in front.

7. Continue to roll the snake into a snail, but make sure you leave room for the head.

8. Paperclay adheres to itself pretty well, but it may be helped by adding a couple drops of water (especially where the neck meets the shell.
9. Time to cut your antennae! 1/4 inch to 1/2 inch antennae are ideal, but feel free to play around with this part to give your snails personalities of their own.

10. Once you have cut your antennae, insert them into your snail's heads to make the holes where they will eventually sit. Remove antennae and set aside. It is now time to bake!
11. Place your snails into a toaster oven at 220 degrees for 15 minutes. Flip and bake for an additional 10 minutes. (It might be best to make a test snail to see how long it takes your toaster oven to bake paperclay. All ovens are different.)
12. Once the snails are baked, use acrylic paint and some teeny paintbrushes to decorate them. Make sure you paint both sides and allow them to dry completely. Give them eyes and little smiles with some black paint!

13. Once they are dry, add a drop of Superglue or craft glue to the tops of their heads where the antennae holes are. Insert antennae and allow to dry.

14. Take your round magnets and add some glue to it. Adhere one snail to each magnet. Allow to dry completely.
15. Once dry, clear some space on your crowded fridge (like I have) and adorn your To-Do-List with your new little snail family!!!

Hope you enjoyed this tutorial! For more of my projects, check the Creative Paperclay blog, http://creativepaperclay.blogspot.com/ and my blog, http://marissartdolls.blogspot.com/. My blog will also be available for Kindle users soon! Stay tuned and thanks for reading!!!