Friday, May 27, 2022

How to Create a Ring Holder


Hello everyone! My name is Cinnamon Willis and I am going to show you how I created this ring holder!


Supplies:

Creative Paperclay®
Plier
Wire
Masking Tape
Sanding paper
Protective varnish or clear coat covering


First start off with shaping your wire with the pliers to get your armature started. I worked with a wire that was about 24 inches long so that I could twist and shape my armature without having to add more wire. I shaped the head and the arm first and then worked my way down to the base. Make sure that your rings/earrings will be able to fit over the head and arm


I took the remaining wire and shaped it into a circle at the bottom of the figure that I created. Once I was happy with the shapes, I covered them with masking tape


Once you have completely covered the armature with masking tape, begin adding clay on top of the tape. When you have a good amount of clay on the figure, set the piece aside so that it could dry before adding another layer of clay.


This is the first layer of clay that has dried, it is ready for another layer to further define the shape of the piece.


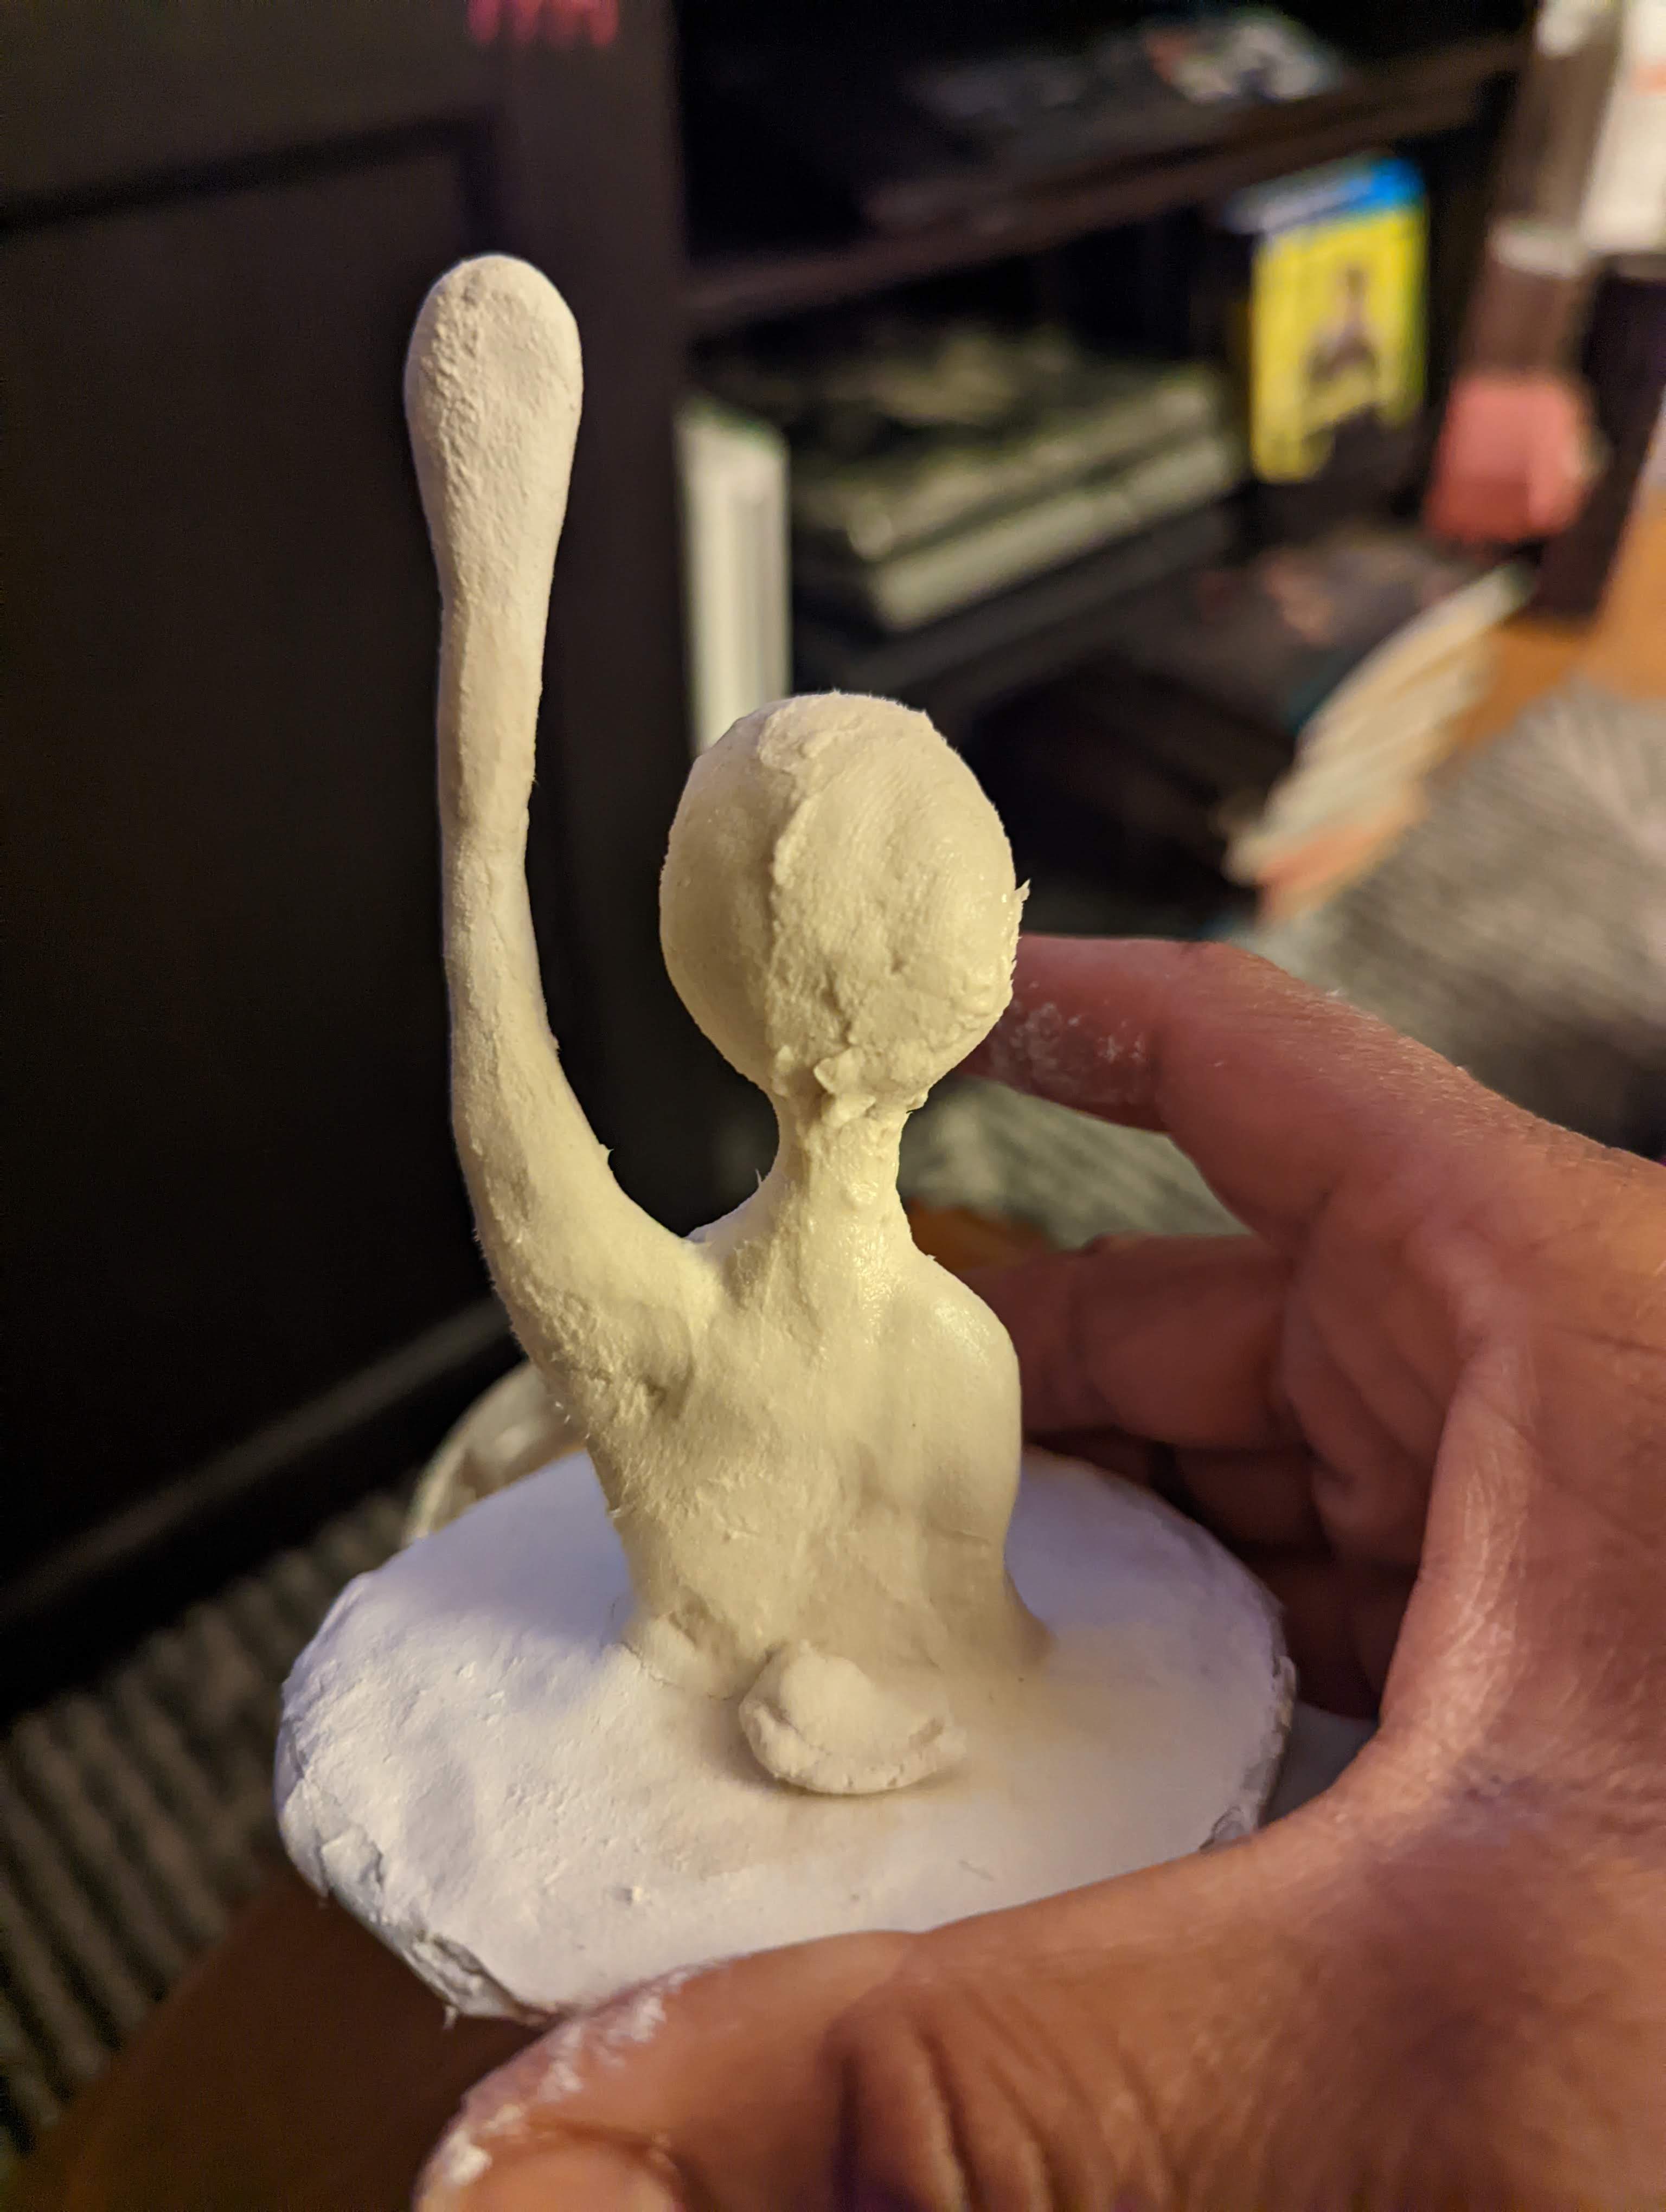
I am working up the shape with another layer of clay. This is the stage that you want to try to narrow down the shape of your piece. 


I am happy with how he is turning out. I used crystal clear to give it a layer of protection.


I was able to put my rings and hoop earrings over the head!.

Thank you all once again for stopping by, and I hope that you enjoyed today's tutorial! You can find Creative Paperclay® at the following retailers Creative Paperclay® Online Store, Michael's, Amazon, Joann's.

See more of my work at Melandolly.com, catch updates on 

my Instagram page and here is a link to my shop!


Friday, May 13, 2022

Make a Little Sunshine by R Michael Palan


Make a Little Sunshine

WHAT YOU WILL NEED
Pencil
Marker
Compass
Paper
Paint
Cardboard
Glue
Gesso
Ruler
Xacto knife
2.5" Styrofoam ball 


Use compass and pencil to draw a 2.5" circle. Then 
draw a 5" circle out side the smaller circle.
You will use this paper to create a stencil
to cut out sun rays on your cardboard.


Cut circle out of paper and fold in half four times.
This will divide the circle to help you create
your sun rays. 


Open folded circle. Use folds as guide and draw rays 
using a pencil and ruler. Cut paper rays and
use as stencil to draw rays on cardboard.


Cut rays out of two pieces of cardboard. Glue together.
Cover back rays with Creative Paperclay.
Glue styrofoam ball on top of cardboard rays.
Add center marks with marker and position eyes.
Push thumbs into styrofoam ball for eyes.
Cover everything with Creative Paperclay.
I let everything dry between each step.
It makes working a lot easier.


Lay a strip of Creative Paperclay on front rays.
Use thumb and index finger to create pointed edge.


Symmetry is important when making a face.
This face is far from perfect. 
The eye is a ball of Paperclay blended into
the space I pressed into the styrofoam. I pushed
a pencil into it to create the iris. Add a 
strip of Paperclay below and above for eyelids.
Nose is a strip that extends away
from the face with a round ball of clay on either side.
Add cheeks, lips, chin and eyebrow.
I let everything dry between steps.


Finish face and coat with gesso.


I gave this two coats of terre cotta paint.


I lightened the terre cotta paint with yellow and tan
to add some highlights. I then glued the sun to a
stick on put it in a house plant. You can add a
hook to the back and hang it on the wall also.


Have Fun with Your Project
🌻R Michel Palan


Monday, May 2, 2022

A Beautiful Bird for Spring

 Hello fellow artist! Today I am sharing a tutorial I did years ago; the most popular video on my YouTube channel. 😀


Isn't it just adorable? It is a simple project that just looks amazing!

The supplies used in this project are:

White Glue
Toothpick
Acrylic paints
A base of bird to be attached to. I used a piece of a branch.
2  1/4” dowels or chopsticks
Varnish
Raffia (optional)
Sculpting tools
Water
Paintbrushes


Follow along in the video below:


You can share your creations with us on our Facebook page. We would love to see them! For more inspiration have a look around the blog. There are tutorials for many levels using Creative Paperclay®. You can also visit my blog Paper Mache Patch.


You can find Creative Paperclay® online at Creative Paperclay Co and also at Michaels, Hobby Lobby, Dickblick and Amazon. 


Thanks for stopping by!


Suzette


Blog/website: https://www.papermachepatch.com

Instagram: https://www.instagram.com/papermachepatch/

Pinterest: https://www.pinterest.com/suzettehussey/

YouTube: https://www.youtube.com/c/PaperMachePatch

Skillshare: https://skl.sh/2QyIn93