Friday, April 23, 2021

How to Create a Cameo Framed Art Piece


Hello and happy Friday everyone, Cinnamon here and I am going to show you how I created this cameo framed art piece.  Follow the steps below to see how this was done.


Supplies:
  • Creative Paperclay®
  • Small hand roller or something to flatten out clay
  • Decorative frame
  • Exacto knife 
  • Sand paper
  • e6000 glue
  • Acrylic Black and gold paint
  • Sealer, Varnish
  • Sheet of black felt


 I have a few of these pretty frames that I brought from my local 5 Below discount store. It has a very vintage and distinguished look so I wanted to create a cameo piece and place it in the middle. I have always admired vintage cameo portraits and wanted to try to recreate one of my own.


***This is not a necessary step****, but I chose to create my own silhouette from an image I found online in Adobe Illustrator. You can just grab a silhouette from a quick Google search online or draw one by hand. 


I took the silhouette and made it to the size of the opening of the frame and cut it out. Again, you can just do this by hand and not get on the computer to do this step.


Once I cut out the silhouette, I used it as a guide to make sure that I create my piece to size.
I have a flat tool that I use to shape clay which allows me to cut pieces of the clay as needed to create fine details. You can use a pin or anything that allows you to shape those little details while the clay is still pliable. It's important to get you basic shape down at this point so that you don't have to do as much sanding and cutting into the clay later.


Keep building up the piece and focus on getting the profile just right. 


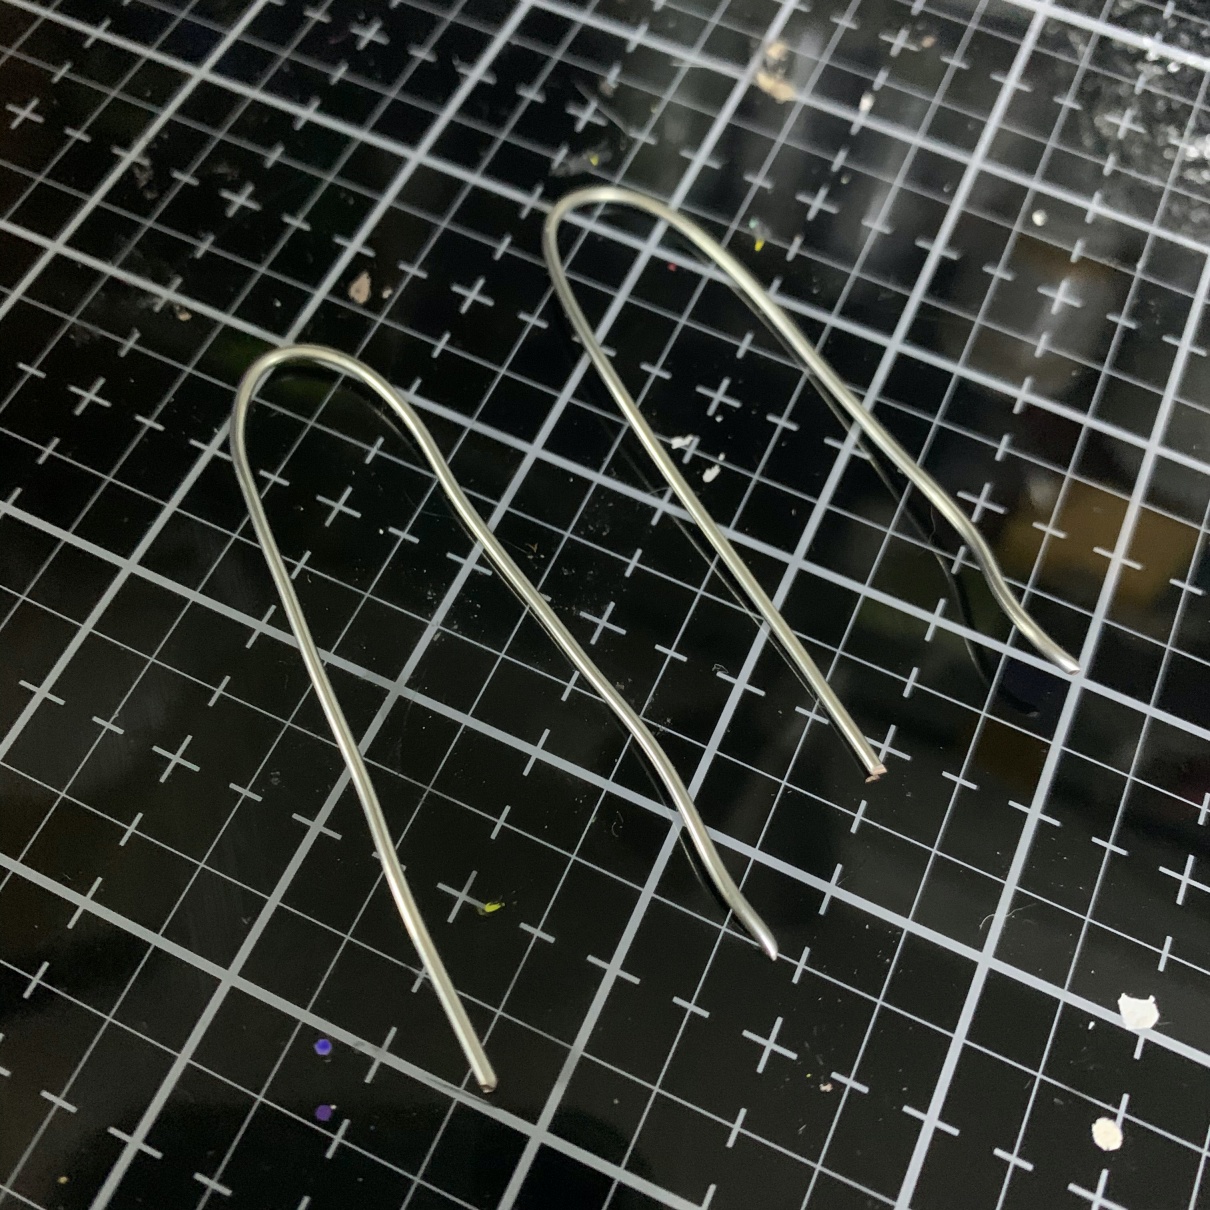
I wanted to add a braid to the hair of the piece. My clay was a bit dried out so it broke in a few places when I tried to rolled out thin pieces of it. If you use fresh paperclay, you won't run into this problem. If you do, it can easily be corrected by brushing a bit of water onto the pieces and blend them together.


I took the braid and pressed it into the piece with a wet brush to help it stick in place. I brushed the pieces on the braid with the damp brush to join some of the pieces that were splitting from each other. Set the piece aside and allow it to dry.


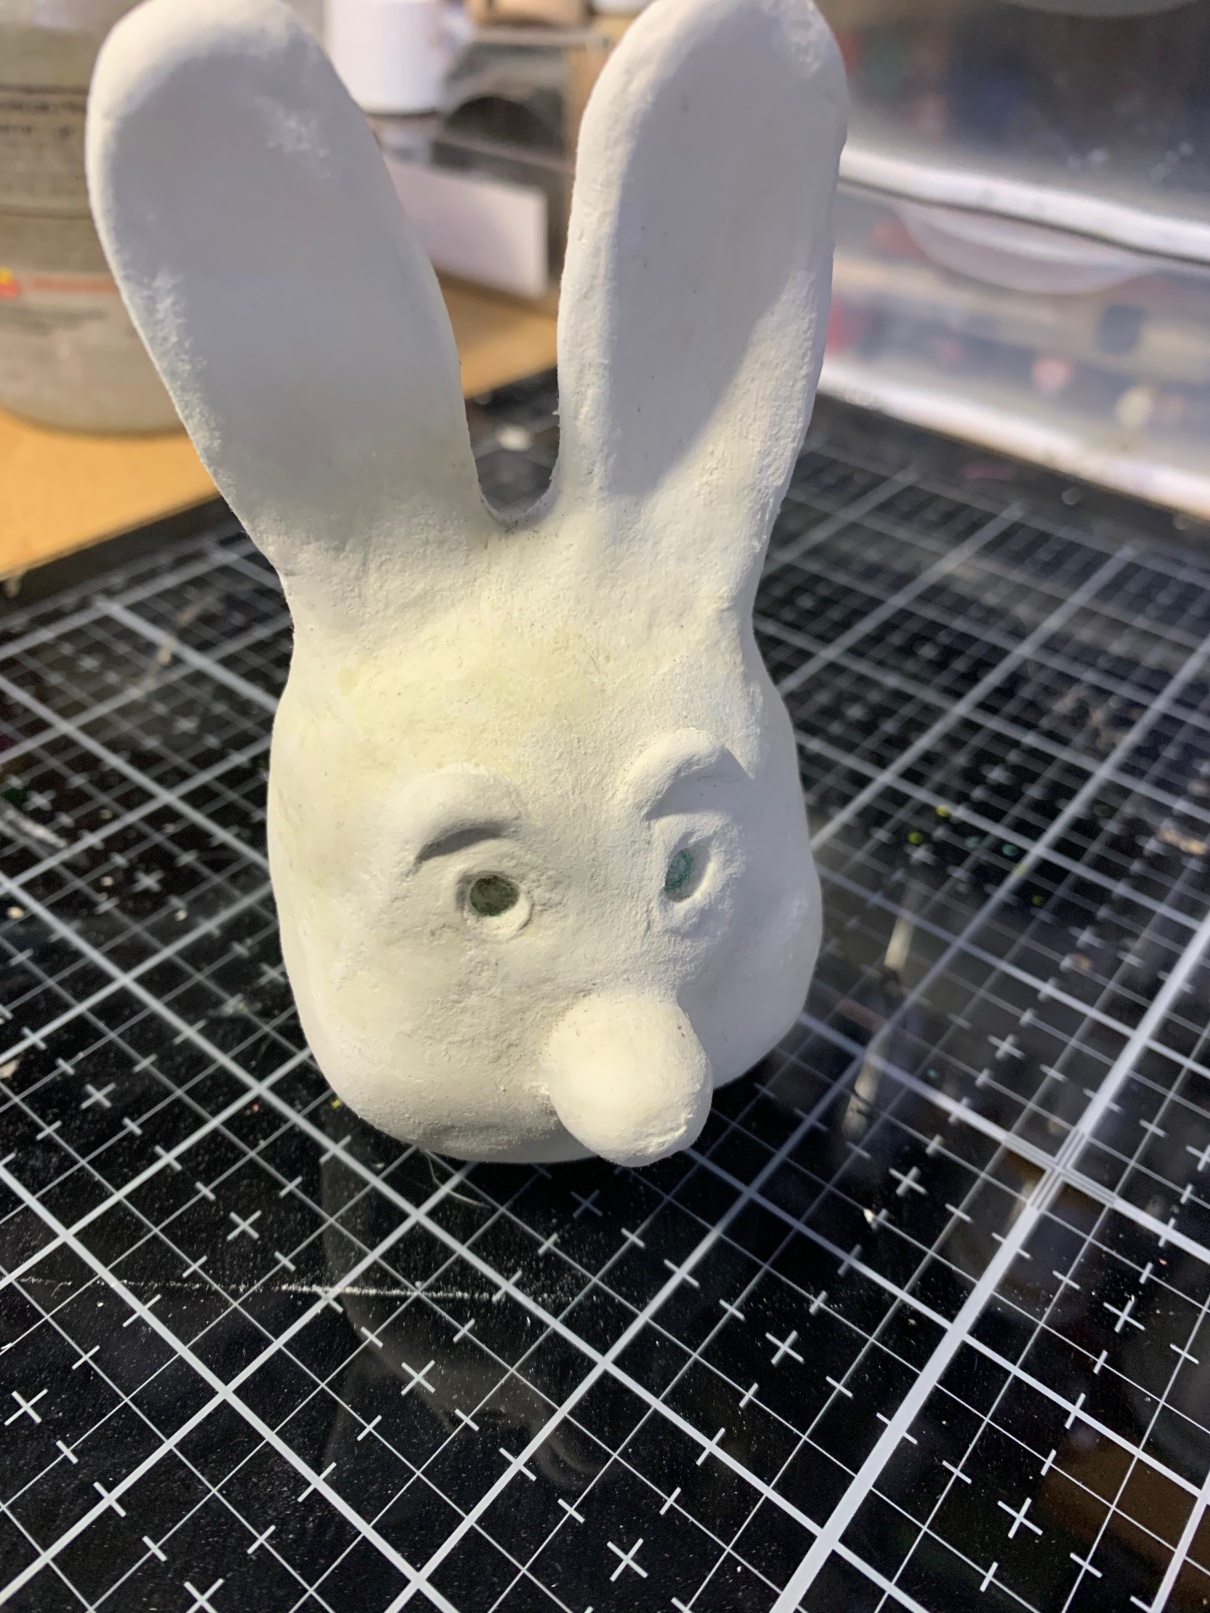
Once the piece dried, I did a light sanding to clean up the details and smooth it out.


Be sure to try the piece out in the opening of the frame to see if you are happy with the size. Adjust as necessary.


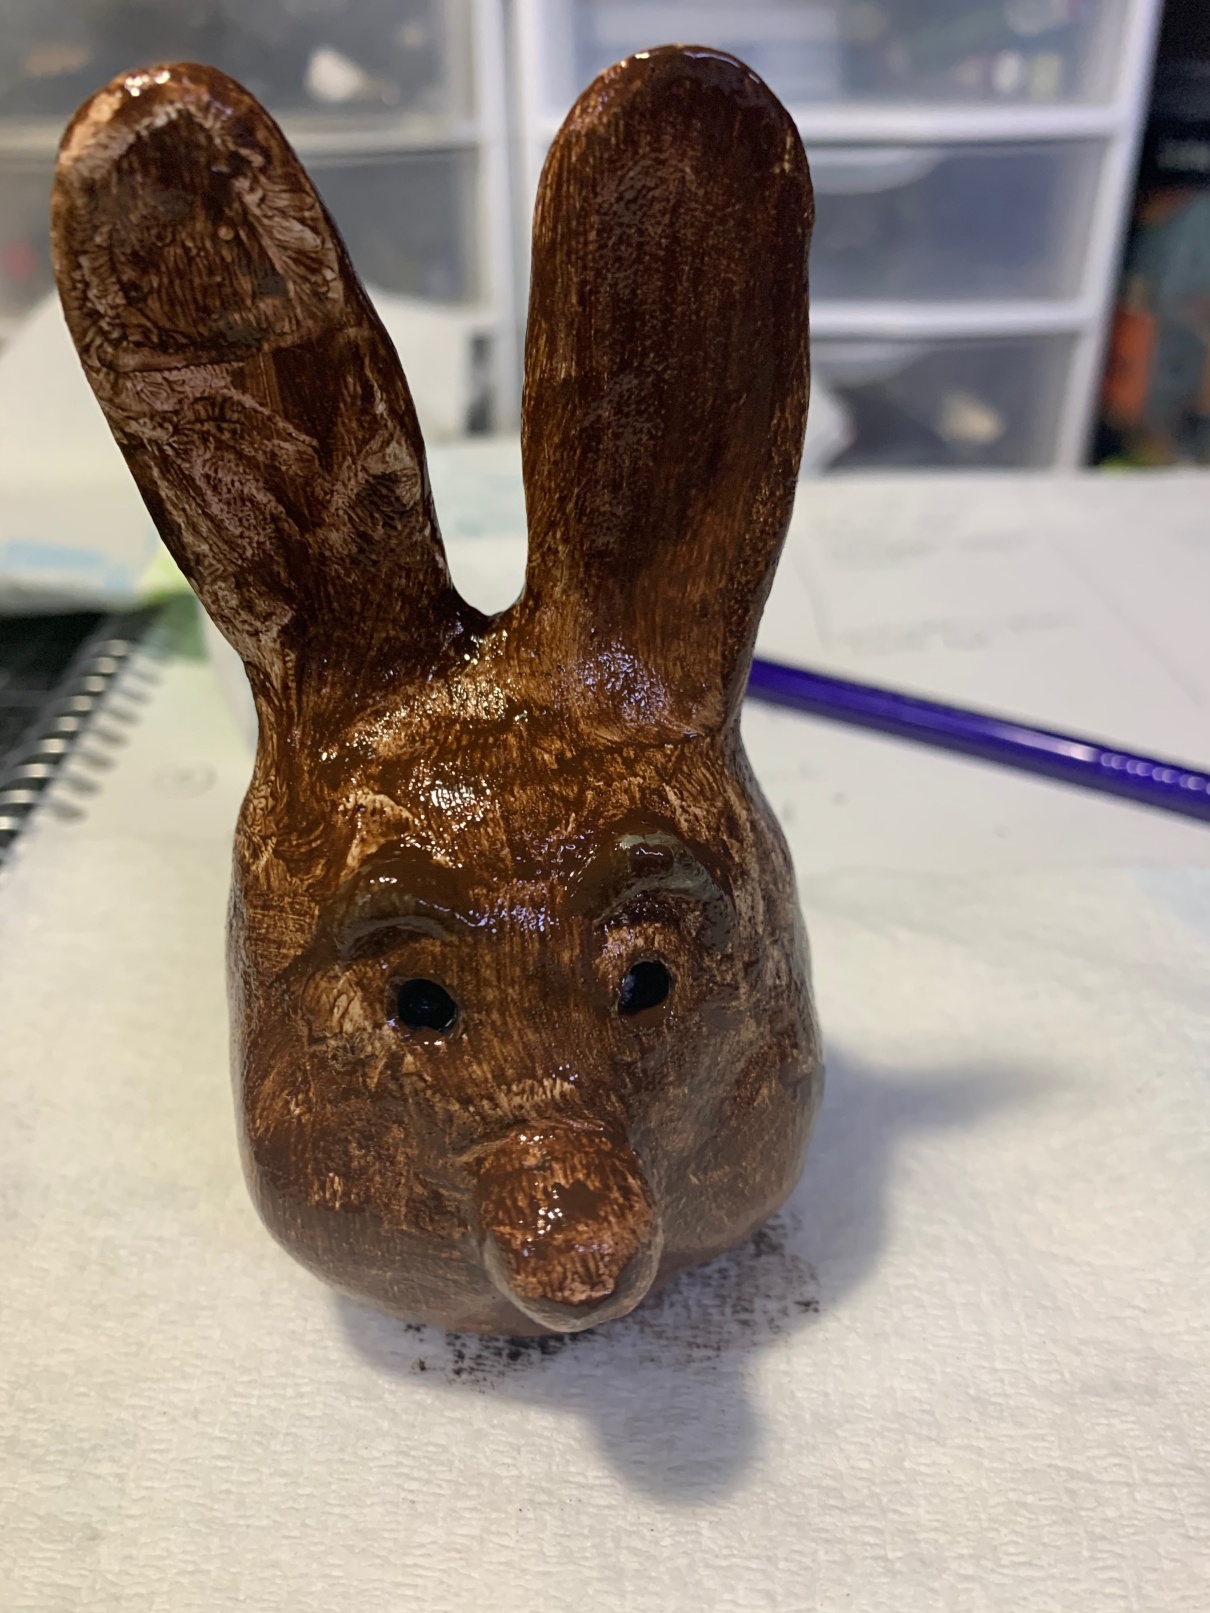
After I was done with sanding, I moved on to painting the piece with a black undercoat of acrylic paint.


After applying the undercoat, I painted gold acrylic paint onto the piece using the dry brush technique. The braid was fully painted in gold so that it could be the focal point. Set aside to dry and then seal it with varnish.


Take your felt sheet and cut it down to the size of the opening of the frame. After you cut it down to size, glue it onto the back of the frame with the the e6000 glue.


If your piece is dry, glue it onto the frame with the e6000 glue as well.


And this is how it turned out!


Thank you all once again for stopping by, and I hope that you enjoyed 
today's tutorial! You can find Creative Paperclay® at the following 

See more of my work at Melandolly.com, catch updates on 
my Instagram page and here is a link to my shop!


.  


Monday, April 19, 2021

Kitchen Witch Tutorial


Protect your home, hearth and the next stew in your caldron by hanging a Kitchen Witch in your kitchen. A fun tutorial using simple supplies and Creative Paperclay®.


Supplies: Wood Kitchen Spoon Creative Paperclay® Delight Air dry clay (optional) tools for clay clay molds (optional) foil glue fine sandpaper white gesso acrylic paints sealer (optional) ribbon to hang spoon Wool or yarn for hair


Click on the video below to watch the tutorial.  Please reach out if you have questions or have a difficult time viewing the video.  


To find me on Facebook, Instagram and TikTok you can find me by searching  @๐—ฎ๐—ฟ๐˜๐—ฏ๐˜†๐˜€๐˜‚๐˜€๐—ถ๐—ฒ๐—ธ  ๐น๐‘œ๐“‡ ๐’ซ๐‘’๐’ธ๐“Š๐“๐’พ๐’ถ๐“‡ ๐’ถ๐“ƒ๐’น ๐ป๐’ถ๐“๐“๐‘œ๐“Œ๐‘’๐‘’๐“ƒ    and   @๐—ช๐—ถ๐—น๐—น๐—ผ๐˜„๐—›๐—ผ๐—น๐—น๐—ผ๐˜„๐—ช๐—ผ๐—ผ๐—ฑ๐˜€   ๐’ป๐‘œ๐“‡ ๐ธ๐’ถ๐“‡๐“‰๐’ฝ๐“Ž ๐’ž๐’ฝ๐’ถ๐“‡๐’ถ๐’ธ๐“‰๐‘’๐“‡๐“ˆ ๐’ถ๐“ƒ๐’น ๐‘€๐’ถ๐‘”๐’พ๐’ธ๐“€

Visit my website at www.ArtbySusieK.com (easy link in Bio) and join my Creative Minds Breakfast Club. **by joining the Creative Minds Breakfast Club on my Website you will receive an email for a 15% discount on your first order of art on my website.  As a member you will receive exclusive offers throughout the year and an email no more than once a month with a promise not to share your email address. 

Creative PaperClay® Design Team Member @creativepaperclay


Wednesday, April 7, 2021

Mini Boho Hanging Planter


I really enjoyed creating this little planter.  It is a perfect springtime project.  It makes a great little gift for May Day or Mother's Day or just to show that you care.  

Here is what you need to make it......

Wire cutters, assorted pliers, round nose and flat nose

Creative Paperclay, rolling pin, masking tape, 16 to 20 gauge craft wire, plastic wine glass or any cover-able vessel.  I was originally planning on using glass but opted to save this one from the landfill.  

A rubber stamp or other texture tool (Optional) 

Modpodge Outdoor

White gesso

Acrylic paint 

Yarn, twine, or cording

Also something to make large holes in your brads with. I used a knitting needle.  

Start by creating a loop at one end of your wire.  Trim ends neatly.

Form wire around your vessel. Use masking tape to hold it in place.  Create a loop at the bottom and the opposite side.  Cut off excess wire.  
Roll out a sheet of Creative Paperclay that is larger enough to cover your vessel.  

Cover your vessel.   Smooth seams.  

Make 6 beads about the diameter of a nickel.  Be sure to make your holes large enough for your stringing material.  Texture your beads (Optional).

Texture your vessel with stamp (Optional).

I chose this spotty dotty stamp.  I forgot about my Trypophobia until I started painting and the bubbles popped in the crevices.  I'm sorry if you also have this affliction.  

Allow your vessel and beads to dry completely.  Overnight is best.

Paint in color of your choosing.  I made a soft green with blue, yellow, and white gesso.  I like the matte look of gesso.  

After the paint dries apply  coat of Mod-Podge Outdoor to protect the clay surface from water damage.  


Make a wire ring about 1.5 - 2 inches in diameter.  This will be the hook for hanging your planter.  

Using stringing fibers of choice, about 2 yards long, attach to wire ring with larks head or slipknot. Braid or knot your fibers adding beads after every few knots.

 I used a simple macrame square knot.  Here is a video tutorial of that step:


Attach braided/knotted fibers to planter.   Add a few decorative, netting knots around base of planter and knot at the very bottom.  Tie off and create decorative fringe with excess fibers.  

Add a plant or even an electric candle. Hang it up and enjoy or give as a thoughtful gift.  


Monday, April 5, 2021

A Creative Paperclay® Easter Bunny

 Hello, Happy Easter and welcome to another tutorial! Today I have an Easter Bunny to share with you.

Isn't he cute?


The supplies I used are:

  • Creative Paperclay®
  • Foil
  • Masking tape
  • Diluted white glue
  • 220 grit sandpaper
  • gesso
  • Folk Art Vintage White and Seashell Pink
  • Apple Barrel Pewter Grey
  • Plaid Antiquing Medium: Apple Butter Brown
  • Black Paint
  • White Paint
  • Pearlescent chalking set (used for cheeks and eye shadow)
  • Spray Varnish
  • Royal Coat Dimensional Magic by Plaid Crafts
  • Brown Paper Strip 1" x 1' 6" ( I used a paper bag)
  • 1/4"- dowel (12" long)
  • washi tape
  • craft wire
  • wire cutters, pliers
  • needle tool
  • paper towel
  • water


Follow the steps below:


Step 1: Form the bunny's head out of foil.


Step 2: Shape the ears.


Step 3: Press them into the foil and secure with hot glue.


Step 4: Cover with masking tape.


Step 5: Coat with diluted white glue and cover with Creative Paperclay®.


Step 6: Add the nose, cheeks and eyebrows . Poke holes into the clay for the eyes. Set aside to dry.
When dry sand, fix any cracks and coat with gesso.


Step 7: Paint your Easter Bunny.


Step 8: When completely dry coat with stain.  Let it sit for 15 to 30 seconds and then wipe off with a paper-towel. If it is too dark, dampen the paper-towel.


Step 9: Use chalk pastels to add eye shadow and blush. Spray with varnish to seal.


Step 10: Fold the strip of brown paper accordion style. Secure the ends and form into a collar shape.


Step 11: Fill the eyes with Plaid Dimensional Magic.


Step 12: Drill a hole big enough for the dowel under the bunny head. Glue the collar to the base of the head.


Step 13: Secure the dowel with glue and cover with washi tape. 


Step 14: Add ribbons and raffia.


Step 15: Add a white spec to each eye. 


The finished bunny.


You can share your creations with us on our Facebook page. We would love to see them! For more inspiration have a look around the blog. There are tutorials for many levels using Creative Paperclay®. You can also visit my blog/website  Paper Mache Patch.  

You can find Creative Paperclay® online at Creative Paperclay Co and also at Michaels, Hobby Lobby, Dickblick and Amazon. 


Thanks for stopping by!

Suzette