Saturday, September 25, 2021

Autumn Fairy Lantern - Part 2 - Painting and Finishing

This is Part 2 of The Autumn Fairy Lantern Project

Hey Everybody!  I am Jesse Chandler and I want to welcome you to Part 2 of The Autumn Fairy Lantern Project, Painting and Decorating!  So Let’s Go!!! 


Suggestions to Start

Watch all Video Lessons before starting your project for best success!  


Gather all supplies before beginning to avoid frustration later.


Please be gentle with yourself during the Creative Process.  The Piece does not have to be Perfect for you to have a Perfectly Wonderful time making it!


----------------------------------------------------------------------------------------------------

Supply List

CREATIVE PAPERCLAY® Unpainted Autumn Fairy Lantern - sculpted and dried 

Matt or Tile or Other flat, smooth surface to work on

Old Cloth for wiping paint

Pallet for Paint

Alcohol Hand Sanitizer

Flat and small Round Paint Brushes in a couple different sizes

Stylus or non working Pen for Stippling

Thin Permanent Marker

White Gesso

Acrylic Paints: I used bright colors in Red, Yellow, Orange and Green, as well as Dark Brown, and White.  But please use what suits you!

Sealant - Spray or Brush on. I used Mod Podge Matt Finish.  You can use gloss though.

LED Votive Candle


---------------------------------------------------------------------------------------------------


1. Introduction:


Necessary Supplies:


3. Applying Gesso


4. Applying White Base Coat


5. Dry Brush Technique and Practice


6. Dry Brushing Petals


7. Painting Berries, Center, and Stippling


8. Painting Back and Sealing


9. Conclusion 


Place LED tea Light in center, and see who comes to visit in these last days of Summer!


Breathe. Would love to see photos of your work! Write me here on FaceBook 
with Questions or Comments. Thanks so much for spending some time with me. 

You can find Creative Paperclay® at the following retailer’s:
Creative Paperclay® Online Store, Michael’s, Amazon, Joann's


© 2021 Jesse Chandler


Friday, September 24, 2021

How to Create a Stick Puppet


Happy Friday everyone, Cinnamon here and I am going to show you all how I created this puppet. I was inspired by my Wayang Golek puppets in my collection which are wooden puppets traditionally performed with in West Java, Indonesia. 


(Wayang Golek puppets and Colonial statues on far right)


Supplies:

Creative Paperclay

5 Skewers

Masking tape

Cork or any type of filler

Acrylic paint

Wire

Exacto Knife

Needle nose pliers

Aleene's Tacky Glue

Lambswool (optional)

Sealer


First you will need to try to figure out what size you would like for your puppet to be. This will help you determine how long you will need for the sticks to be. I wanted to keep my puppet on the smaller side co I cut the sticks in half that I would use for the hands and left the other on for the body at full size


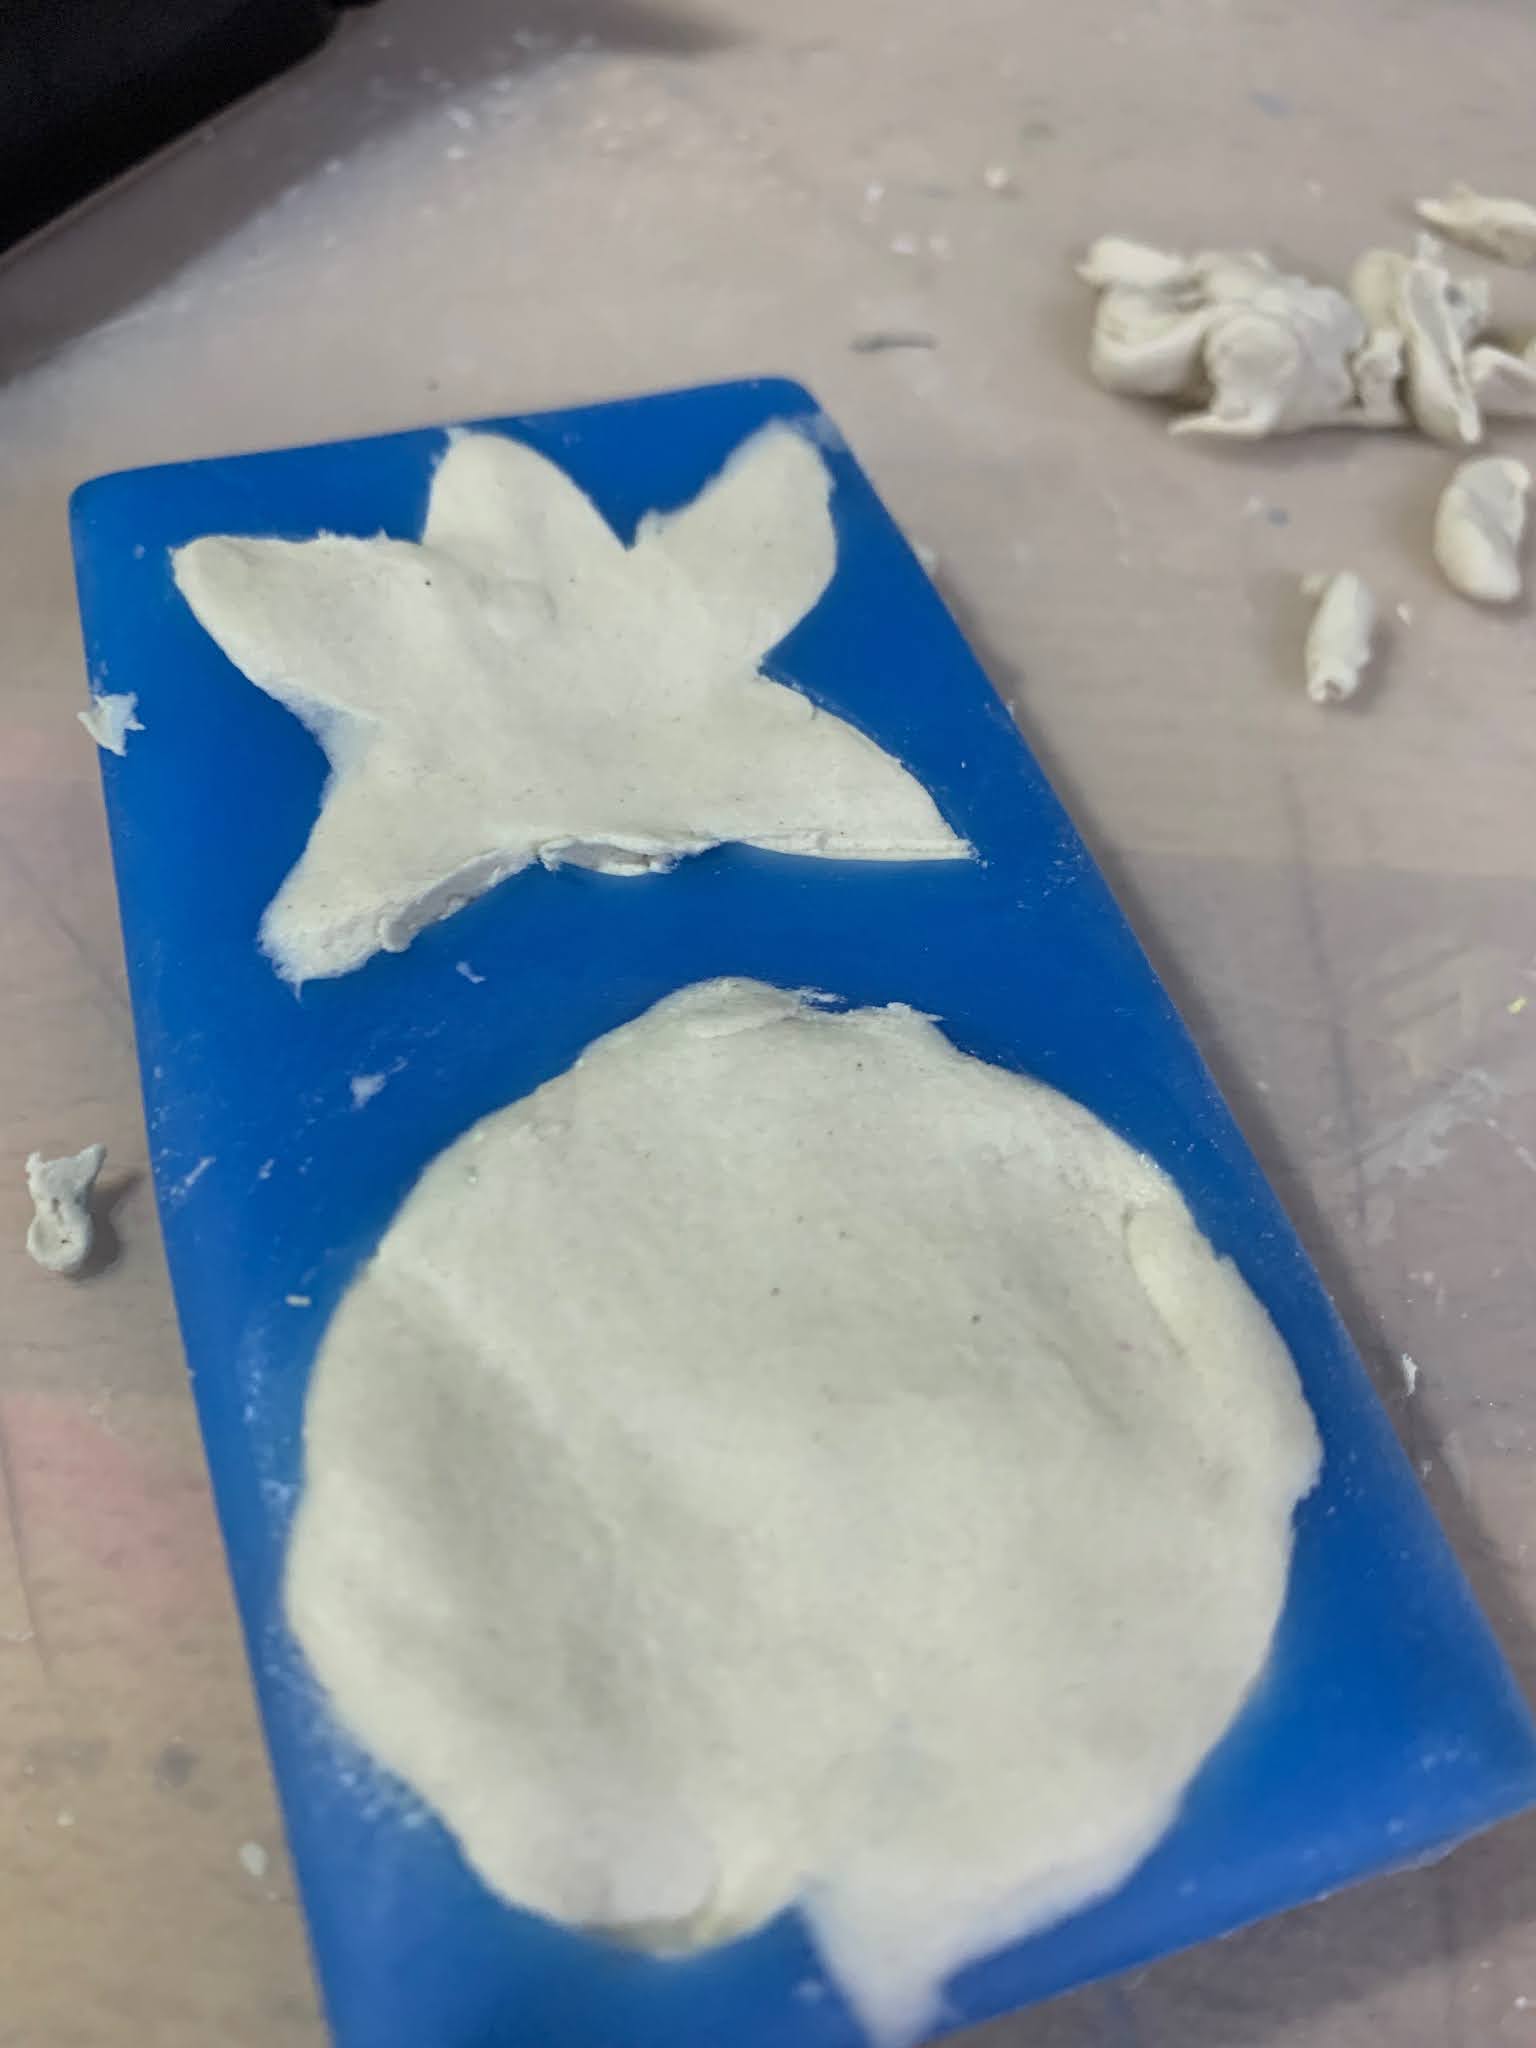
I took a cork that I had laying around and cut it down to size with an exacto knife. I used this for the basic shape for the head, put it on top of the long skewer and taped it in place with masking tape.


Once the cork is secure in place, begin to smooth clay around it for the head. Keep building up the head and the face. When you reach your level of satisfaction, set the piece aside to dry.


Start building the hands. You will need to take smaller pieces of the skewers and make sure they are long enough for the forearm of your piece. When you get the size of the skewers right, begin to chisel a bit into both skewers so that you could attach them to the body with a string later. I went an inch down from the back of the stick with my shaving.


Start making the hands on the other end of the stick. Don’t get too detailed since you will need a sort of mitt to run some string through for the sticks. Make sure you shape out a hole in the center before the clay dries for the string!


Here I am picking the head back up to work on some of the features of the doll. I let the doll head sit for a little bit so that it could begin to dry. It makes it easier to work up your piece in layers so that you can sculpt without disturbing the bottom layer.


Let the head and the hands sit out to fully dry. After the head dries, you can begin to build out the shoulders with your wire. It can be any gauge but I like to use a thinner wire so that I can manipulate it easier. Use your pliers to take some of the stress off of your hands. Leave a hoop on each shoulder so that you can attach the arms later


Once you have the shape of the shoulders, cover them with masking tape to bulk them out a bit and cover with paperclay. You can build a torso if you would like, I kept it simple and just added a little bit of clay under the shoulders.


Set the piece aside and allow it to dry. Take the main skewers that you will be using to control the arms and carve out a little notch as you did with the skewer for the forearms.


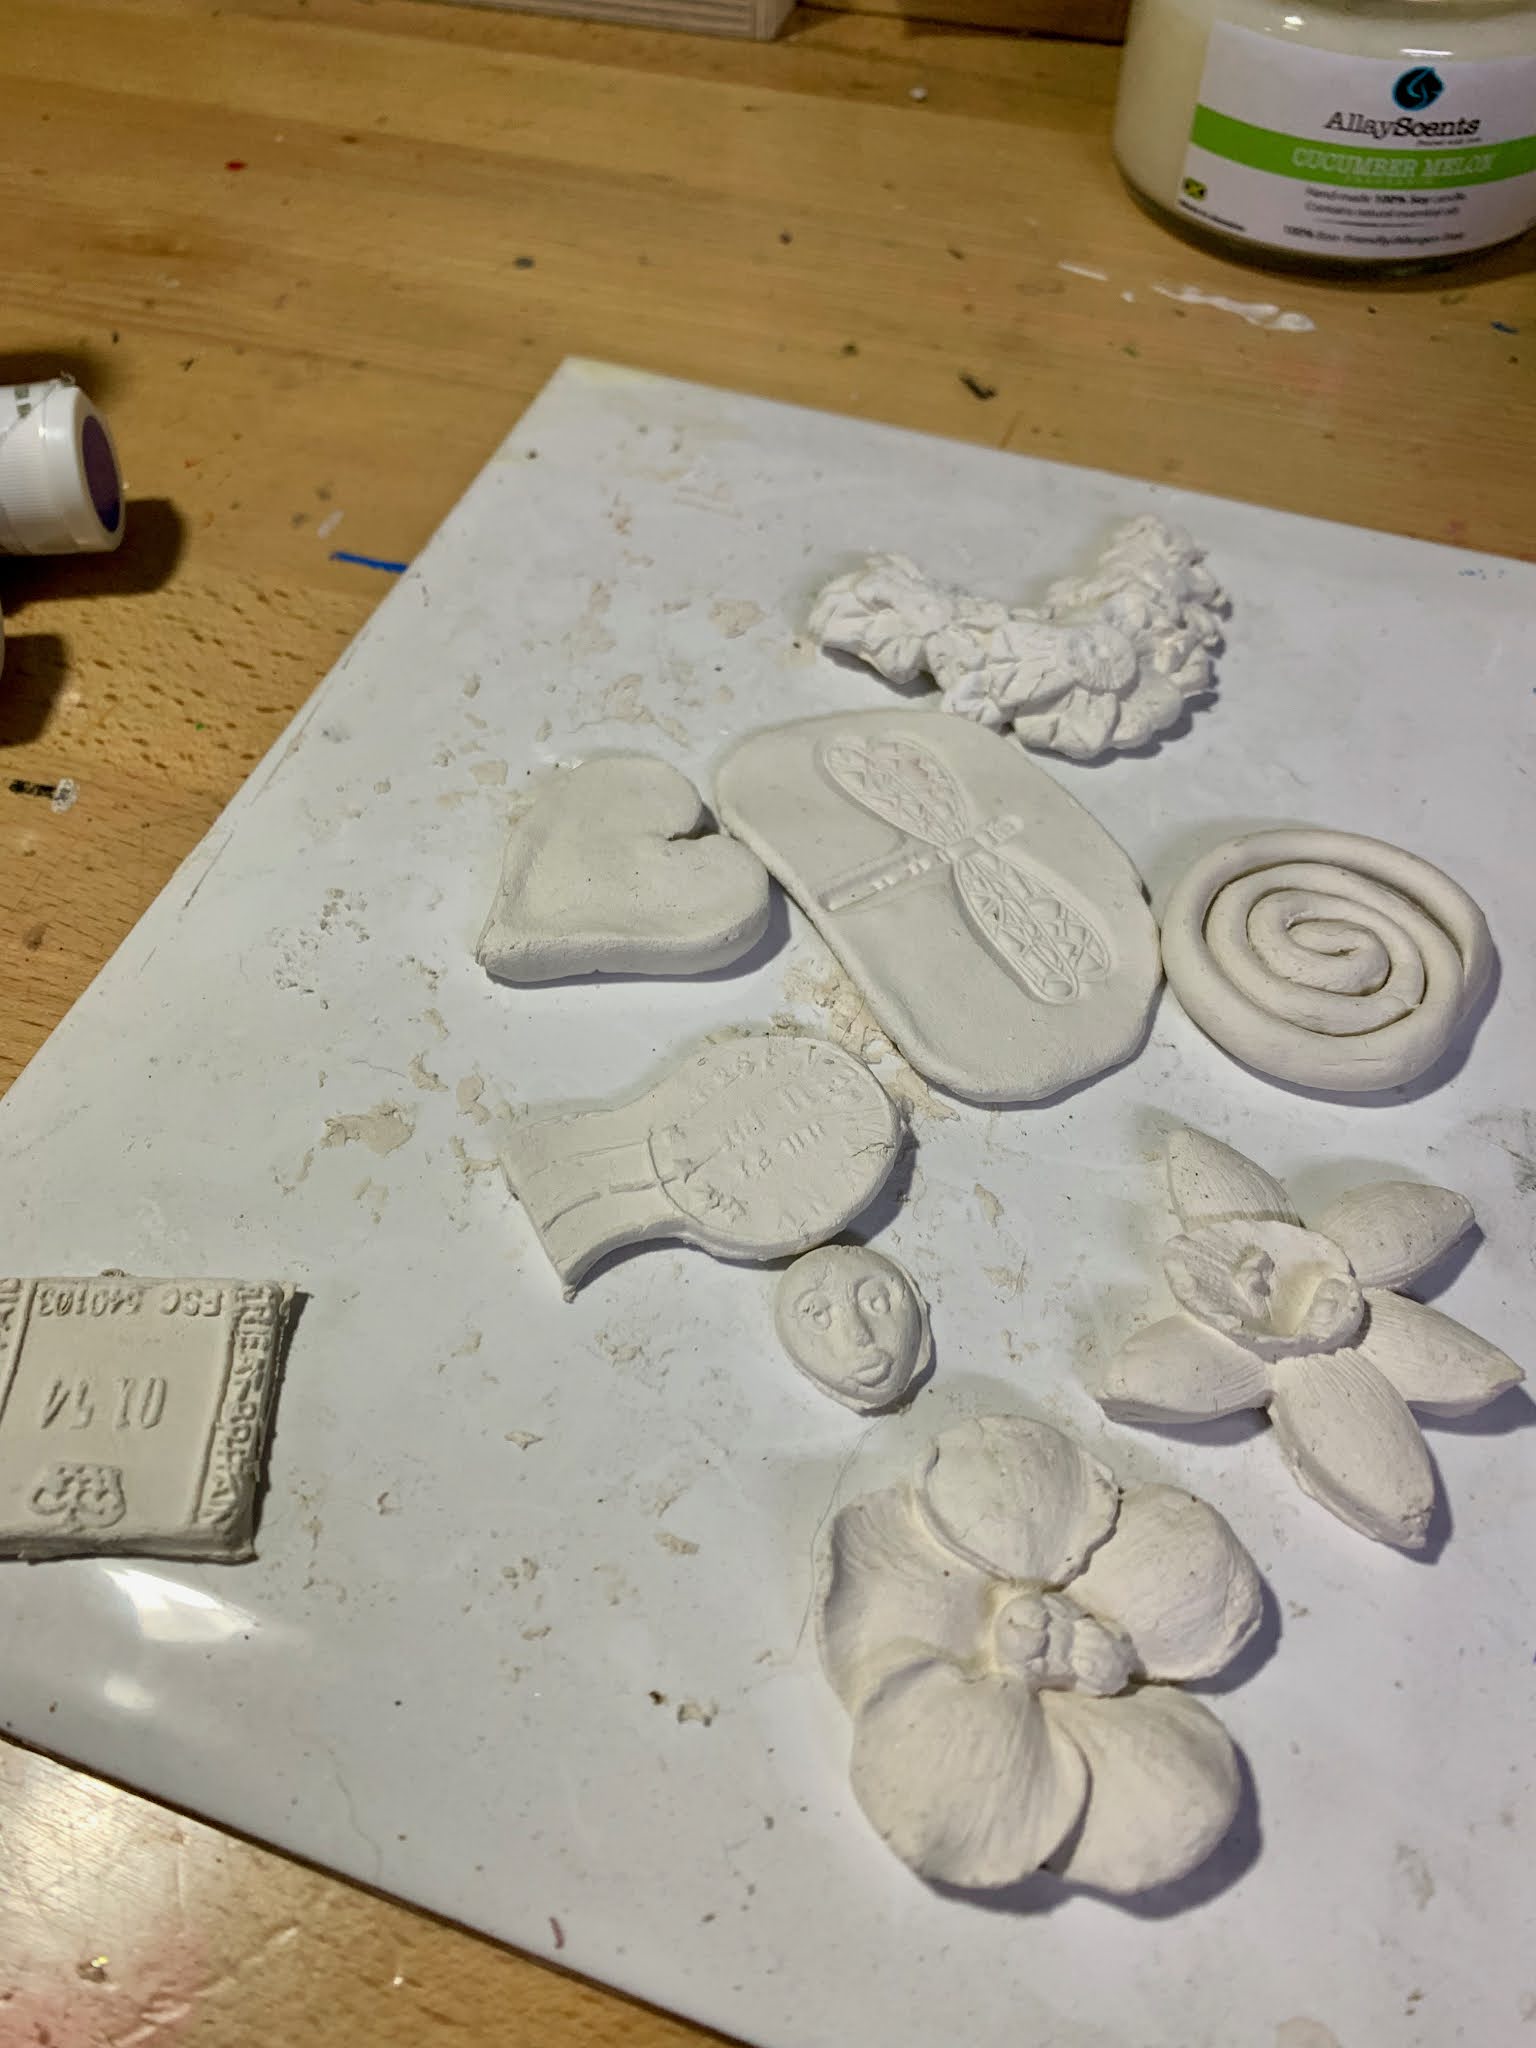
Sand your pieces down to get them to the level of smoothness that you'd like.

Get your thread and tie it really tight around the notches that you made and make a knot to attach the arms to the torso. Glue the string onto the skewer with e6000 glue.


Take a piece of thread and thread it through the hole in the hand and the bead on the other side of it. Take the thread and pull it back through the hole on the hand. The bead will keep the tread from going through the other side of the hand. Repeat the process on the other side of the hand.


Paint your pieces once they are dry. Put a sealant onto your piece.


Now take your hands and attach them to the sticks that you carved a notch out in.


Take a square of fabric and size it up with the puppet to see how much you want to use for the outfit. You can either make sleeves and a fitted top with a skirt or you could take the easy way out and make a cloak like I did. 


Optional, but this is a good time to add some hair onto your piece. I use Aleene's Tacky glue to attach the hair.


Thank you all once again for stopping by, and I hope that you enjoyed today's tutorial! You can find Creative Paperclay® at the following retailers Creative Paperclay® Online Store, Michael's, Amazon, Joann's.


See more of my work at Melandolly.com, catch updates on 

my Instagram page and here is a link to my shop!


.


Monday, September 6, 2021

Making Embellishments with Creative Paperclay®

 Hello! Welcome to another tutorial. Today I want to show you how versatile Creative Paperclay can be. My main use is sculptures but I also use it to make embellishments for my craft and mixed media projects. I used molds, rubber stamps and freeform to make these gorgeous embellishments.


To make the embellishments you will need Creative Paperclay, molds, cornstarch, a rolling pin, a craft knife and a rubber stamp. You can decorate them with whatever paints etc. you have on hand. 

For the lovely pink coiled flower, roll out your clay into a snake and then roll up like a pinwheel. Set it aside to dry. You can make it as large or small as you like. 


If you are using a mold, dust it lightly with cornstarch and press in the clay. Carefully remove it and set it aside to dry.


You can also freeform shapes such as hearts. 


For this one a rolled out the clay thin (about an eighth of an inch) and then stamped the clay using my favorite dragonfly stamp. 


I then set them all aside to dry.


I decorated them using acrylics,


gilders pastes,


and gilders paint.


For the dragonfly and painted with acrylic paint and then sprayed with a walnut ink.


I think they all came out beautifully don't you? Now I have more embellishments to add to my stash. 

I do hope you enjoyed this tutorial. Thank you so much for joining me. 

Please share your creations with us on our Facebook page. We would love to see them! For more inspiration have a look around the blog. There are tutorials for many levels using Creative Paperclay®. You can also visit my blog suzettehussey.com


You can find Creative Paperclay® online at Creative Paperclay Co and also at Michaels, Hobby Lobby, Dickblick and Amazon. 


Happy Crafting!


Suzette


Blog: https://suzettehussey.com/

Instagram: https://www.instagram.com/papermachepatch/

Pinterest: https://www.pinterest.com/suzettehussey/

YouTube: https://www.youtube.com/c/PaperMachePatch

Skillshare: https://skl.sh/2QyIn93

Website:  https://www.papermachepatch.com