

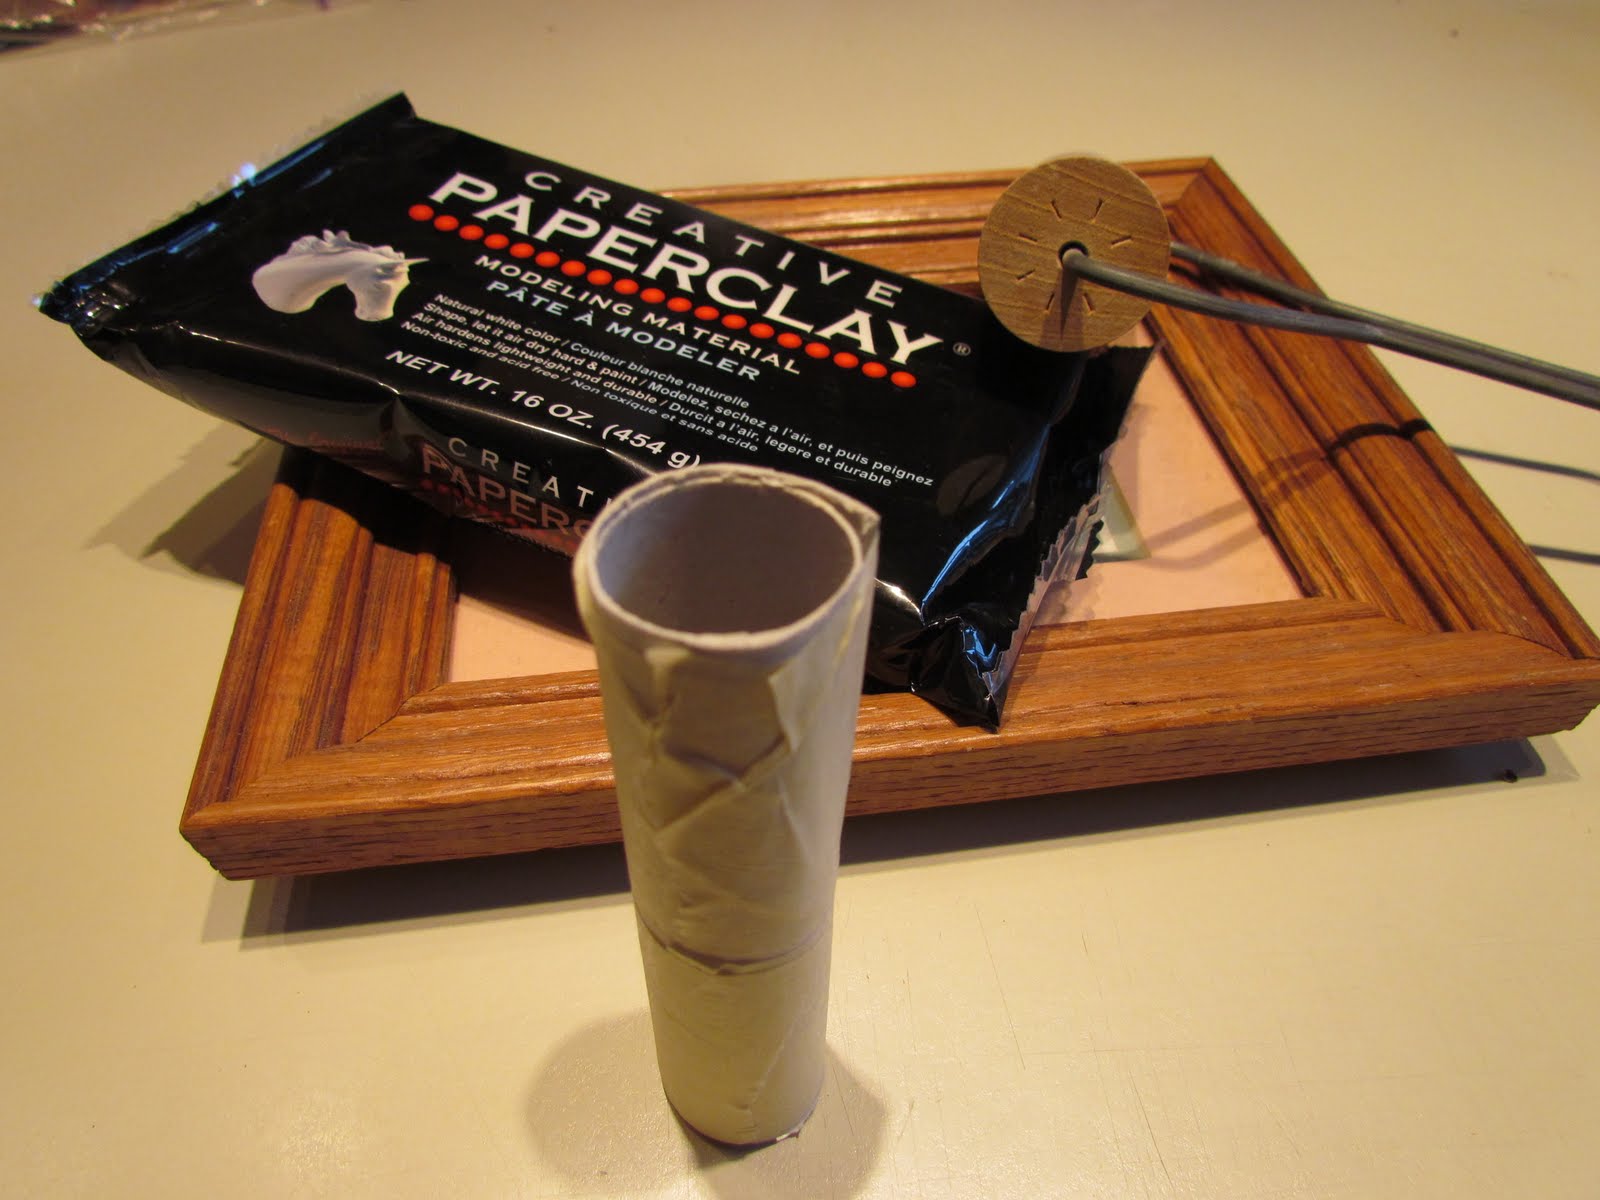
Creative Paperclay
I get mine at Michael's and have seen it at Hobby Lobby. If there are no stores near you that carry it, click the link to go directly to the site. http://www.paperclay.com/.
You will also need:
Small or medium sized frame. (I used a wood frame that is
7" x 9 "with a stand on the back)
Toilet tissue tube
Clean used foil
Tape
White glue
Acrylic paints
Metal hanger for the back if you want to hang the frame
White or light colored card stock to fit the frame where the picture
would be
Dry-erase marker in your choice of colors
Rolling pin or brayer
Other tools to create impressions in the clay. Toothpicks can work in a pinch.
First step is to decide whether you are going to hang it,
or use the frame on a table. If you need to add a metal hanger to the back, do it first.
Then make the tree or whatever design you choose, as a holder for
the dry-erase marker. Cut open the tissue tube down one side,
and form it into a smaller tube by taping it shut. It should be large
enough to hold the marker, so check that before you tape.
Mine was not quite an inch wide.
Then you need to cover it with a flat sheet of clay. It doesn't have to be very thick.
I like to smear a thin layer of glue on the tube before applying the clay.
Plug the bottom of the tube with a disc of clay, to create a bottom in the tube.
You can use tape to make the bottom first if you want, then cover it.
Make your designs in the clay at this time, then just glue it to the side of the frame to dry, unless the
frame won't cradle the tube as it dries. In that case, let it dry completely, then when you glue it to the
frame, hold it in place with a piece of tape temporarily until it stays on its own.


After you get your picture the way you want it, let it dry thoroughly. With all the rain, humidity and windows open at my house, I was glad that it wasn't really hot out, because I turned my

I made the detail in the bark by making grooves down the sides with a toothpick, then used the end of a very small screwdriver to make horizontal marks down each line, leaving what made

The sun I did free-hand, but you could always use a mold that has been lightly dusted with talc or cornstarch to prevent sticking. Creative Paperclay is usually not sticky, but best not to risk it tearing as you remove it from a mold.

At that time you will build up the lower area to create a scene. I wadded up some clean used foil, and glued it on. I applied the glue rather thickly, and let it dry in two layers, but you can use a glue gun for faster results. Just make sure to get glue into the nooks and crannies ij the foil, so it will hold.

Once the 'ground' part of the scene was in place, I
spread the regular old fashioned white glue over the entire frame. I could have sanded it first, but this frame was already aged for appearance. If you use a plastic, or slickly varnished frame, you should rough up the surface with a light sanding before adding anything to it. The purpose of the glue is for later, when painting, the paint will adhere to the frame better. As will the additional clay pieces. Let it dry, then when you make your sun, rocks, cattails, or whatever you decide to add, use a little more glue to stick them down.


oven on to 180º and left the door open. The frame was able to dry in one afternoon on a tray in the warm oven, but I left it until the next day before painting. Regular acrylic paints really pop when used on Creative Paperclay, without the need for gesso, or base-coating.
the bark look like small uneven squares. When I painted, I did the colors darker, then dry-brushed lighter shades over the top to show the textures and details.
After the paint has dried, cut a piece of card stock to fit in the frame. It will serve as the area where you writ your message, so don't use a color that is darker than the ink in the marker. I think that I'm going to change mine to a blue, to look like the sky for my frame.
Put the glass back in the frame first. If you don't have glass, you can cover the card stock with clear plastic that is self-adhesive. I don't want to mention name brands, but the plastic I mean is used as a contact covering in drawers a lot. Or you might be able to find some clear plastic from a take-out box that will fit. The first thing in the frame needs to be the slick surface that will be written on. Then you can add the card stock, and any inserts that came out of the frame in the first place.
You can see in this dark picture, the 3-D effect of the clay, as well as the highlights that I painted on to make it look like the sun was shining on the tree and other parts of the scene. The tree has my marker in it, and my dry-erase board is now ready to hang up and enjoy. I'm going to add some hooks in the bottom for keys, since my frame is wide enough.
Thanks for looking. You can also find me at:
The Hive-(Sign-up) http://creatingthehive.com/signup/debbieluttrell
3 comments:
This is amazing. and great direction too...
Thanks Terri!
Great directions! I love how it turned out. I have one on my fridge and hate the frame I am thinking it need some help :)
Post a Comment