Showing posts with label Custom Embellishments. Show all posts

Monday, September 6, 2021

Making Embellishments with Creative Paperclay®

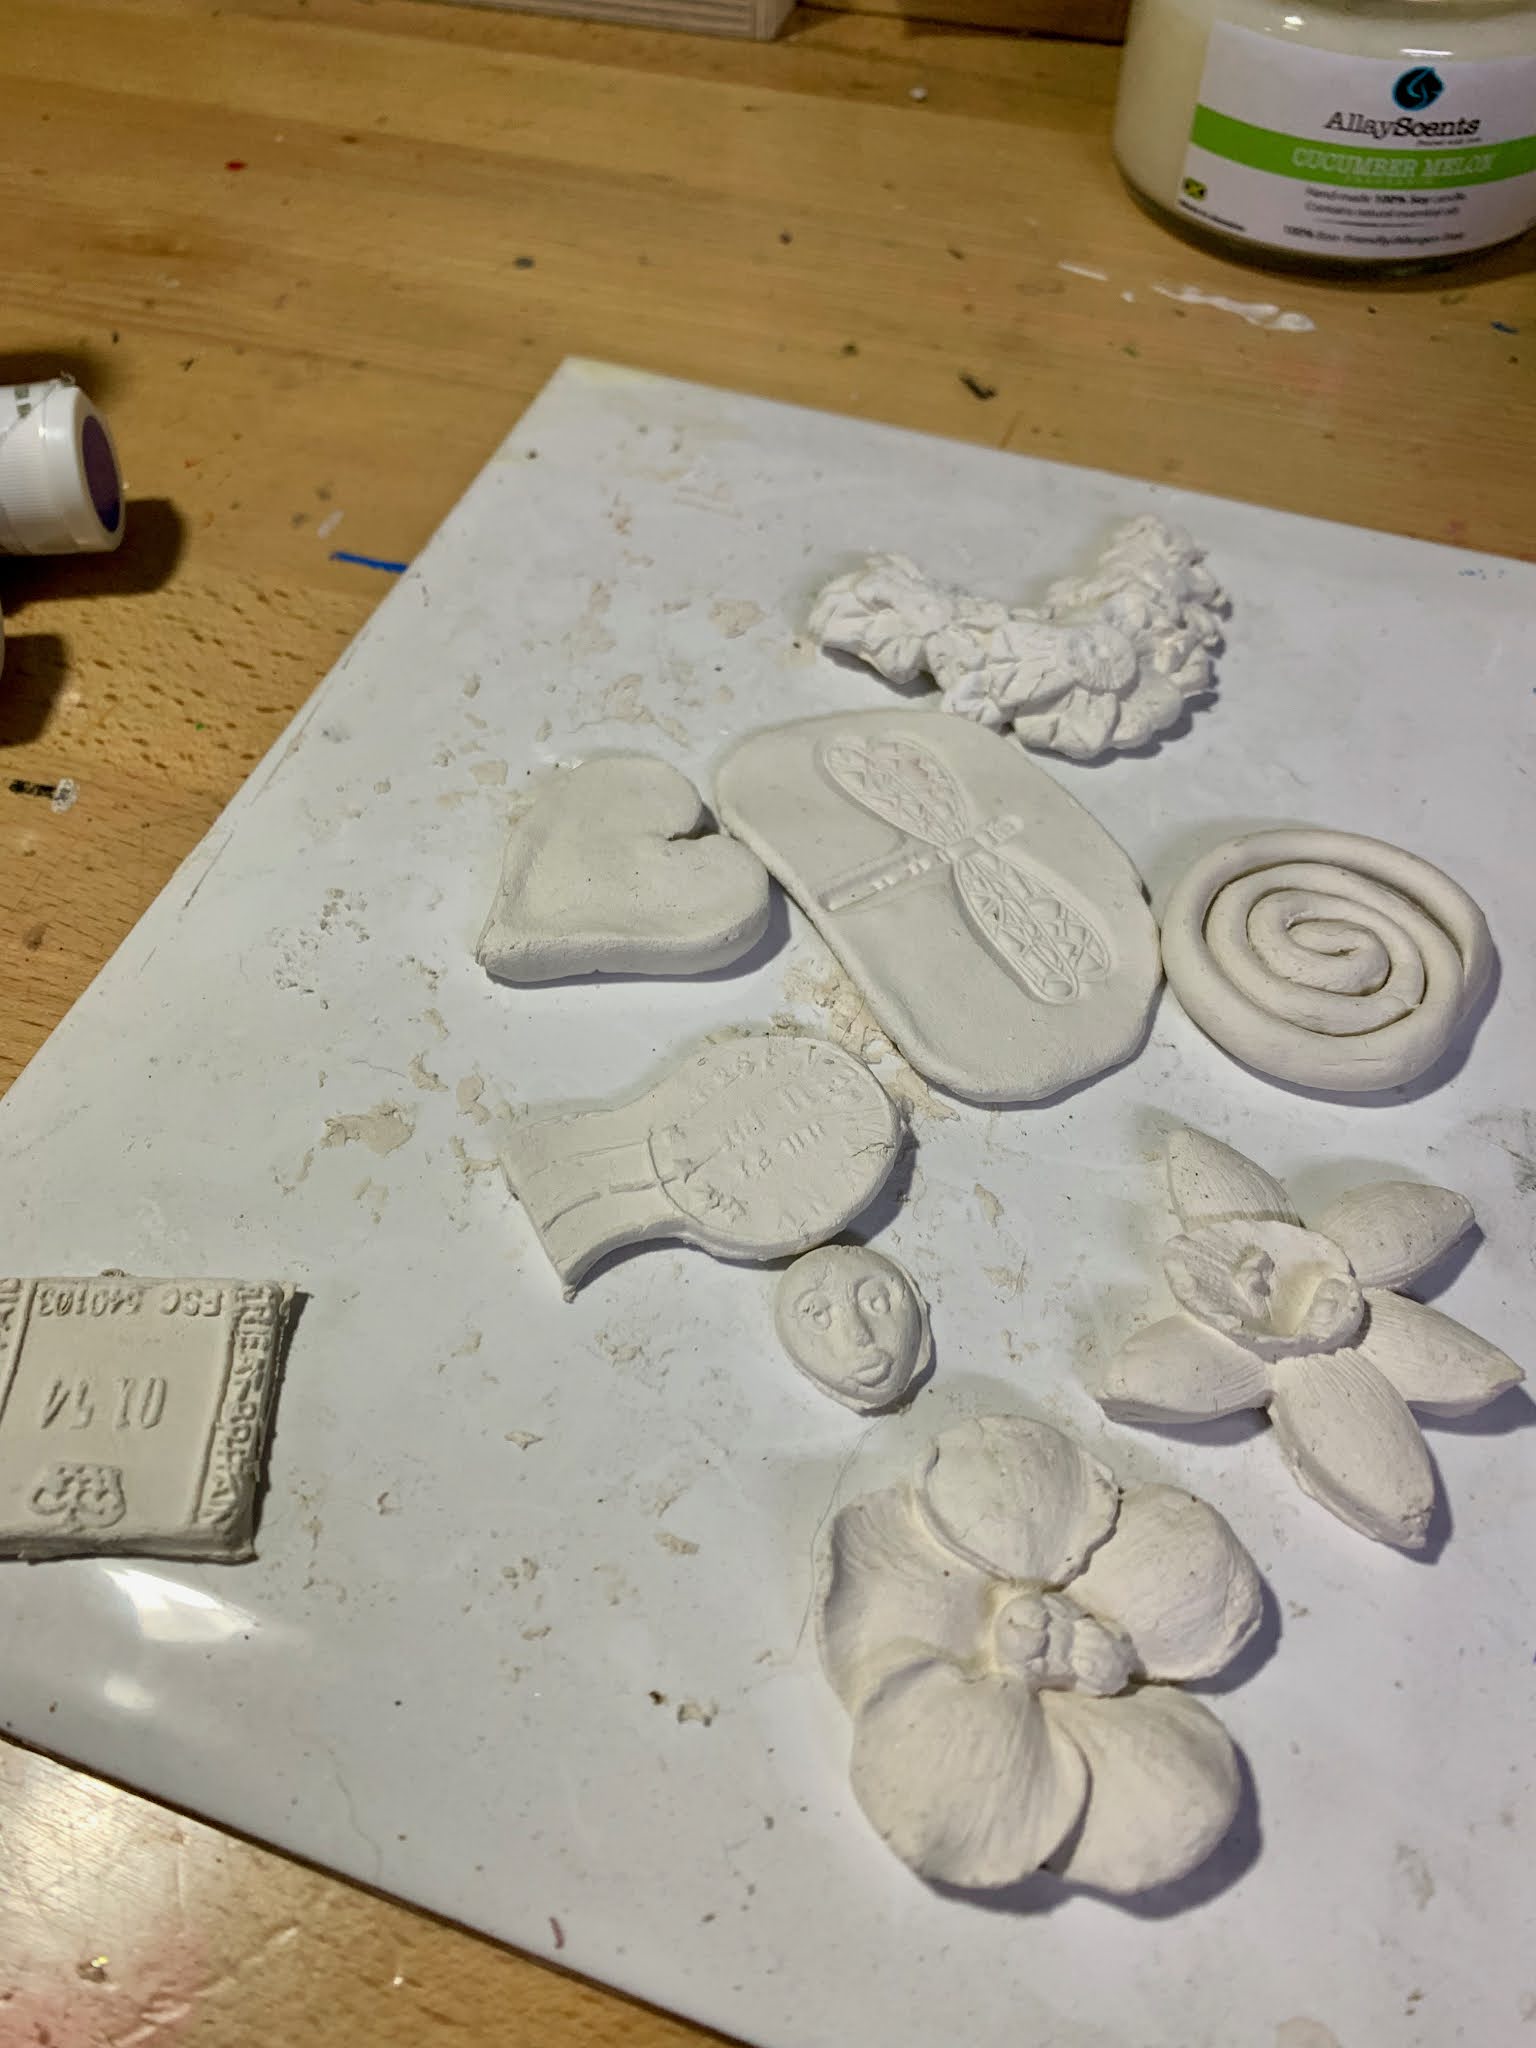
 Hello! Welcome to another tutorial. Today I want to show you how versatile Creative Paperclay can be. My main use is sculptures but I also use it to make embellishments for my craft and mixed media projects. I used molds, rubber stamps and freeform to make these gorgeous embellishments.


To make the embellishments you will need Creative Paperclay, molds, cornstarch, a rolling pin, a craft knife and a rubber stamp. You can decorate them with whatever paints etc. you have on hand. 

For the lovely pink coiled flower, roll out your clay into a snake and then roll up like a pinwheel. Set it aside to dry. You can make it as large or small as you like. 


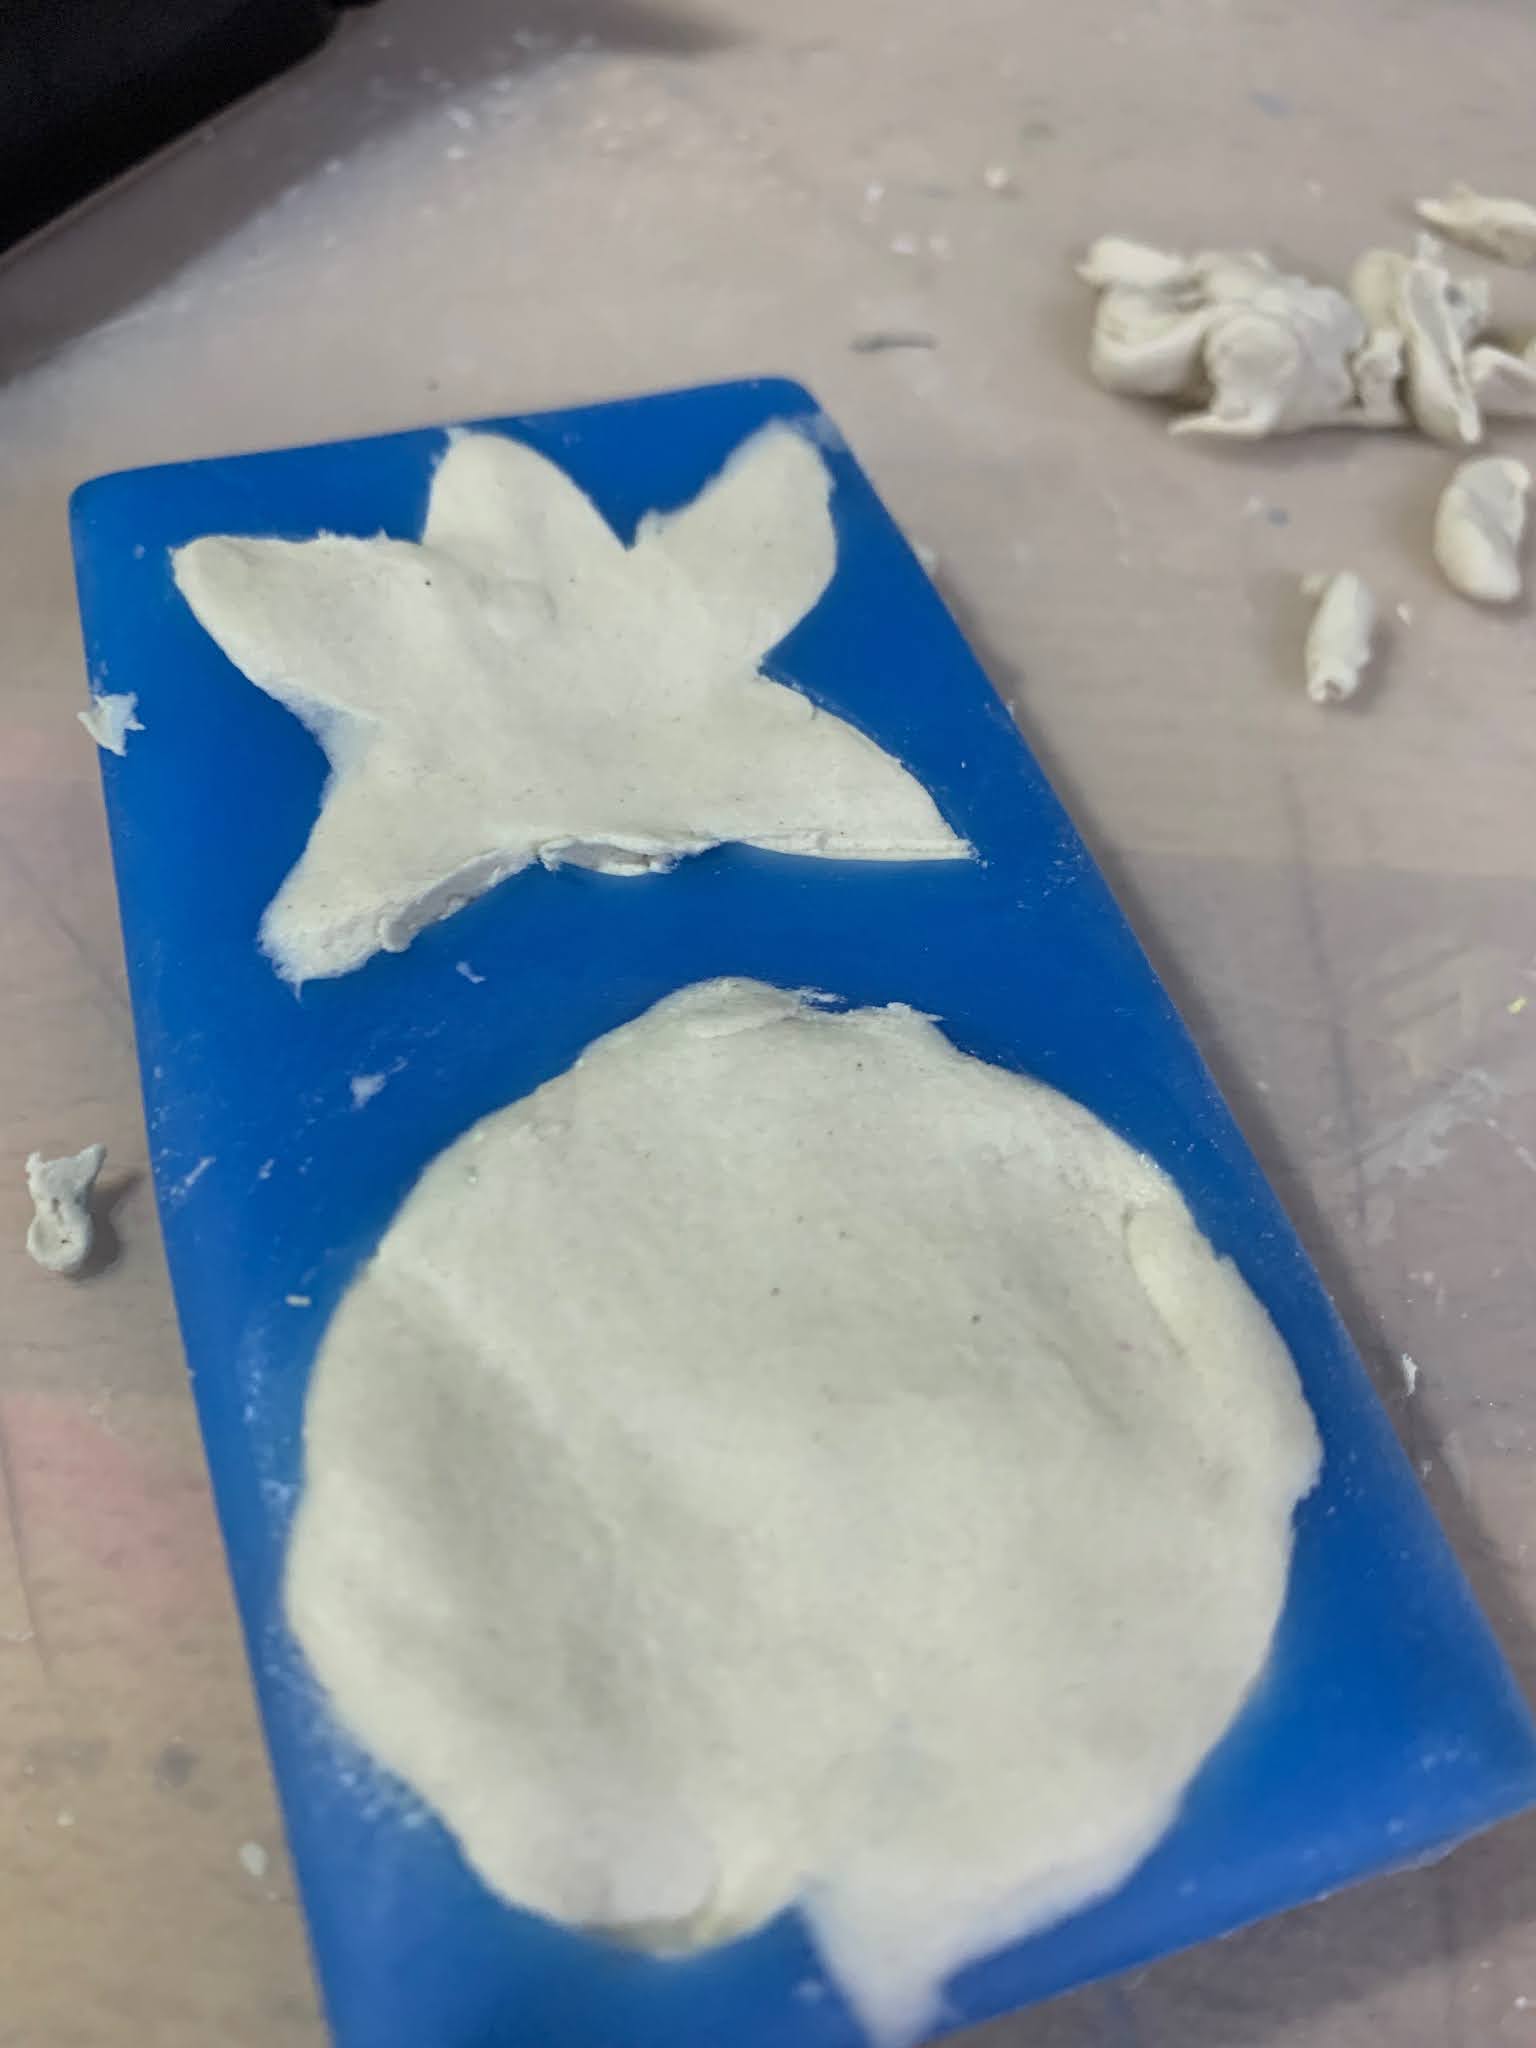
If you are using a mold, dust it lightly with cornstarch and press in the clay. Carefully remove it and set it aside to dry.


You can also freeform shapes such as hearts. 


For this one a rolled out the clay thin (about an eighth of an inch) and then stamped the clay using my favorite dragonfly stamp. 


I then set them all aside to dry.


I decorated them using acrylics,


gilders pastes,


and gilders paint.


For the dragonfly and painted with acrylic paint and then sprayed with a walnut ink.


I think they all came out beautifully don't you? Now I have more embellishments to add to my stash. 

I do hope you enjoyed this tutorial. Thank you so much for joining me. 

Please share your creations with us on our Facebook page. We would love to see them! For more inspiration have a look around the blog. There are tutorials for many levels using Creative Paperclay®. You can also visit my blog suzettehussey.com


You can find Creative Paperclay® online at Creative Paperclay Co and also at Michaels, Hobby Lobby, Dickblick and Amazon. 


Happy Crafting!


Suzette


Blog: https://suzettehussey.com/

Instagram: https://www.instagram.com/papermachepatch/

Pinterest: https://www.pinterest.com/suzettehussey/

YouTube: https://www.youtube.com/c/PaperMachePatch

Skillshare: https://skl.sh/2QyIn93

Website:  https://www.papermachepatch.com


Thursday, September 7, 2017

How To Make Some Amazing Embellishments With Impressive Putty and Creative Paperclay Delight®

Hello, Friends and fans of Creative Paperclay®!! My name is Jenn and today I want to show you how you can combine this two wonderful and versatile products. I will be showing you how to make some amazing embellishments with Impressive Putty and Creative Paperclay Delight®!!
In the picture above you can see that I used the Impressive Putty and a wooden cutout to create a mold. You may ask. "why didn't she just use the wooden piece?" The answer is simple, I wanted something thinner and lighter. By creating a mold I was able to then use the mold and Delight® to make a much lighter, flexible and cuttable embellishment!
Now I can cut this into exactly what I want and use it on my project. This stuff is true to its name, Impressive for sure! I love it and I am sure you will too!


 Clay Products Used:

Others Products Needed:
Black gesso
acrylics


The next embellishment is a frame. I am a thrift store lover and recently found these beautiful vintage Victorian frames. Again, they are bulky and heavy and I really wanted a lighter more flexible frame for my project. In the next few pictures, you can see the process of creating the mold with Impressive Putty and then molding it using Delight®.
Push the putty with a medium pressure to ensure that it is evenly distributed. Trim outer and inner excess putty. Place the molded piece into your freezer for 15-20 minutes. You can leave it in longer if it does not feel like it will pull easily from metal.

One of the greatest things I have found using Impressive Putty is its ability to pick up such great details as shown here.
Just look at all the amazing, intricate details it picks up!

Roll out some Delight® air dry modeling compound and work it into a flat strip. Next, press it into the mold and allow it to sit for a few minutes.
Pull the modeling compound gently from the mold. Next, trim unwanted edges with small sharp scissors and allow your frame to dry. There are all those wonderful details again!


 Once your frame is dry apply a coat of black gesso to front and back. Let this dry.


Now you can use an array of gold tone acrylics and paints to decorate your frame and bring it to life!

I hope you have enjoyed my tutorial! For all of your Creative Paperclay® be sure to visit the website here.
For your Impressive Putty shop here. Available in 4 convenient sizes for all of your molding needs!
Delight® is also available at Michael's, Hobby Lobby, and Joann's.
Thanks So Much for viewing!!
Jenn


Friday, May 8, 2015

Hooting Owls

Who ever wanted to have a whole bunch of cute, light weight and inexpensive embellishments to add to their creative projects?  It seems that I can't get enough of having and now making some cute embellishments for my various projects.  My latest interest has been in making small size embellishments to add to the contents of pockets in my pocket letter exchanges with some new friends.


Hi, it's me Ann, from the blog AnnMakes and the Design Team here at Creative Paperclay®.  If you are curious as to what I am talking about please jump over to my blog afterwards where I explain what I am doing.  But for now stick around and see how fun and easy it is to make your very own art supplies with the help of Creative Paperclay®.

All you need are moulds and some air drying Creative Paperclay®!  To make similar decorative paperclips you will also need some paperclips and a really strong adhesive.

First get a mould, sprinkle a very small amount of talcum powder (optional) add the clay, let it set a few minutes.  Pop out of the mould and let it dry.


When the object of your choice is dry, smooth any rough edges (I use Sandits) and then paint or decorate any way you please.  For this little owl I wanted him to shine.  I just used some gold coloured nail polish.

After the owl was dry I glued it to a paperclip and let that dry and cure 24 hours.

Supplies:
Creative Paperclay® modeling material
Sandits sanding tools (http://shopsandits.com)
Beacon Adhesives "Gem-Tac" (http://beaconadhesives.com)
Other supplies:
"Owl" mould from Martha Stewart, Paperclips from Staples, Nail Polish from Mariposa at Dollarama.

Come over and visit me at my blog! Thank you for stopping by.

Friday, January 17, 2014

Sculpting Creative Paperclay® to Mold with Rachel Whetzel

Earlier this month, I shared a tip that stamping on Creative Paperclay® was easy, and simple to do! This week, I'm sharing a little twist on that same idea. Molding and stamping Creative Paperclay® to use in making a mold! I had the idea that I could make some Valentine's Day decorations using  and resin, so I got to work trying it out.
WHAT YOU'LL NEED:
  • Creative Paperclay®
  • Stamps
  • Molding Material (I used Amazing Mold Putty) 
  • Resin (I used Amazing Casting Resin with Alumilite Red Dye) 
  • Acrylic Paints (I use Folk Art) 
  • Hole Punch
  • String and Needle
Start your project by shaping your Creative Paperclay® into the shape you'd like. Make your surface as even as possible, and don't make your clay so thin that stamping would cut through the clay to your counter top.  I used some sculpting tools to write LOVE on my heart, and a Tim Holtz clock stamp. I had 'love endures forever' running through my mind while I was working. Set your clay out to dry. 
Once the clay is dry, sand your edges, and fine tune any bits that you need to. I used a carving pick, and evened out the word LOVE. I also used a bit of water to smooth out that area. 
Once your surfaces are smooth, and ready, mold your piece, and then pour your resin!! 
When I pulled out my cured resin, some edges needed trimming. I did that while the resin was still a bit soft, and then used my hole punch to create holes where I planned to put stitches later.
Before I put my stitches in, I used craft paint to fill in all the indents that my stamps made, and wiped off the excess. Then I put the stitching in! Such a simple, easy thing to do, and now that I have created the mold, I can replicate my original Creative Paperclay® piece with ease!! I can also pour my resin a bit thinner than the clay, making it easy to use the pieces on cards or a scrapbook page! 

What custom pieces can you imagine making over and over? 
Leave me a comment and let me know what you think! CLICK HERE to visit me at my "house" too!! Thank you so much for reading!! ~rachel

Don't MISS IT!! We're hosting a Valentine Link Party on Feb 8th!! 

Tuesday, June 4, 2013

Scrapbook Embellishments by Lynda

My first love was card making - buying every stamp I could from 1990 until I moved back home.  I think at one time I counted and I had over $6000 worth of stamp sets easily!  Over the years I learned I only needed a few that could do the trick!  This was in Colorado - then I moved back home in 1997 to Salt Lake City Utah...Scrapbooking heaven!  Where the magazines are at, or a lot of them anyway...  A lot of the manufacturers are there - and sales... oh you have no idea when they have their warehouse sales the stuff you leave with!!! 
I have recently started working with clay products - and to say I am hooked is an understatement!  Also being in temporary quarters for just a bit longer - makes it so I can't do a lot of the fun things I have planned for you until we actually are in our own place!!!  
This project is a vertical paper bag album, with this for the cover!  I used Creative Paperclay product and a mold I have to create the flower!  This is actually one of my favorite flowers now, along with a daisy I painted and embossed...  For the flower, I painted it with two different colors I had of Radiant Pearls paint and then let dry!  This is the paint I happen to have...use what you have!  I am still experimenting with what can be done with this awesome stuff!  
Here are some things I will recommend for you to work with this clay:
  • Make sure your hands and surface is clean - using gloves if you have them.  Since I do not, I make sure I have a dry towel (or paper towel) and wash cloth available to wash my hands and surface often.  
  • After you open your package up - make sure you have a big enough Ziploc style bag to put the rest in.  This way it is nice for you to have your clay in one place and not exposed to dry out.  
  • Look for something to put all the stuff you are working with in one place.  This way you can take it someplace if you have to wait for a long period of time.  A clear shoe box is perfect for this reason!  
  • Look through this blog's previous posts - to see the different things you can do with this clay if you are just starting out!  Take the time like I did and learn all the fun things you are able to do with this fun stuff!!!  
Thank you for checking out my project and a few tips today!  You can check out the entire project at Memories in Tyme blog, just scroll down on the right side - looking for the Vertical Paper Bag Album links!  This was one of my funnest albums done so far!  I really like how the flower looks on top of the bow - which made me think of a few other fun ideas I can do using this clay and mold!!!  I hope you are enjoying it as much as I am!!!  

Thanks for stopping by,

Lynda Jeffs
Creative Paperclay Design Team


Saturday, March 10, 2012

Cake Box...

Hello Everyone, it's Robyn here today.  I'm so pleased to share a lovely, handmade cake box with you that I've made.  The box is made of sturdy card stock, but what I really would like to share is the lovely key embellishment that adorns the top.  I've made it using Creative Paperclay that I set in a mold by Articus Studio.


I painted it and then applied some Rub 'n Buff.  This is the same technique that I shared last month in my post if you'd like to refer back to the tutorial.  You can do so many things to create custom embellishments using Creative Paperclay.  The possibilities are truly endless.  I love this wonderful, non-toxic, bio-degradeable, all natural, air dry clay!