
 Polka dots are very popular right now, and with the coming of autumn, Halloween and even Thanksgiving, this project is something to add a flash of color and a bit of whimsy to your home decorating.
 You will need:
Creative Paperclay http://www.paperclay.com/
Styrofoam or papermache' pumpkins from the hobby store ( I suggest a group of three)
Acrylic Paint in your choice of colors
White glue (optional)
Paint brushes
Step one: Cover your pumpkins with a thin layer of white glue and let it dry at least part way. That will assure that the clay sticks permanently to the piece, especially if you use styrofoam.
Step two: Cover the entire pumpkin with paperclay. I pinch a ball of clay into a flat elongated oval, pinching more in the center to make it concave. Put the clay on the pumpkin, and starting at one end of the oval, press your thumbs against it, as you move around the circumference of the pumpkin's body. Then bring the clay up over the top and bottom, and make sure the seams are sealed. Take your pinkie finger, and lay it against the pumpkin, where one of the indentations are, and rock your finger back and forth to press a smooth indentation in the side of the pumpkin. Do this with every indentation, then wet your fingers to smooth out the clay, moving toward the top and the bottom. Remove any extra clay that forms at the stem and bottom, and smooth that area flat.
Step three: Make a stem by rolling a cone shaped piece of clay, then flaring one end out larger than the other. Flatten both ends, and make indentations in the sides of the stem with whatever tool you have handy (toothpick, knitting needle, etc.). Place the stem and pumpkin somewhere to dry, then once the surface is dry, attach the stem with white glue. If you skip the glue, and just stick the stem on before drying, you will probably find that it comes loose later, so it's best to just glue it from the start.
This is what you get:
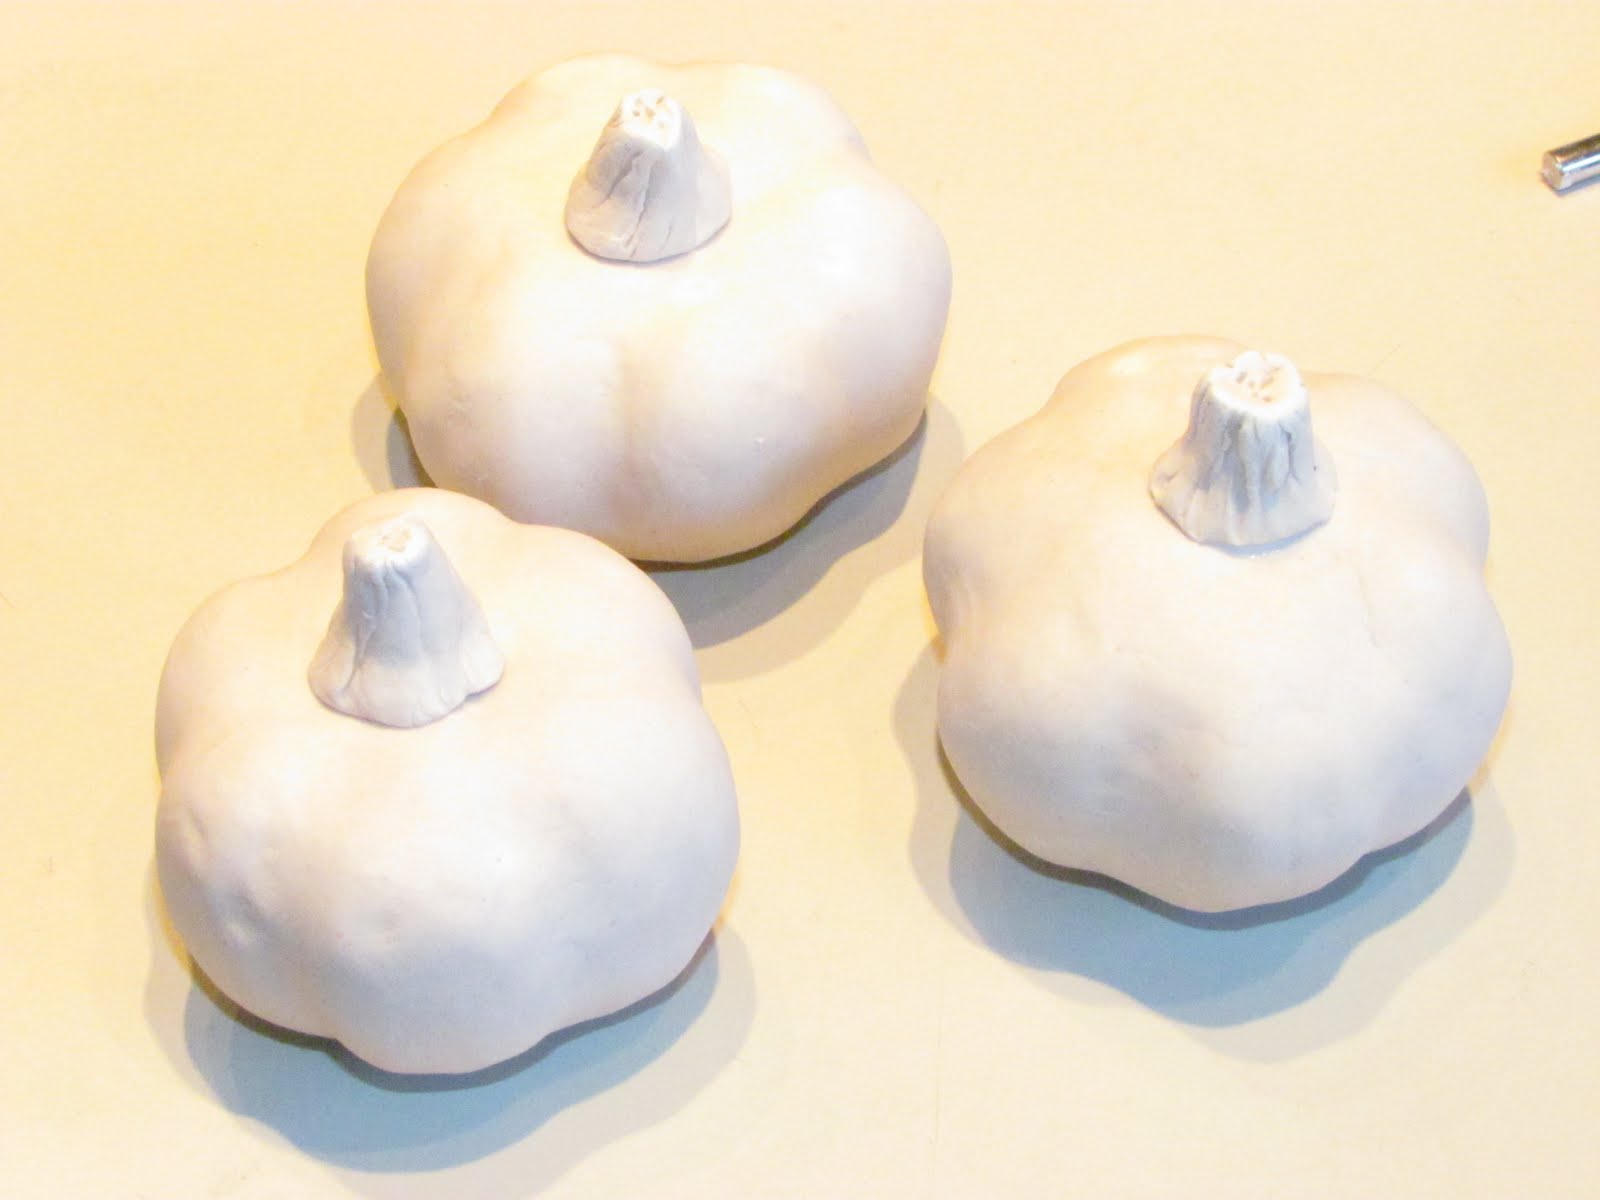
Step four, and always my favorite part of the process when I use Creative Paperclay: Color!!! Paint the pumpkins solid, using the color(s) of your choice. I made mine for Halloween, but I plan to make some for November as well, with earth tones. The dots will be mossy greens, most likely. But for now, a little pizzazz is in order with orange, purple and bright green being dominate, and a touch of black and white for contrast and balance. I made the dots different sizes and placed them randomly, but you could do a pattern, instead.
If you like glitter, the dots could be done with glitter paint or real glitter. You could even put a coat of clear glitter over the entire thing, but only if there is a good contrast between your colors. Otherwise the dots will get lost in a blur.

2 comments:
These are awesome. Thanks for the tutorial
Hugs
Brenda
I would be honored if you came to see my blog here
Very nice Debbie! Those will make for some terrific decorations.
Hugs XX
Barbara
Post a Comment