Showing posts with label Pumpkin. Show all posts

Friday, November 7, 2014

First Friday Fan Day, November 2014 with Rachel Whetzel

Happy NOVEMBER, Creatives!! Rachel Whetzel here! It's First Friday Fan Day, and we appreciate you sharing all your creations using Creative PaperClay® with us!
I hope you hop over to the links I'm sharing with you today, and let your fellow Creative PaperClay® lovers know you saw what they shared too!


FACEBOOK
Willowing shared what's on her mind these days.
Shauna shared a Day of the Dead bust she made.
Cindy shared this adorable pumpkin.
This totally creepy Frankenstein!! 

PINTEREST
This ADORABLE primative bunny rabbit is for sale!
Make yourself some beautiful ornaments.
This fairy tutorial would make a great elf for Christmas! 
Store your Christmas treats in this chilly container!
I love this WIP
MUST make some of these whimsical snowballs!!

HELP ME FIND YOU!!
Use the hashtag #CreativePaperclay on all your social networks. Be sure, when using Facebook, that you make your posts and images using the Creative PaperClay® hashtag are set to public, otherwise, I won't be able to find them. You can also share your projects to the Creative PaperClay® FACEBOOK PAGE. Each month, I'll browse the interwebs looking for projects from YOU, that I can share here! Be featured next month! START SHARING NOW!!

Thanks for reading! If you'd like to keep up with me, and see more of what I'm up to, I'd also love it if you'd visit MY BLOG and Subscribe! You can also find me on FACEBOOK!

Saturday, September 13, 2014

Creative Papercaly® Elephants WIP-DONE!

Hi Everyone!
 
It's Donna from Memes Art Place, so happy you have come to join me this week!
 
Remember those cute little elephants that my grand daughter and I did?
 
The ones I left in Minnesota?
 
Well they flew back here with those big ears! If you need a refresher on how to form these elephants just head HERE!
 
So these little guys had some work done!
They were painted with Acrylic paints and sealed.
They even grew a little tuff of hair! This was done by poking a hole and adhering some embroidery floss into the hole and ta da!!!! We have hair.
 
               Adds some fun to this cute roly poly elephant! 
Here is another shot!
 Look at this cutie that my Grand daughter has made!
                  Check out his hair, it is sparkly!
 
Turned out so well! I love to have the kids work with Creative Paperclay® they can let imaginations fly and you can't do it wrong! Anything goes!
We will have these memories forever and something visible to remember the day!
 
 The two together.
 So much fun!
 I think you should pick some Creative Paperclay® up and share it with a child!
Think of what you could spark in that child?

Before I go I need to share something with youuuuuu!!!!!!!

We are going to have a blog hop!

If you love Halloween.....you may want to link up and be part of this amazing hop!

Link Up Blog HOP

Who knows what kind of scary stuff you might find...........

These were also made with my Grand daughter!

Thanks for stopping by and I hope you enjoyed the finished projects!
Please remember to give Creative Paperclay a try, you might just LOVE it!

Wednesday, August 6, 2014

Ghost Pumpkin Patch Thinking ahead for Autumn Project by LuLu Lancaster


My Favorite pumpkins to use are not the traditional Jack-o-Lantern Orange giants. I love the white pumpkins or ghost pumpkins ;) They can come in many hues of white almost green or blue sometimes an ivory with a nit of yellow. They are all amazingly beautiful to me. 
This year I thought I would add to my collection and create a Ghost Pumpkin Patch for a shelf in the house. 

With a few items you can have a cute and bit spooky tiny Ghost Pumpkin Patch of your own.

Here is what you will need.

6 regular 2" styrofoam balls
1 package of Creative PaperClay®
small bowl of water.
acrylic paints in white, green, black and yellow 
gesso
2 small paint brushes
and clay wipe out tool and that is it ;)
This project will use the entire package of paper clay or you can create more or less pumpkins.


Simply cover your styrofoam balls. I do this one at a time so the clay will not dry out.


Using your wipe out tool create the lines/grooves on the pumpkin by just dragging the tool down the sides in sections

next create the top of where the stem will come out using your wipeout tool create swooshes.

Next create a stem


with a little water attach the stem and create the lines/grooves on the stem in the same way you created the lines on the pumpkin


Give your stem a little twirl

Now create a face. It can be any kind of face the simpler the better ;)
2 small balls for the eyes one for the nose and a long piece for the mouth.

smooth out the facial features with water and your finger.

using the wipeout tool create teeth by pulling down with the wipeout tool just like you did creating lines and grooves.


Repeat each step changing up the facial features and stems a little each time and soon you will have a whole patch of pumpkins.
Allow to dry thoroughly and apply gesso
allow gesso to dry 

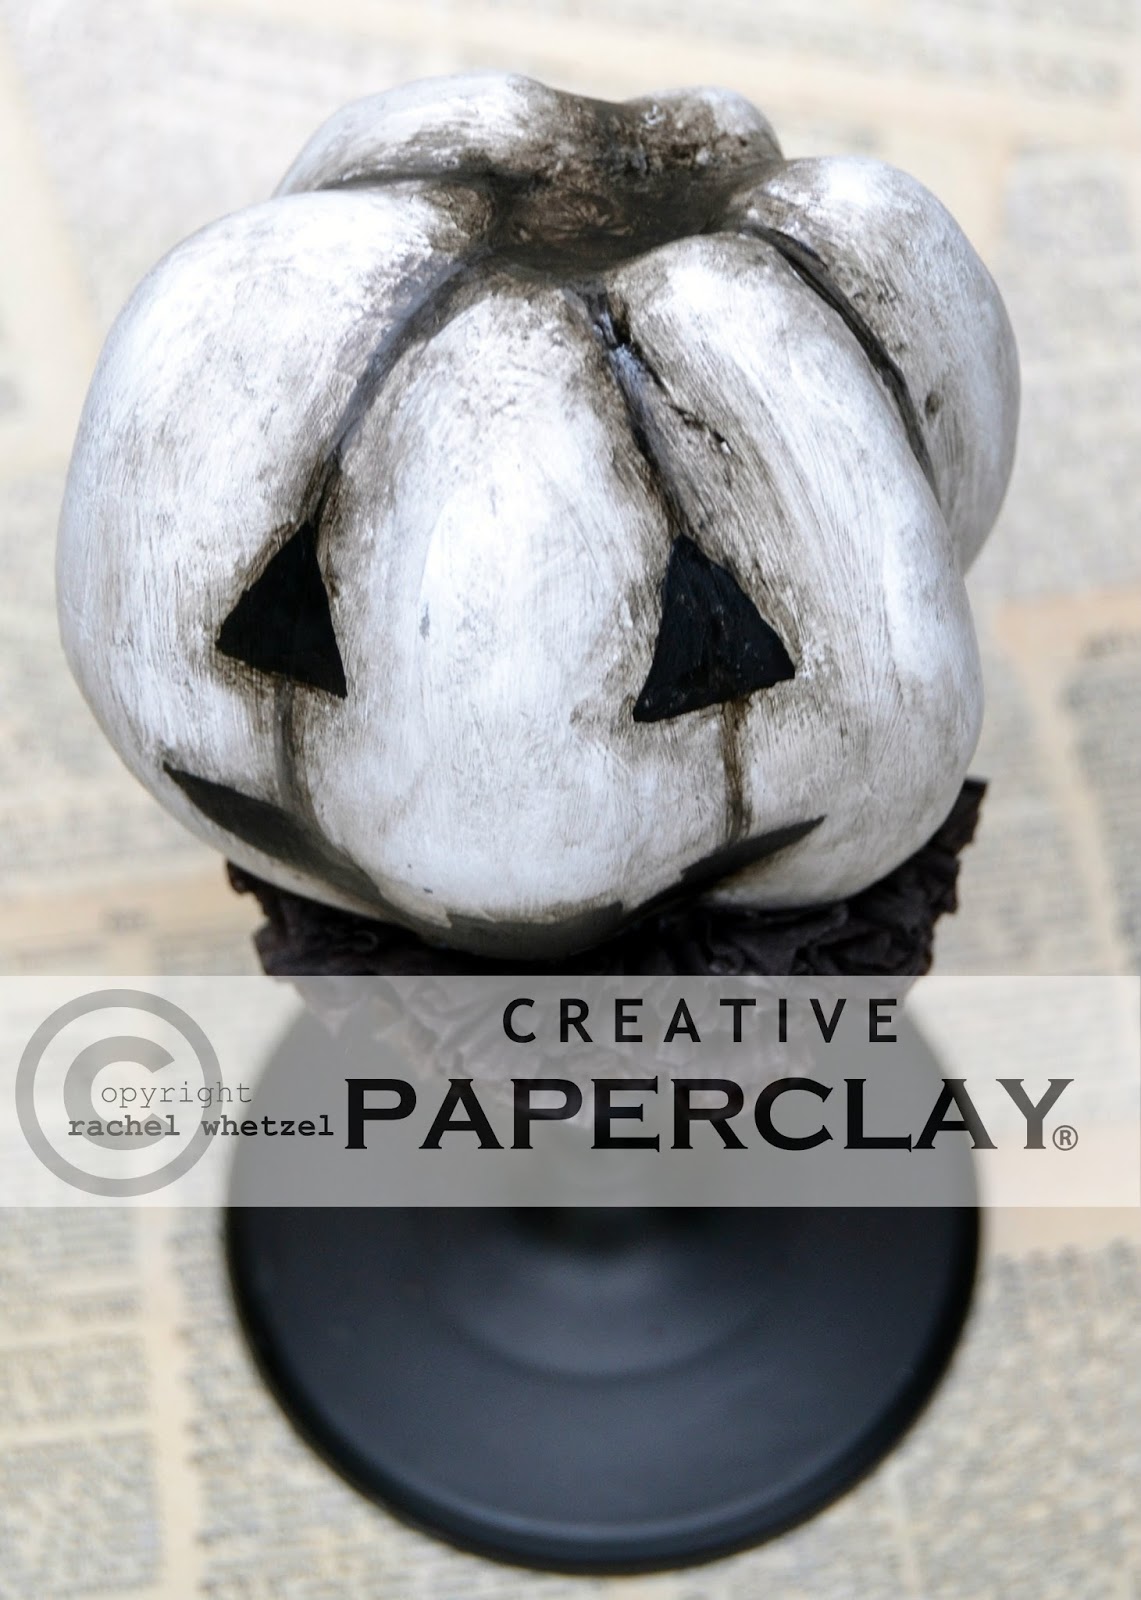
start painting your pumpkins using the darker colors in the grooves and finishing with the lighter colors. Paint the eyes and teeth white.

using black paint and a small paintbrush create pupils you can even outline the eyes like I have done here ;)


Next set up your patch!!! Boo!


Thank you for Following along and Happy Early cannot wait for Fall!

LuLu


Friday, September 6, 2013

Halloween Pumpkin by Rachel Whetzel

Hello, Creatives!! It's Rachel here! The weather here is feeling more and more like Fall every day, and it's gotten me in the mood to create some goodies for Halloween!! Today, I'm going to share my process for making this spooky Jack 'O Lantern Pumpkin using Creative Paperclay® modeling material.
If you'd like to make one for yourself,
YOU WILL NEED:

I started by creating my base shape using the techniques I have shared with you in PREVIOUS POSTS.  Once the base' clay is dry, I made "ribs" for the pumpkin by rolling out some rough shapes.
 Then I laid the ribs onto the base shape, and pressed the ribs into it while they were still wet. To make the dry clay and the still wet clay stick, use some water to wet the dry clay. This will create a good bond between the two pieces.
 Here's what the ribs looked like when I was done pressing and shaping them onto the base.
 Once the ribs were dry, I painted grey stripes into the valley areas of each rib. Then I followed behind the stripe with some stain to shade and blend the lines a little bit.
 Next, I painted a Jack 'O Lantern face onto my pumpkin using black paint, and then added more shading with the stain. While that paint was drying, I made a crepe paper collar and glued that to the top of my candle stick. Then I turned the stick upside down to help hold the collar into place while the glue dried.
 Here is the finished piece!!
Have YOU got any ideas for something spooky to create with Creative Paperclay®? Leave me a comment, and let me know what you 're planning!!
Don't FORGET!!
 We'll be having a Halloween Link Up on October 5th, here on the blog!  
Be sure to get your creative juices flowing, and come share YOUR Halloween projects with us!
I would love for you to visit me at my "house" too!! Thank you so much for reading!!  ~rachel 

Thursday, September 29, 2011

Paperclay Garden Stakes - How To

By Amanda Marks

This project is super easy and is a GREAT kids project!  Since I wanted to show how easy this project is I enrolled the help of my children (the princess and the Booga).  I will say this project was a little too advance for the Booga (he is 2 and thought we were making cookies - the disappointment was apparent when he tried a piece of clay) but was perfect for my daughter (who is 5).  I used the Delight for this project because it is much easier for my daughter to handle (she doesn't like the "feel" of Paperclay - any clay for that matter.   She thinks it has a muddy, icky feel.)

Materials:
Delight Paperclay
Big Craft Sticks
Cookie Cutters (Halloween Themed)
Fondant Roller (Rolling Pin)
Water
Sculpting tool
Paint
Paint Brushes
Googly Eyes
Sealant


"Smoosh" the clay into a ball and flatten it with the rolling pin.


 Once the clay is an even thickness, take the cookie cutter and cut two pieces (one will be the front and one will be the back.)


Take one of the cut out pieces - scoring the clay with a scultping tool add water.  Place the craft stick in the center and add the top piece of clay.


Smooth the sides together and allow to dry for 24 hours.


Paint, add googly eyes and seal.


Place in your new garden stakes in your plants!