

With the brisk fall weather finally upon us and my toes tucked inside shoes instead of free to enjoy the warmth outside, I decided to bring thoughts of warmer weather out into the studio. With that in mind, I give you the Creative PaperClay Rose pendant (or ring or bracelet or headband...whatever you would like to attach it to).
The supplies are simple: Creative PaperClay, Prismacolor markers (or any watercolor marker), a damp paper towel, a cutting tool, and your hands
Begin by pulling off a bit of PaperClay from the package. Knead it a bit and then flatten into a "pancake". Dab the pancake with your chosen marker color. Begin folding and squishing the color into the PaperClay. Once mixed in, look at the color. Not dark enough?? Repeat the process until you are happy with the color. Now time to start the rose.
Roses begin with small marble sized balls of clay. Of course, the size can be adapted depending upon what size rose you would like to end up with. I will start with a small rose. Roll 3 marble sized balls from the colored clay. Cover the remainder with the damp paper towel (this will keep it from drying too quickly).

Roll 1 of the balls into a short log. Flatten slightly along the length.


Immediately roll the log up from one end to the other (like a cinnamon roll). Flare out the thinned edge slightly. This is the center of your flower. Set aside.

For the other 3 balls, flatten each slightly and then pinch into a teardrop shape. Along the curved edge, pinch firmly to thin the edge. Be sure the center of the petal stays thick as this gives your finished rose stability and strength. Repeat process until you have 3 "petals".

Now, retrieve the center of your flower. Place one petal next to the center and press into place at the base.

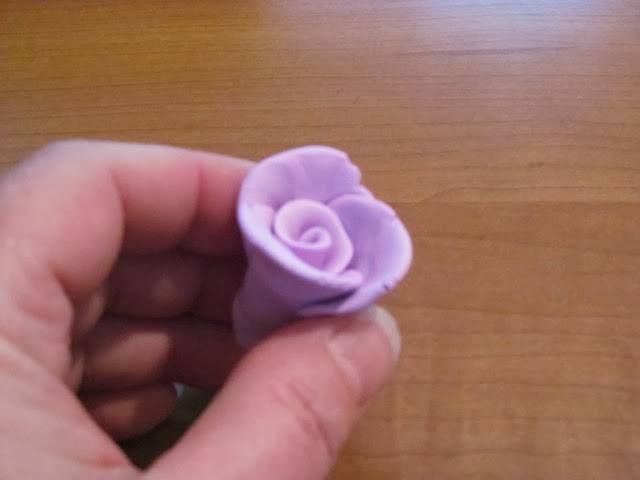

Once the rose is complete, use the cutting tool to even up the bottom so your rose will sit flat.

I hope this brings a bit of warmth to your day.
P.S. The process also works with Delight Air Dry Modeling Compound ;-)
2 comments:
such great pix on this tutorial! thanks!
Your roses are beautiful and such great instructions.
Post a Comment