

By:
ImagiMeri's Creations
Hello Folks,
Meri Wiley here and I've got a cute tutorial for you. I had every intention of filming this, but I'm sure none of you wanted to hear me coughing and sniffing from seasonal allergies which have just been horrible this year........right?
This tutorial will be in multiple pictures with progress steps written right on the images. For further fun if you leave a comment, at the end of this post, you will be entered in a drawing to win one of the two mushroom tea-lights that I made for this post.
Please click on images to enlarge them for easier reading.
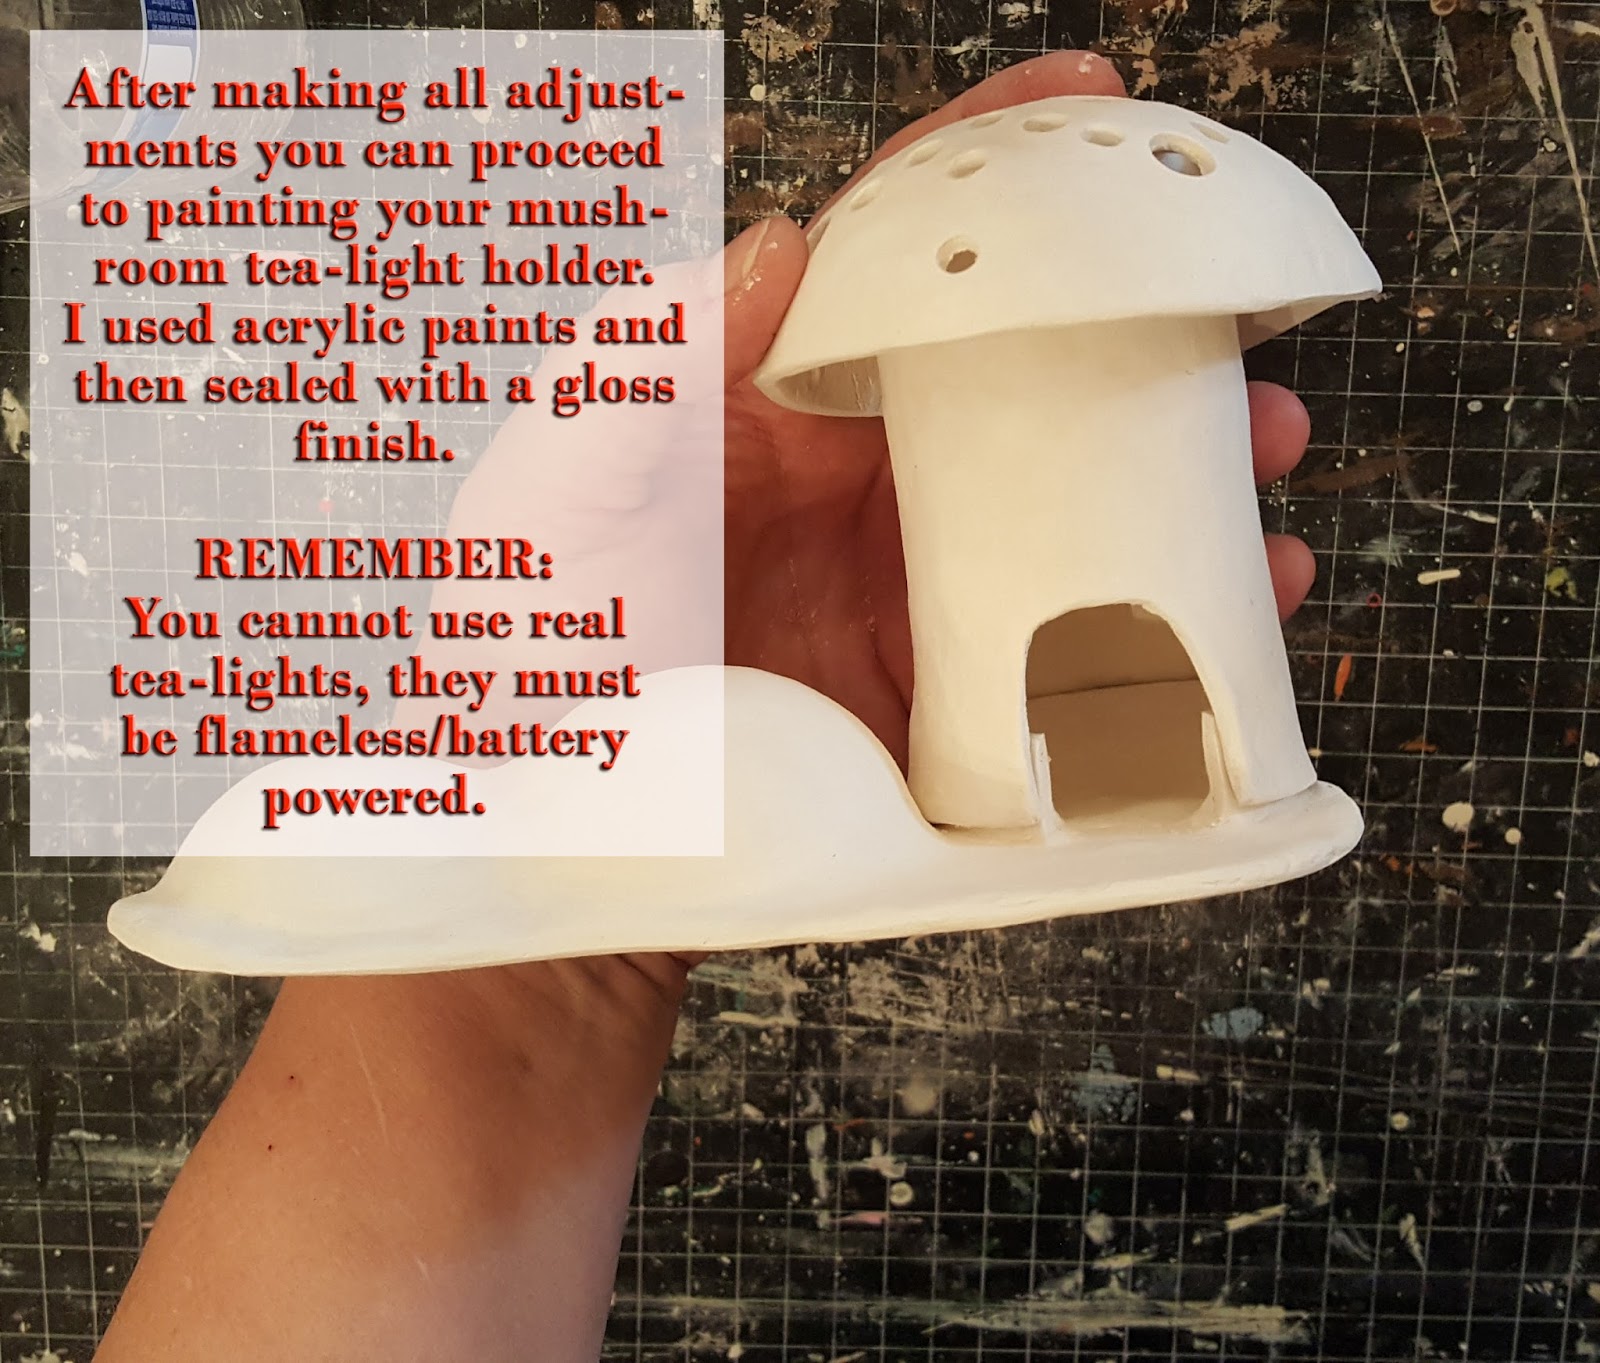
Warning:
Do not use live flame tea-lights!
Only use Flameless/battery operated ones.
Without further ado, here's the supply list:
1. One 16 oz., package of Creative PaperClay
2. Preferred cutting knife
3. Straws in two different sizes
4. 4" plastic, 2-part ornament found at Hobby Lobby
5. Half of a 1.5" styrofoam ball found at Hobby Lobby
6. Half of a 1" styrofoam ball found at Hobby Lobby
7. A rolling pin
8. A piece of Saran Wrap for ornament half
9. 2" bottle of glue or tube for form
10. Clay extruder or garlic press if you want to add grass


 |
| RIGHT CLICK ON THIS IMAGE, SAVE AND PASTE TO AN 8.5"x11" PAGE AND PRINT |


If any cracks show up during the drying process
just make a paste of a small bit of
Creative PaperClay, kind of like spackle,
and fill in cracks. Let dry again and then
proceed to the painting of your piece.

If you have any questions about any of the directions, or you have issues, please do not hesitate to contact me at meriw@cox.net and I'll be happy to help.
Please leave a comment, with your email included, below to win one of the mushroom tea-lights I made for this post. I will choose a random winner and announce them on May 25th. When a winner is chosen I will request an address and ship one mushroom tea-light holder and a battery powered tea-light to use with it.
Happy Creating
11 comments:
How darling! This looks like a great grandmom and granddaughter play weekend! Thanks Meri for sharing!
Oops.. forgot email...
Texfolkart0765@gmail.com
Thanks again Meri!
Super sweet Meri!!! Thanks for a chance to win one that you have made!
deb
dbrhgn@aol.com
Hi Meri - it's a really cute project! Your tutorial was really good! Thanks so much for sharing it with us.
It IS a really cute project and easily adapted to other mushrooms ( morels are the biggie here in Missouri).
Your tutorial was really easy to follow!!
Very cute project! Good directions. Can't wait to try this project.
Very cute project with clear instructions. Can't wait to try.
These are really cute.
Clowninabug@gmail.com
such a cute project
I will certainly try this Meri. It will make a good Christmas gift.
Oh my holy cuteness Meri! I just love this wee toadstool. Have a wonderful week filled with sunshine.
Post a Comment