
Hi Creative Paperclay® fans, it's Cindy here, I am excited to share with you my latest project, An Owl Journal Cover....
keep reading to see how to create your own...
keep reading to see how to create your own...

Supplies:
Clay shaping tools
Rolling pin
Water for smoothing clay
Directions:
I began by removing all the pages from a hard cover book...


I then rolled out some Creative Paperclay®...

and applied it to the front of the book cover...

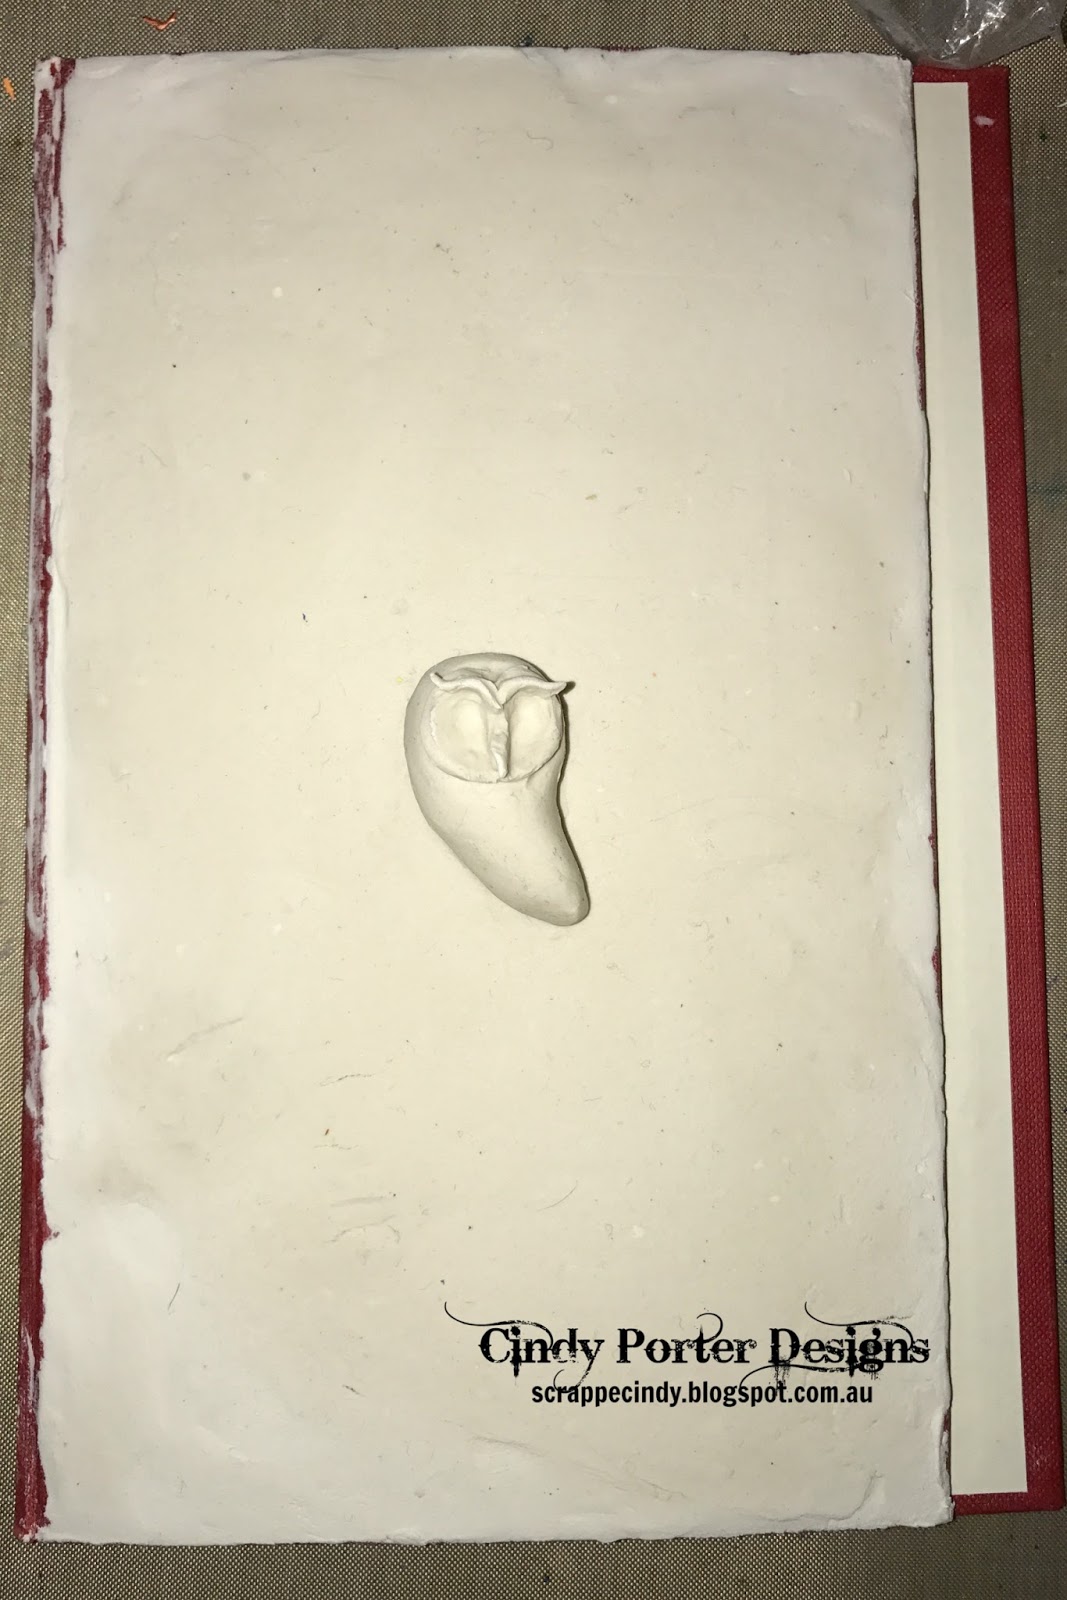
Next I started to make the owl.... I began with the body, making a sort of tear drop shape...

and then applied it to the book cover, then press down slightly with your thumb on the head area...

Next make a flat oval piece and attach to the thumb spot on the head... this is the beginning of your owl's face...

then using a ball tool (or end of a paint brush), create two eye cavities...

Now add a beak ridge and some eyebrows...

Now it's starting to look a bit like the beginning of an owl...

time for the wings... begin making the shapes of form the wing structure and then the feathers... make lots of feathers....

put down the wing structures first to decide the wing positions, and then add the individual feathers as shown below... don't forget to mark up the feathers to make them look realistic...

Now create the tail using more of the feathers you made...

time to sculpt some little 3D claws...

and attach them along with some tiny balls of clay to form the eyes....
I also used my ball tool to create the pupils in those little clay ball eyes, and speckles on my owl...

So now my owl is completed and ready to paint... but I decided that the plain book cover wasn't what I wanted after all... so stay tuned for my next post and see what I do to finish it off...


Directions:
I began by removing all the pages from a hard cover book...

I then rolled out some Creative Paperclay®...

and applied it to the front of the book cover...

Next I started to make the owl.... I began with the body, making a sort of tear drop shape...

and then applied it to the book cover, then press down slightly with your thumb on the head area...

Next make a flat oval piece and attach to the thumb spot on the head... this is the beginning of your owl's face...

then using a ball tool (or end of a paint brush), create two eye cavities...


Now it's starting to look a bit like the beginning of an owl...
time for the wings... begin making the shapes of form the wing structure and then the feathers... make lots of feathers....

put down the wing structures first to decide the wing positions, and then add the individual feathers as shown below... don't forget to mark up the feathers to make them look realistic...

Now create the tail using more of the feathers you made...

time to sculpt some little 3D claws...

and attach them along with some tiny balls of clay to form the eyes....
I also used my ball tool to create the pupils in those little clay ball eyes, and speckles on my owl...

So now my owl is completed and ready to paint... but I decided that the plain book cover wasn't what I wanted after all... so stay tuned for my next post and see what I do to finish it off...

thank you for stopping by and joining me here today,

2 comments:
Love the owl!
Beautiful owl!
Post a Comment