

Hello everyone! My name is Cinnamon Willis and I am going to show you how I created this cache pot for my small hoya plant!
Supplies:
Plaster of Paris
2 Plastic quart containers
Plastic drinking cup
Gloves
Mask
Drop cloth or someplace to work on that can support a mess
Wood stick or something to mix plaster with
Creative Paperclay®
Water
Rocks
Sanding paper

First start off with getting your materials in order. Cover your work area with a drop cloth (I have a board that I work on instead), gloves, your container for plaster, container for water, stirrer and empty drinking cup with rocks in it. When you have all of your materials together, measure out your plaster in one cup and measure your water in another cup. Whatever amount of plaster you'd like to use, you would need half of that amount to be water. For example 2 cups of plater would need to be mixed with 1 cup of water.

Start sprinkling your plaster into your cup of water. It is important for you to sprinkle the plaster around the entire surface and not dump it into a pile in the middle. When you are done sprinkling, take your mixing tool and stir the mix until it is uniform and creamy.

Take your small drinking cup and place it in the center of the mixing container. Fill the cup with rocks so that the plaster doesn't make it rise out of the container. Make sure you leave about an inch between the bottom of the cup and the base of the mixing cup so that the plaster fills under it. Let it sit to cure for about 48 hours.

Lightly tap the bottom and the sides of the container to release your pot.

Remove your cup .

Start cleaning up some of the imperfections from the plaster. I use a combination of sanding and cutting with an exacto knife.


Brush down the area that you want to apply paperclay with water. Paperclay will not stick to a dry plaster surface, so you might need to continue applying water to the surface a couple of times until it begins to stick to it.


Work on the face in stages. I worked on the top part and set it aside to dry for around 24 hours.

After letting the piece dry, I came back to sand down some parts that I wanted to be smooth.
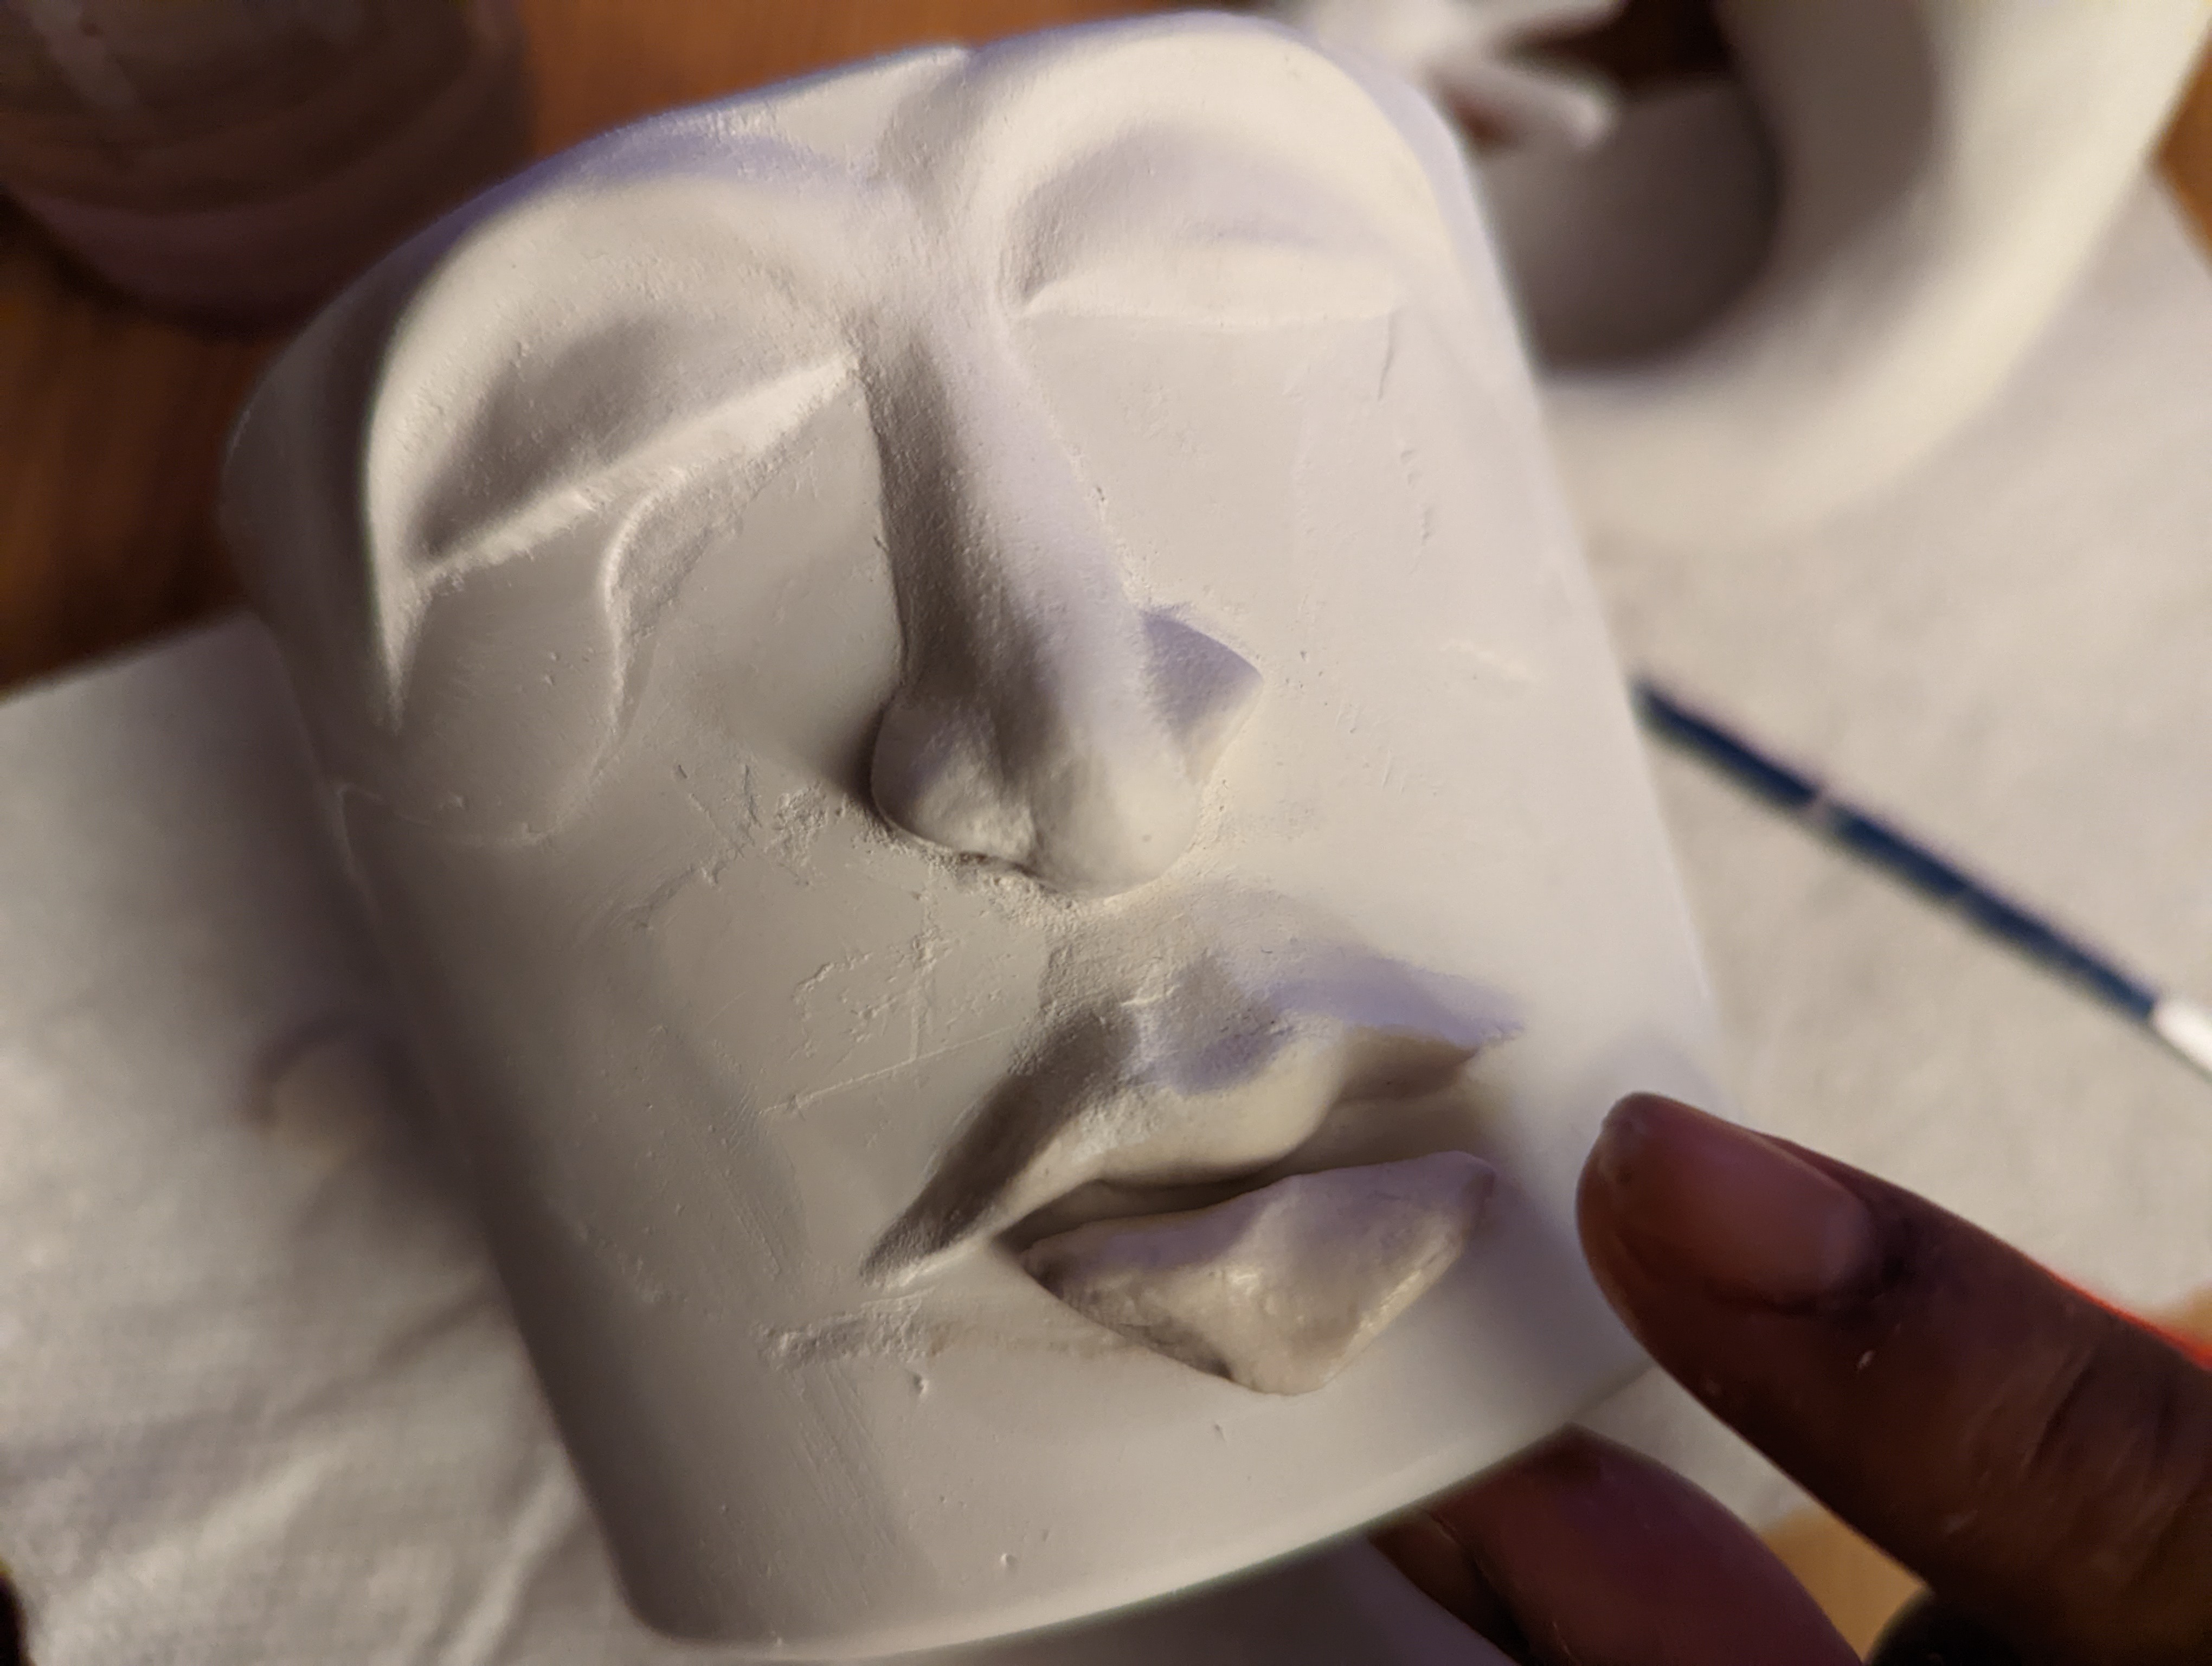
Repeat the last two steps as much as needed. Work up the piece and come back to sand things down for a smooth finish.

Use a protective coating to seal your pot. I highly recommend you to water your plant outside of this pot and place it back after letting it drip dry first to prolong the life of the plaster.
Thank you all once again for stopping by, and I hope that you enjoyed today's tutorial! You can find Creative Paperclay® at the following retailers Creative Paperclay® Online Store, Michael's, Amazon, Joann's.
See more of my work at Melandolly.com, catch updates on
my Instagram page and here is a link to my shop!

1 comment:
I love this piece!
Post a Comment