
Hello, Happy Easter and welcome to another tutorial! Today I have an Easter Bunny to share with you.
Isn't he cute?

The supplies I used are:
- Creative Paperclay®
- Foil
- Masking tape
- Diluted white glue
- 220 grit sandpaper
- gesso
- Folk Art Vintage White and Seashell Pink
- Apple Barrel Pewter Grey
- Plaid Antiquing Medium: Apple Butter Brown
- Black Paint
- White Paint
- Pearlescent chalking set (used for cheeks and eye shadow)
- Spray Varnish
- Royal Coat Dimensional Magic by Plaid Crafts
- Brown Paper Strip 1" x 1' 6" ( I used a paper bag)
- 1/4"- dowel (12" long)
- washi tape
- craft wire
- wire cutters, pliers
- needle tool
- paper towel
- water
Follow the steps below:
Step 1: Form the bunny's head out of foil.

Step 2: Shape the ears.
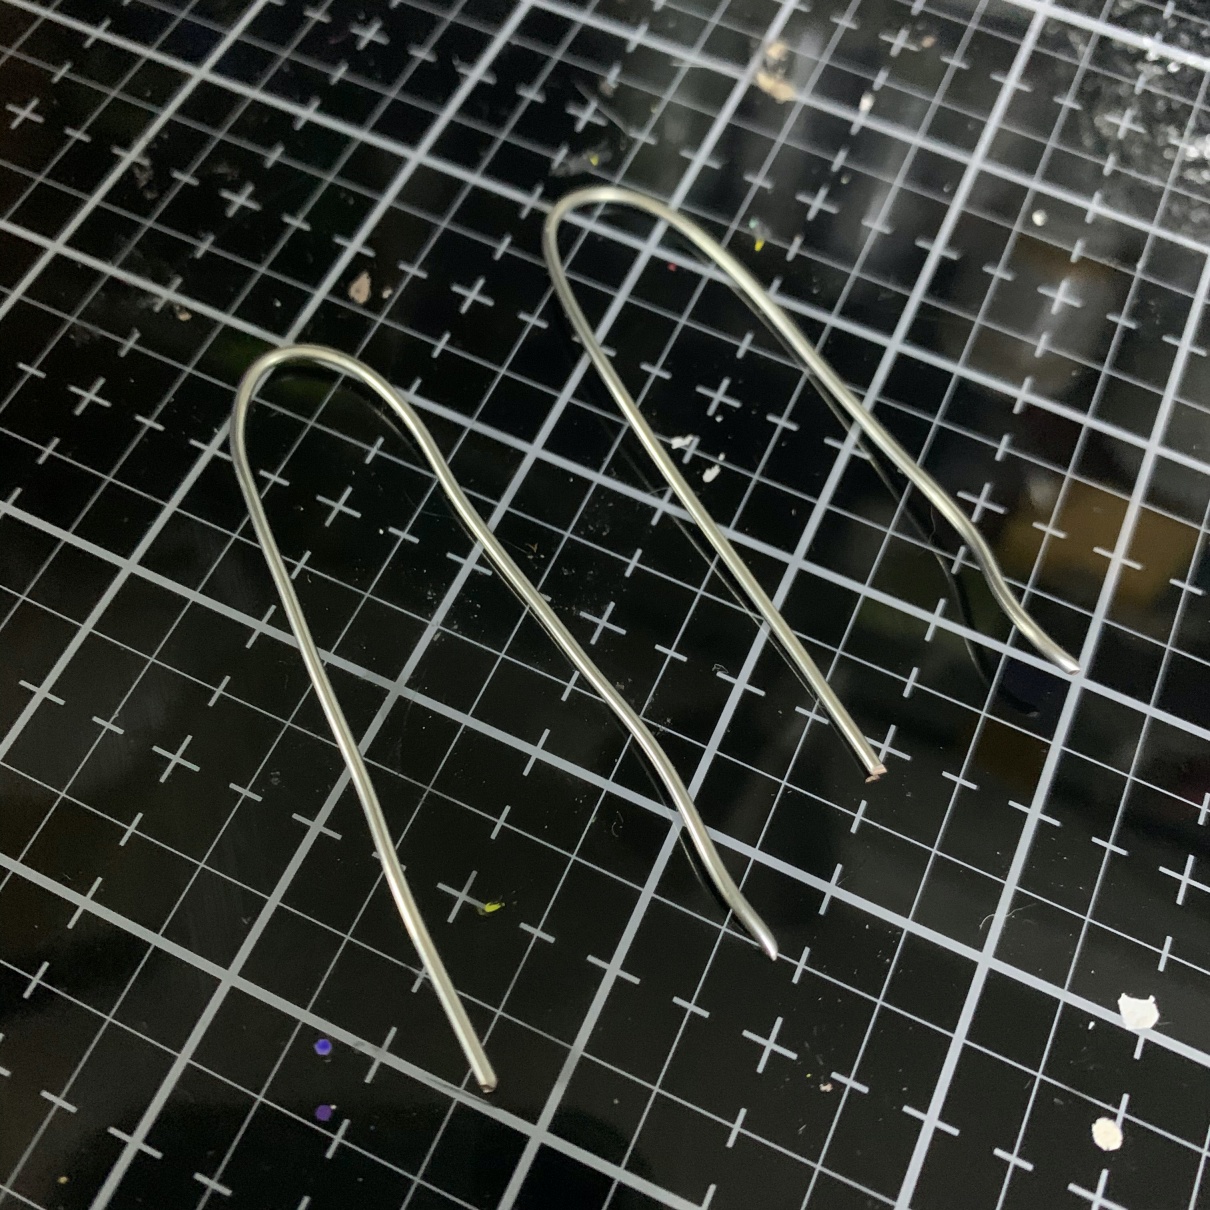
Step 3: Press them into the foil and secure with hot glue.

Step 4: Cover with masking tape.

Step 5: Coat with diluted white glue and cover with Creative Paperclay®.

Step 6: Add the nose, cheeks and eyebrows . Poke holes into the clay for the eyes. Set aside to dry.
When dry sand, fix any cracks and coat with gesso.
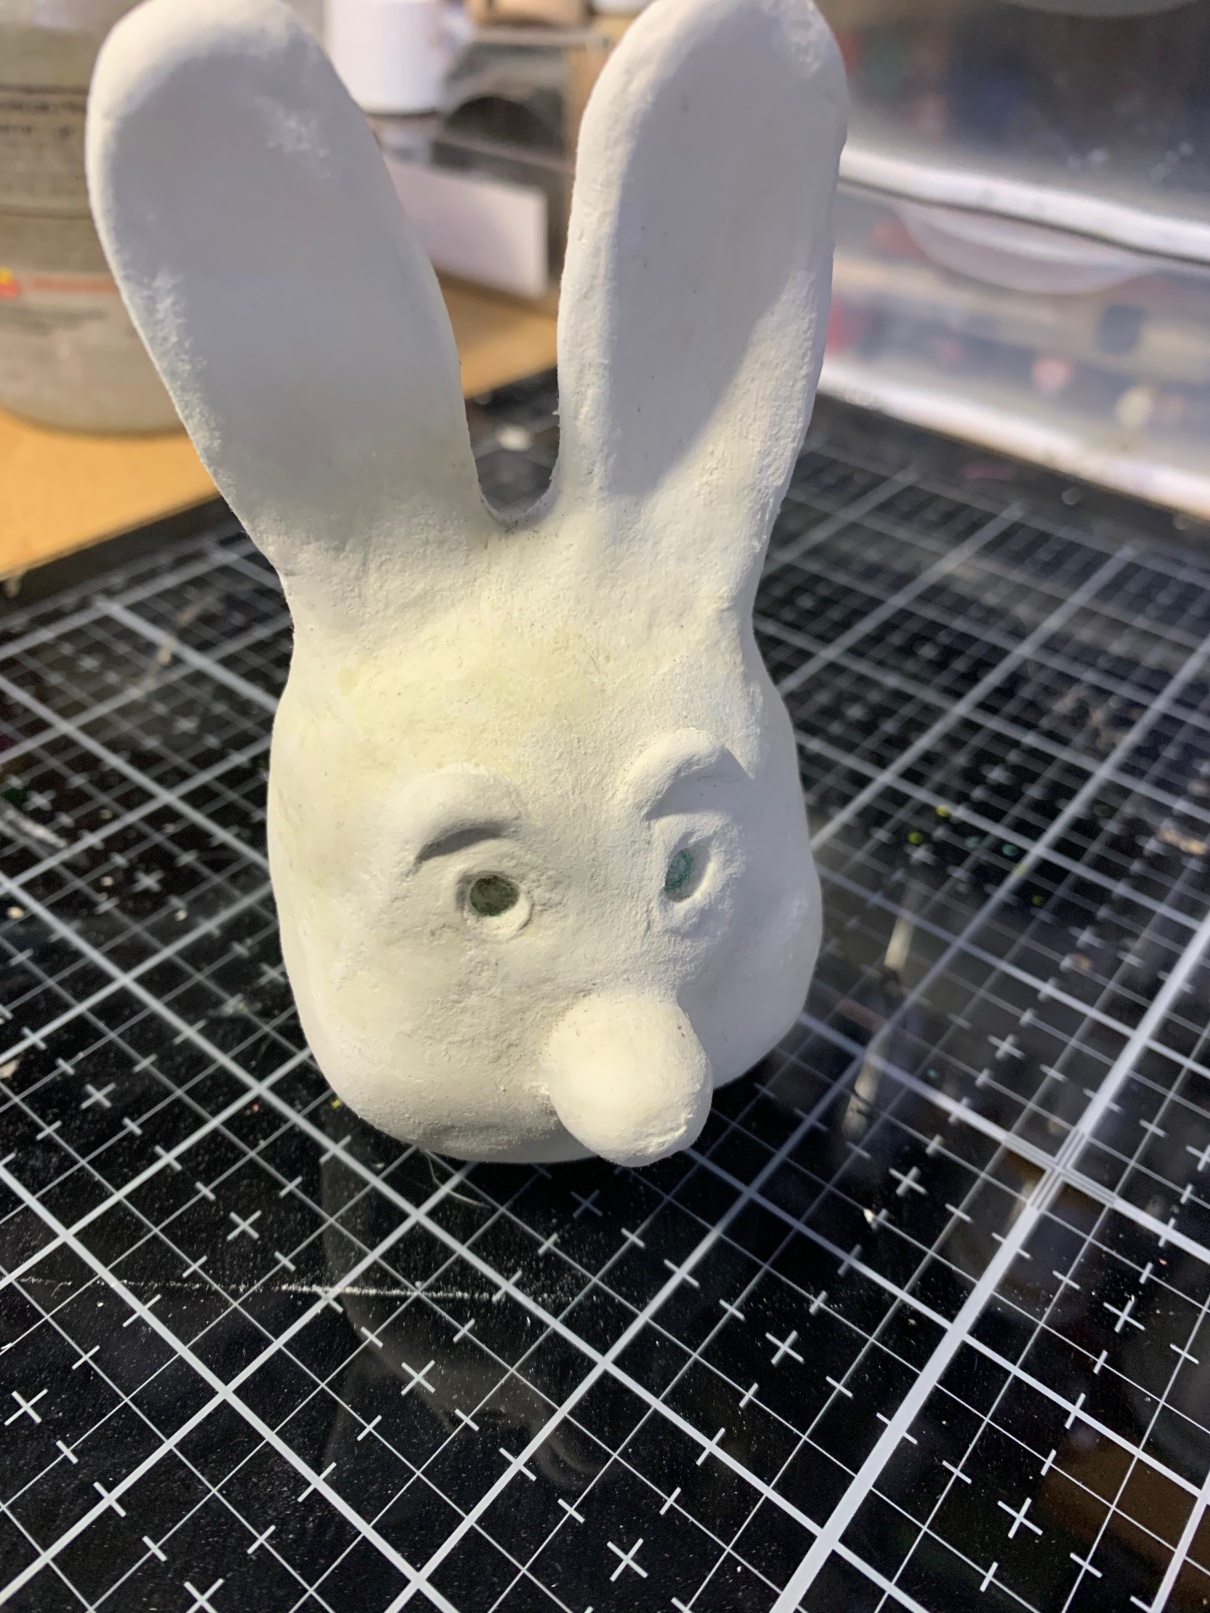
Step 7: Paint your Easter Bunny.


Step 8: When completely dry coat with stain. Let it sit for 15 to 30 seconds and then wipe off with a paper-towel. If it is too dark, dampen the paper-towel.
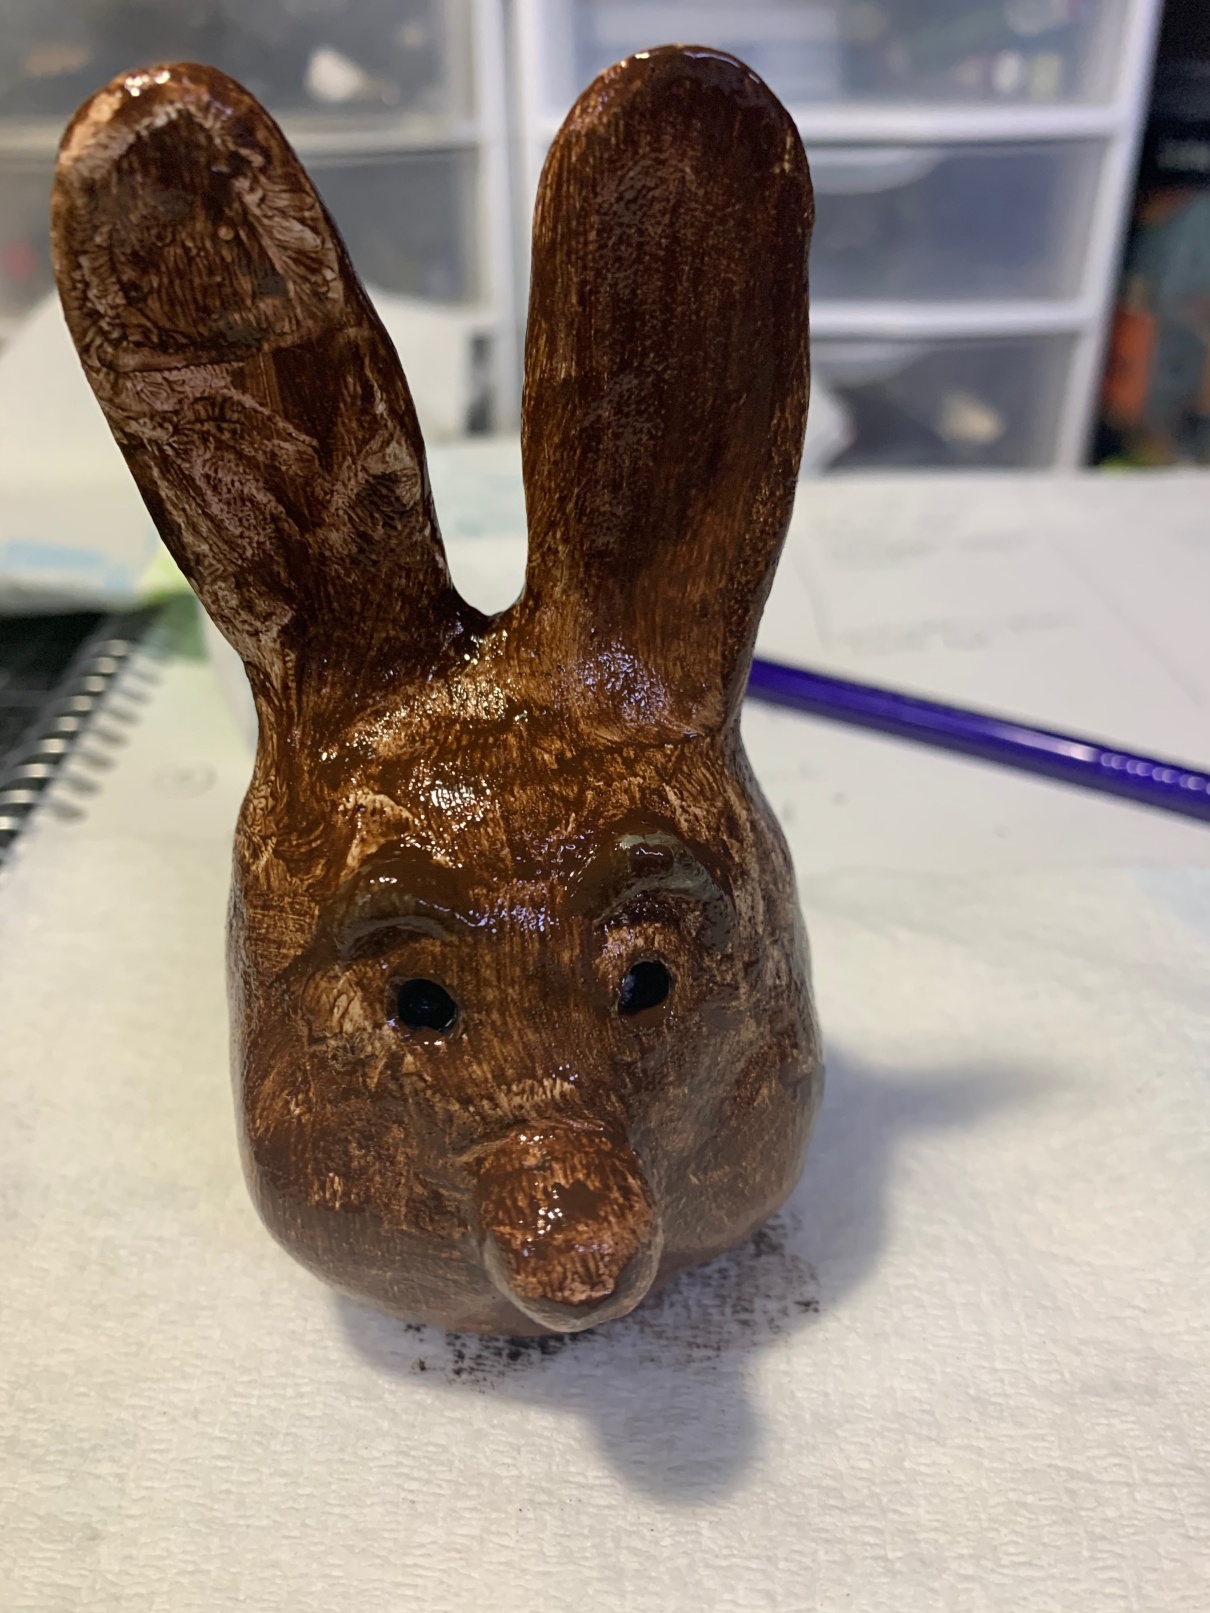
Step 9: Use chalk pastels to add eye shadow and blush. Spray with varnish to seal.

Step 10: Fold the strip of brown paper accordion style. Secure the ends and form into a collar shape.


Step 11: Fill the eyes with Plaid Dimensional Magic.

Step 12: Drill a hole big enough for the dowel under the bunny head. Glue the collar to the base of the head.

Step 13: Secure the dowel with glue and cover with washi tape.

Step 14: Add ribbons and raffia.

Step 15: Add a white spec to each eye.

The finished bunny.


You can share your creations with us on our Facebook page. We would love to see them! For more inspiration have a look around the blog. There are tutorials for many levels using Creative Paperclay®. You can also visit my blog/website Paper Mache Patch.
You can find Creative Paperclay® online at Creative Paperclay Co and also at Michaels, Hobby Lobby, Dickblick and Amazon.
Thanks for stopping by!
Suzette
Instagram: https://www.instagram.com/papermachepatch/
Skillshare: https://skl.sh/2QyIn93


