Tuesday, April 14, 2015

Tears Masquerade Mask Tutorial By Gloriann Irizary


Time to sculpt with Creative Paperclay® and with all these new products this sure will be a fun project full of ideas tips and tricks. Stay tune for the full tutorial .
 
Material List
 
Foam Mannequin Head
 Handrill
Water Bottle
Rolling Pin
Scissors
Aluminum Foil
Paper Tape
Xacto or hobby knife
Paint Brushes
Sponge Sands
Clear Acrylic Spray Sealer


Start by covering the entire foam head with aluminum foil and masking tape.
 
 
Roll a clay sheet  inches thick.
 
 
Cover the entire foam head with the Creative PaperClay® sheet
and smooth the edges with water and fingertips.
  
 
Cut the mask in half while the Creative PaperClay®  still wet
to create two  even mask halves .Set them aside to completely dry .
 
 
Once is dry it should be easy to remove from the mannequin head thanks to
 the aluminum foil and masking tape used.
 
 
Make sure to be gentle removing the mask from the foam head due to the clay sheet be delicate.
 
 
Draw your eyes lines with a pencil.
 
 
To cut the eye sockets a lot easier drill a hole to introduce the Xacto or Hobby Knife.
 
 
Very carefully use your xacto or hobby knife and cut the drawn line off.
 
 
Now to sand the sockets and be precise use the  Sandits® to make the sockets finish complete.
 
 
Use the 3M Medium Sand to smooth the mask off.
 
 
Now that the Mask is all Medium sanded. Clean and remove any remaining dust.
 
 
Use the 3M Fine grain sand to finish the mask up. Make sure you remove any excess dust off.
 
 
To paint the mask Sun Flower yellow just  get your favorite brush wet and use the water color technique to start painting the piece little by little.
Here 2 layers were used to create a beautiful gold finish look. 
 
 
Painting the eye showdown Boysenberry.
Use the Vavoom red and paint the underneath of the eye. 2 layers were used here.
 
 
Add a pair of Vavoom Red lips to the mask and set it down to dry. 
 
 
To create the tears make sure you water down the African Jade and Sapphire on ice and slowly tilt the mask to make the tear run freely down.
 
 
Let the mask dry and then it will be ready for you to use your clear acrylic spray sealer.
 
Let it dry and the mask will be ready to wear or for home décor. The possibilities are endless .


Thank you kindly for viewing this tutorial is you have any questions feel free to contact me at my email Gloriann Irizarry or visit Creative PaperClay® Q & A Facebook Page
 
Sincerely
Gloriann Irizarry


Monday, April 13, 2015

Shari's Tip of the Month

Good Morning!

 Today I am coming to you with 2 tips!

I am working on a project that I wanted to have detailed funky flowers. I tried stamping into clay but it wasn't giving me the image I wanted.

 I wandered into the baking isle at Hobby Lobby® to find exactly what I needed. These fondant flower punches were exactly what I was looking for.


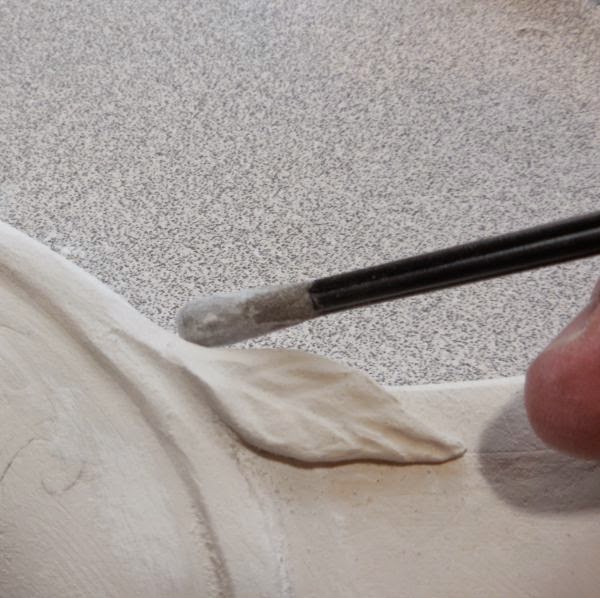
 I loved the way these flowers turned out but they really needed some cleaning up. Regular sandpaper would be difficult to use to clean these delicate beauties and still keep the detail. I turned to a product we were recently given to try out.


Sandits® worked amazingly well!!  http://shop.sandits.com/
They gave me all the control I needed. It was easy to see what I was sanding because of it's design. There are several shapes and sanding grits you can choose from to adapt to all your needs. It gets into those small spaces that you would have struggled with before. I am sold!


I am always on the lookout for new tools I can use with Creative Paperclay®. Use your imagination and think outside the box.

Thank you for stopping by. I would love know if you have found an unexpected tool or a new find that works great for you.

Shari

I have been creating art for as long as I can remember. I studied graphic design in Portland, Oregon before moving to Denton, Texas and putting all my focus on creating mixed media art. In addition to being on the Creative Paperclay design team, I am a contributor for the Robin's Nest Design Team, an article writer for Mixed Media Art, and a blogger for DecoArt.
I strongly believe in giving back. I volunteer at Scrap Denton Creative Reuse Center where I teach workshops, art camps, and perform art demos. I am very passionate about mixed media art and enjoy helping and watching others discover their creativity. 

Follow more of my creative life at My Altered Life's blog page and My Altered Life on FB

Friday, April 10, 2015

Roses

Hello, Ann here today from the AnnMakes blog over at http://annmakes.blogspot.com, and for the Design Team here at Creative Paperclay®.  I tried something new to me recently and I liked it so I am sharing it with all of you!

I tried using the Creative Paperclay® to add dimension to a canvas with a stencil.  Guess what?  It worked.  So here it is.

I painted the canvas with some acrylic  paint and let it dry.  I used a thick plastic stencil of a rose and spread the Creative Paperclay®over it.  I made sure that the clay did not overlap the edges of the stencil and I took the time to press down on the clay to make sure it was sticking to  the canvas.  I gently removed the stencil by using a sharp edge tool to keep the clay from staying stuck to the inside rides of the stencil.  I let the Creative Paperclay® air dry completely over night.


The following day I sanded the the rose with "Sandits" sanding sticks, blew off any dust and then painted.  To colour the rose I used Twinkling H2O water color luminescent paints by "Colourate".


I wrote out a quote, inked the edges with distress inks, and adhered with gel medium.

Products used:
Creative Paperclay® air dry modelling material http://www.paperclay.com
Canvas
Acrylic Paint
Gel Medium
Ink
Sandits (sanding sticks) http://shop.sandits.com
Water colors, H2O's Twinkling by Colourarte www.colourarte.com
in: Pretty Peridot, Wild Vine, Coral Berry, Poppy Red, Sunset Glow, and Peppermint Taffy.

I hope I have inspired you to look at this wonderful medium in a new way.  Have fun making your own creations.  Please come by my blog to see what other projects I am into.

Thank you for stopping by.

Thursday, April 9, 2015

Recycle/Reclaim Your Art

Sometimes you have unfinished paintings or you have grown as an artist since you did the piece or there may be a million other reasons you don't like a piece. Or perhaps trade with a friend. So let's add paper clay. It may turn out great and/or be a wonderful learning experience.
SUPPLIES
Creative Paperclay®
Acrylic paints
Gold rub
Old painting or background

Find an old painting finished or not that you have hidden in your studio. Look at it and think about how you can improve upon it with Creative Paperclay®.
Roll out the paper clay onto your art. I like to dampen the surface slightly. I loved the fact that the piece has curved edges so it was easy to wrap the paper clay around the edge.
Stamp or brayer a texture plate onto the paper clay.
Add other embellishments made from the paper clay. Let dry. When dry, paint and add gold rub.

It will feel great to add life to an old painting. Have fun.

Darlene Olivia McElroy


Tuesday, April 7, 2015

Garden Gear - Upcycle project

Tori West here, letting you know that Spring has sprung on Meadow Lane and it's time to get outside and get to work.  Wishing I had a convenient place by the back door to store my hat, gloves, work shirt and maybe the odd garden tool or two, I decided to upcycle an old over-the-door clothes hanger into a piece of wall art & gear hanger.


Supplies:

metal over door clothes hanger
Pliers
foam-core or cardboard
Creative Paperclay® modeling material
Delight™ air dry modeling compound
acrylic paints, paintbrushes
Sandits sanding sticks
collection of flower molds and cookie cutters (I created all of my own, the smaller flowers were from molds of various jewelry pieces, and the large flowers were cookie cutters made from my patterns - see how to make your own cookie cutters from cardboard on my January post)
gesso
acrylic varnish
coffee filters, newspaper, or other paper maché material
white glue


This is what I started with, 
a simple metal door hanger
that hadn't been in use


Using pliers, I straightened out the bars that allowed the piece to hang on the door, then laid the flattened piece on a large piece of paper and traced around it to use as the basis for my design.


As you can see, the bars aren't perfectly flat. That's okay, they will still work for this project.  I also enlarged the screw holes slightly to allow standard nail-in picture hangers to fit through them.  When I was done modifying the metal, I applied several layers of gesso and a coat of varnish to cover any exposed metal in the chipped paint areas, to prevent the metal from rusting.


Once I had the design sketched out, I cut a piece of foam core to fit the outline, then glued it to the metal piece.  To further secure it and create a smooth transition from the metal to the foamcore, I covered all of the connecting edges with a layer of my favorite paper maché material; coffee filters and white glue.


When the paper maché layer was dry, I applied a thin layer of Creative Paperclay®, and then added cut-out clay forms over that.  I made extra leaf shapes to add in with the flowers later, and set this all aside to dry while I created some flowers!


The flowers were made by mixing various colors of acrylic paint with Delight™ air dry modeling compound, then pressing the clay into molds or rolling the clay out, stamping it with a cookie-cutter, then cutting out the clay shapes and assembling the pieces (a technique very similar to the one demonstrated by Linda Hess).

I laid them on the design sketch while I was working, and also made some extra flowers for filling in areas, or to use should I decide to change the design a bit.


...BTW, there are lots of great flower making techniques on this blog, just type "flower" in the search box at the right under the blog heading!


When my base piece was dry I used Sandits to shape and smooth the leaves and vines.  They work well for getting in to smaller areas, but what I like most about them is that they seem to have just the right amount of flexibility and length in the shafts to make smoothing around curved areas easy.


When everything was sanded, I applied a base application of paint in various colors of green as a background to the flowers.


All that was left to do was glue the flowers and leaves in place, paint the saying in the center, and add some sparkle!  Although you can't see it very well in the photo, I used Twinkling H2O's on the center lettering, and on all of the flowers except the small purple ones.  I wanted the effect to be subtle, which it is, the glimmering just catches my eye as I'm heading out to the garden!


I hope Spring is blissful wherever you are! Thanks for joining me here!


I'd love for you to join me for more projects & art adventures on my personal blog
Find me on Facebook, or peruse & ponder pics with me on Pinterest


Connect on Google+ or see what new creations I may have on Etsy

Sunday, April 5, 2015

Wall Hanging by Lynda


I have been working on a project - though the work was more "in my head", than my hands!  Once I had it all in my head, it made the finishing up part a whole lot easier for me!  A design sheet can be used for each and every one of your projects, to keep your thoughts down on one sheet of paper, with your sketches - instead of all over the place!   

**Tip - By using a design sheet, you can keep all of your thoughts in one place with everything you need!  If you don't have one, here is one for you to use with your projects!**

Supplies used:
Creative Paperclay product
Acrylic paint - white and blue
Paint - ColourArte 
              Pretty Peridot
              Sapphire on Ice
              Rose Gold
              Sunflower
              African Jade
Scrap paper (green check)
Premade Creative Paperclay molded flowers

Toolbox items:
Rolling pin
Xacto Knife
Ruler
Molds (Martha Stewart and Stampin' Up) 
Sandits sanding sticks
Paint brushs
Hot glue gun

Directions:
Step one:
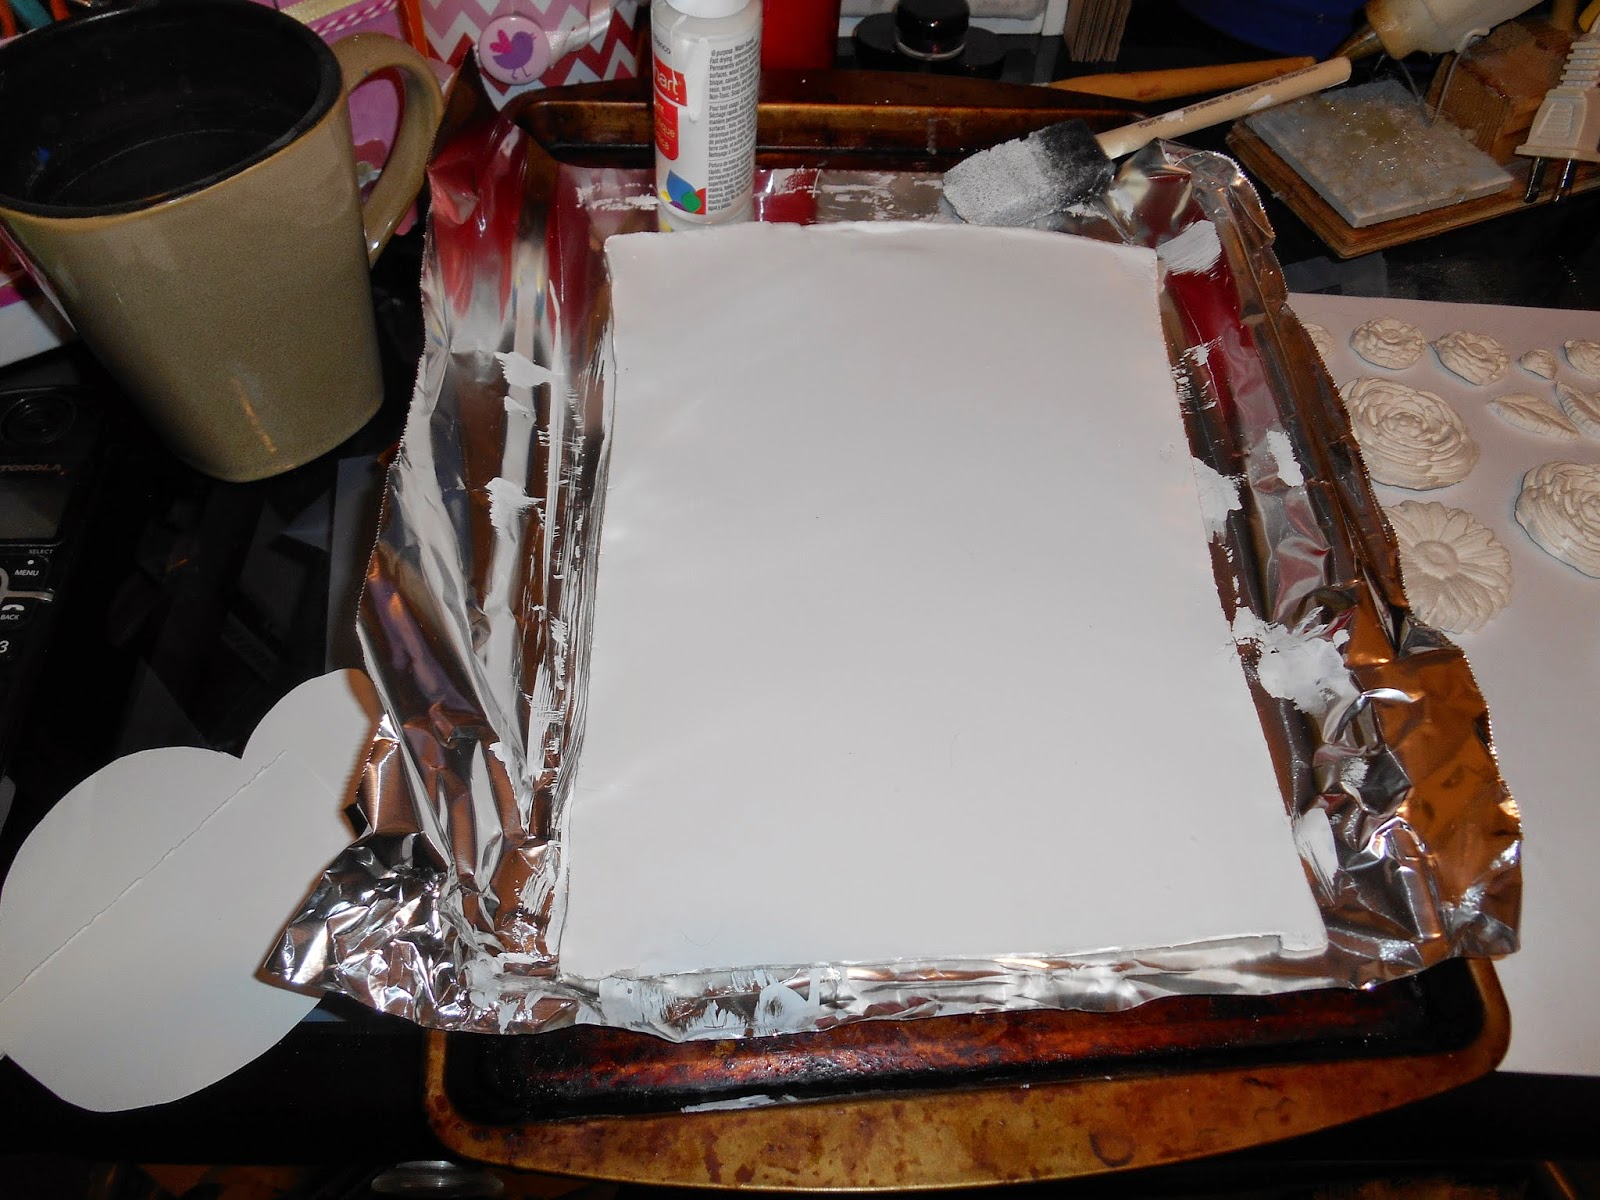
Starting with your brick of Creative Paperclay, take your rolling pin and flatten out the product to 1/8" thick.
Step two:
Using your ruler and Xacto knife, trim the edges after you have flattened the product. Product should look like the photo on the right.     


Step three:  
Allow to dry at least 24 hours - or put in the oven to allow it to bake quicker.  I baked this piece at 250 degrees, for less than 30 minutes!  
Step four:  
Once the piece is done baking, paint two coats of white paint, let the piece fully dry.

Step five:
Create a template that looks like a cloud.  Taking your blue paint, create clouds on the background.

Step six:  
Paint the bottom of the piece in the Pretty Peridot.  
Step seven:  
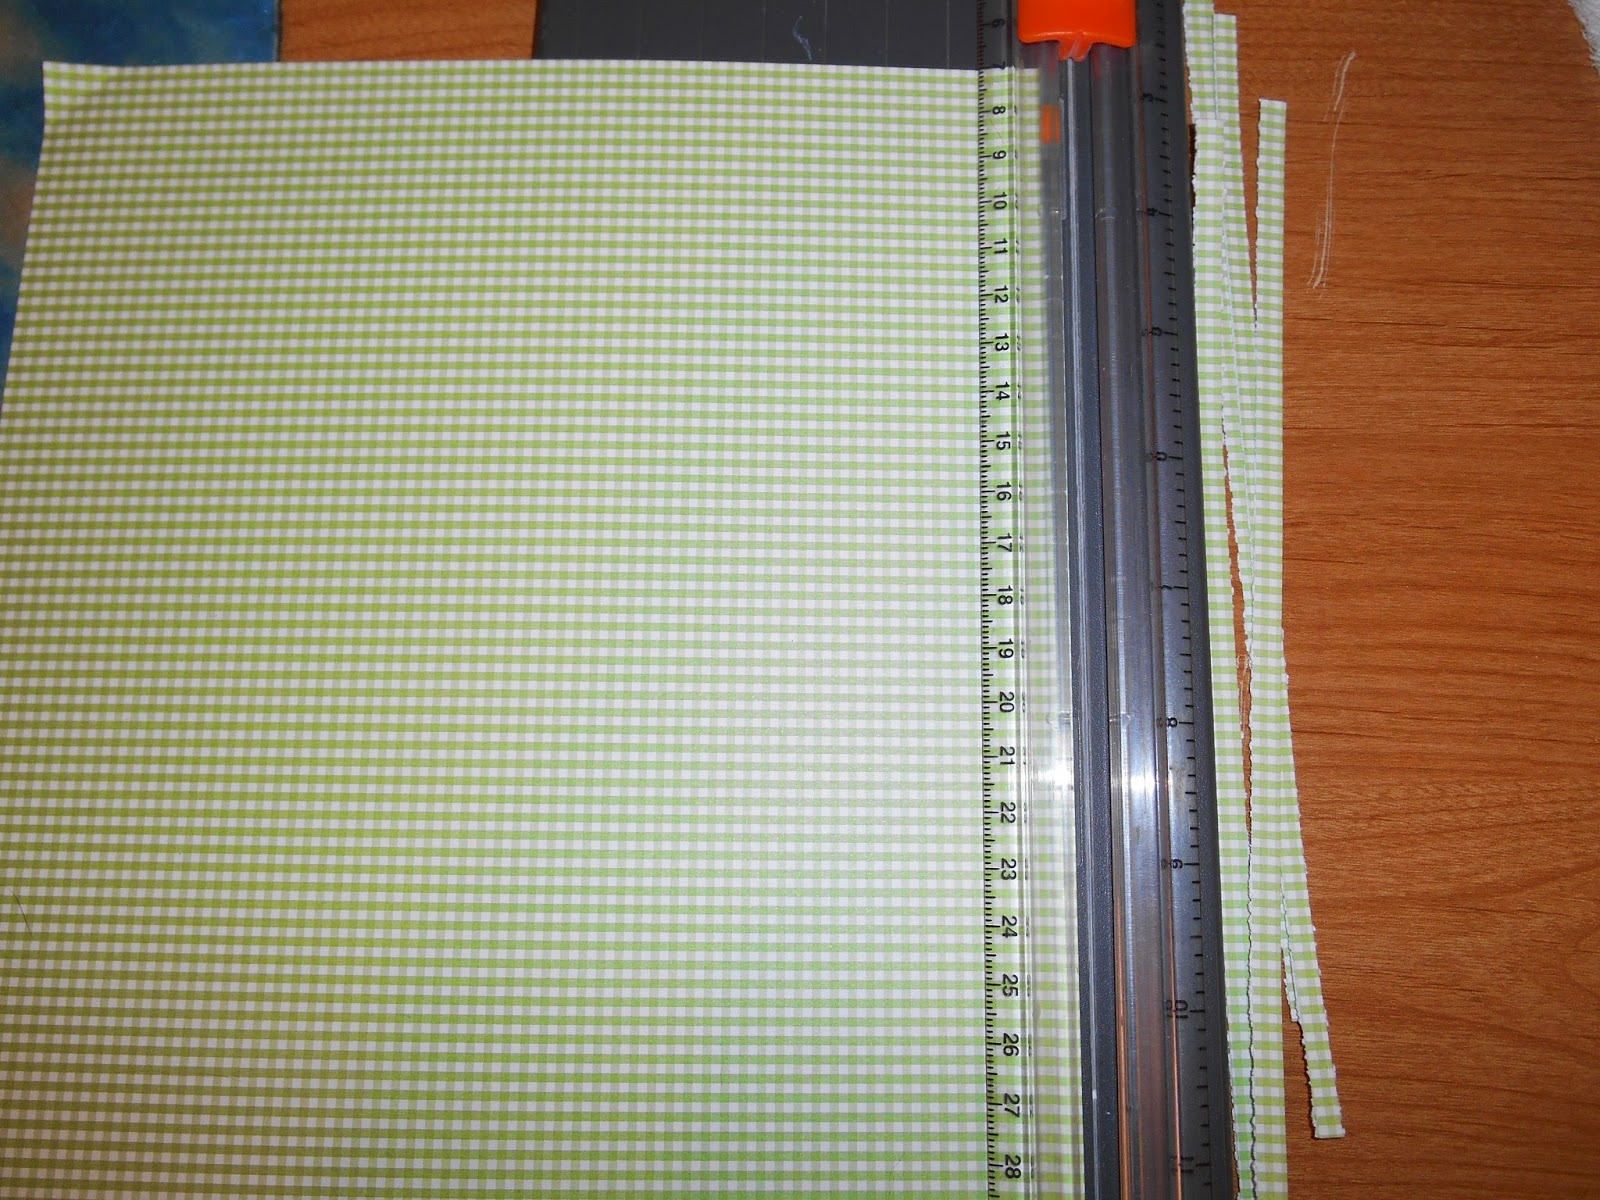
Cut the green checkered paper in small strip's for the stem on each of the flowers.  

 
Step eight:  
Paint the premade flowers in various colors - I used the Sapphire on Ice, Rose Gold and African Jade.  Paint the leaves in Pretty Peridot.  
  

Step nine:  
After the paint has dried, add each of the flowers to the piece.  To finish it all off, add the painted leaves in various places along the stem.  

This was such a fun project to work on!  I can't wait to get the rest of the things I want to make to go with it - done!  The design sheet will help me, I hope it will help you as well!  Thanks for checking out today's project!  
Lynda Jeffs
Creative Paperclay Design Team 


Friday, April 3, 2015

April First Friday Fan Day


Need some inspiration for your next Creative Paperclay® project? Check out what folks are making with Creative Paperclay™.


Bitty Bunnies
Bunny statuette
Paperclay doodle hearts
Bracelet made with paperclay beads
Fairy houses made from plastic bottles and paperclay
Art dolls and creatures
Critters and fairyland creatures
Paperclay whimsical sculptures
Paperclay and wax bowls
Easter chick sculpture

Mermaid made from a Barbie doll

HELP US FIND YOU!!
  1. Use the hashtag #CreativePaperclay on all your social networks.
  2. When using Facebook, be sure the your posts and images using the #Creative Paperclay hashtag are set to public, otherwise we won't be able to find you.
  3. Share your projects on the Creative PaperClay® Facebook page.
I'm always trolling the web, looking for great Creative Paperclay® projects. If you find something, post it on our Facebook page.

Carole