Friday, July 23, 2021

Create a Tiny Canister


Hello everyone and happy Friday, Cinnamon here and I am going to show you how I created this tiny canister


Supplies:

  • Creative Paperclay
  • Acrylic paint
  • Sand paper
  • Exacto knife
  • Sealer, varnish


I started out by taking a small heap of paper clay and flattened it out. You can do this any way you choose but I went with a small bottle to make sure the thickness would be consistent.


I took an exacto knife and made a straight cut in the clay so that I would have a flat edge. I did this on both sides for the top and bottom of the piece. A plastic knife would also do the job.


Begin to roll one side to form a cylinder shape with the clay. When you get to the edge, smooth the edge of the clay together to complete the shape.


Continue to flatten and smooth out the edge from the inside, use water if you need to secure the seal.


While the clay is still moist, cut around the top of the clay. This can be done with any flat tool, just make sure that you continue to maintain the overall shape while doing this.


Go back over the part where you joined the two ends of the clay to make sure that the pieces are blended together. Set aside to dry


Roll out another piece of clay that is larger then the opening of your cylinder. Take your cylinder and dap some water around the part that you would like to be the bottom.  Push your cylinder down lightly into your clay and cut a circle that is slightly larger then it all the way around.


Take the circle and smooth it all around the bottom part of the cylinder. Make sure not to poke your finger through the bottom while smoothing out the piece. You can always sand it down flat once it dries so just focus on making sure that the pieces are joined well. Set it aside to dry.


Take another lump of clay and make a circular shape out of it. You'll want this piece to be at least twice as thick as the pieces that we previously rolled out so that the inner piece fits into the cylinder while the top is flushed with it. Roll this piece out as done previously.


Slightly press the top down into the cylinder so that some of the clay is forced into the inner part of it. Cut off the excess around the perimeter of the cylinder so that the top will be flushed to it. Smooth out the shape, detach the two pieces and sit them aside to dry. If you leave them assembled to dry, you might have to pry them apart and ruin the piece.


When the pieces are completely dry, sand them down to get the smoothness that you desire.


Paint the pieces with acrylic paints. I went with a gold as you can see. When you are done, seal it with a varnish. Set aside to dry.


Thank you all once again for stopping by, and I hope that you enjoyed today's tutorial! You can find Creative Paperclay® at the following retailers Creative Paperclay® Online Store, Michael's, Amazon, Joann's.


See more of my work at Melandolly.com, catch updates on 
my Instagram page and here is a link to my shop!


Monday, July 5, 2021

Make a Paperweight with Creative Paperclay®

 Hello! Today I have an exciting tutorial for you- a textured paperweight made with Creative Paperclay®.


The supplies you will need are:

  • Creative Paperclay®
  • a flat stone/rock of some kind - a river stone or beach pebble
  • a rolling pin
  • lace
  • rubber stamps
  • diluted white glue
  • a craft knife
  • antique varnish - I used Pebeo

Follow along in the video below:


Here is the finished paperweight.


Thank you so much for stopping by.

You can share your creations with us on our Facebook page. We would love to see them! For more inspiration have a look around the blog. There are tutorials for many levels using Creative Paperclay®. You can also visit my blog suzettehussey.com and www.papermachepatch.com

Friday, July 2, 2021

July 2021 First Friday Fan Day


Need some inspiration for your next Creative Paperclay® project? Check out what folks are making with Creative Paperclay™.


Sweet Unicorn
Heart Angel
Easy Ring Dish
How to Make a Clay Daisy

How to Transfer Images to Air Dry Clay
Kids Project: Clay Puppets
Animal Tassels

HELP US FIND YOU!!
  1. Use the hashtag #CreativePaperclay on all your social networks.
  2. When using Facebook, be sure the your posts and images using the #Creative Paperclay hashtag are set to public, otherwise we won't be able to find you.
  3. Share your projects on the Creative PaperClay® Facebook page.
I'm always trolling the web, looking for great Creative Paperclay® projects. If you find something, post it on our Facebook page.

GOT QUESTIONS???

Find the answers to your paperclay questions. See what other folks are creating. Stop by our Facebook group and say, "Hi!" Creative Paperclay Q&A
Carole

Friday, June 25, 2021

Create a Faux Begonia Maculata plant


Hello everyone and happy Friday, Cinnamon here and I am going to show you how I created this Faux Begonia Maculata. I have been obsessing over this plant after seeing it online and I finally ended up settling with a cutting that I found on Etsy. I managed to order a planted one a few days ago but I decided to create a faux one to look at in the meantime. this is perfect for those of us that don't have a green thumb!

Supplies:

  • Creative Paperclay
  • Small plant pot
  • Steel Galvanized wire (22 gauge) 
  • Pliers
  • Masking Tape
  • Pebbles
  • Acrylic Paint
  • Sand paper
  • Moss (optional)
  • Sealer, varnish


I started out by taking my pliers and shaping a base to attach my petals to. I made a knot to sit at the bottom of the pot and bent the wire upwards to stick outside of it.


I took pebbles and put them on top of the wire base that I shaped with the pliers. These were added to give some weight to the piece so that it doesn't tip over easily.


Continue on by adding Creative Paperclay on top of the pebbles. The clay layer needs to be about a quarter of an inch thick.


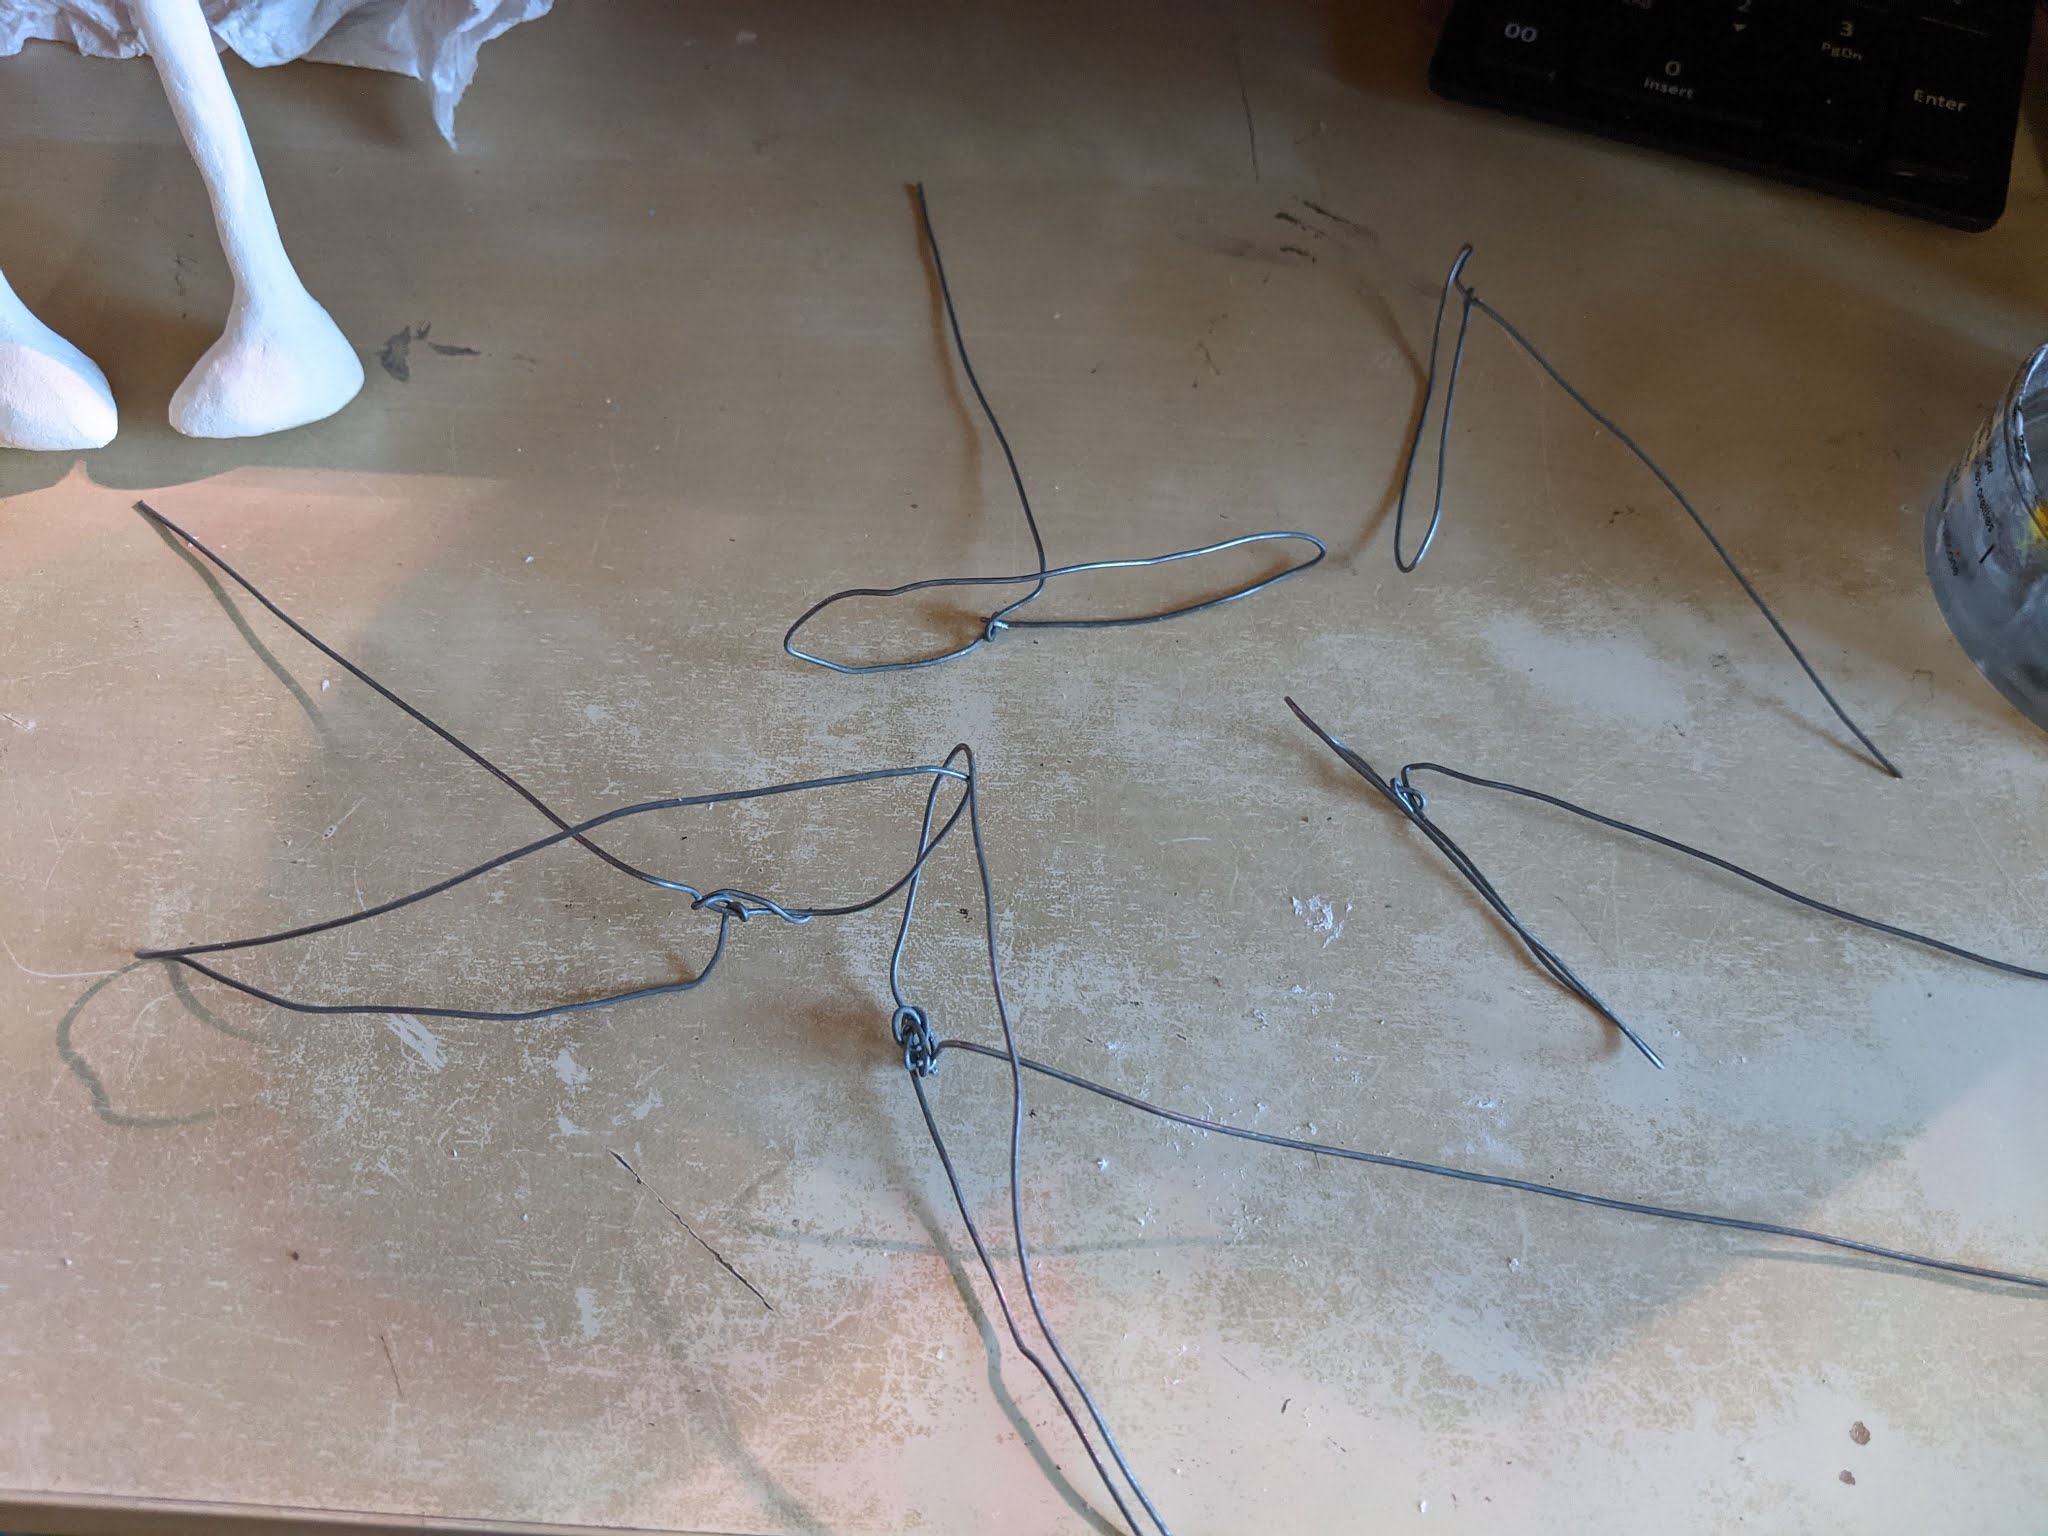
Start taking your wire and bending it into the shape of the leaves with the pliers.


Cover the leaves with masking tape so that you could prepare them for adding clay to them.


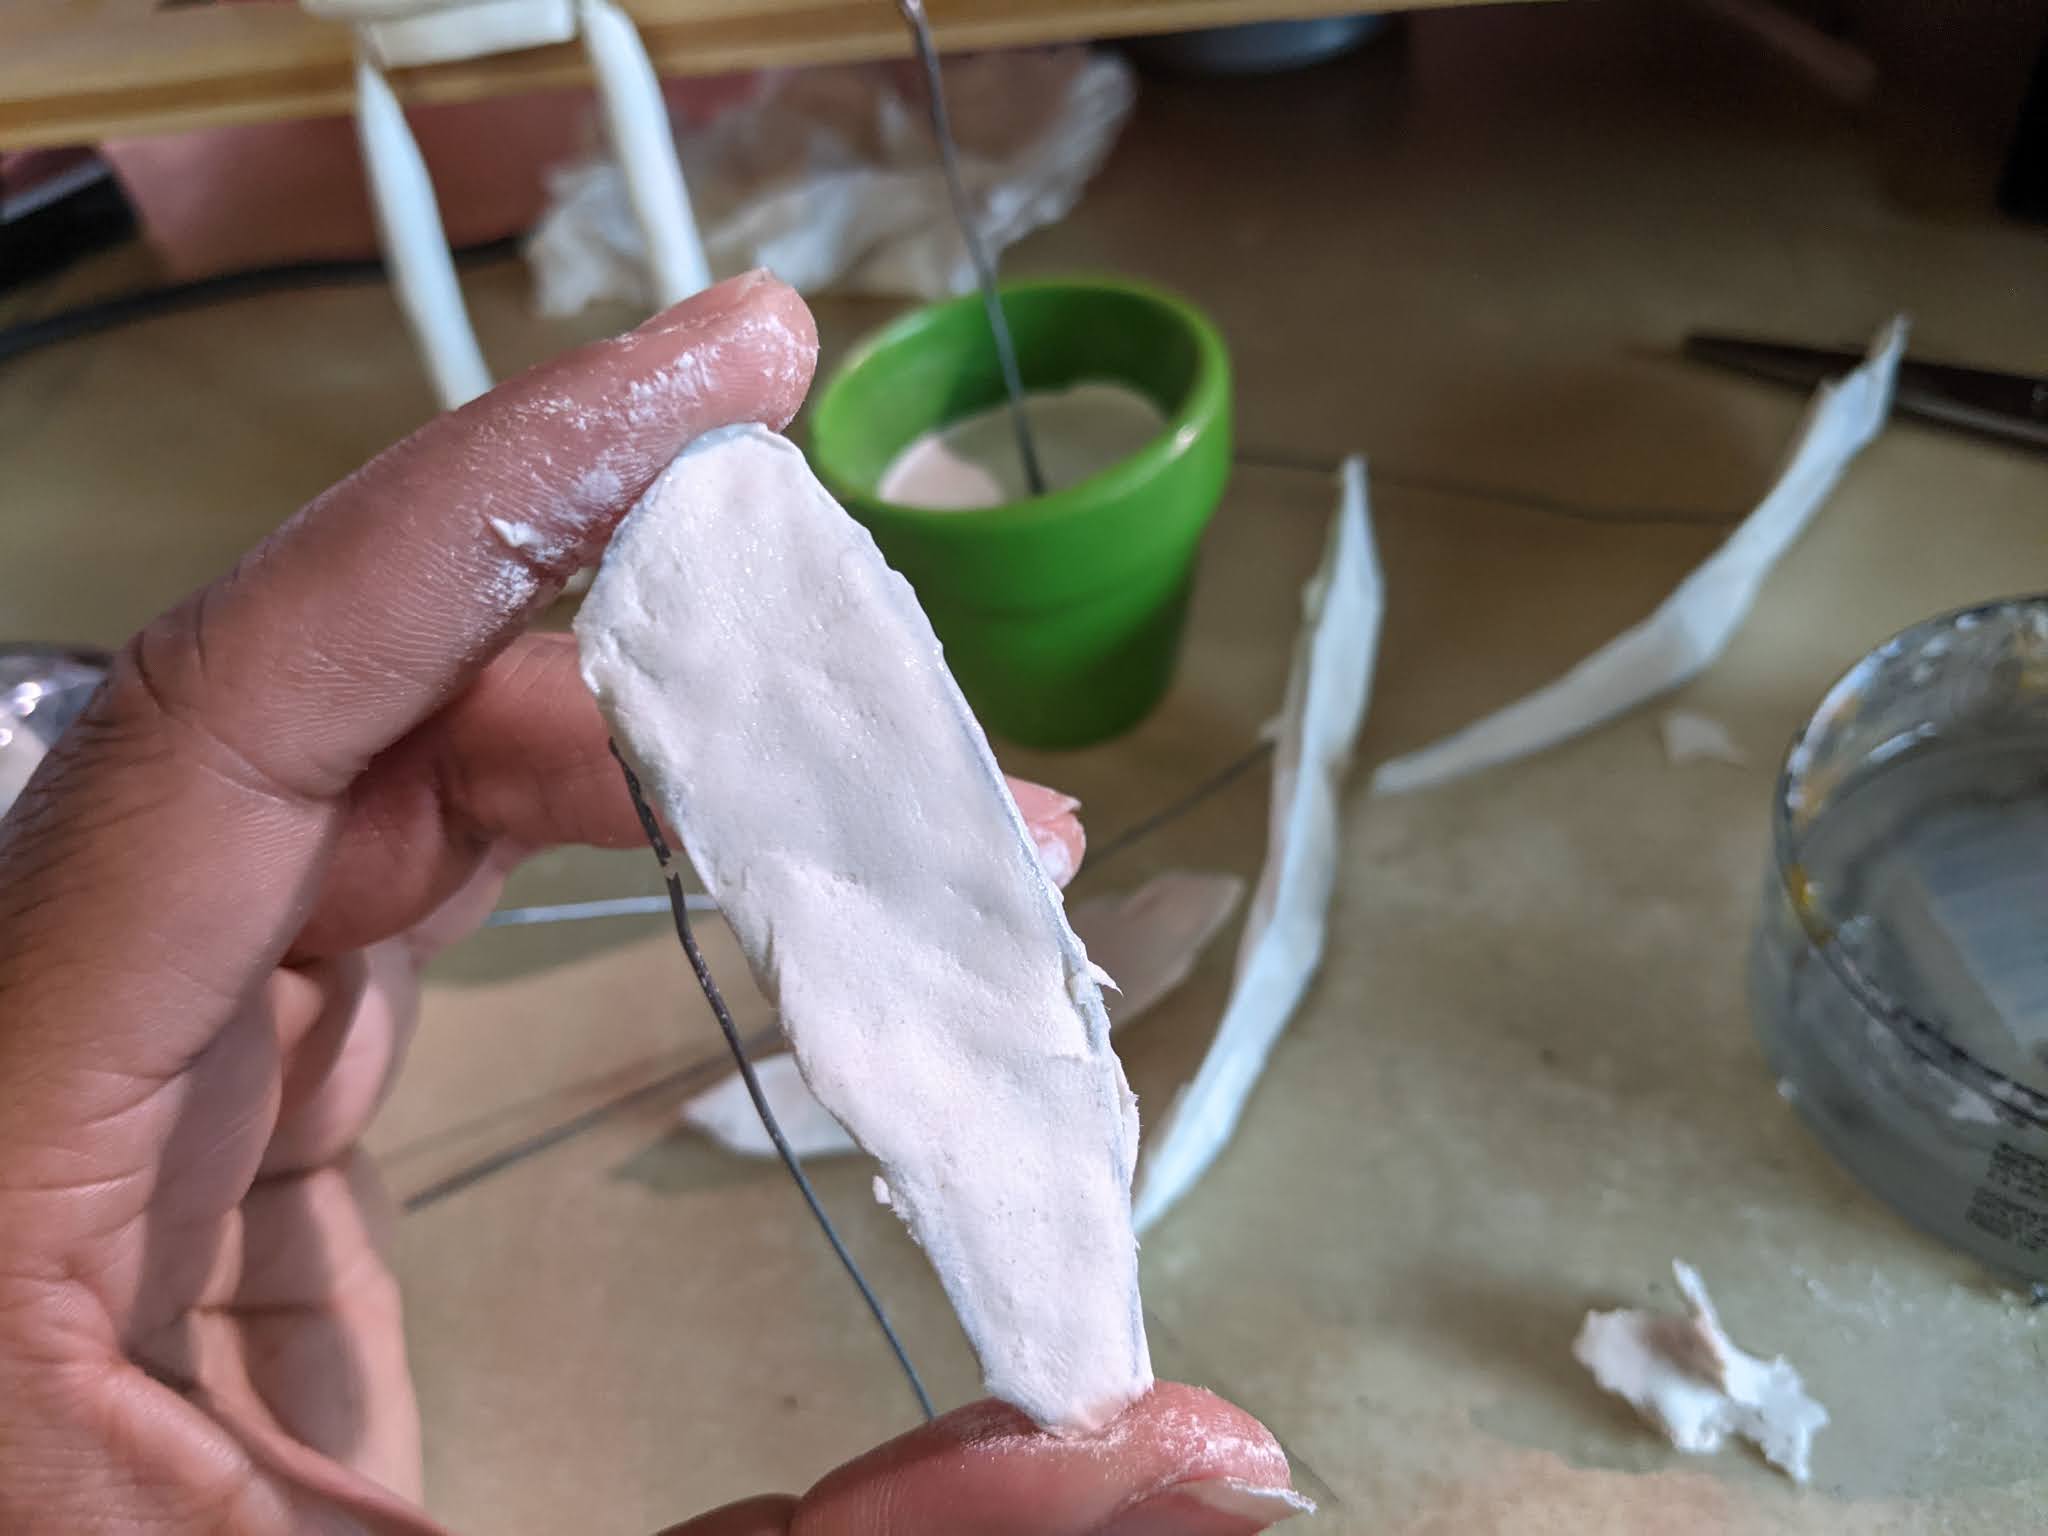
Start adding the clay to the leaves. Make sure that you add thin layers so that they mimic that of the real plant.


After allowing the leaves to dry, begin painting them with acrylic paint. The underside of these plants are bright red while the top is a deep green with silvery spots.


I painted the top layer of clay green in the pot as well as the metal stems of the plant. Take your leaves that you painted and stick them into the clay layer that was created in the beginning of this exercise, push them as far down as you can so that they don't fall out of the pot. 


Paint the silver/white dots on top of the leaves. Add a sealer to protect the paint from chipping when you are done adding the color.


I had some moss left over from one of my projects. You can top your piece off with cotton or whatever you would like to cover up the area where the leaves meet the pot.


Here is the piece next to my cutting. I am anxiously awaiting the real plant that is traveling through the mail but this one makes a good stand in for the meantime! 

Thank you all once again for stopping by, and I hope that you enjoyed today's tutorial! You can find Creative Paperclay® at the following retailers Creative Paperclay® Online Store, Michael's, Amazon, Joann's.


See more of my work at Melandolly.com, catch updates on 

my Instagram page and here is a link to my shop!


Monday, June 7, 2021

Make a Hanging Bird Ornament.

 Hello,

Welcome to another blog post. I can't believe it is June already! Today I have a video tutorial for you. I will be showing you how to make a hanging bird ornament using Creative Paperclay®.


Isn't that cute?

The supplies needed are:

  • Creative Paperclay®
  • rolling pin
  • craft knife
  • 220 grit sandpaper
  • gesso
  • acrylic paints
  • Golden Satin Acrylic Glaze
  • thin craft wire
  • jute cord
  • beads
Follow along in the video below.


Thank you for stopping by. You can share your creations with us on our Facebook page. We would love to see them! For more inspiration have a look around the blog. There are tutorials for many levels using Creative Paperclay®. You can also visit my blog/website - https://www.papermachepatch.com


You can find Creative Paperclay® online at Creative Paperclay Co and also at Michaels, Hobby Lobby, Dickblick, and Amazon. 


Thanks for stopping by!


Suzette


Instagram: https://www.instagram.com/papermachepatch/

Facebook: https://www.facebook.com/papermachepatch/

Pinterest: https://www.pinterest.com/suzettehussey/

YouTube: https://www.youtube.com/c/PaperMachePatch

Skillshare: https://skl.sh/2QyIn93

Website:  https://www.papermachepatch.com


Friday, June 4, 2021

June 2021 First Friday Fan Day


Need some inspiration for your next Creative Paperclay® project? Check out what folks are making with Creative Paperclay™.


Clay Rose
Buttons
Hello Kitty Figurine
Air Dry Clay Pendants

Home Décor Crafts with Clay
Kid Friendly Magnets
Creative Gift Box

HELP US FIND YOU!!
  1. Use the hashtag #CreativePaperclay on all your social networks.
  2. When using Facebook, be sure the your posts and images using the #Creative Paperclay hashtag are set to public, otherwise we won't be able to find you.
  3. Share your projects on the Creative PaperClay® Facebook page.
I'm always trolling the web, looking for great Creative Paperclay® projects. If you find something, post it on our Facebook page.

GOT QUESTIONS???

Find the answers to your paperclay questions. See what other folks are creating. Stop by our Facebook group and say, "Hi!" Creative Paperclay Q&A
Carole