Friday, September 28, 2018

How to Create Candy Corn Halloween Decorations with Creative Paperclay


Hello everyone! My name is Cinnamon Willis and I am going to show you all how I created these two candy corn Halloween decorations! Now I know that candy corn is a controversial and highly divisive topic where some people love it while others find it repulsive, however it wouldn’t quite be Halloween without it! I personally get excited about candy corn but after a handful of it, I have had my share for the season. Here’s what you will need to get started below:

Supplies

  • Creative Paperclay®
    • Pencil
    • Newspaper
    • Masking tape
    • Sand paper
    • Acrylic paint
    • Sealer, Varnish


    I start off here as I usually do with newspaper and masking tape. I gather the newspaper and ball it up into a triangular shape and wrap it in place with masking tape. I keep adding more newspaper and masking tape till I get them close to the size that I would like for them to be.


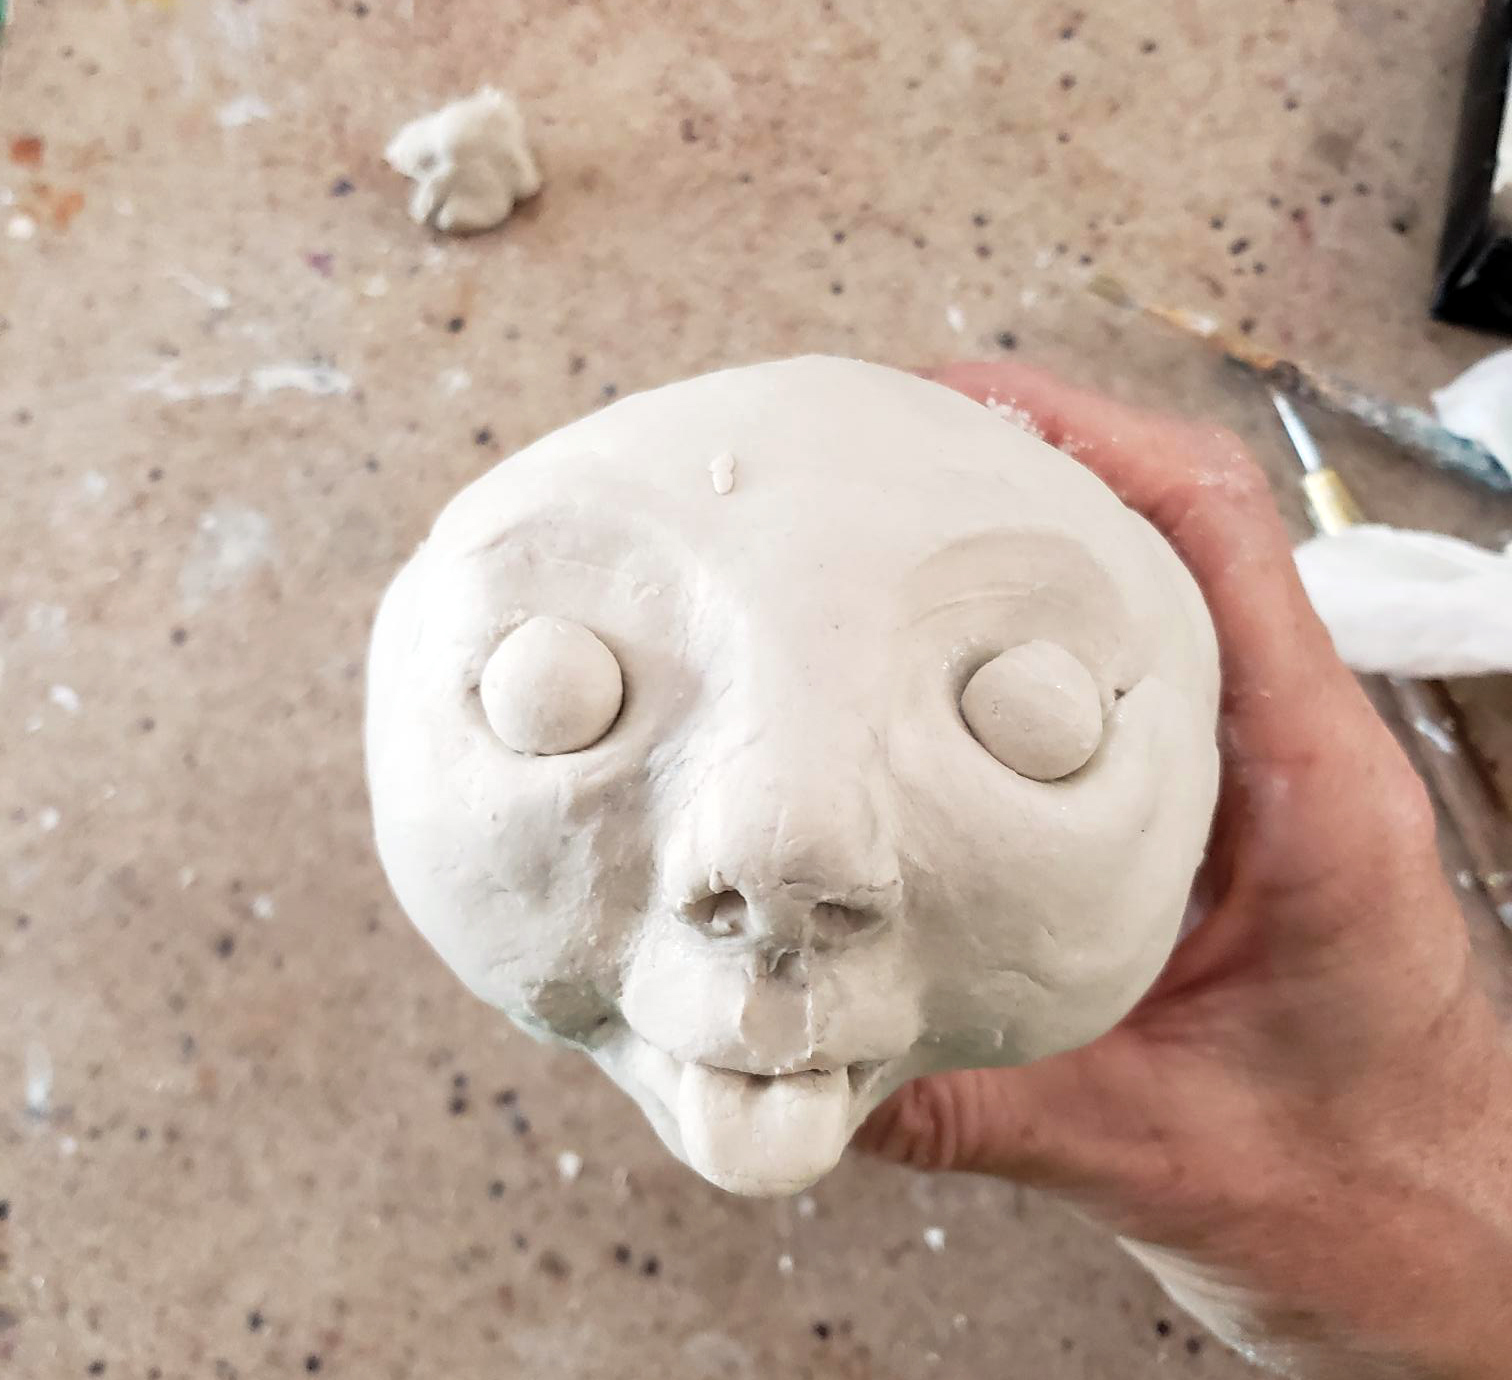
    Cover the pieces of newspaper with your paperclay. You can either paint the newspaper with a light coat of gesso for the clay to stick to it a bit easier, or you can just go on ahead and add the clay without it as I did.


    Let the clay sit for at least 24 hours or until it dries out completely. When it is fully dry, sand the piece down to the level of smoothness that you desire. I use about a 400 grit sandpaper to sand down some of the larger lumps while an 800 grit sheet can smooth the piece out overall.


    For this project, I used four paints, a mustard like yellow, orange, white and black. I painted each piece white at the top, yellow in the middle and orange on the bottom to mimic a piece of candy corn.


    Once I let the paint dry, I drew over it with a pencil to work out the type of faces I’d like to paint. Once I settled on the expressions, I painted them on with a fine brush and black paint. I then sealed the pieces with varnish to protect the paint from chipping.

    Have fun and stick these where ever you feel fit to add to your decor!


    Thank you for stopping by, and I hope that you enjoyed today's tutorial! You can find Creative Paperclay® at the following retailers Creative Paperclay® Online Store, Michael'sAmazon, Joann's

    See more of my work at Melandolly.com and be sure to catch updates on my Instagram page


    Thursday, September 27, 2018

    Sculpting a Pumpkin with Creative Paperclay®


    Supplies;

    Creative Paperclay®

    Paper Mache' pumpkin Hobby Lobby, JoAnn, Michaels

    Acrylic paints

    Crackle paint

    Sculpting tools

    Paint brushes

    Water

    Rolling pin


    I love this time of the year because it means it's getting closer to Halloween. One of my favorite things to sculpt are pumpkin faces. 
    This pumpkin can be made in any size and you can make any expression. I love the green pumpkins so decided that's what this one would be.


    Roll out a thin layer of Creative Paperclay with a rolling pin, the clay should be large enough to cover the pumpkin. Paint a thin coat of glue on the pumpkin so the clay will stick to it and cover the pumpkin. Press the clay so you can see the indentations on the pumpkin.


    Choose the side you want the face to be on and take your thumbs and press in where the eyes will go. 


    Take a piece of clay the size you want the nose to be, I like bigger noses on the pumpkins. Roll into a tear drop shape. Take a brush and paint the nose area with water to use as a glue. put the nose in place and blend the edges into the pumpkin head. Smooth with your brush and water.


    Next the mouth. 


    I make a piece that's in the shape of a stretched out triangle, put that on the face close to the bottom of the nose smooth the top edge. Add a sausage shape for the bottom lip smooth the bottom edge to the face. Smooth the mouth with your brush and water.


    The cheeks are pieces that look similar to a large kidney bean. Make two the same size. Brush water to the cheek area and add the pieces to the face on both sides and blend to the face.


    No I'm not picking his nose I'm making nostrils.

    Take a tool and press in at an angle on both sides to create the nostrils. Take the tool and press in on the upper lip in the center to make the little indentation on the upper lip.


    Take the tool and gently open the mouth up enough to add a tongue. Take a small piece of clay in a tear drop shape and press it flat in a tongue shape. Put the narrow end of the tongue in the mouth and blend it in to secure it in the mouth.


    Take two pieces of clay rolled in balls for the eyeballs, add a little water to the eye sockets and stick the balls into the sockets. lend the edges to the sockets. Take two strips of clay for the eyebrows and blend hem into the forehead and onto the eyeballs. I made this pumpkin to look like his eyes are 
    closed.


    Take a sharp tool and draw a line at the bottom of the eye for the closed eyelid. Take a tool and press in the inner corners for the tear duct. 


    The face is finished just smooth with a brush and water. 


    For the stem take a piece of clay that looks like a carrot. Make grooves in the stem with the sharp tool.  Add the stem to the top of the pumpkin and twist it to the shape you want.


    Let the pumpkin completely dry.

    Sand smooth after it's dry.


    Paint the pumpkin in whatever base color you want. I used an orange color and a dark green for the stem.  Let dry.

    Paint the pumpkin with crackle paint and let dry then paint the top coat with a contrasting color. I chose light green color. I painted the tongue red after the pumpkin had dried. 


    Your pumpkin is finished! 


    Thanks for checking out this tutorial.


    Creative Paperclay®       
    https://www.paperclay.com
    Hobby Lobby, Michaels, Joann, Amazon


    Monday, September 24, 2018

    Creative Paperclay Gnomes!


    Supplies Needed for this Project:

    E-6000
    Paint Brushes
    Spray Sealer


    As you can see from this picture it's a different head. I used crumpled aluminum foil to create the center of the gnome's body. You use less Creative Paperclay this way.


    I put an extra strip of clay around the lady gnome's head and scored it to look like her hair.


    I used two pieces of Creative Paperclay to form the arms and two pieces each to make the hands and feet.

    My lady gnome turned out very well and then I concentrated on the boy gnome

    Same technique for the body in using aluminum foil for the body under the Creative Paperclay. When putting the pieces together, I used E-6000 to adhere any pieces that didn't want to stick together.


    All the rest of the pieces were made the same but the boy body was round without any ruffle on the bottom. He turned out just fine also. Once the two pieces were completely dry, I painted them both with assorted Plaid Acrylic Paints and sealed them with a spray sealer.  These guys were a lot of fun to make. I hope you like them also. Please take the time to go on over to the Creative Paperclay website and check out their different products and also the many different projects that they have to keep you busy creating! Also, while you're at it, check out the Plaid website and check out all of the products that they have to offer. They also have many different projects with tutorials . I would appreciate it if you would leave me a comment below and thank you for reading my post.

    Barbara


    Thursday, September 20, 2018

    Fun Fairy House


    Hello everyone! Jenn here today sharing my Fun Fairy House project I created using the amazing Creative Paperclay®!
    This project has actually been a vision for awhile so I decided to just sit down and do it!
    To create my house I used the following clay:
    Other Supplies:

    White Gesso
    Molds both silicone and plastic
    Acrylic paints and Spray inks
    Antique Wax
    Woodgrain Stamp
    Small Mason Jar with lid
    Spray clear sealant
    Glue

    How It Was Made
    Start with a clean, dry mason jar and lid. Roll a piece of paperclay out to about 1/8" thickness. Wrap woodgrain stamp around a rolling pin and roll across the flattened clay. Wrap this around the jar and pinch closed. Smooth out the seam closure with fingers and add woodgrain stamp as needed to match up. Set this aside and allow to dry completely.
    Next, mold all pieces needed such as the door, mushrooms, window and all of the leaves for the roof.
    Create a base for the lid by molding some Delight™ around the rim and up into the shape of the roof. This will create a nice surface to adhere the leaf roof too. You can use straight pins to hold down leaves that want to be difficult.
    Create the lid by gently stacking the molded leaves while they are wet, shaping them as you go. Once they are nearly dry, use a hot glue gun to adhere them in the same places they were dryed in. This ensures that they all fit. Add a fun twisted piece of scrap clay to the top and set aside for drying.


     For the molded door I added a bit more interest by rolling a length of clay across my woodgrain stamp and wrapping it around the door as seen below.


    Once the lid is completely dry and all leaves are securely in place, Use a filing tool to smooth out any rough edges on each leaf then painting begins. Start by coating the leaves in white gesso. Alternate between shades of greens and yellows, dark and light to get the look seen below. 
    Next I painted all of my other pieces and allowed them to dry. Once dry they were adhered using glue.
    When completed the lid will still unscrew and the jar can be used for trinkets, etc.!
    Here are some closer views of all the fun detail achieved on this project!


    Thanks so much for viewing my post today! I hope that you are inspired to give this amazing clay a try and create something amazing!
    Creative Paperclay® and Delight™ are conveniently available for you to purchase online and at the below listed retailers.

    Until Next time Stay Creative!